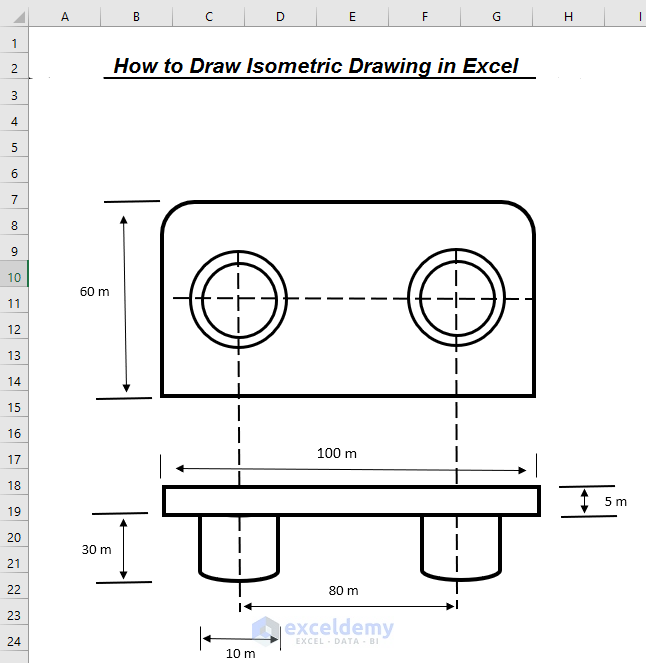
STEP 1 – Drawing Different Shapes
Steps:
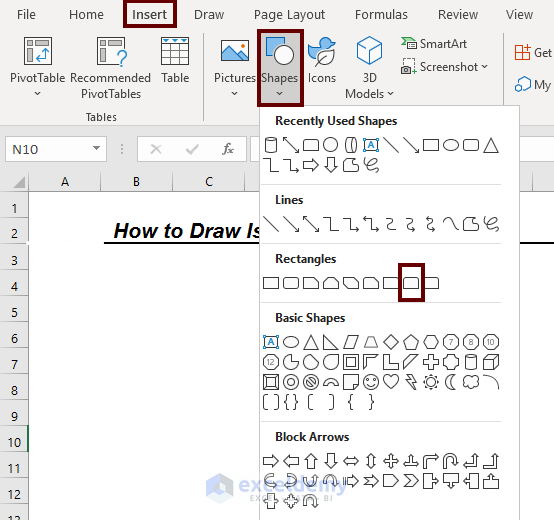
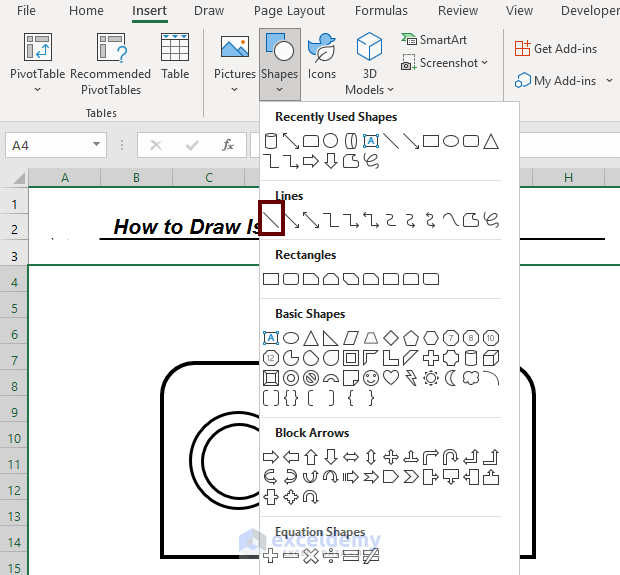
- Go to the Insert tab.
- Click Shapes.
- Select a shape. Here, Rectangular: top corner rounded.
- Draw it using the mouse. You can control the size of the shape.

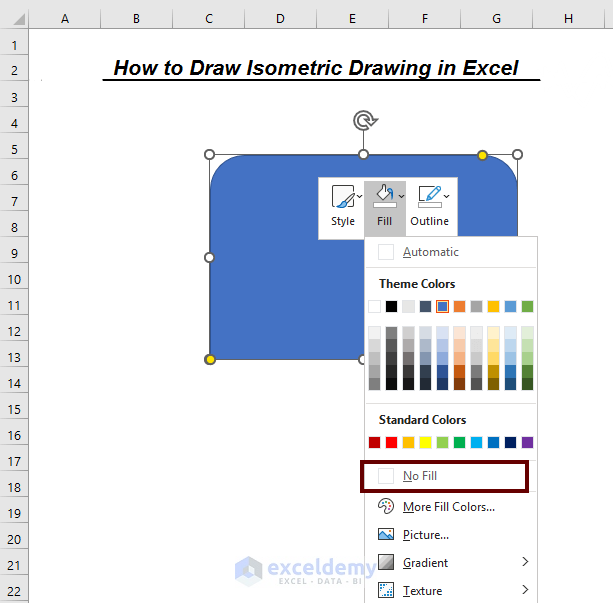
- Select the shape and right-click.
- Go to Fill and change the color of the shape. Here, No Fill.
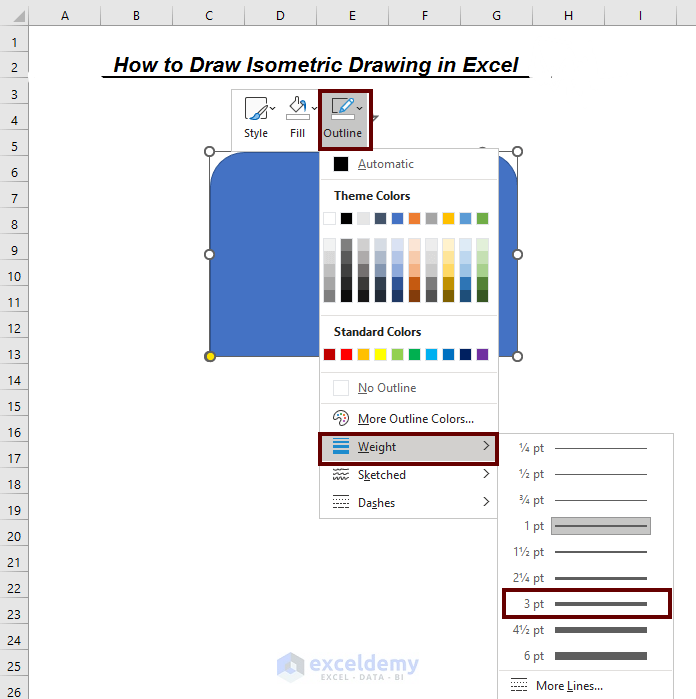
- You can change the outline thickness in Weight.
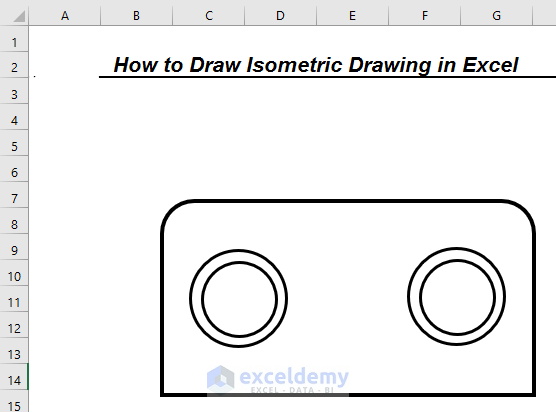
- Add circular shapes to complete the drawing.
Read More: How to Draw to Scale in Excel
Step 2 – Insert Measuring Lines
Steps:
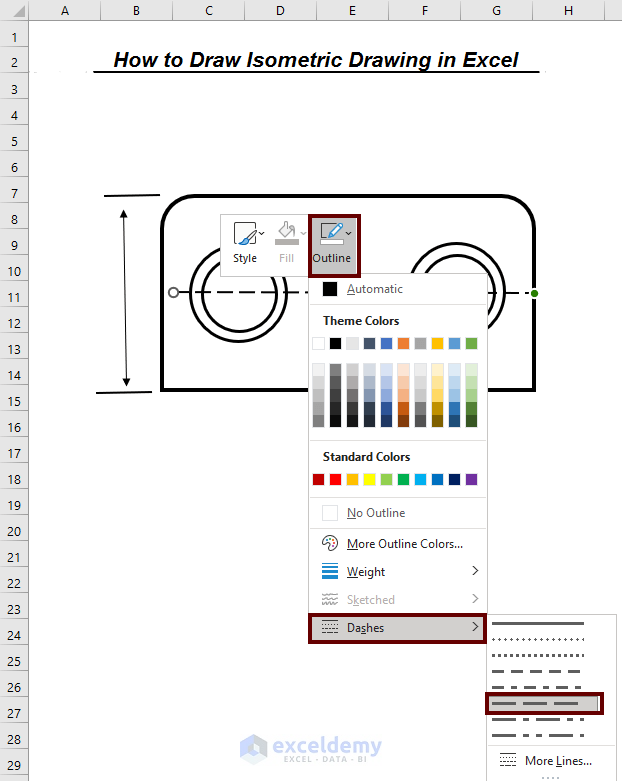
- Go to the Insert tab.
- Click Shapes.
- Select Lines. Select a line.
- Place the cursor on the line and right-click.
- Select Dashes and choose a line pattern.
Read More: How to Draw Lines in Excel
STEP 3 – Add Text
Steps:
- Click the Insert tab.
- Select Text.
- Choose Text Box.
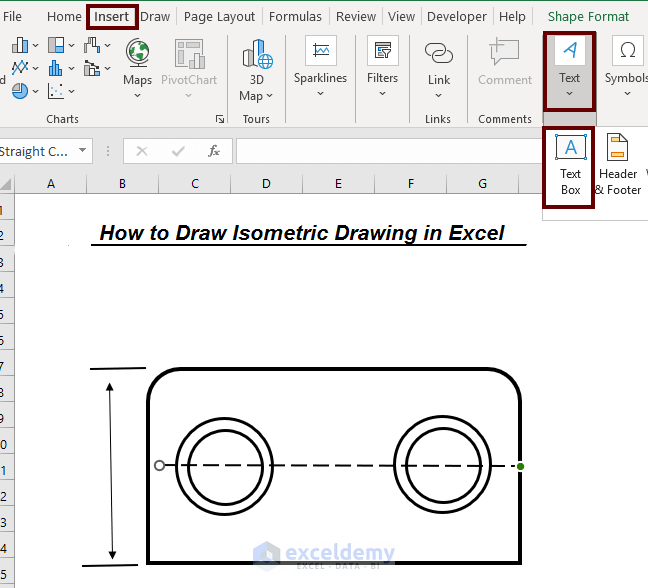
- Edit the text box.
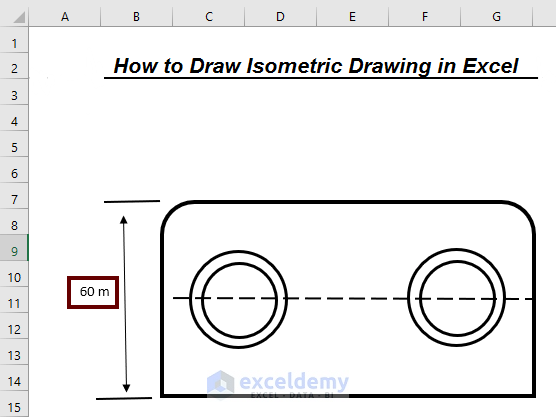
Repeat the steps to complete the isometric drawing.
Read More: How to Draw Engineering Drawing in Excel
Download Practice Workbook
Related Articles
- How to Make Fishbone Diagram in Excel
- How to Make Sankey Diagram in Excel
- How to Remove Unwanted Objects in Excel
- How to Draw a Floor Plan in Excel
<< Go Back to Drawing in Excel | Learn Excel
Get FREE Advanced Excel Exercises with Solutions!
