Method 1 – Using Shapes Feature to Draw Shapes in Excel
Steps:
- Open your workbook.
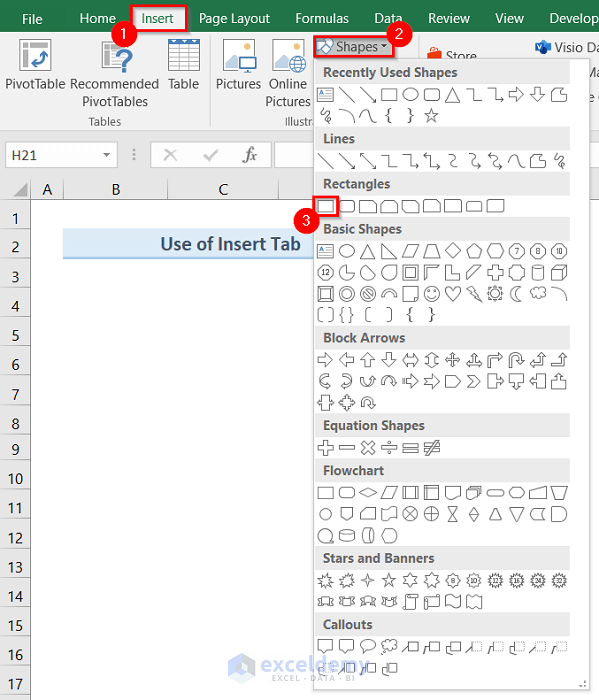
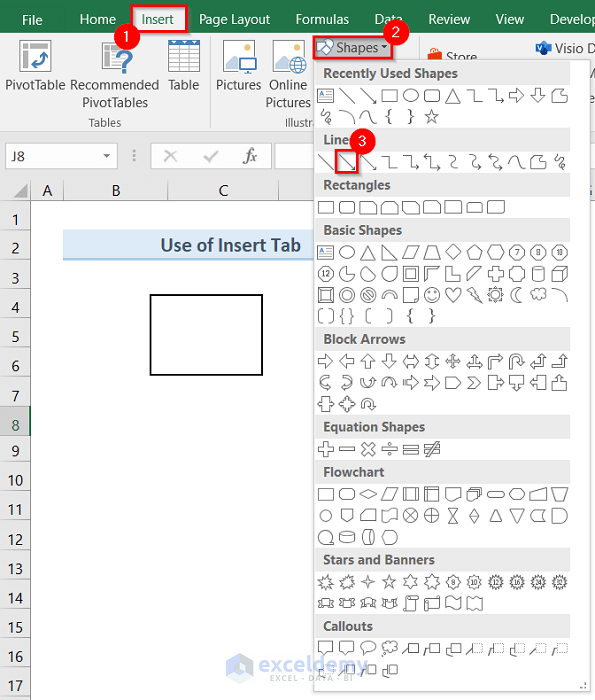
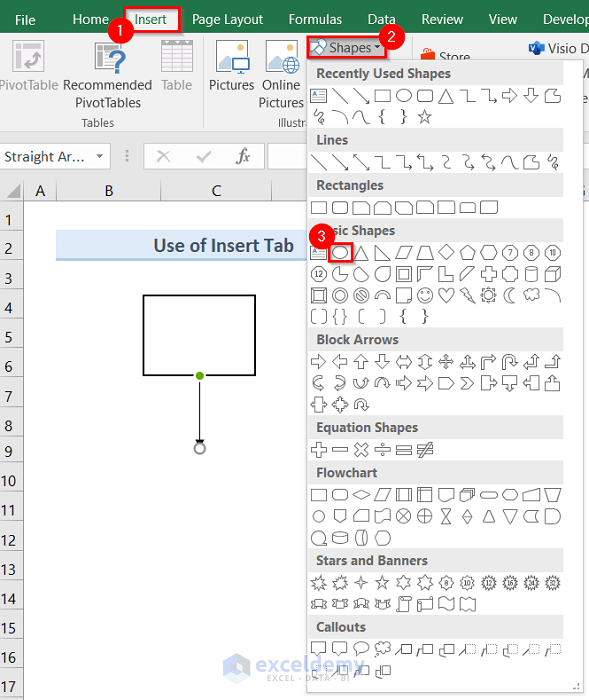
- Go to the Insert tab and click the Shapes feature as shown below.
- To draw a Rectangle, click the Rectangle shape like the image below.
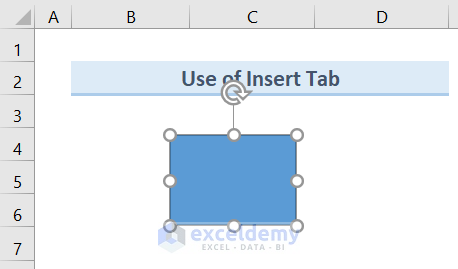
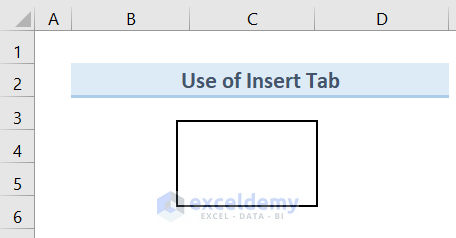
- Draw according to your desired size on the worksheet, as shown below.
- Under the Format option, click on More like the one below.
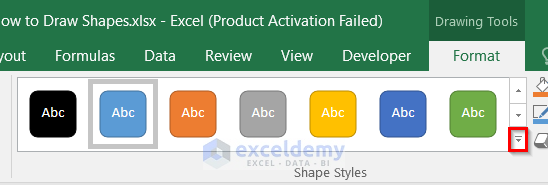
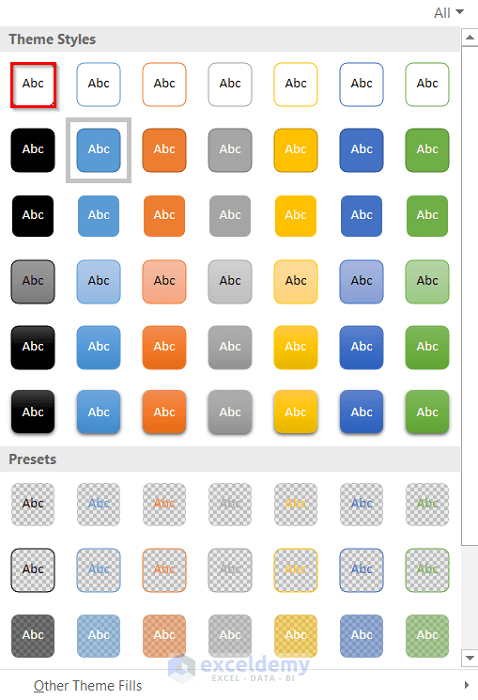
- Select the preferred theme style you want.
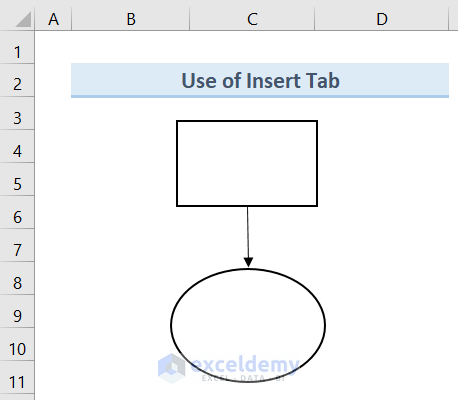
- A Rectangle will be added to your worksheet like the following figure.
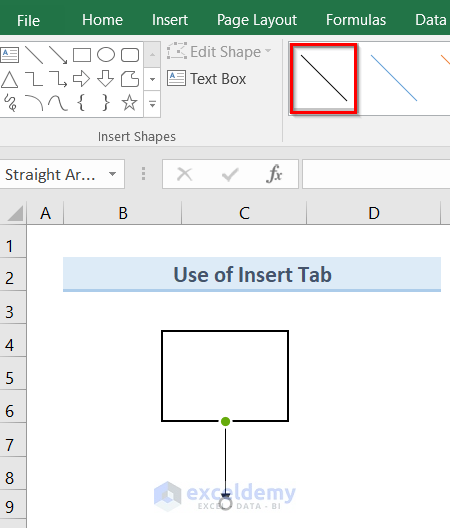
- To add an Arrow to your worksheet, go to the Insert tab and click on the Shapes option as shown below.
- Click on the Arrow sign like the image below.
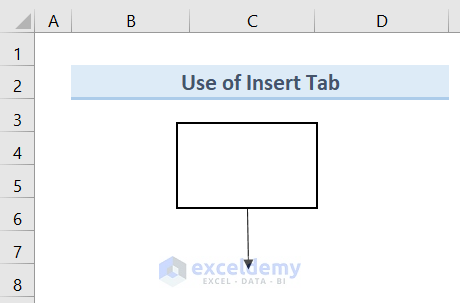
- Select the preferred color of Arrow you want.
- An Arrow will be added to your worksheet like the following figure.
- To add an Oval shape to your worksheet, go to the Insert tab and click on the Shapes option.
- Click the Oval shape like the image below.
- Draw according to your desired size on the worksheet.

- Under the Format option, click More like the one below.

- Select the preferred theme style you want.

- An Oval shape will be added to your worksheet like the following figure.
Method 2 – Drawing Shapes in Excel with the Draw Feature
Steps:
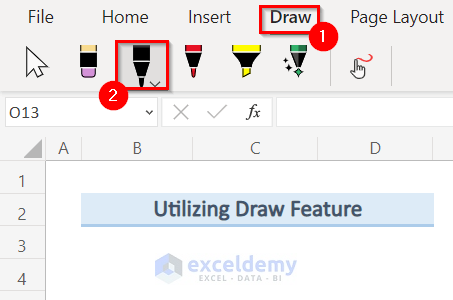
- Go to the Draw tab.
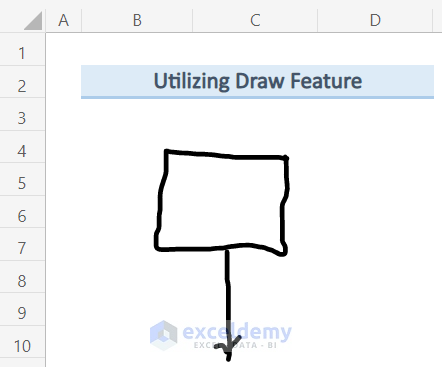
- Choose the Draw option, selecting your preferred color pen. We chose the black one.
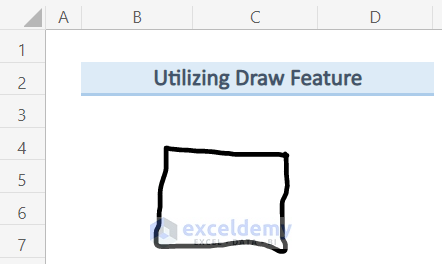
- Draw a Rectangle manually of your preferred size like the image below.
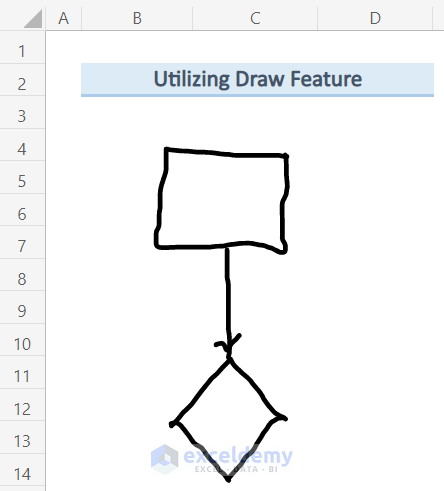
- Draw an Arrow of your preferred size manually.
- Finish your drawing by adding a Decision-Making shape to your worksheet.
Note: You don’t have the Draw option at the top ribbon. Follow these instructions to get the Draw feature. Go to File > Options > Customize Ribbon. From the Commands drop-down, choose All Commands and select Draw after selecting Add and press OK.
How to Remove Drawing Shapes in Excel
Steps:
- Go to the Home tab.
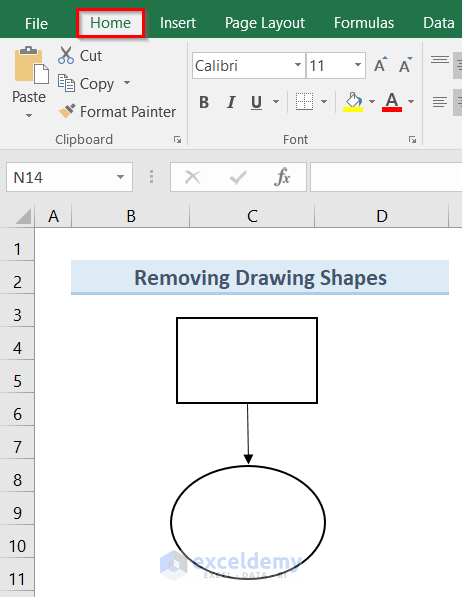
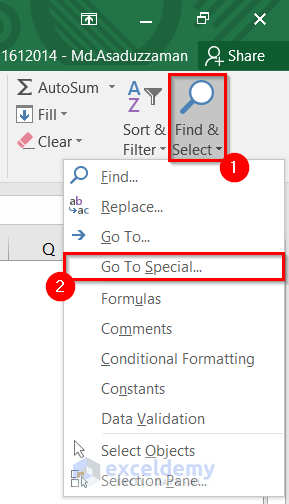
- Go to the Editing section and click Find & Select.
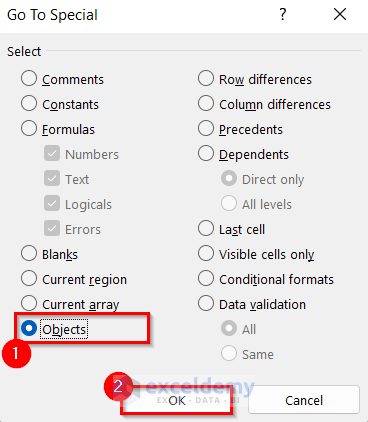
- Select Go To Special.
- In the Go To Special window, select Objects and press OK.
- Find and select all the objects that are present in the current worksheet.
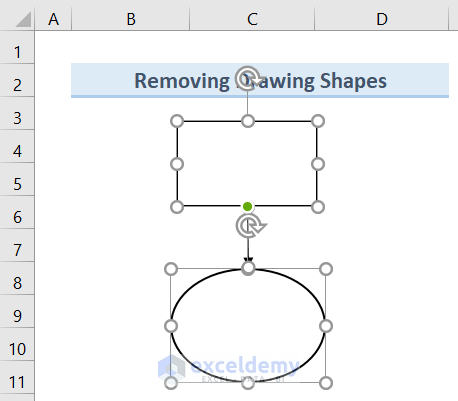
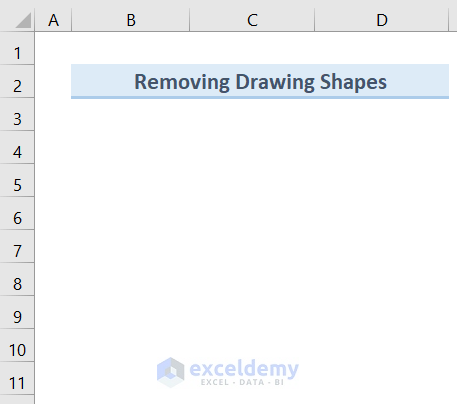
- Press Delete and Excel will remove all the shapes.
Things to Remember
- Using the Insert tab method is the easiest way to draw different shapes in Excel. It draws the shapes more accurately.
- Utilizing the Draw feature is a manual method. It gives you more freedom to draw shapes in your own style but the accuracy depends on your own drawing skills.
Download Practice Workbook
You can download the Excel workbook from here.
Related Articles
- How to Draw Engineering Drawing in Excel
- How to Make Fishbone Diagram in Excel
- How to Make Sankey Diagram in Excel
- How to Draw Isometric Drawing in Excel
- How to Draw Lines in Excel
<< Go Back to Drawing in Excel | Learn Excel
Get FREE Advanced Excel Exercises with Solutions!
