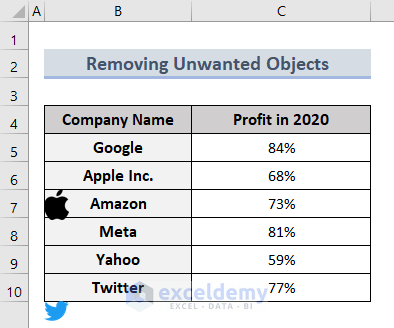
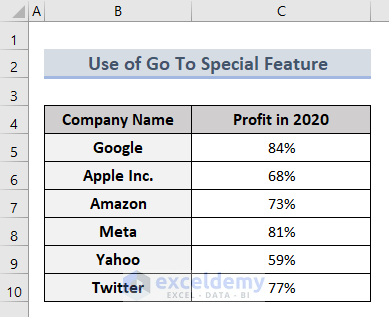
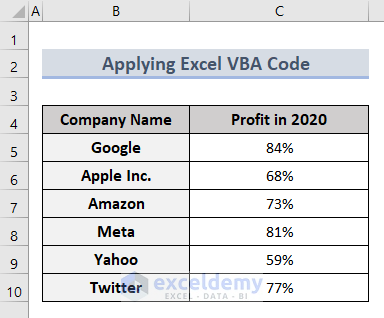
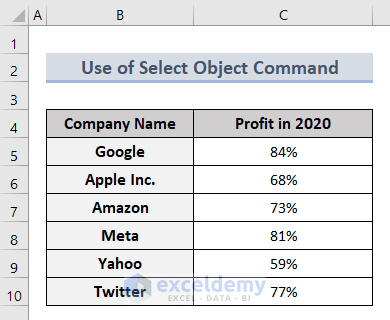
The sample dataset below includes company logos (images). We will remove the logos from the worksheet using 4 different methods.
Methods 1 – Remove Objects in Excel with Go To Special Feature
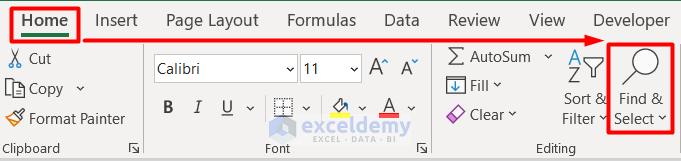
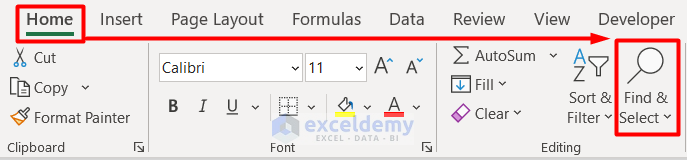
- Go to the Home tab and click on Find & Select.
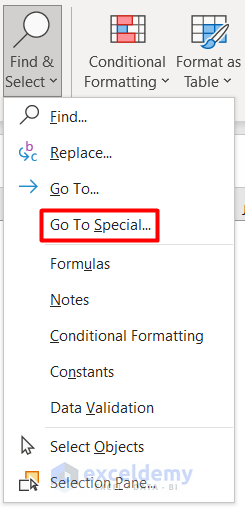
- Select Go To Special from the drop-down menu.
- Select the option Object in the new Go To Special window.
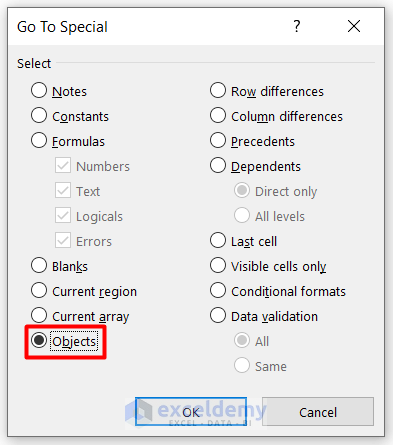
- Press OK.
- The images will get selected like this:

- Press the Delete button on your keyboard to remove the selected objects.
Read More: How to Make Fishbone Diagram in Excel
Methods 2 – Apply Excel VBA Code to Remove Unwanted Objects
- Go to the Developer tab and select Visual Basic.
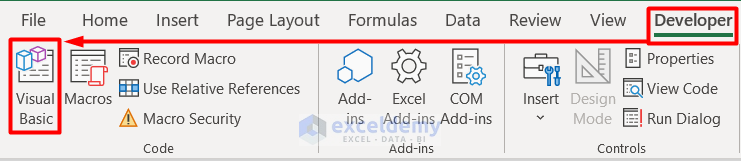
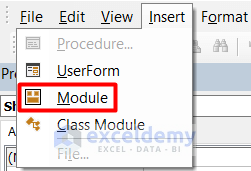
- In the new window, select Module from the Insert section.
- Insert this code on the blank page.
Sub DeleteAllPictures()
Dim Picture As Object
For Each Picture In ActiveSheet.Pictures
Picture.Delete
Next Picture
End Sub
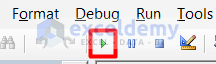
- Click on the Run Sub button or press F5 on your keyboard.
- Click on Run in the Macros window.
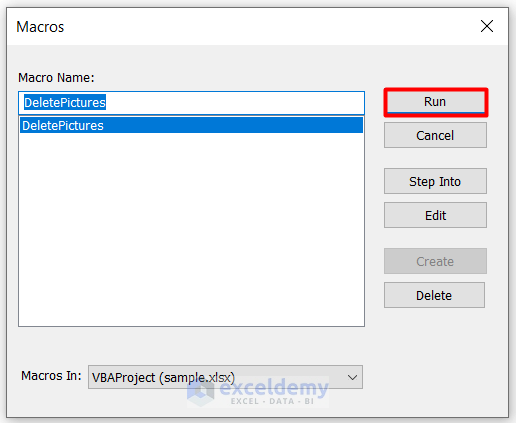
- It will remove the images from the worksheet.
Note: You can apply this code if you have any unwanted shapes in the worksheet.
Sub DeleteAllShapes()
Dim sp As Shape
For Each sp In ActiveSheet.Shapes
sp.Delete
Next
End Sub
Read More: How to Draw to Scale in Excel
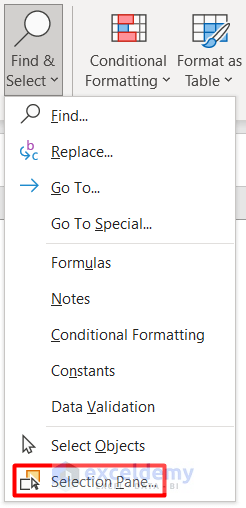
Method 3 – Omit Unwanted Objects Using Excel Select Object Command
- Go to the Home tab and click on Find & Select.
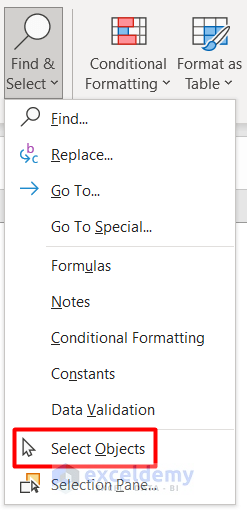
- Choose Select Objects from its drop-down section.
- Select the pictures/objects you want to remove.
- In case of multiple objects, press the Ctrl key on your keyboard and proceed with the selection.

- Press the Delete button.
- The unwanted images will be removed.
Read More: How to Draw Engineering Drawing in Excel
Method 4 – Apply Selection Pane Tool to Erase Unwanted Objects
- Go to the Home tab.
- Click on Find & Select.
- Choose the Selection Pane option.
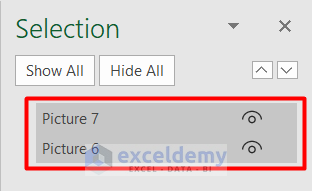
- You will see the picture list in the Selection Pane appear on the right side.
- Press Ctrl + A to select all the picture names.
- Press Delete.
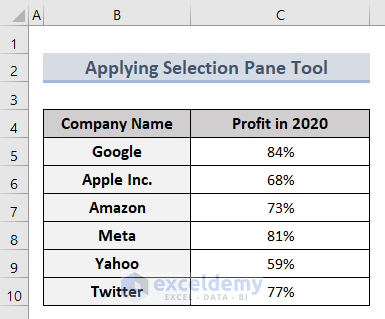
- The unwanted objects will be removed.
Read More: How to Draw a Floor Plan in Excel
Download Workbook
Related Articles
- How to Make Sankey Diagram in Excel
- How to Draw Isometric Drawing in Excel
- How to Draw Shapes in Excel
- How to Draw Lines in Excel
<< Go Back to Drawing in Excel | Learn Excel
Get FREE Advanced Excel Exercises with Solutions!
