Example 1 – Using the VBA AddShape Method to Draw in Excel
Steps:
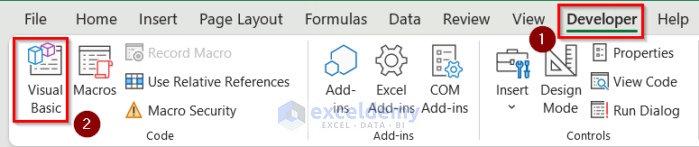
- Go to the Developer tab >> click Visual Basic.
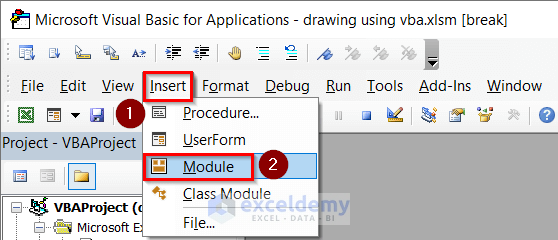
- In the Microsoft Visual Basic for Application box, click Insert >> select Module.
- Enter the following code in the Module.
Sub Adding_Shapes()
Dim Shape1 As Shape
Dim range1 As Range
  Set range1 = Range("B1:E4")
  Set Shape1 = ActiveSheet.Shapes.AddShape(msoShapeRectangle, _
            ActiveCell.Left, ActiveCell.Top, range1.Width, range1.Height)
End Sub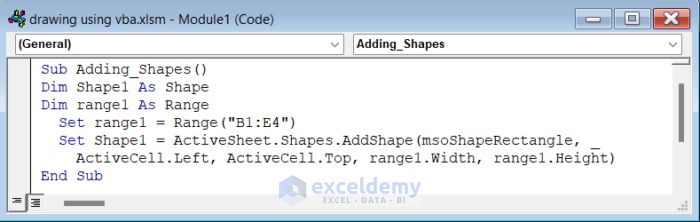
Code BreakDown
- A Sub Procedure is created: Adding_Shapes.
- Shape1 is declared as Shape and range1 as Range.
- range1 is set as B1:E4 and Shape1 as a Rectangle.
- Click Save and go back to your Excel Sheet.
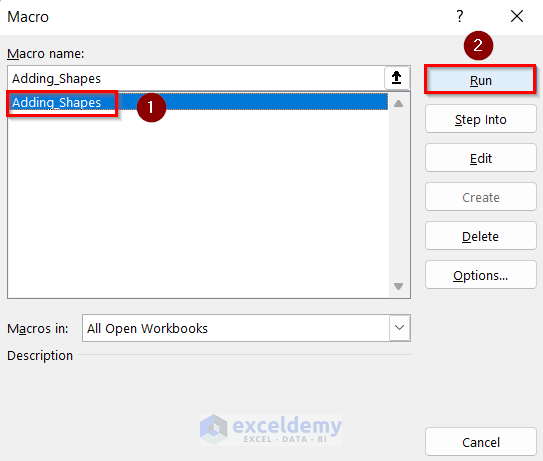
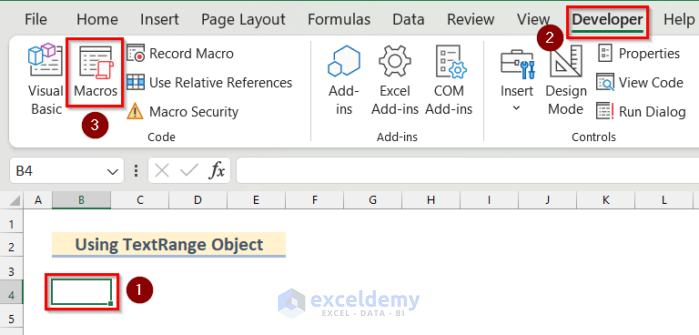
- Go to the Developer tab >> click Macros.
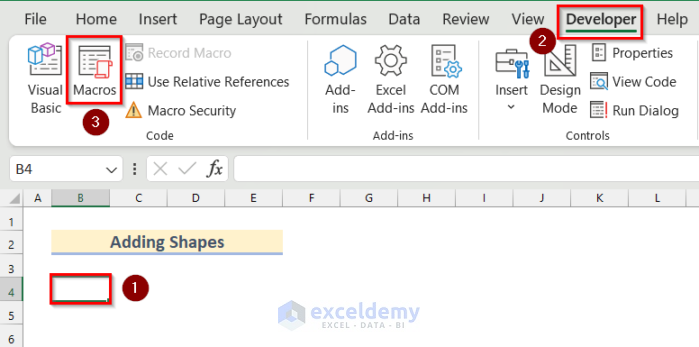
- In the Macros box, select Adding_shapes.
- Click Run.
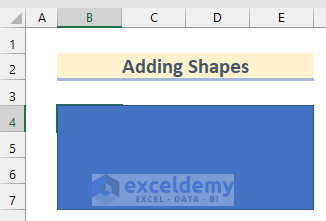
- A rectangular shape will be added to the worksheet.
Read More: How to Do 3D Drawing in Excel
Example 2 – Use the TextRange Object to Add Text to a Shape
Steps:
- Insert a module, following the steps described in Method 1.
- Enter the following code in the Module.
Sub Using_TextRange_Object()
Dim Shape2 As Shape
  Set Shape2 = ActiveSheet.Shapes.AddShape(msoShape16pointStar, _
            ActiveCell.Left, ActiveCell.Top, 200, 150)
  Shape2.TextFrame2.TextRange.Text = "Text in Shape!"
  Shape2.TextFrame2.TextRange.Font.Bold = True
  Shape2.TextFrame2.TextRange.Font.Italic = True
  Shape2.TextFrame2.TextRange.Font.UnderlineStyle = msoUnderlineDottedLine
  Shape2.TextFrame2.TextRange.Font.Fill.ForeColor.RGB = RGB(225, 140, 71)
  Shape2.TextFrame2.TextRange.Font.Size = 16
  Shape2.TextFrame.HorizontalAlignment = xlHAlignCenter
  Shape2.TextFrame.VerticalAlignment = xlVAlignCenter
End Sub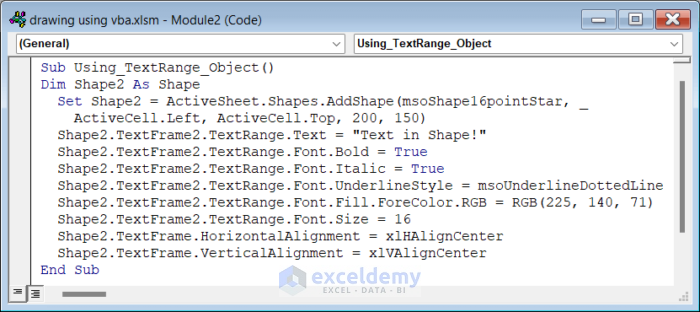
Code BreakDown
- A Sub Procedure is created: Using_TextRange_Object.
- Shape2 is declared as Shape.
- The TextRange object is used to add text and modify text font, color size, etc.
- Select B4.
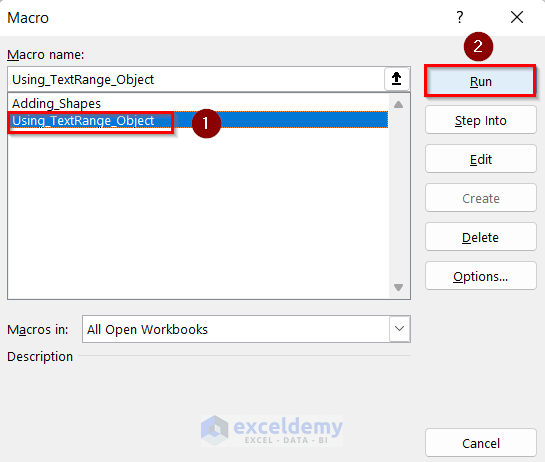
- Go to the Developer tab >> click Macros.
- In the Macro box, select Using_TextRange_Object.
- Click Run.
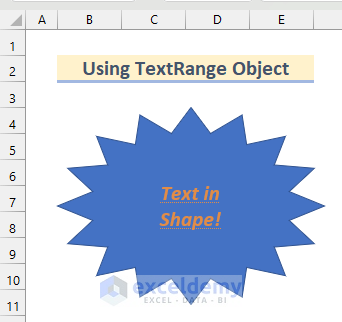
This is the output.
Read More: How to Use Drawing Tools in Excel
Example 3 – Modify the Fill Color and Borders of a Shape
Steps:
- Insert a module, following the steps described in Method 1.
- Enter the following code in the Module.
Sub FillColor_Border()
Dim Shape3 As Shape
  Set Shape3 = ActiveSheet.Shapes.AddShape(msoShapeRoundedRectangle, _
            ActiveCell.Left, ActiveCell.Top, 200, 150)
  Shape3.Fill.ForeColor.RGB = RGB(253, 234, 218)
  Shape3.Line.DashStyle = msoLineDashDotDot
  Shape3.Line.ForeColor.RGB = RGB(252, 213, 181)
  Shape3.Line.Weight = 2
  'Shape3.Line.Visible = False
End Sub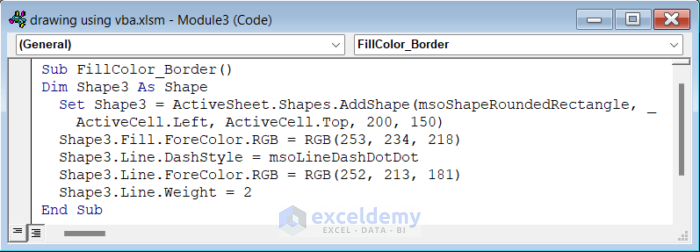
Code BreakDown
- A Sub Procedure is created: FillColor_Border.
- Shape3 is declared as Shape.
- Shape3 is set as a Rectangle.
- Fill Color and Borders are modified.
- Click Save and go back to your Excel Sheet.
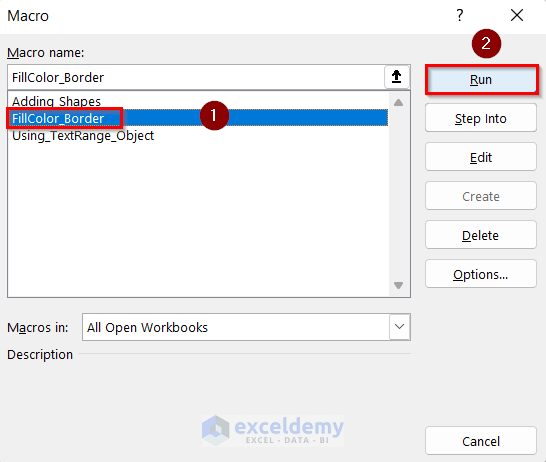
- Open the Macro box following the steps described in Method 1.
- Select FillColor_Border.
- Click Run.
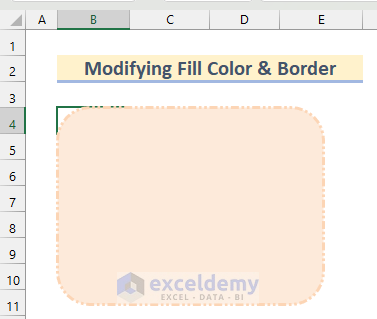
This is the output.
Read More: Drawing Decision Trees in Excel
Example 4 – Change the Shape Type
Steps:
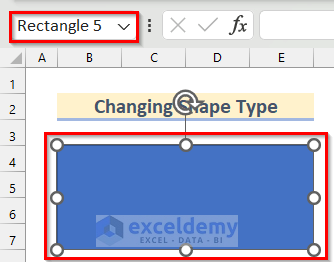
- Select the shape you want to change. Here, Rectangle 5.
- Insert a module, following the steps described in Method 1.
- Enter the following code in the Module.
Sub Changing_Shape_Type()
Dim Shape4 As Shape
  Set Shape4 = ActiveSheet.Shapes("Rectangle 5")
  Shape4.AutoShapeType = msoShapeOval
End Sub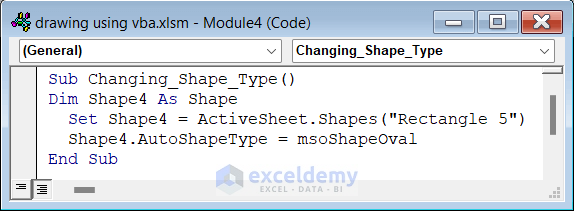
Code BreakDown
- A Sub Procedure is created: Changing_Shape_Type.
- Shape4 is declared as Shape.
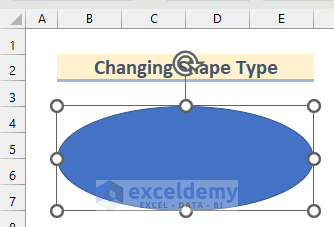
- Shape4 is changed from Rectangular to Oval.
- Click Save and go back to your Excel Sheet.
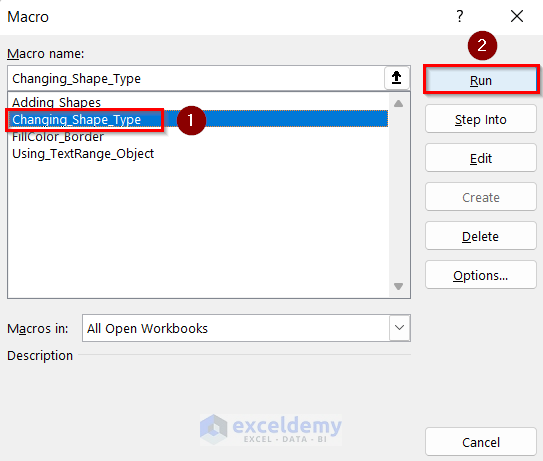
- Open the Macro box following the steps described in Method 1.
- Select Changing_Shape_Type.
- Click Run.
This is the output.
Read More: How to Perform Drawing of Objects with VBA in Excel
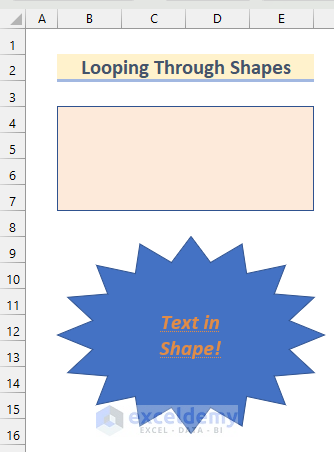
Example 5 -Loop Through Shapes

Steps:
- Insert a module, following the steps described in Method 1.
- Enter the following code in the Module.
Sub Looping_Through_Shapes()
Dim Shape5 As Shape
  For Each Shape5 In ActiveSheet.Shapes
            If Shape5.AutoShapeType = msoShapeRectangle Then
            Shape5.Fill.ForeColor.RGB = RGB(253, 234, 218)
            End If
  Next Shape5
End Sub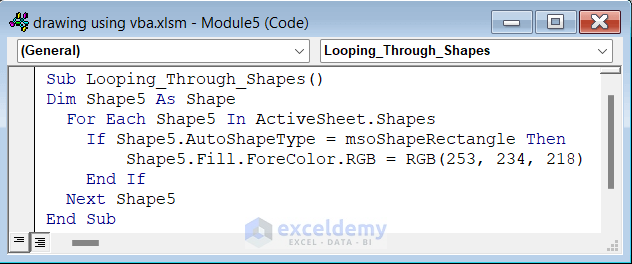
Code BreakDown
- A Sub Procedure is created: Looping_Through_Shapes.
- Shape5 is declared as Shape.
- A for loop is used for each shape.
- The Fill Color for rectangular shapes is changed.
- Click Save and go back to your Excel Sheet.
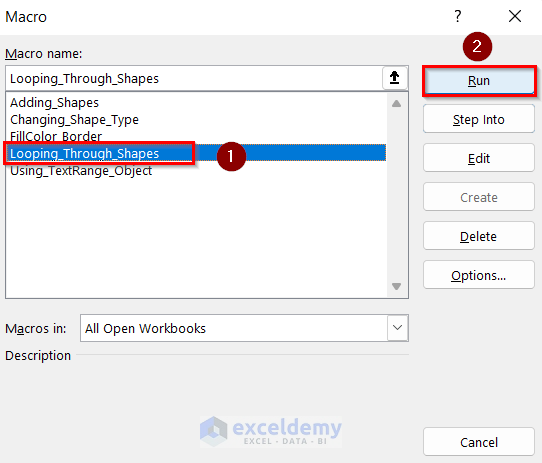
- Open the Macro box following the steps described in Method 1.
- Select Looping_Through_Shapes.
- Click OK.
- Fill Color and Borders changed in the rectangular shape.
Read More: How to Create Drawing Register in Excel
Download Practice Workbook
Download the workbook.
Related Articles
<< Go Back to Drawing in Excel | Learn Excel
Get FREE Advanced Excel Exercises with Solutions!

Very useful and nicely explained.
Thank for sharing
Prakash B Bajaj
Hello Prakash,
You are most welcome.
Regards
ExcelDemy