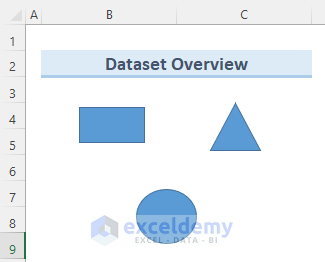
The dataset that we will use to remove the drawing tools contains various shapes as Excel objects. We put in multiple shapes to showcase each method.
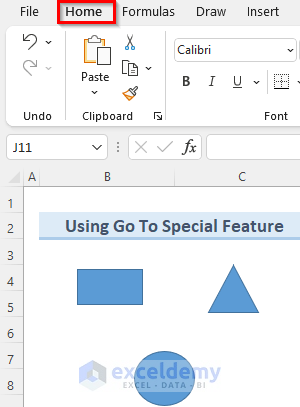
Method 1 – Using the Go To Special Feature
Steps:
- Go to the Home tab.
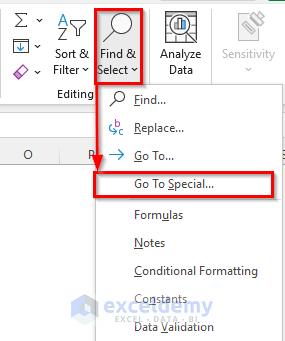
- Go to the Editing section and click on the drop-down Find & Select.
- Select Go To Special.
- In the Go To Special window, select Objects and press OK.
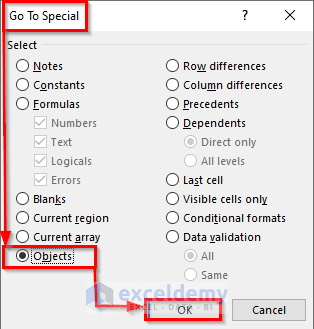
- This will find and select all the objects that are present in the current worksheet.

- Press Delete and Excel will remove all the shapes.

Read More: How to Use Drawing Tools in Excel
Method 2 – Utilizing the Selection Pane in Excel to Remove Drawing Tools
Steps:
- Go to the Page Layout tab.
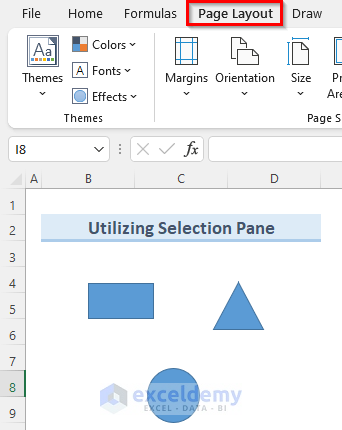
- Under the Arrange section, click on Selection Pane.

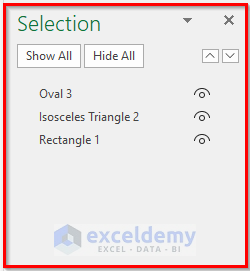
- In the Selection window, you will see the list of all available objects.
- Select any or all of them and press Delete to remove them from the worksheet.
Read More: How to Perform Drawing of Objects with VBA in Excel
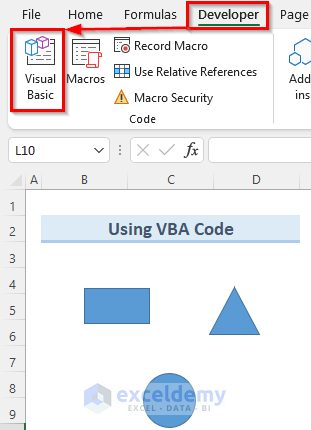
Method 3 – Remove Drawing Tools Using VBA Code in Excel
Steps:
- Go to the Developer tab and click on Visual Basic.
- In the Visual Basic window, go to Insert and click on Module.
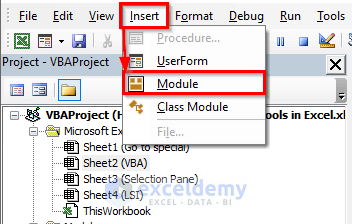
- In the new Module1 window, insert the following code:
Sub Delete_Drawing_Tools()
Dim obj As Shape
Dim wbook As Workbook
Dim wsheet As Worksheet
'Go through all worksheets
For Each wsheet In ActiveWorkbook.Worksheets
'Loop through the objects of the current worksheet
For Each obj In wsheet.Shapes
'Remove object
obj.Delete
Next obj
Next wsheet
End Sub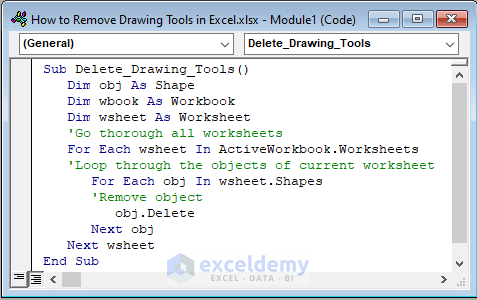
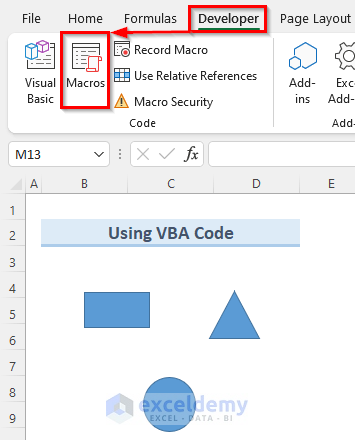
- Close the Visual Basic window and go to the Developer tab.
- Click on Macros.
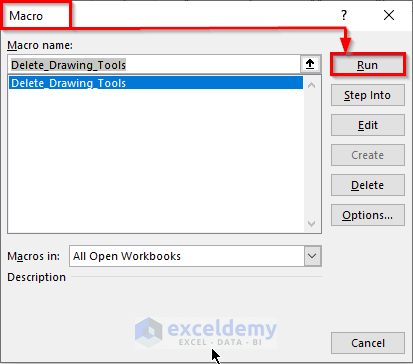
- This will open a new window of the Macro list that is available in the workbook.
- Select the macro that was just created (Delete_Drawing_Tools) and click on Run.
- This will delete all the objects from all the worksheets.
Read More: How to Create Drawing Register in Excel
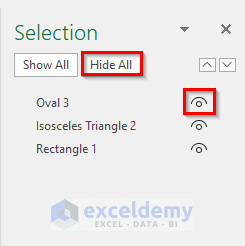
How to Hide Drawing Tools in Excel
Steps:
- Go to the Page Layout tab.
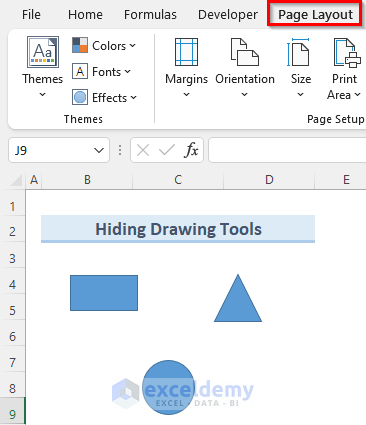
- Navigate to the Arrange section and select the Selection pane.

- In the Selection window, you should see the list of all the objects.
- Click Hide All to hide all the objects or hide an individual object by clicking on the Eye icon next to it.
Things to Remember
- The methods above can also be used to remove any text boxes.
- When you run the VBA macro, it will remove all the objects from each worksheet and not only the current sheet.
Download the Practice Workbook
Related Articles
- Drawing Decision Trees in Excel
- How to Do 3D Drawing in Excel
- How to Do Drawing in Excel Using VBA
- How to Draw Pictures in Excel
<< Go Back to Drawing in Excel | Learn Excel
Get FREE Advanced Excel Exercises with Solutions!
