Download Practice Workbook
7 Ways to Select Multiple Cells in Excel
Method 1 – Dragging Mouse to Select Multiple Cells
- Click on the first cell of the database you want to select. We have left-clicked on cell B4.
- Drag your mouse over all the cells you want to select.
- Release the mouse.
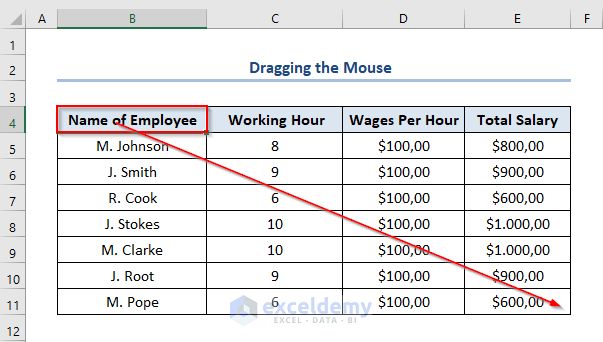
- You will see that all the cells have been highlighted in blue. This means it has been selected.

Read More: How to Select Visible Cells in Excel (5 Quick Tricks)
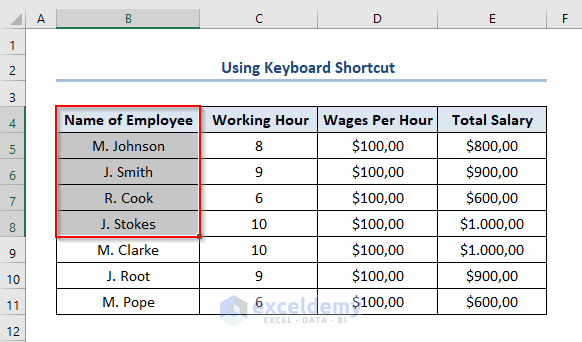
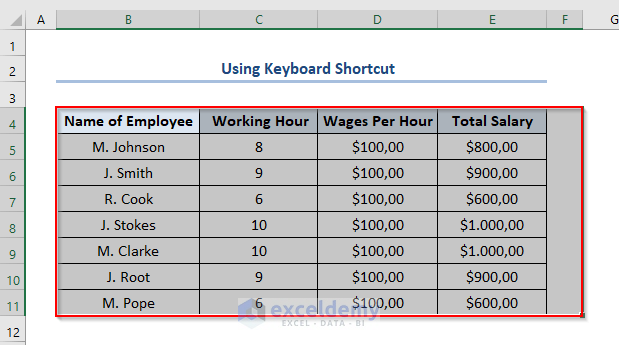
Method 2 – Using Keyboard Shortcut
2.1. Selecting Cells One by One
- Select a cell. We have selected cell B4.
- Press Shift + Down Arrow(↓) to select the cells one by one column-wise. We have selected all the cells from B4 to B8 column-wise.
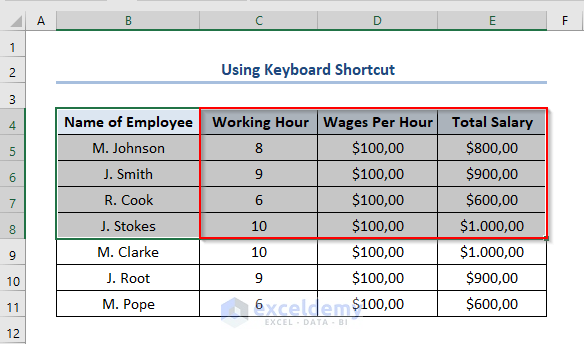
- Press SHIFT + END to select the cells one by one row-wise. We have selected all the cells from Column B to E row-wise.
2.2. Selecting Cells Together
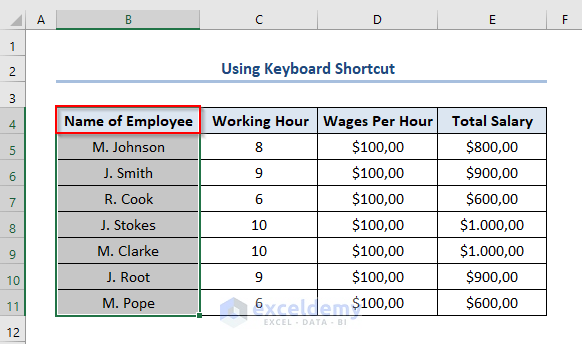
- Click on the first cell of the database you want to select. We have selected B4.
- Press CTRL + SHIFT + Down Arrow(↓). It will select all the cells column-wise until there is a blank cell. All the cells from B4 to B11 have been selected.
- Press CTRL + SHIFT + END. It will select all the cells row-wise until there is a blank cell in any row. We have selected Columns B to F.
Note: This method cannot be used to select non-adjacent cells. It works only for selecting adjacent cells.
Read More: How Do I Quickly Select Thousands of Rows in Excel (2 Ways)
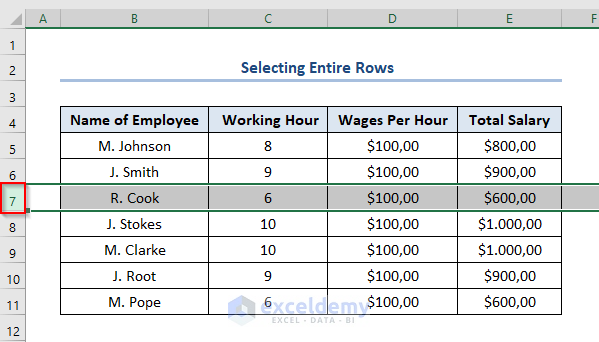
Method 3 – Selecting Entire Rows
- Left-click on the number of the Row you want to select. All the cells in that Row will be selected. We have selected Row 7.
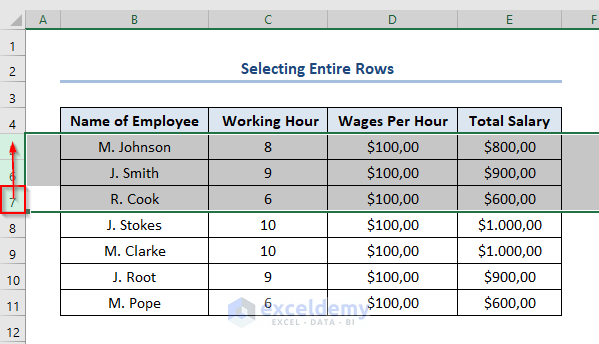
- You can also just drag your mouse and select adjacent Rows. We have selected Rows 5, 6, and 7
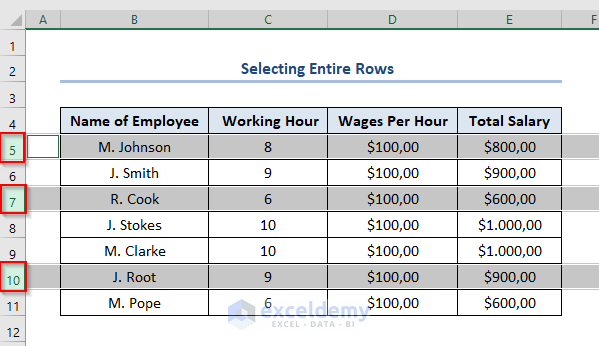
To select non-adjacent rows,
- Hold the CTRL key on your keyboard.
- Click on the number of Rows. We have selected Rows 5, 7, and 10.
Read More: How to Select Row in Excel If Cell Contains Specific Data (4 Ways)
Similar Readings
- Select All Rows in Excel (6 Easy Ways)
- How to Press Enter in Excel Without Changing Cells (2 Easy Ways)
- Lock a Group of Cells in Excel (7 Different Methods)
- How to Group Cells in Excel (6 Different Ways)
- Select Only Filtered Cells in Excel Formula (5 Quick Ways)
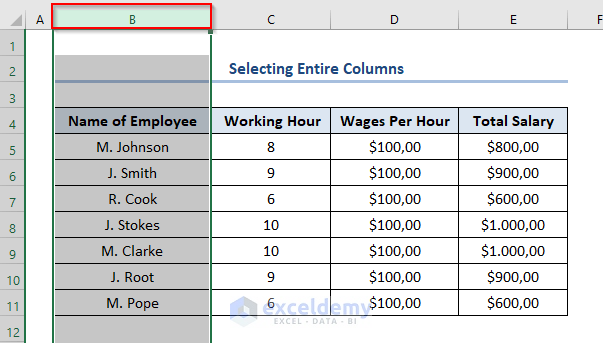
Method 4 – Selecting Entire Columns
- Left-click on the number of Columns you want to select. We have selected the entire Column B.
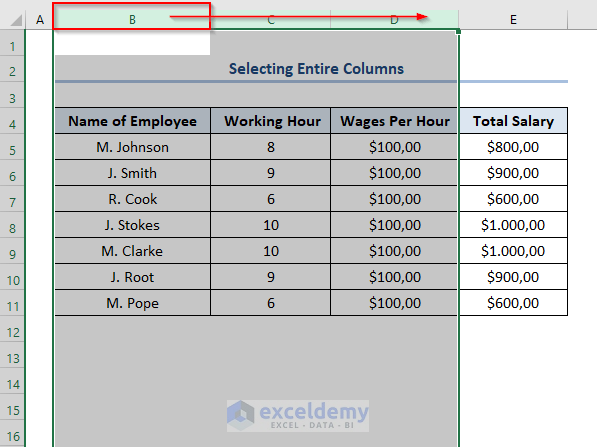
- Drag your mouse and select adjacent Columns. We have selected Columns B, C and D.
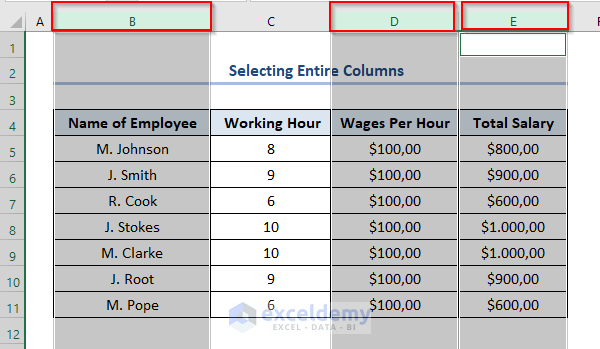
To select non-adjacent Columns,
- Hold the CTRL key on your keyboard and click on the number of Columns. We selected Columns B, D, and E.
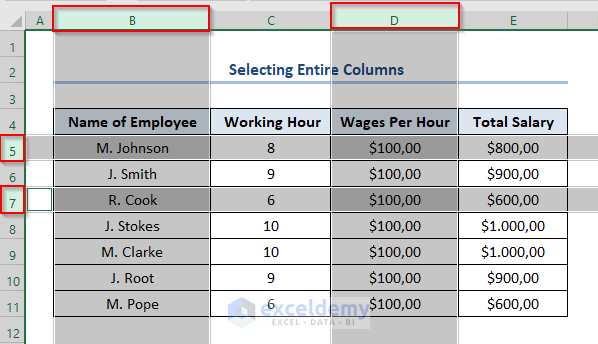
To select specific Columns and Rows together,
- Hold the CTRL key on your keyboard and click on the number of Rows and Columns. We selected Columns B and D with Rows 5 and 7.
Read More: How to Select Column to End of Data in Excel (3 Easy Methods)
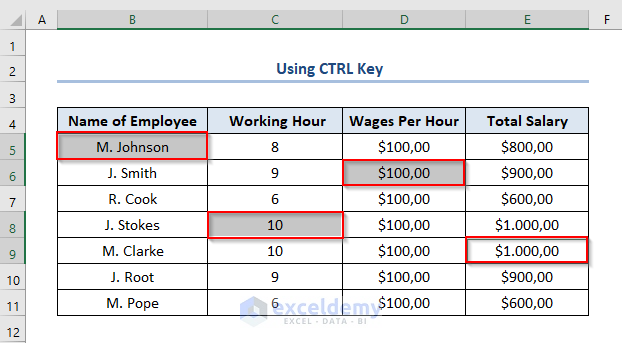
Method 5 – Using CTRL Key to Select Multiple Cells
- Hold the CTRL key.
Click on the cells you want to select. We have selected B5, C8, D6, E9.
Read More: [Solved!] CTRL+END Shortcut Key Goes Too Far in Excel (6 Fixes)
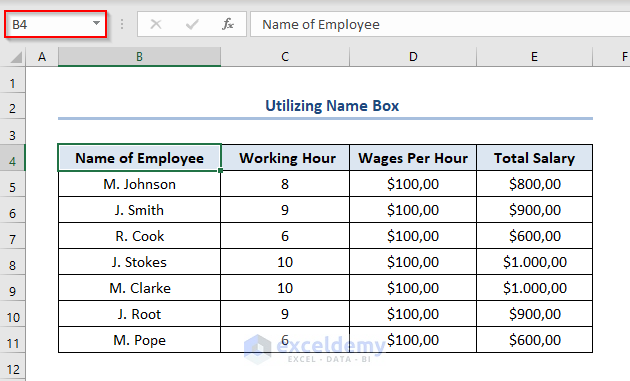
Method 6 – Select Multiple Cells Not Next to Each Other Utilizing Name Box
Name Box is the box located on the topmost left side of the Excel Sheet, right in front of the Formula Bar like the picture below.
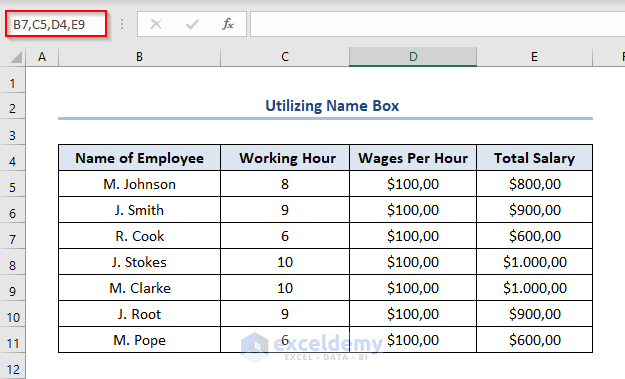
- Enter the references of the cells you want to select in the Name Box. Differentiate by using commas(,). The cells will be selected. You can select both adjacent and non-adjacent cells. We have selected B7, C5, A7, D4, and E9.
- Click ENTER to get the output.
Read More: Select All Cells with Data in a Column in Excel (5 Methods + Shortcuts)
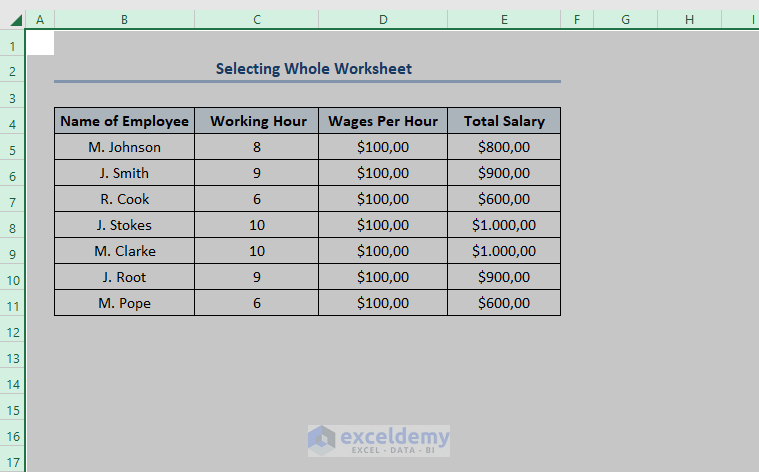
Method 7 – Selecting Whole Worksheet
You can select the entire worksheet. Left-click on the small triangle in the topmost left corner of the worksheet.
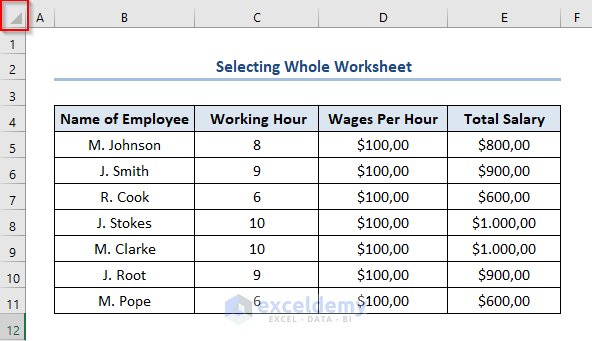
The whole worksheet will be selected.
Related Articles
- Data clean-up techniques in Excel: Filling Blank Cell
- What is Cell in Excel Definition?
- Selecting Data in Different Columns for an Excel Chart
- Select Highlighted Cells in Excel (4 Easy Techniques)
- How To Select All Rows to Below in Excel (3 Easy Methods)
- What is an Active Cell in Excel?
- How to Go to Last Non Empty Cell in Column in Excel

