This is an overview.

Download Practice Workbook
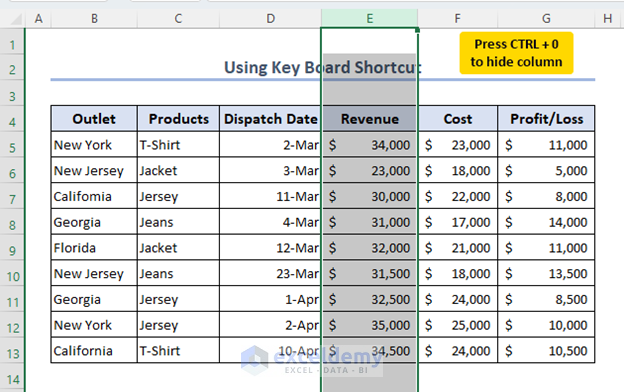
Method 1 – Using the Keyboard Shortcut to Hide Cells Across Columns
- Select the entire column by clicking the Column Bar.
- Press CTRL + 0 (Zero) to hide the column.
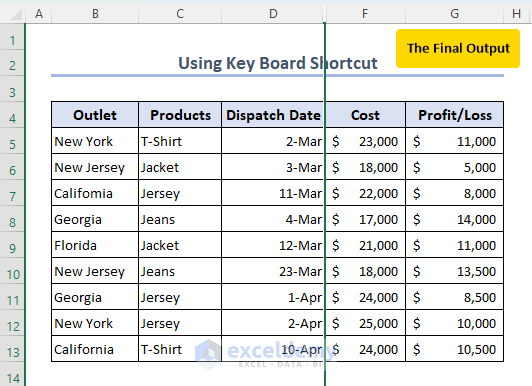
This is the output.
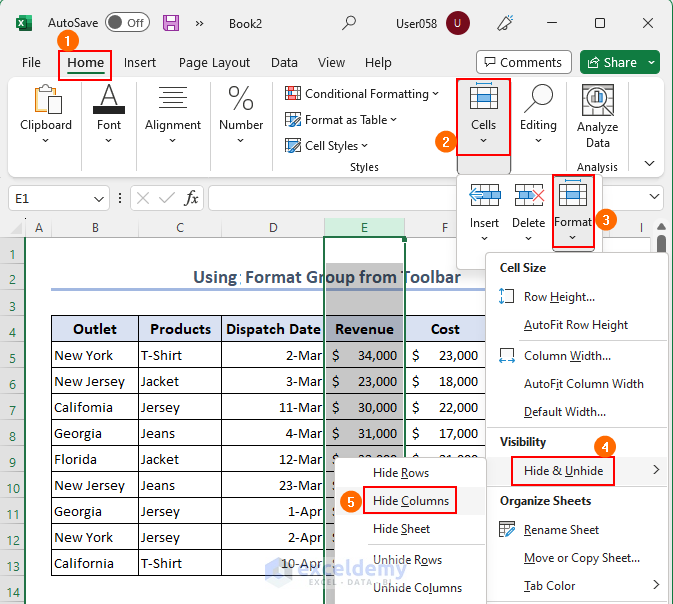
Method 2 – Using the Format Group to Hide Cells Across Columns
- Select the entire column by clicking Column Bar.
- Click Home >> Cells >> Format >> Hide & Unhide >> Hide Columns.
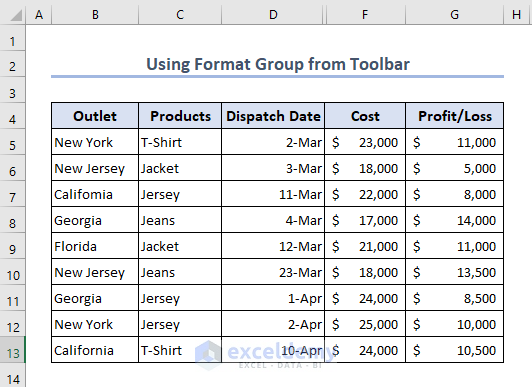
 This is the output.
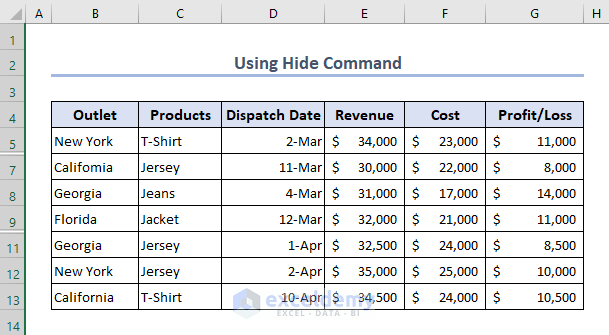
Method 3 – Hiding Columns Using the Hide Command
- Select Hide.
This is the output.
How to Hide Cells in Rows in Excel? -3 Easy Methods
Overview:
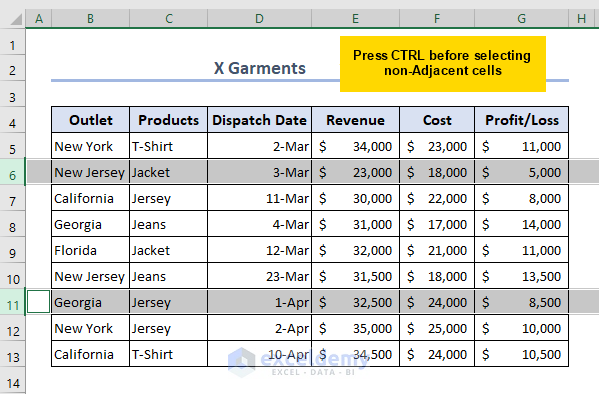
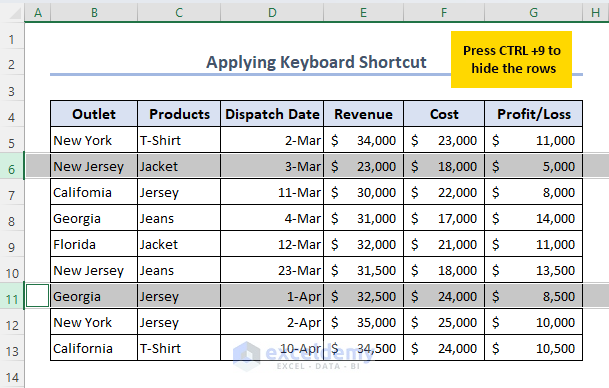
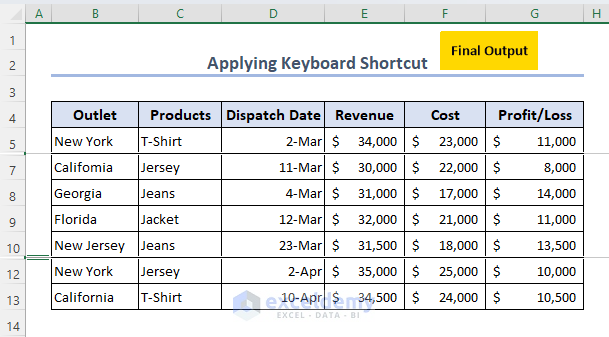
Method 1 – Hiding Cells by Applying the Keyboard Shortcut
- Press CTRL+9 to hide the rows.
This is the output.
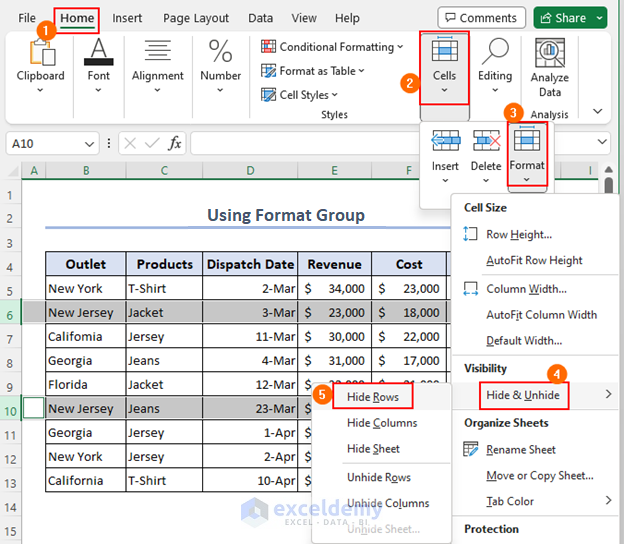
Method 2. Using the Format Group to Hide Cells in Rows
- Select the cells and click Home >> Cells >> Format >> Hide & Unhide >> Hide Rows.
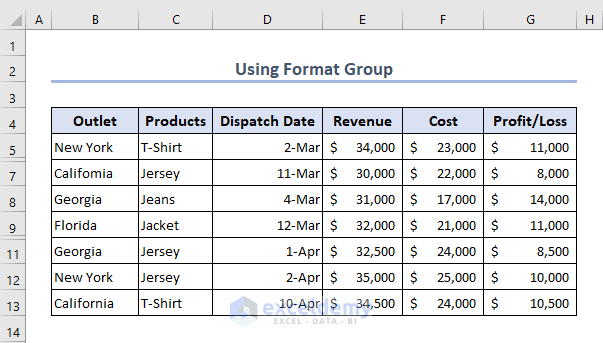
This is the output.
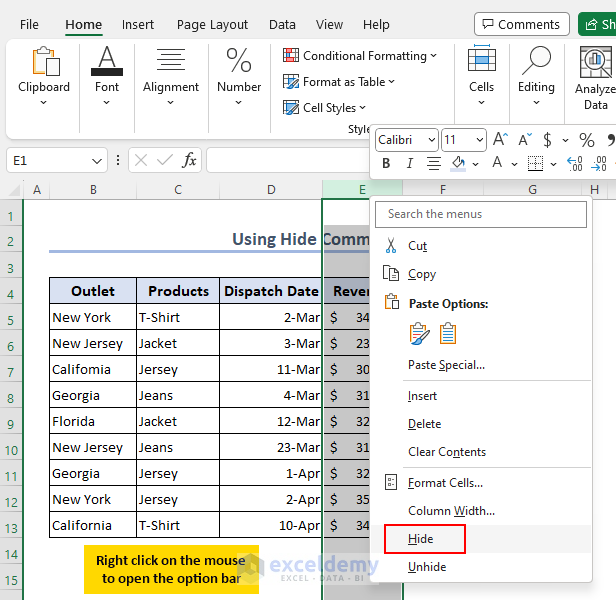
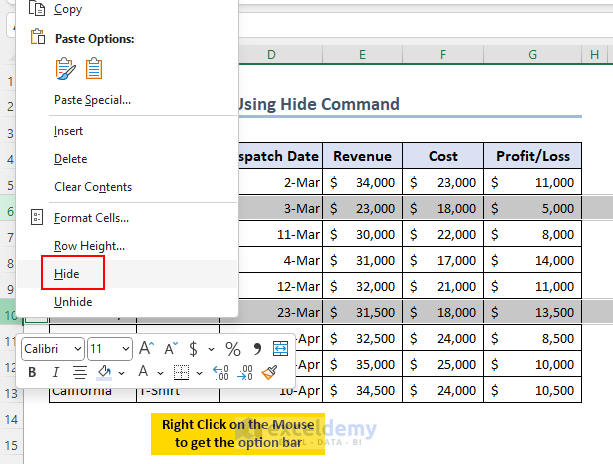
Method 3 – Hiding Cells Using the Hide Command
- Select the cells >> Right-click to open the Context Menu >> select Hide.
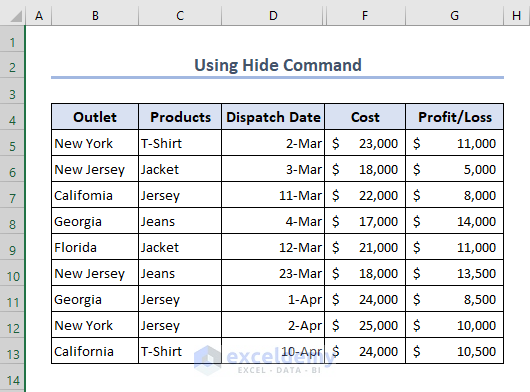
This is the output.
How to Hide Cell Values in Excel?
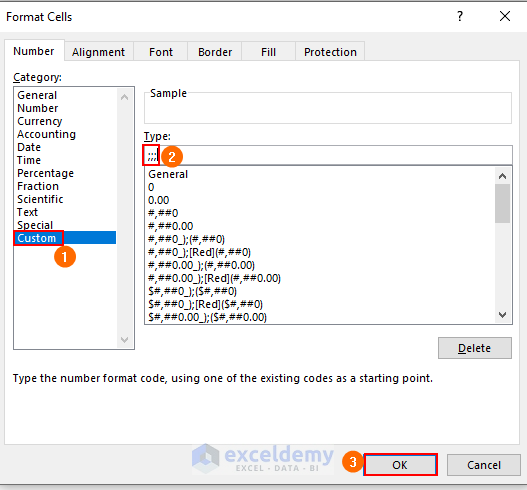
- Select the cells and go to the Home tab >> Number >> Dialog Box Launcher.
- In the Format Cells dialog box, select Custom in Category.
- Enter (;;;) in Type
- Click OK.
This is the output..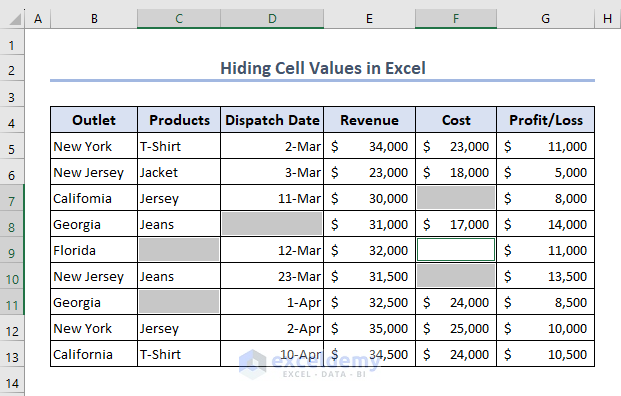
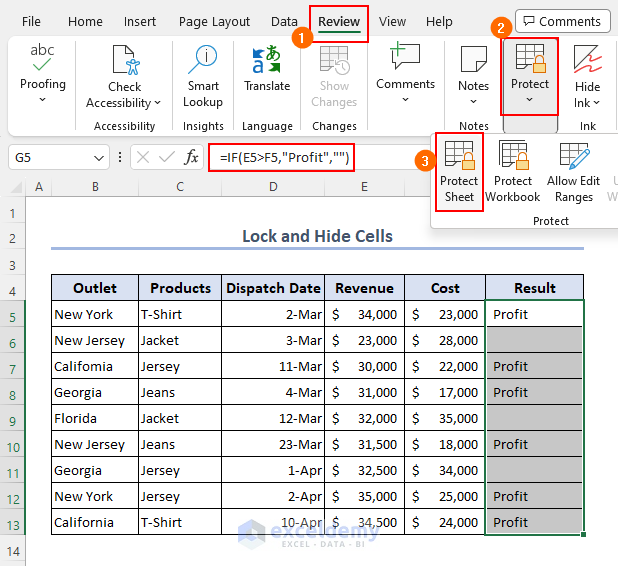
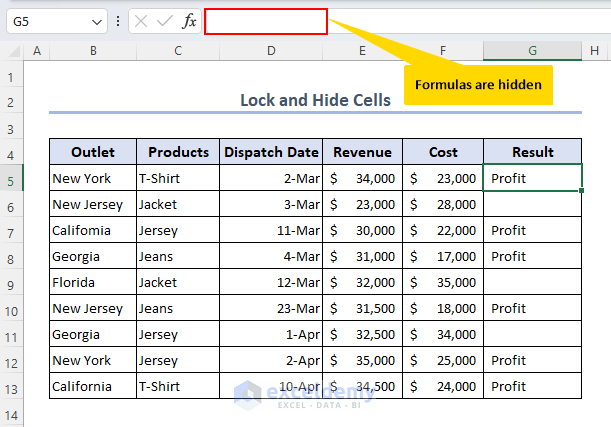
How to Lock and Hide Cells in Excel?
- Select G5:G13, and right-click.
- In the Format Cells dialog box, select Cell Format >> Protection >> Locked and Hidden.
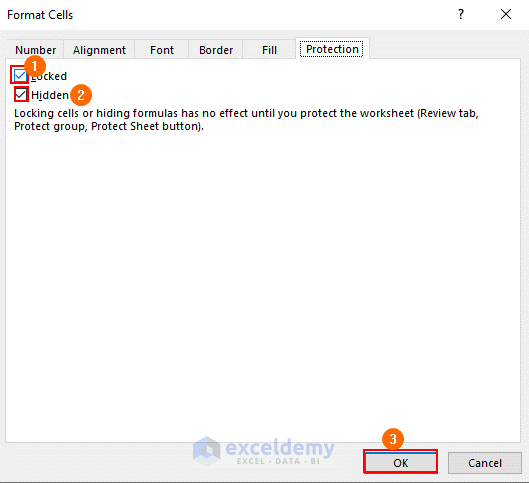
- This option will lock the sheet.
- Click Review >> Protect >> Protect Sheet
This is the output.
How to Hide an Entire Group in Excel – 2 Methods
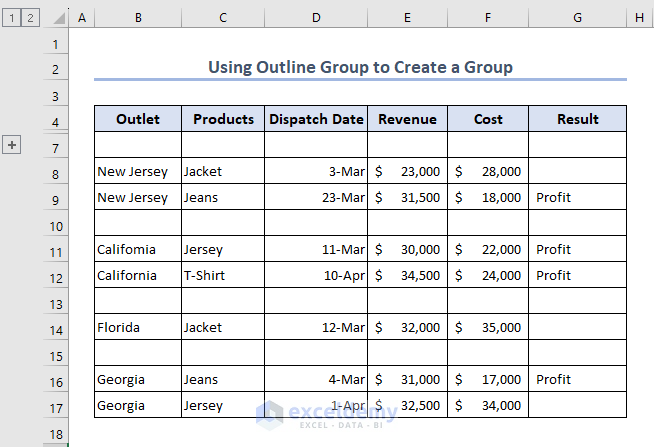
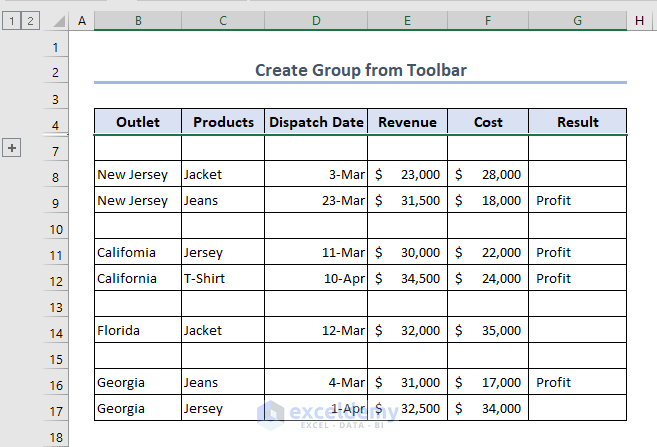
Method 1 – Using the Outline Group to Create a Group
- To create a group, select the cells and click Data >> Outline >> Group.
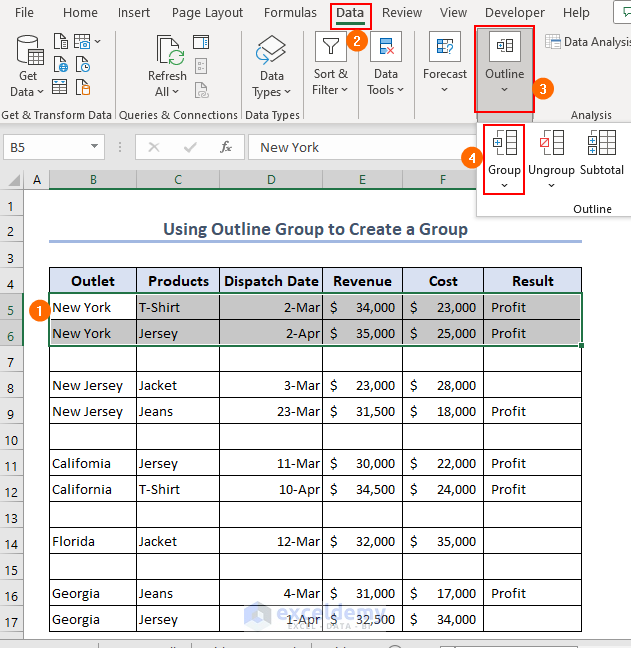
- Click the (-) sign to hide the group.

This is the output.
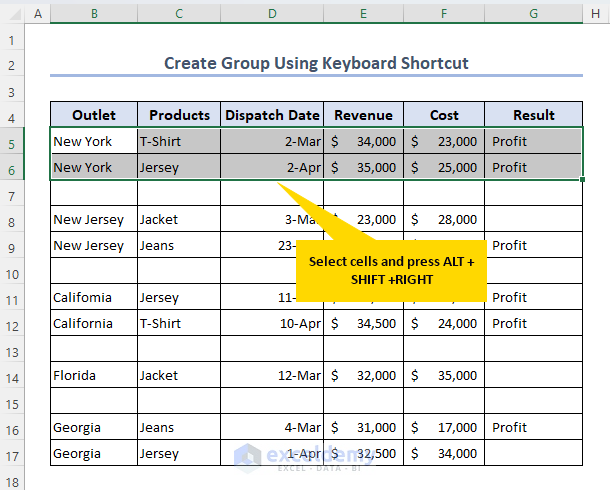
Method 2 – Using the Keyboard Shortcut to Create a Group
- Press ALT + SHIFT +RIGHT after selecting the cells.
This is the output.
Things to Remember
- You cannot hide a cell if the column or the row is merged.
- Check cell references before hiding them.
- Hidden data will be shown in the printed hard copy.
Frequently Asked Questions
Q1: Can hidden cells still be used in formulas?
Ans: Yes.The formula will work but the values will be hidden.
Q2: How do I unhide cells in Excel?
Ans: Select cells and click Home >> Cells >> Format >> Hide and Unhide >> Unhide Rows/Columns.
Hide Cells in Excel: Knowledge Hub
<< Go Back to Excel Cells | Learn Excel
Get FREE Advanced Excel Exercises with Solutions!
