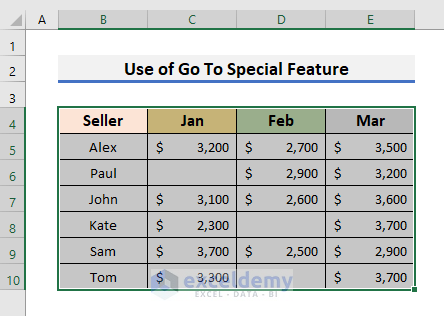
We will use a dataset containing information about some sellers’ sales amounts. The dataset has some blank cells. As we can’t hide the blank cells individually, we will try to hide the row or column that contains them.
![]()
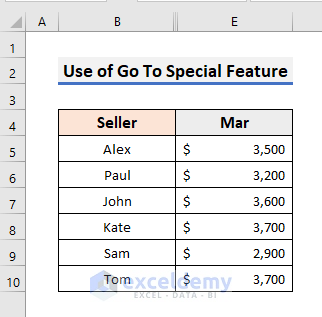
Method 1 – Using the ‘Go To Special’ Feature
STEPS:
- Select any cell in your dataset and press Ctrl + A to select all used cells.
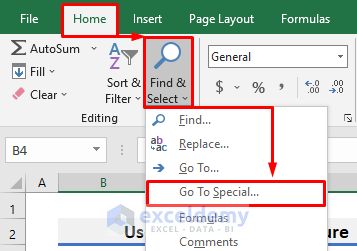
- Go to the Home tab and click on Find & Select. A drop-down menu will appear.
- Select Go To Special from there. It will open the Go To Special window.
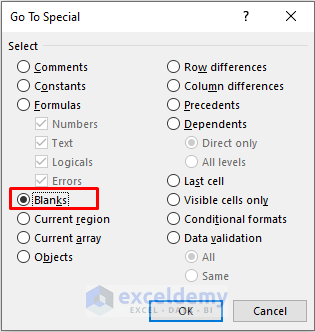
- Select Blanks and click OK to proceed.
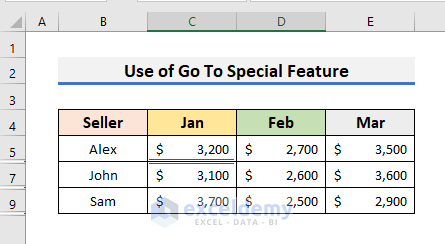
- Press Ctrl + 9 to hide Rows 6, 8, and 10.
- To hide columns that contain blank cells, press Ctrl + 0.
Read More: How to Hide Extra Cells in Excel
Method 2 – Using the Excel Hide Option
STEPS:
- Select Column F.
- Press Ctrl + Shift + Right Arrow to select all the columns from Column F.
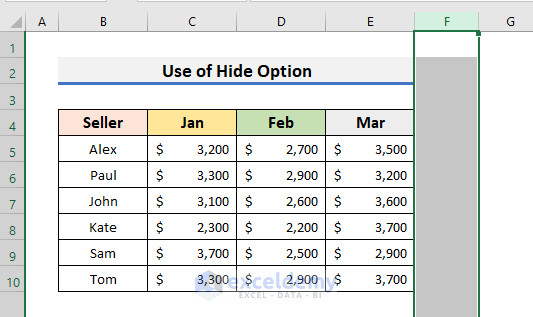
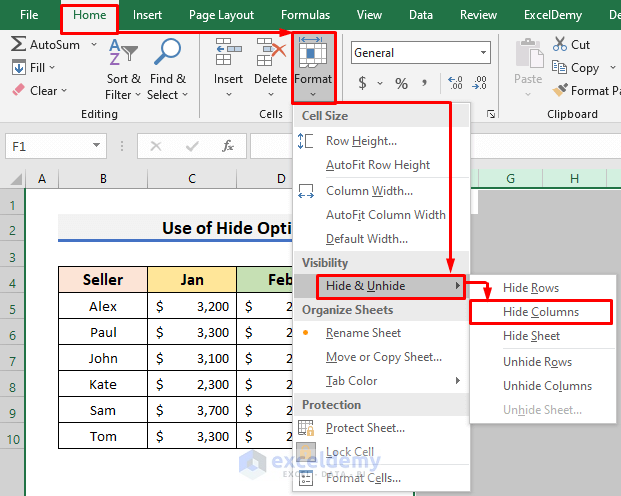
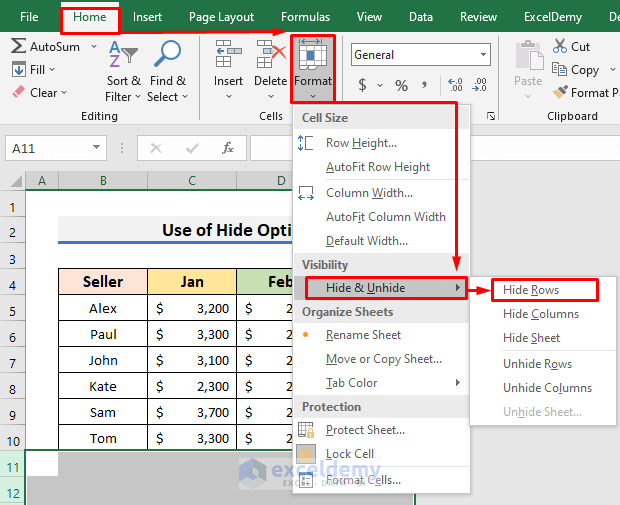
- Go to the Home tab and click on the Format option. A drop-down menu will appear.
- Select Hide & Unhide and select Hide Columns.
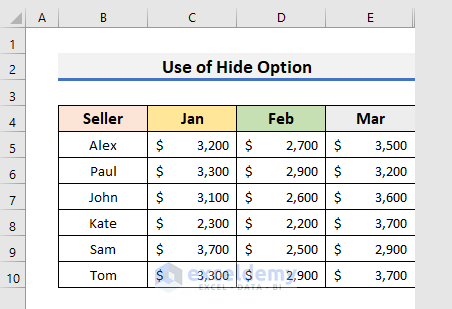
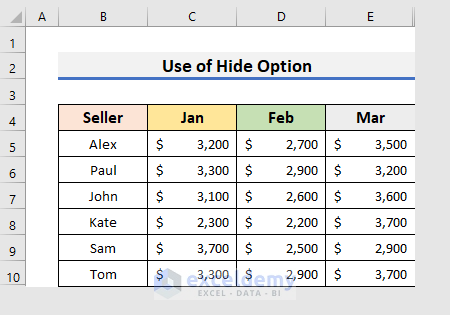
- After hiding columns, the dataset will look like the picture below.
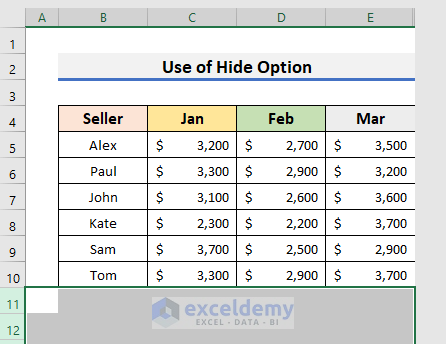
- Select Row 11.
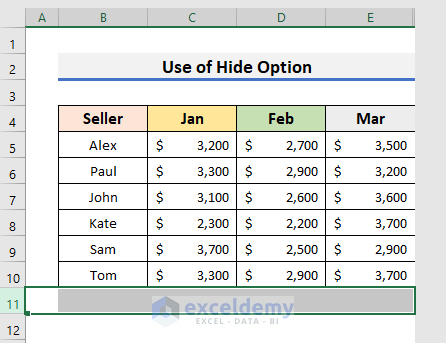
- Press Ctrl + Shift + Down Arrow to select all the rows from Row 11.
- Go to the Home tab and select Format. A drop-down menu will appear.
- Select Hide & Unhide and select Hide Rows.
- You can remove the unused cells except for the range A1:E10.
Read More: How to Hide Confidential Data in Excel
Method 3 – Inserting a Filter to Hide Blank Cells
STEPS:
- Select cell E5 and enter the formula below:
=COUNTA(B5:D5)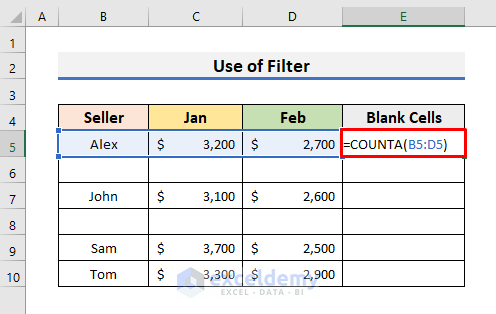
This formula counts the number of non-empty cells in the range B5:E5.
- Press Enter and drag the Fill Handle down.
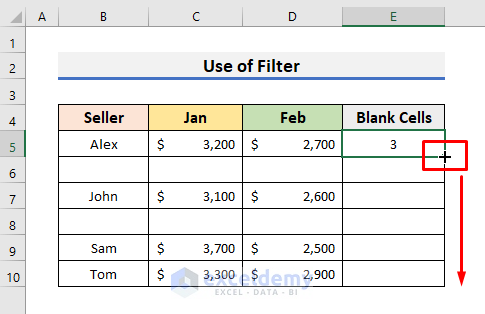
- After dragging the Fill Handle down, the dataset will look like the picture below. You can see Rows 6 and 8 contain 0 non-empty cells.

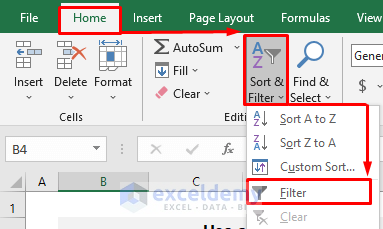
- Go to the Home tab and select Sort & Filter. A drop-down menu will appear.
- Select Filter.
- You will see filters in the headers of the dataset.
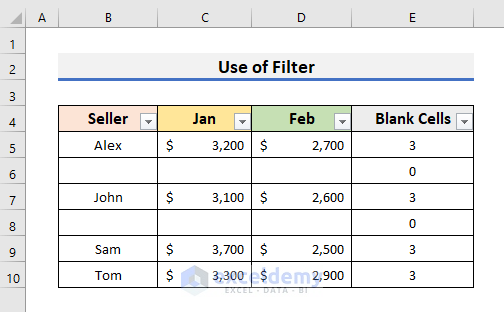
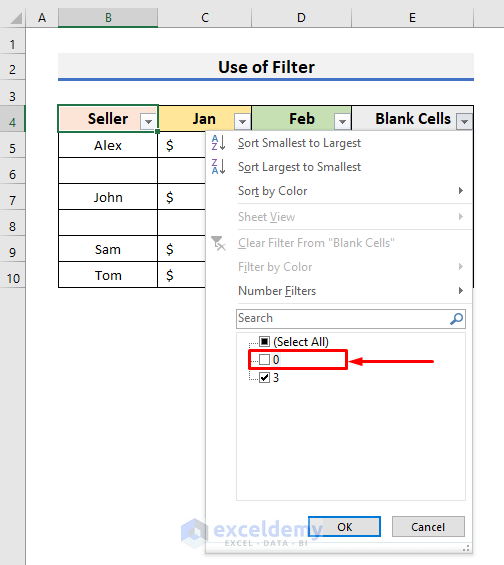
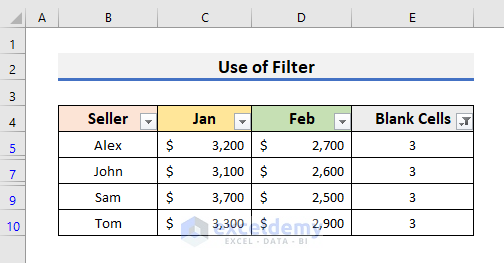
- Click on the drop-down arrow of Blank Cells to open the menu and uncheck 0.
- Click OK to proceed.
- You will see Rows 6 and 8 are hidden.
Method 4 – Using the Context Menu
STEPS:
- Select Row 6.
- Right-click on the row number to open the Context Menu.
- Select Hide.
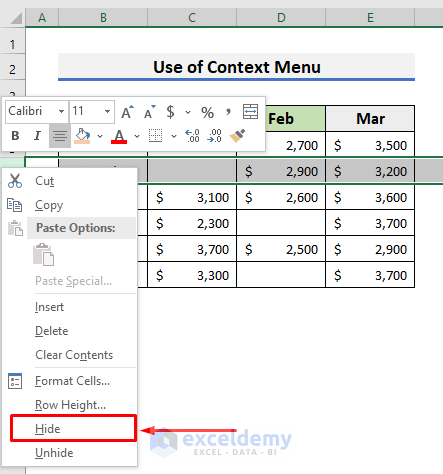
- Row 6 will be hidden.
![]()
- You can repeat the above steps to hide Rows 8 and 10.
![]()
- Right-click on the column number to open the Context Menu.
- Select Hide from there.
![]()
- You can also hide Column C.
![]()
Method 5 – Applying Excel VBA
STEPS:
- Right-click on the name of the sheet to open the Context Menu.
- Select View Code. It will open the Code window.
![]()
- In the Code window, enter the VBA code below:
Private Sub Worksheet_Change(ByVal Target As Range)
    Dim val As Range
    Application.ScreenUpdating = False
        For Each val In ActiveSheet.UsedRange
            If val.Value = "" Then
                val.EntireRow.Hidden = True
            End If
        Next val
    Application.ScreenUpdating = True
End Sub![]()
If we insert a blank cell, the entire row containing the blank cell will be hidden. For example, if we make cell C7 blank, the VBA code will hide the entire Row 7.
- Press Ctrl + S to save the code.
- Remove cell contents from cell C7.
![]()
- Press Enter to see results like the picture below.
![]()
Note: If you run the VBA code, you can’t undo the changes. That is why you should also know how to unhide cells in Excel.
Download the Practice Book
You can download the practice book from here.
Related Article
- Hide Data in Excel
- How to Hide Highlighted Cells in Excel
- How to Hide Cells in Excel Until Data Entered
- How to Hide Part of Text in Excel Cells
<< Go Back to Hide Cells | Excel Cells | Learn Excel
Get FREE Advanced Excel Exercises with Solutions!
