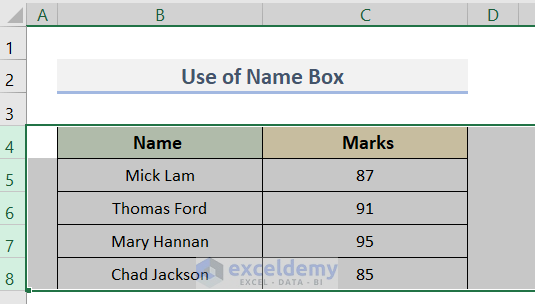
Below, we have used an Excel dataset containing the Names and Marks of some students. In the methods below, we will see how to select all the rows of an Excel worksheet.
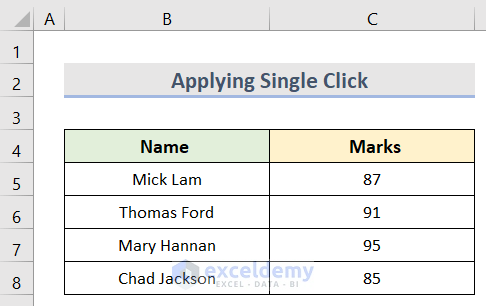
Method 1 – Using a Single Click
Steps:
- Open the Excel worksheet where you wish to select all the rows.
- Click on the inverted triangle located in the upper left corner of the worksheet.
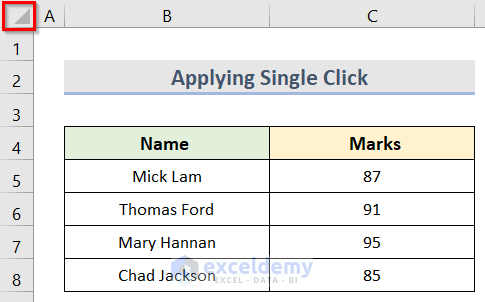
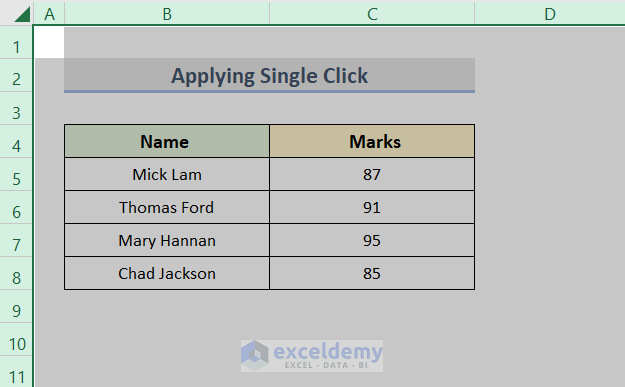
- Select all the rows in the entire worksheet.
This process does not allow you to select any chart or shape. The final result is shown in the screenshot below.
Method 2 – Using a Keyboard Shortcut
2.1 Rows in a Worksheet
Steps:
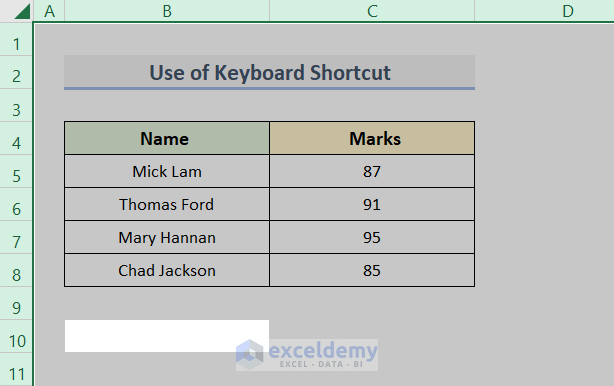
- If the worksheet contains any table, then select a blank cell outside the table. For example, we have selected cell B10.
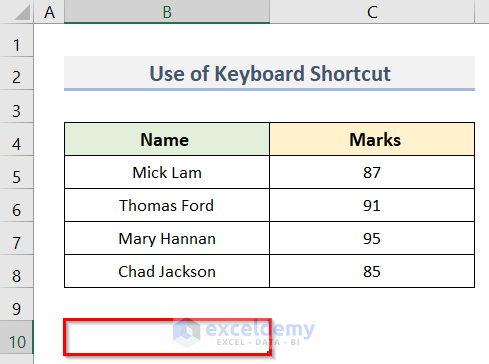
- Apply the keyboard shortcut: Ctrl + A
All the rows of the worksheet will be selected.
2.2 All Table Rows
Steps:
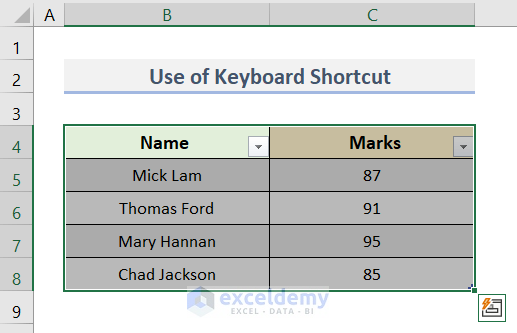
- Select any cell inside the table. In our case, we have selected cell B4.
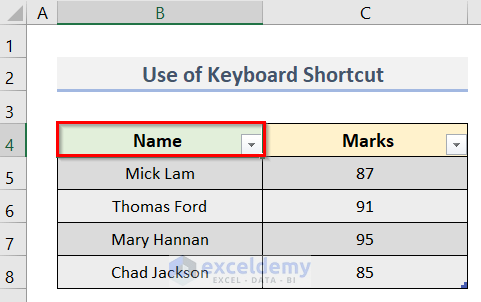
- Apply the keyboard shortcut: Ctrl + A
- We can select all the rows of an entire Excel table.
Read More: How Do I Quickly Select Thousands of Rows in Excel
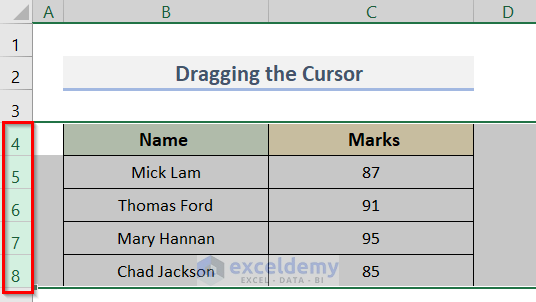
Method 3 – Dragging the Cursor
Steps:
- Select the first row in the worksheet (i.e., row 4).
- Clicking on the row number will select the entire row.
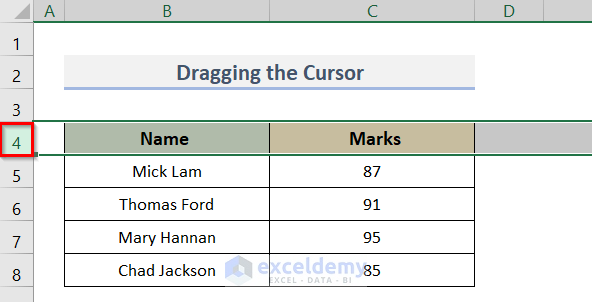
- Drag the mouse over the row numbers you wish to select. In our case, we have dragged the mouse up to row 8.
- After dragging the mouse over all of the rows, release it.
- All the rows dragged over by the mouse are highlighted in gray, which means they are selected.
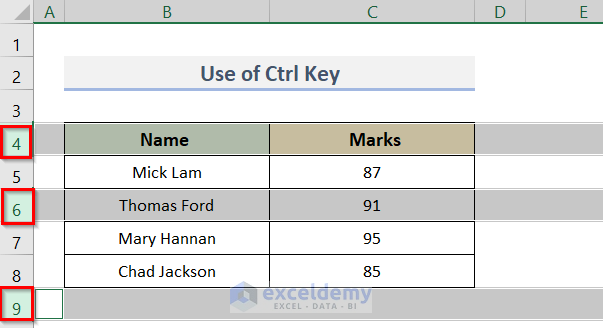
Method 4 – Using the Ctrl Key
Steps:
- Press the Ctrl key.
- Click on the row numbers that you want to select. We have selected rows 4, 6 and 9.
- Select those entire rows.
Method 5 – Using the Excel Name Box
Steps:
- The Name Box is positioned at the top left corner of an Excel worksheet.
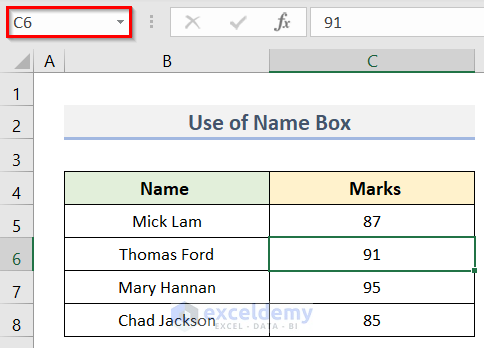
- Select the row numbers by dragging the mouse. For example, we have selected rows 4 to 8.
- Go to the Name Box and enter a name for the selected rows.
- You can not use any space while entering the name. In our case, we have typed NameBox.
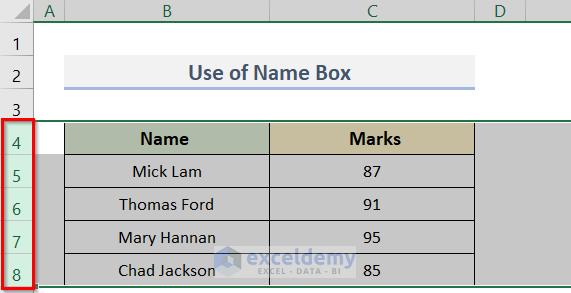
- Press the Enter key.
- As a result, the NameBox will be added as a reference to the selected rows.
- To select the rows, go to the Name Box.
- Click on NameBox from the dropdown.
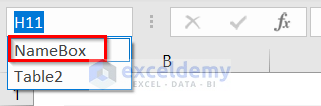
- As a result, all the rows will be selected at once.
Method 6 – Double Clicking
Steps:
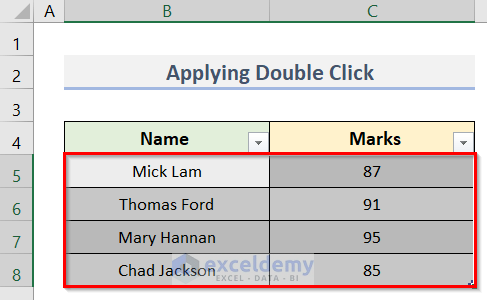
- Keep your cursor at the upper-left corner of the table.
- You can see a selection arrow just like the screenshot below.
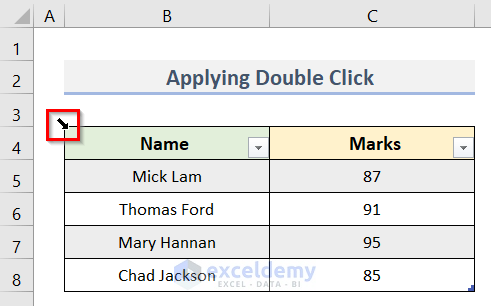
- Clicking once on the mouse, select the table except the table headers.
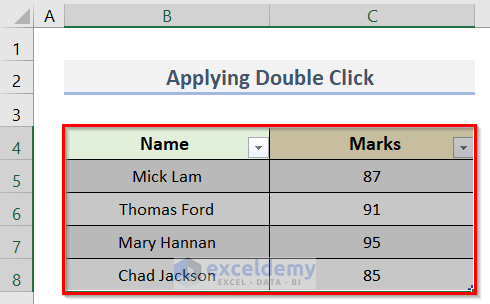
- If you click on the mouse again, you can select the entire table, including the table headers.
Download the Practice Workbook
Download the practice workbook from here.
Related Articles
- How To Select All Rows to Below in Excel
- How to Select Row in Excel If Cell Contains Specific Data
- How to Select Every Other Row in Excel
<< Go Back to Select Row | Rows in Excel | Learn Excel
Get FREE Advanced Excel Exercises with Solutions!
