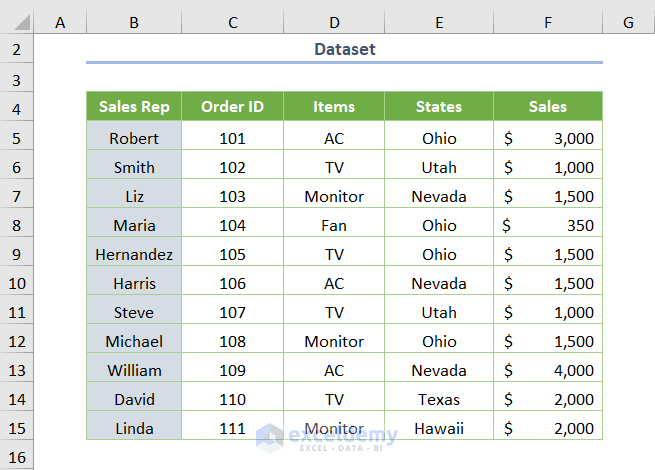
This is the sample dataset.
Method 1 – Using the Format Cells Option
Step 1 – Removing the Default “Locked” Option
- Place the cursor in the dataset.
- Select the dataset by pressing Ctrl + A.
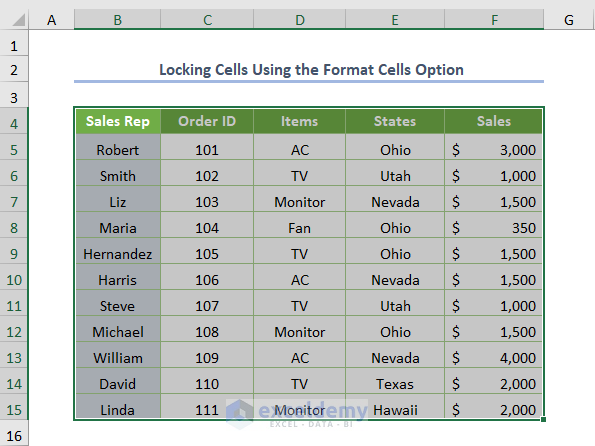
- Right-click and choose Format Cells or press Ctrl + 1.
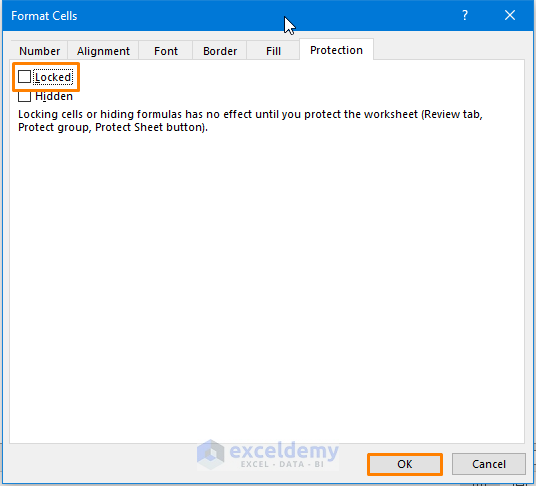
- Uncheck Locked.
- Click OK.
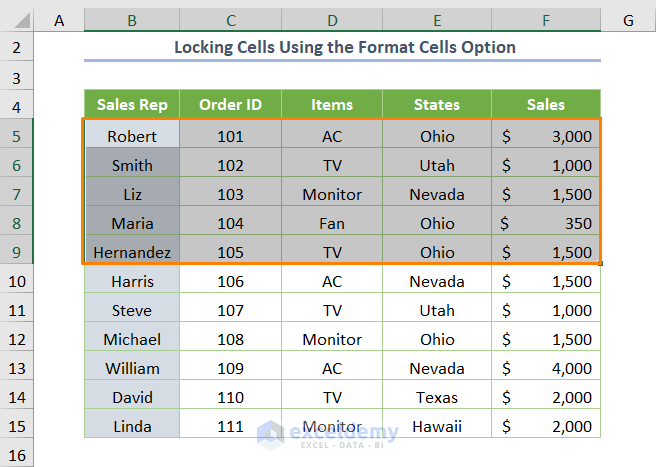
Step 2 – Locking Specific Multiple Cells
- Select a cell range to lock (here, B5:F9).
- Right-click and choose Format Cells or press Ctrl + 1.
- Check Locked.
- Click OK.

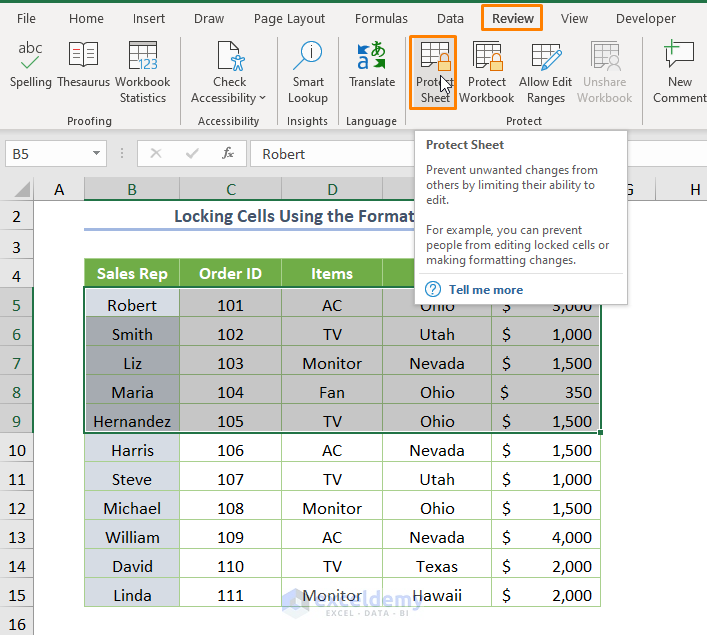
Step 3 – Activate the Sheet Protection
- Go to the Review tab.
- Click Protect Sheet in Protect.
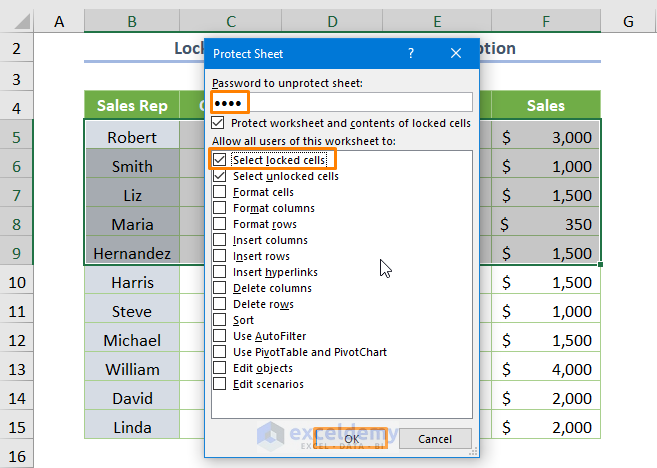
- Enter a password and click OK.
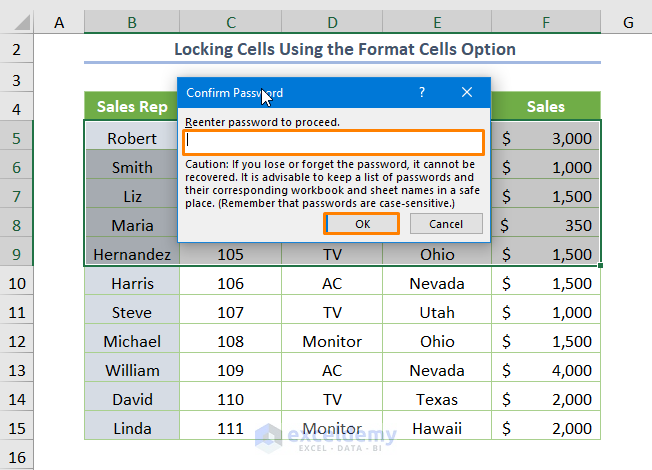
- Reenter the password.
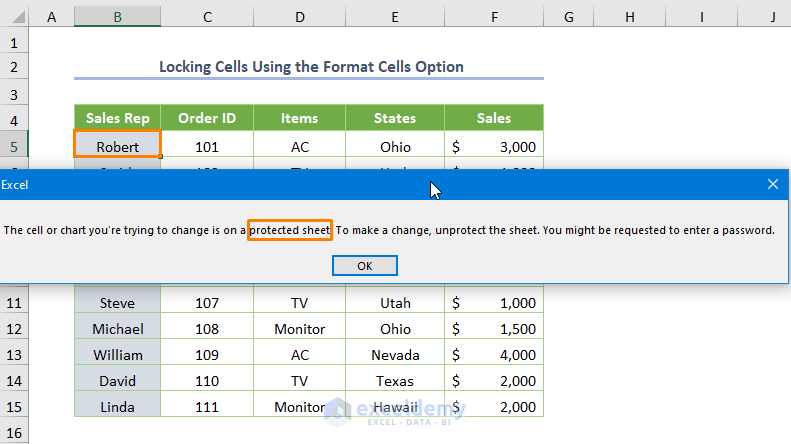
The selected cells are locked and protected.
If you click B5, an error message is displayed.
Read More: How to Protect Excel Cells with Formulas
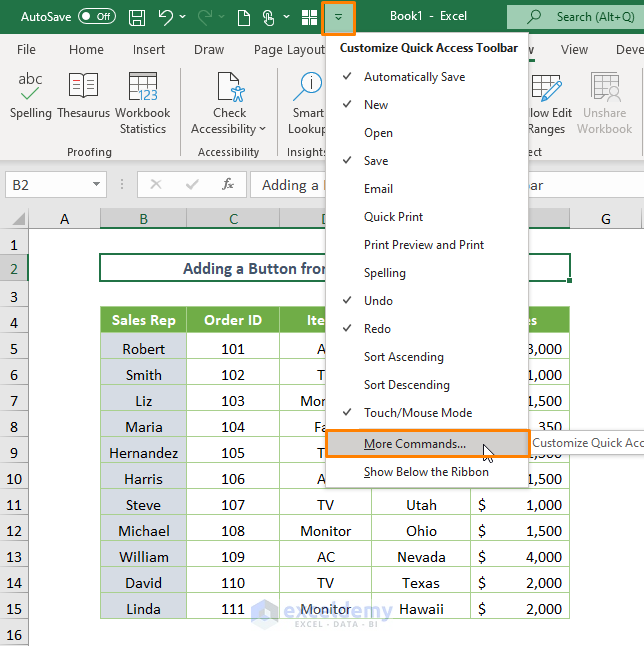
Method 2 – Adding a Button from the Quick Access Toolbar
- Click Customize Quick Access Toolbar and choose More Commands.
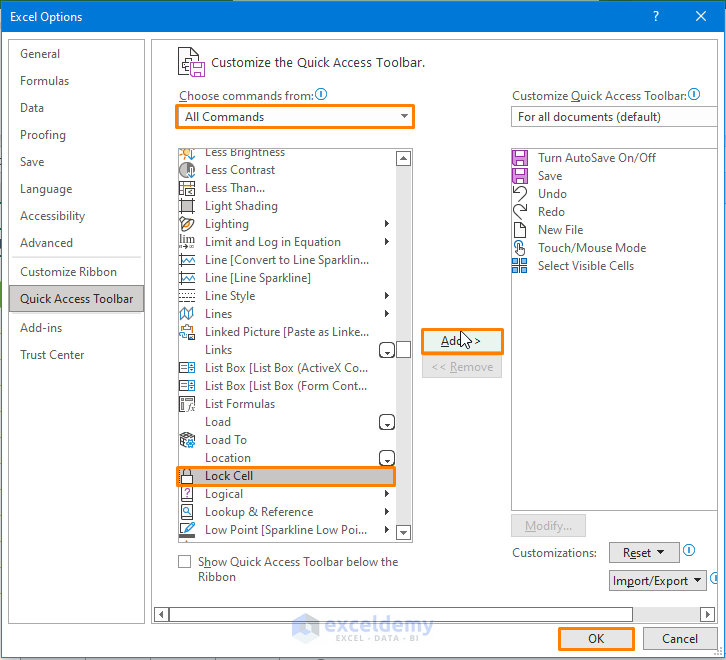
- Choose All Commands in Choose commands from.
- Select Lock Cell and click Add.
- Click OK.
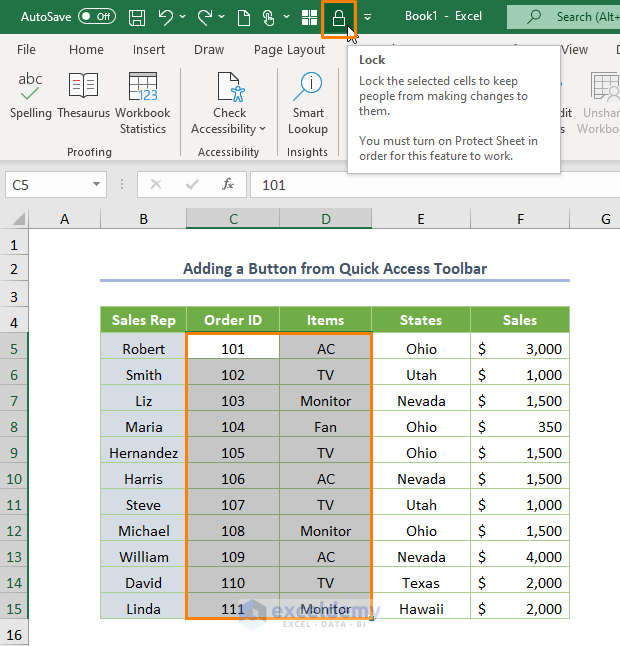
The Lock Cell icon is displayed.
- Remove the default “locked” option and select C5:D15.
- Click Lock Cell in the Quick Access Toolbar.
The selected cells are locked. Follow step 3 in Method 1 to protect the sheet.
Read More: How to Protect Excel Cells with Password
Method 3 – Locking Cells containing Formulas
- Go to the Home tab.
- Select Go To Special in Find & Select.
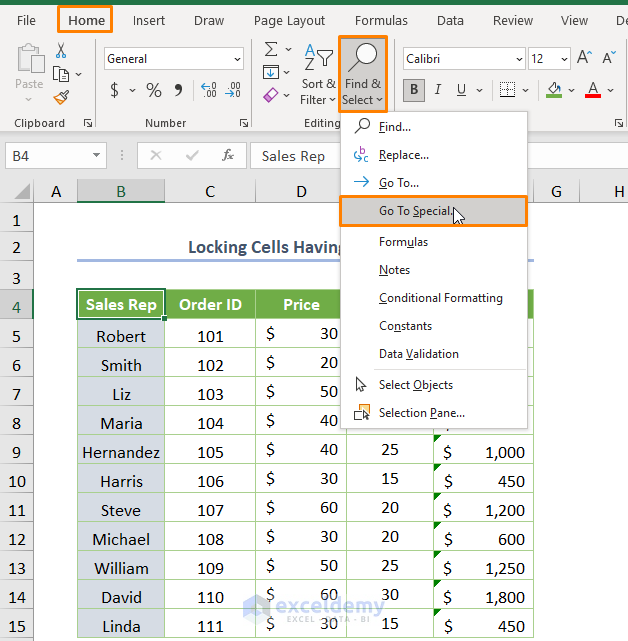
- Select Formulas and click OK.
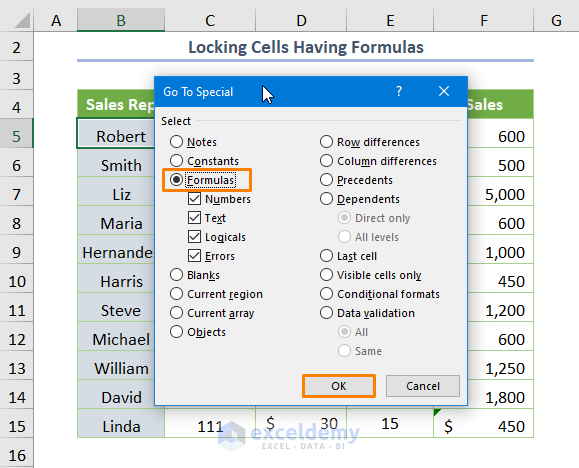
You will see cells containing formulas: F5:F15.
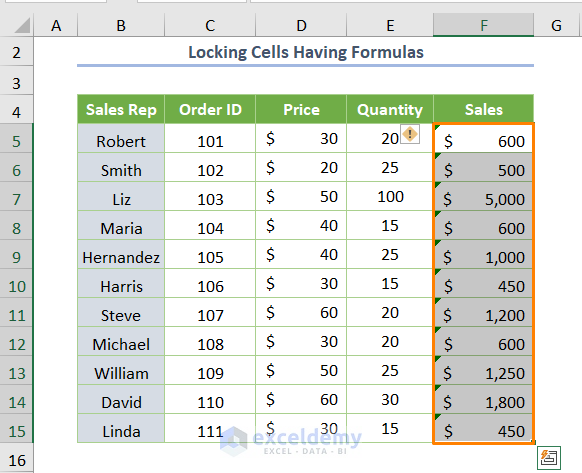
Follow the steps described in the previous Methods to lock the cells and protect the sheet.
Method 4 – Using a VBA Code
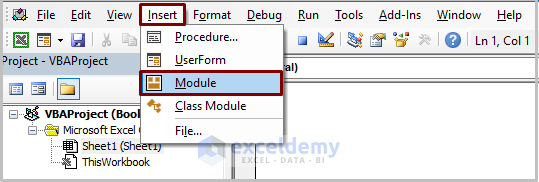
- Go to the Developer tab > Visual Basic.

- Select Insert > Module.
Copy the following code into the module.
Sub Locking_Protecting_MultipleCells()
Dim LPassword As String
Range("B5:F8").Select
Selection.Locked = True
LPassword = InputBox("Enter the Password to Protect")
ActiveSheet.Protect Password:=LPassword
End Sub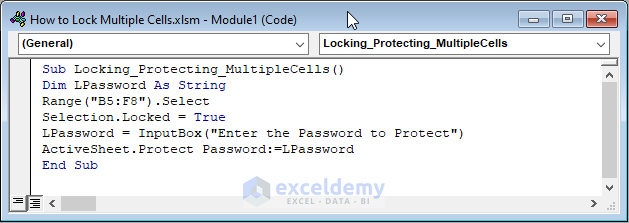
LPassword is declared as String. Cells are selected using the Range.Select method. The Locked property is set as True to lock the cell range. An InputBox is assigned to enter a password. The Protect Password method protects the active sheet.
- Press F5 or Fn + F5 to run the code.
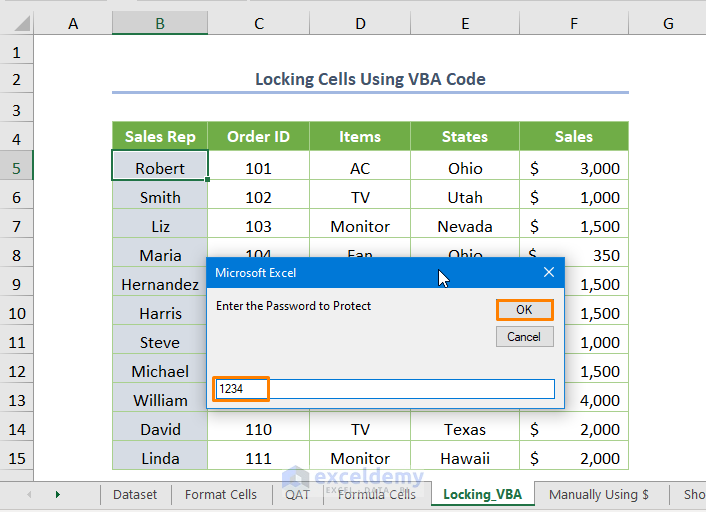
- Enter the password.
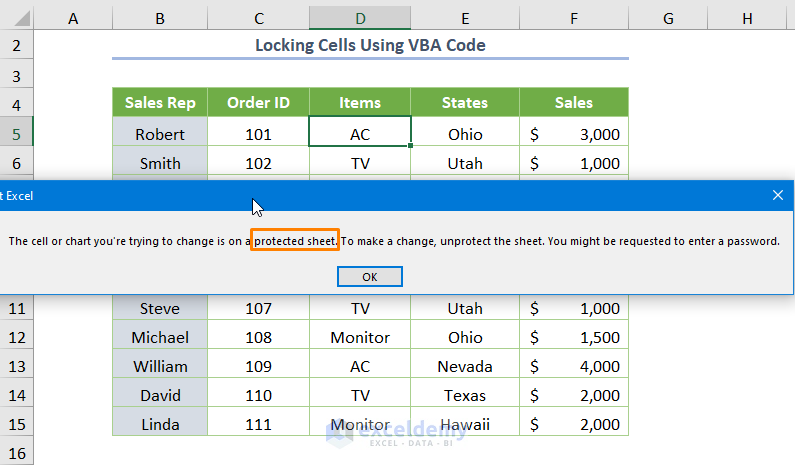
The selected cells are locked. If you select a cell (e.g. D5) and try to edit it, an error message is displayed
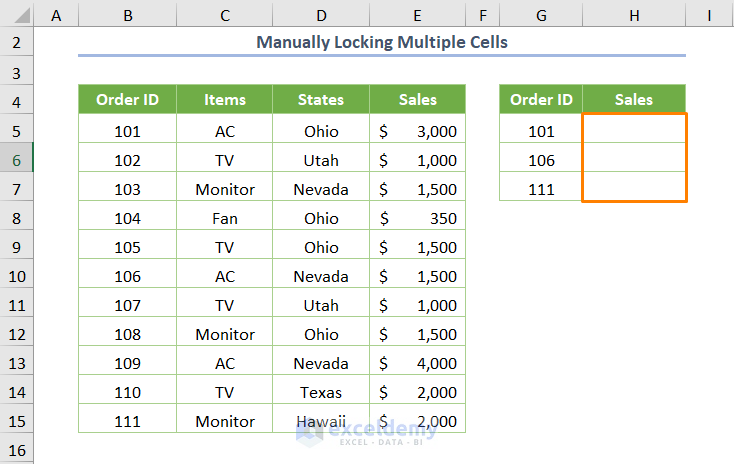
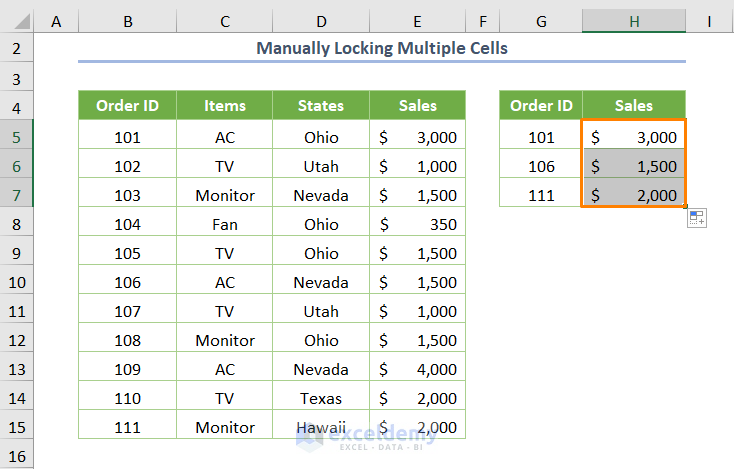
Method 5 – Manually Lock Multiple Cells
- To find the sales of a specific order ID, use the VLOOKUP function.
=VLOOKUP(G5,B5:E15,4,FALSE)
G5 is the lookup value, B5:E15 is the table array, 4 is the column index, and FALSE is used for an exact match.
- Add the Dollar sign ($) to the table array manually: $B$5:$E$15.
- The formula becomes:
=VLOOKUP(G5,$B$5:$E$15,4,FALSE)
- Press Enter.
You’ll see the output: $3000 for the Order ID 101.
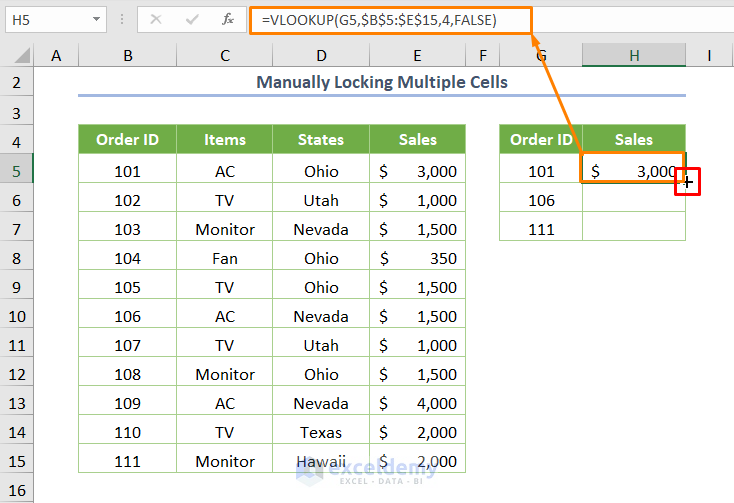
- Drag down the Fill Handle to see the result in the rest of the cells.
Read More: How to Lock Cell Value Once Calculated in Excel
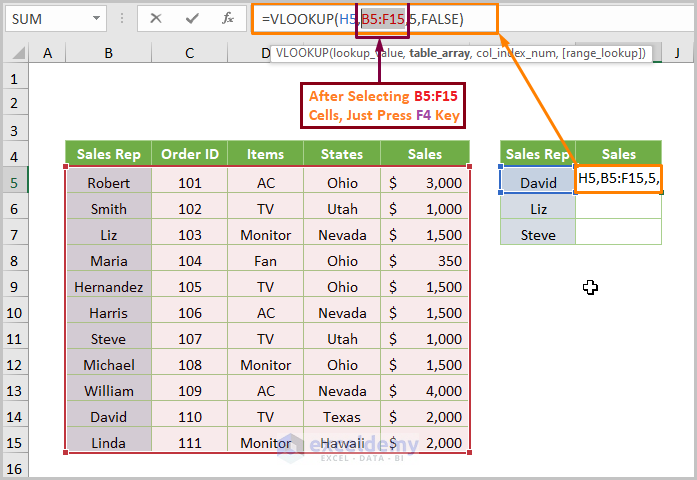
Method 6 – Using the Keyboard Shortcut: F4
- In the formula, select the cell range to use the absolute references. Here, B5:F15.
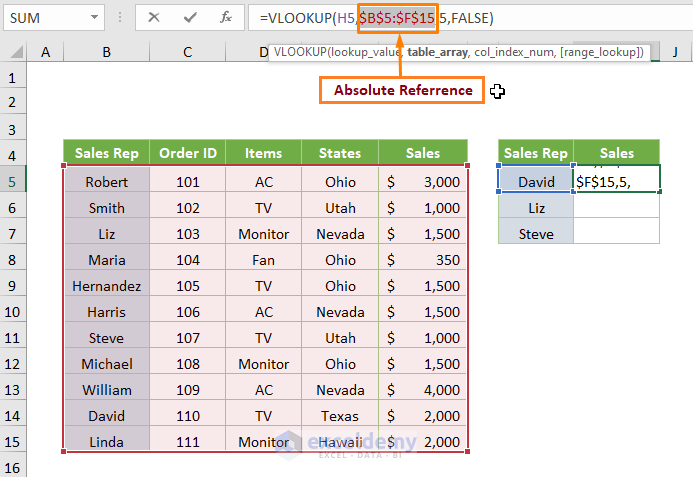
- Press F4 keeping the cursor on the selected cell range.
The $ sign is added to the cell range. So the formula becomes:
=VLOOKUP(H5,$B$5:$F$15,5,FALSE)
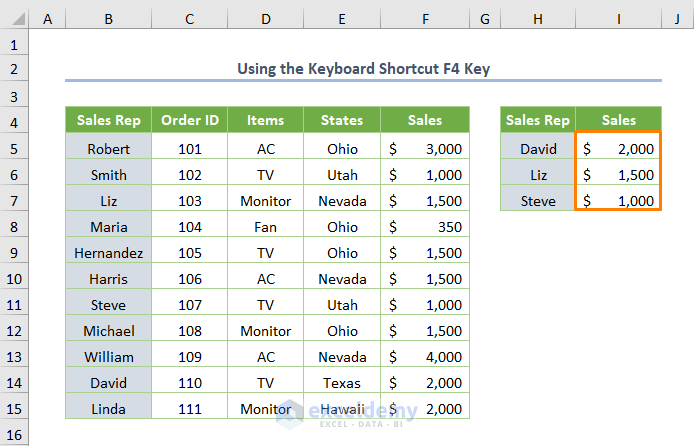
- Press Enter.
- Drag down the Fill Handle to see the result in the rest of the cells.
To use the shortcut key in different situations:
| Shortcut | Cell Reference | Description |
|---|---|---|
| Press F4 | Multiple Cells | Changes neither the column nor the row. |
| Press F4 twice | Row Reference | Changes the column reference but not the row reference. |
| Press F4 thrice | Column Reference | Changes the row reference but not the column reference. |
Read More: How to Lock a Cell in Excel Formula
Download Practice Workbook
Related Articles
- Protect Excel Cells But Allow Data Entry
- How to Protect Cells Without Protecting Sheet in Excel
- How to Lock Certain Cells in Excel
- How to Unlock Cells without Password in Excel
<< Go Back to Protect Excel Cells | Excel Protect | Learn Excel
Get FREE Advanced Excel Exercises with Solutions!
