In this tutorial, we are going to show you how to lock cells in Excel when scrolling. After this article, you will be able to lock a specific range of cells from your worksheet to restrict your users so that they can only select and scroll cells within a specific range of a worksheet. Also, they will not be able to go outside the specified range and make any changes to that worksheet. Throughout this article, we will explain the process of locking cells in different ways with a unique dataset.
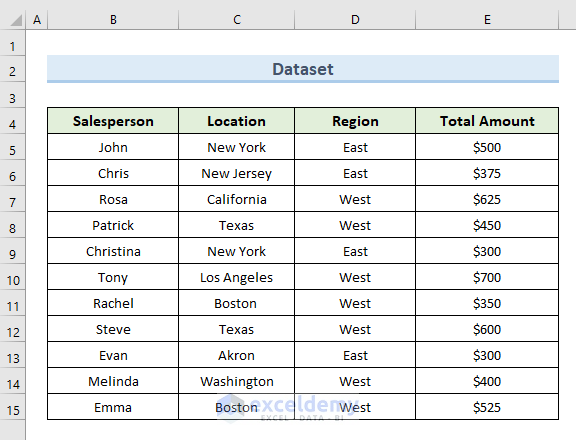
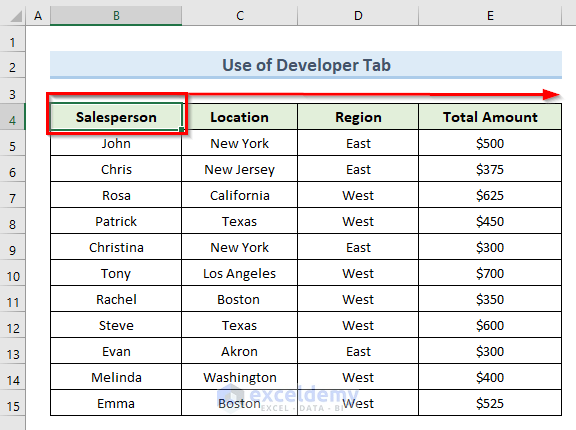
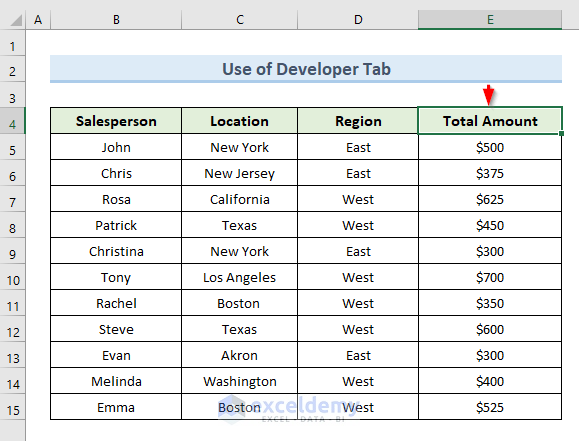
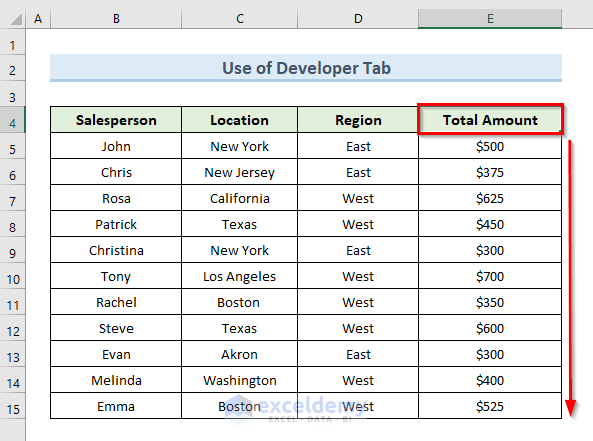
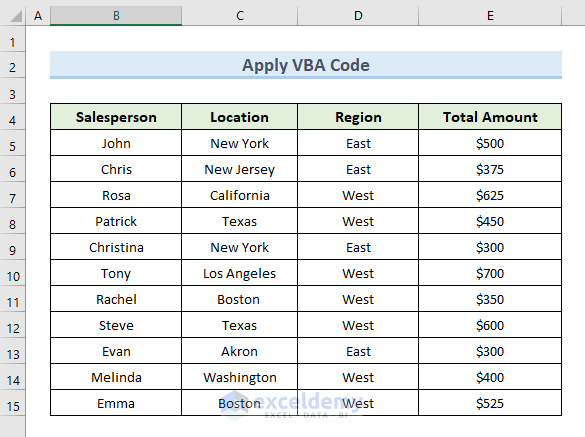
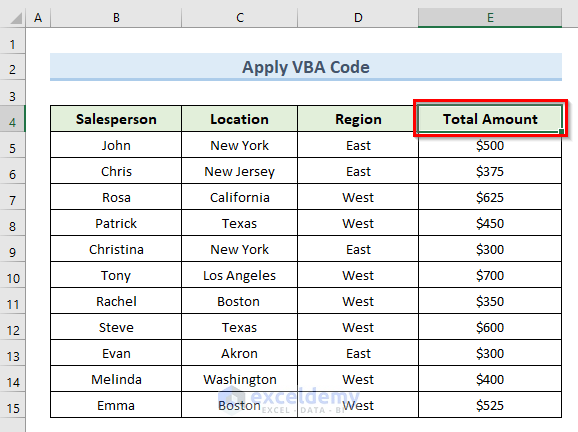
In this article, we will explain 2 ways to lock screens in Excel when scrolling. To make you understand better we will use the same dataset for explaining both methods. We have given a screenshot of our dataset in this section. The range of the dataset is (B4:E15) and it contains the data of Salesperson their Location, Region and “Total Amount” of sales. Our target is to restrict a user only within the range (B4:E15) by locking the cells. So, the user will only be able to select and scroll within this cell range.
1. Using Developer Tab to Lock Cells in Excel When Scrolling
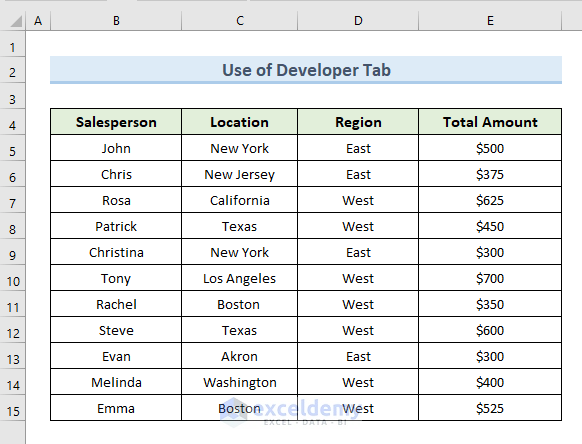
In the first method, we will use the Developer tab to lock cells. This method will restrict users from modifying any kind of data outside the cell range (B4:E15).
Now, let’s see the steps to how we can perform this action.
STEPS:
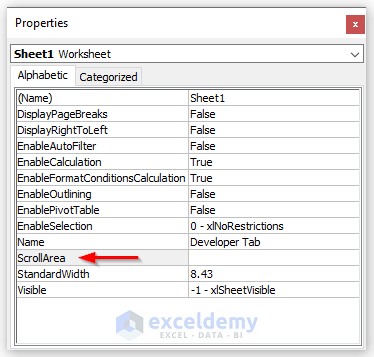
- Firstly, go to the Developer tab.
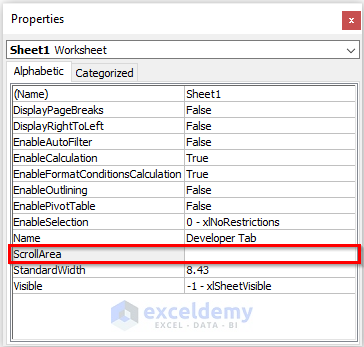
- Secondly, select the option Properties from the ribbon.

- The above actions open a new dialogue box named Properties.
- Next, go to the option ScrollArea from that box.
- Thirdly, insert the cell range (B4:E15) manually in the input box of the option ScrollArea.
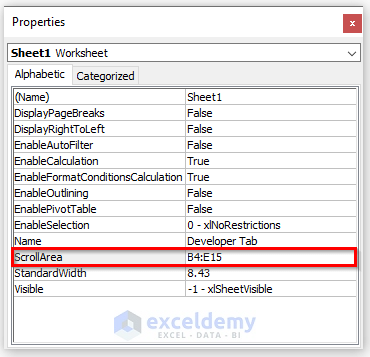
- The above command locks the cells within the range (B4:E15).
- Then, select cell B4 and scroll rightwards with the keyboard.
- So, the users will only be able to scroll to cell E5 as they do not have access to scroll outside the range (B4:E15).
- Similarly, select cell E4 and scroll downwards with the keyboard.
- Lastly, we can see that we also can not scroll after cell E15 which is the last value of our cell range.

Read More: How to Unlock Cells in Excel When Scrolling
Unlock the Locked Cells in Excel
Now, if we want to unlock the cell range we can do it easily. We will do this with the following steps.
STEPS:
- In the beginning, select the Properties option from the Developer tab again.

- The command opens the dialogue box named Properties.
- Next, go to the option ScrollArea.
- Then, delete the previous range from the input box of the ScrollArea and keep it blank.
- After that, press Enter.
- Finally, the above action unlocks the cell range again.
NOTE:
This method works until you keep your workbook or worksheet active. If you close your worksheet or workbook and reopen it you will see that the lock cells feature doesn’t work anymore. So, to lock cells permanently we will use the second method of this article.
Read More: How to Lock Rows in Excel When Scrolling
2. Applying Excel VBA Code to Lock Cells When Scrolling
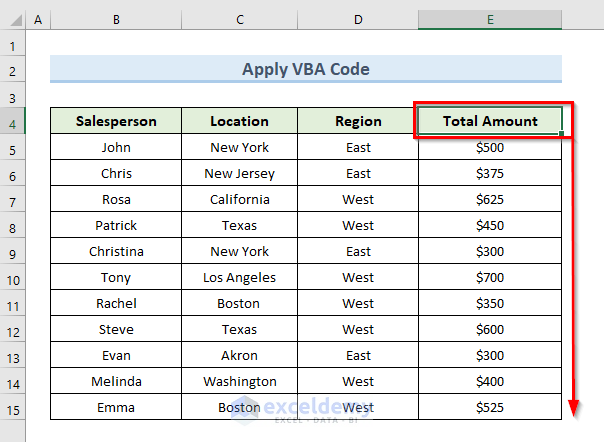
To lock cells permanently in Excel when scrolling we will use a simple VBA (Visual Basic for Applications) code in our worksheet. This code will lock specific cell ranges from our worksheet. If you lock cells with VBA code then you will not lose the lock feature after closing the Excel file. As we have said before to illustrate this method we will continue with the same dataset that we used before.
Now, just go through the steps given below to lock cells in Excel when scrolling.
STEPS:
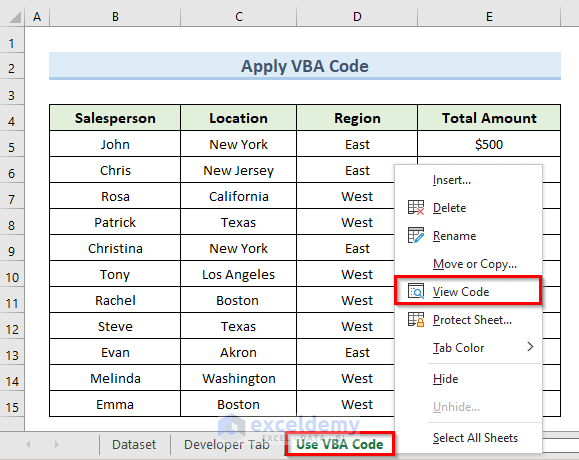
- First, right-click on the sheet “Use VBA Code”.
- Next, select the option “View Code” from the available options.
- Now, a blank VBA module will open.
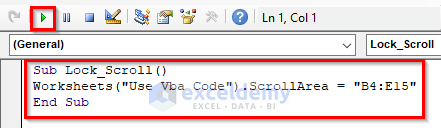
- Then, Insert the following code in that blank module:
Sub Lock_Scroll()
Worksheets("Use Vba Code").ScrollArea = "B4:E15"
End Sub- Click on Run or press F5 to run the code.
- The above command will lock the cell range (B4:E15).
- Then, select cell B5 and scroll rightward with the keyboard.
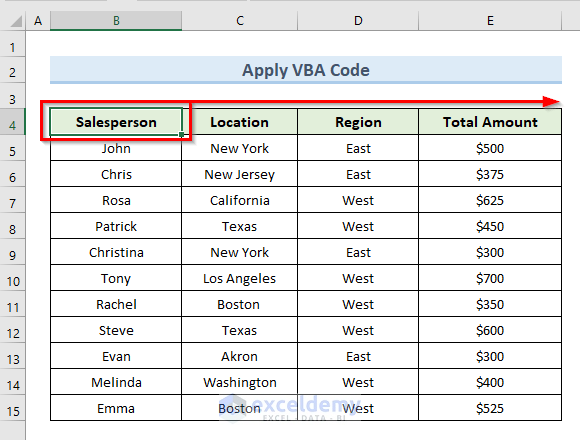
- We can see that we can not scroll after cell E4 as the next cell F4 is outside the given range.
- Similarly, select cell E4. Then just scroll downwards with the keyboard.
- Finally, we can see that we can not scroll after cell E5 as the locked cell range is (B4:E15).

Read More: Unfreeze Rows in Excel
Download Practice Workbook
Conclusion
In conclusion, this tutorial will guide you on how to lock cells in Excel when scrolling. To put your skills to the test, use the practice worksheet that comes with this article. Please leave a comment below if you have any questions. Our team will try to reply to you as soon as possible. In the future, keep an eye out for more unique Microsoft Excel solutions.
Related Articles
- How to Freeze Top Row in Excel
- How to Freeze Top Two Rows in Excel
- How to Freeze Top 3 Rows in Excel
- How to Freeze Columns in Excel
- How to Freeze 2 Columns in Excel
- How to Freeze First 3 Columns in Excel
- How to Unfreeze Columns in Excel
- How to Freeze Random Selection in Excel
<< Go Back to Freeze Panes | Learn Excel
Get FREE Advanced Excel Exercises with Solutions!
