Method 1 – Utilizing the Parametric Equation of a Circle
The parametric equations of a circle are:
x = r cos(t)
y = r sin(t)
x, and y are the coordinate points, r is the radius of the circle, and t is the angle subtended by the radius at the center of the circle.
If we find the x, and y values and plot them in an Excel Scatter Chart, we will get a circle.
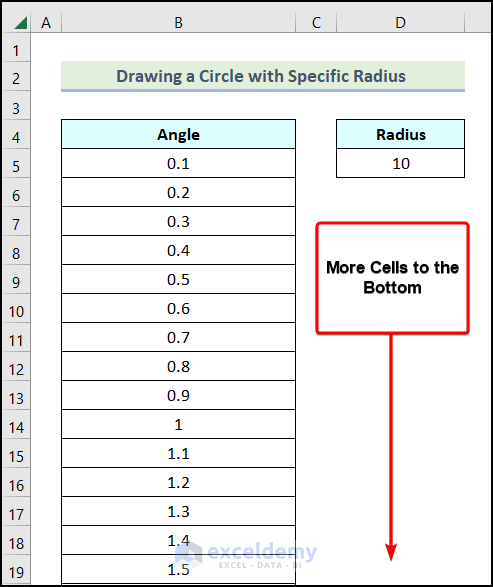
This is the sample dataset.
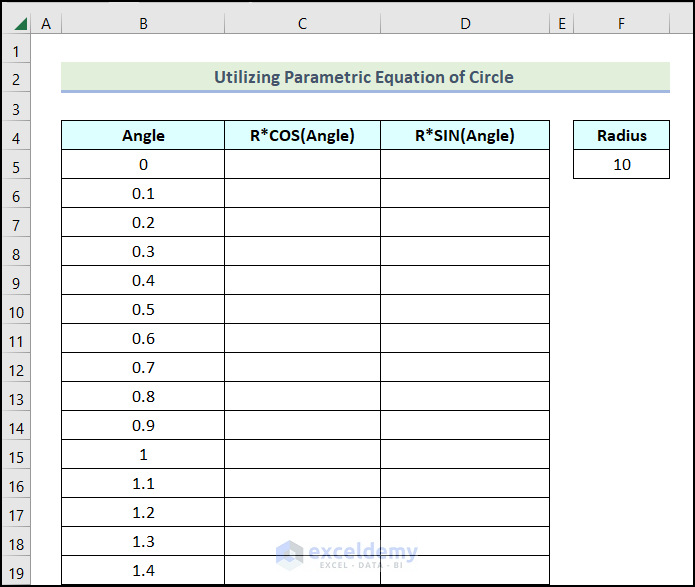
- Create a table.
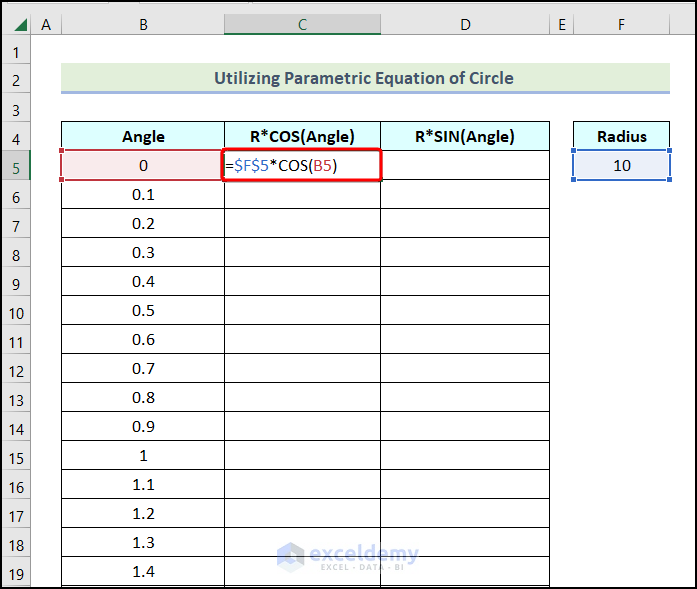
- Enter the following formula in C5.
=$F$5*COS(B5)F5 is the Radius of the circle, and B5 is the first cell of the Angle column. The COS function returns the x value of the coordinate.
- Press ENTER.
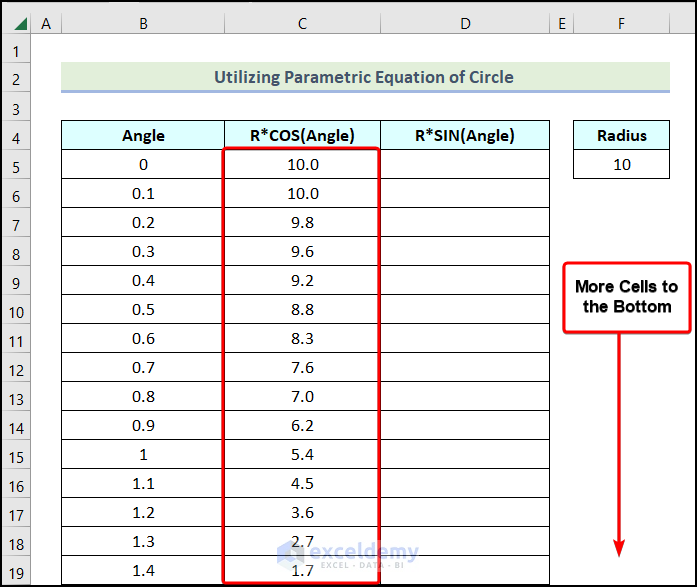
This is the output.

- Use the AutoFill to see the result in the rest of the x values.
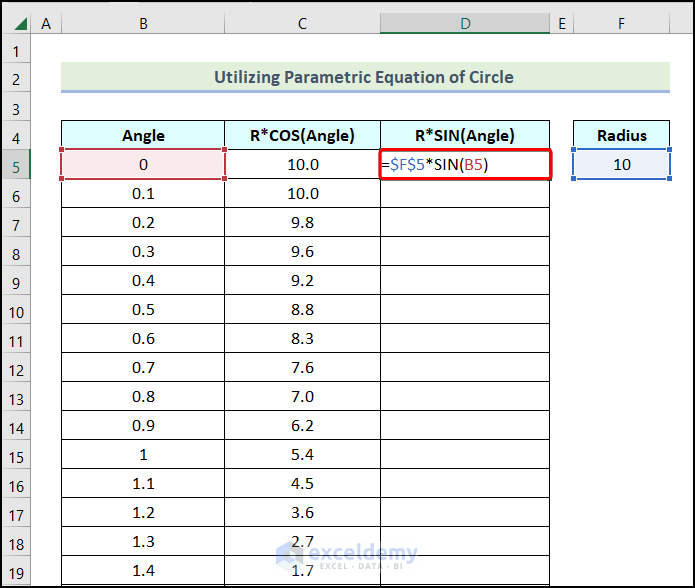
- Enter the following formula in D5.
=$F$5*SIN(B5)F5 is the Radius of the circle, and B5 is the first cell of the Angle column. The SIN function returns the y value of the coordinate.
- Press ENTER.
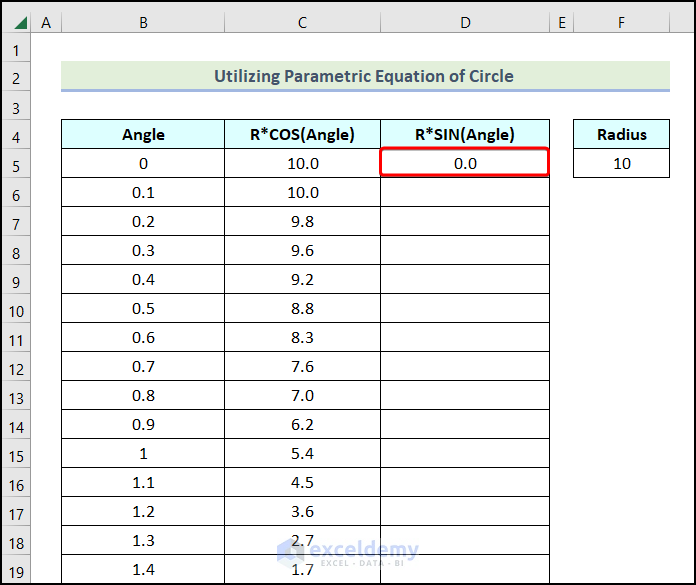
y values will be displayed in D5.
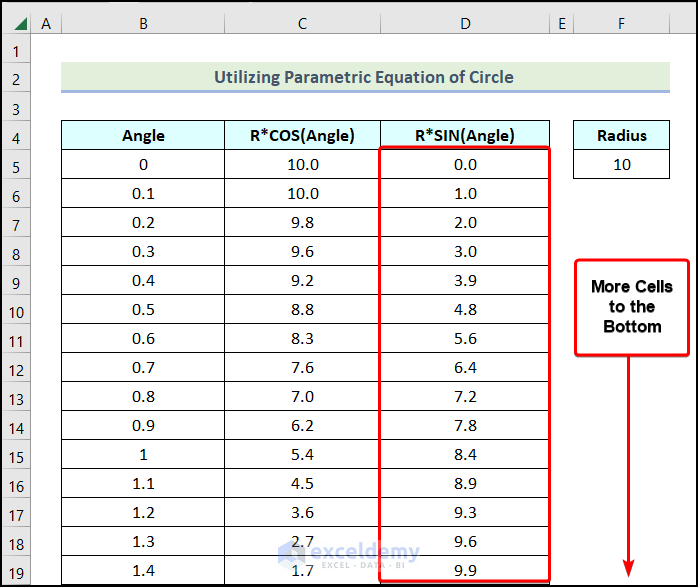
- Use the AutoFill to see the result in the rest of the y values.
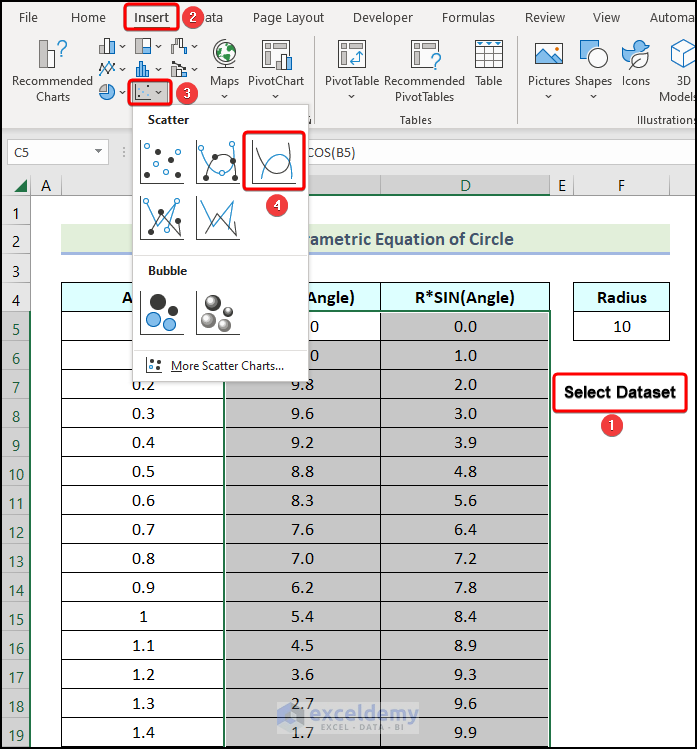
- Select the R*COS(Angle), and R*SIN(Angle) columns.
- Go to the Insert tab.
- In Charts, click Insert Scatter (X,Y) or Bubble Chart.
- Select Scatter with Smooth Lines.
The following chart will be displayed.
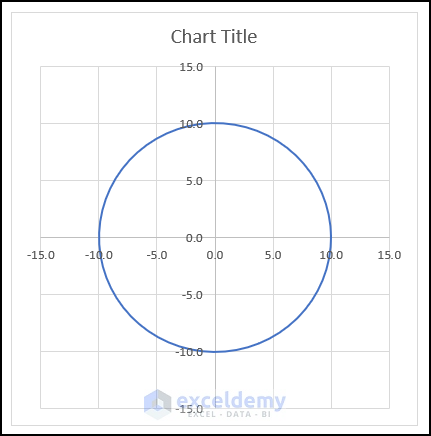
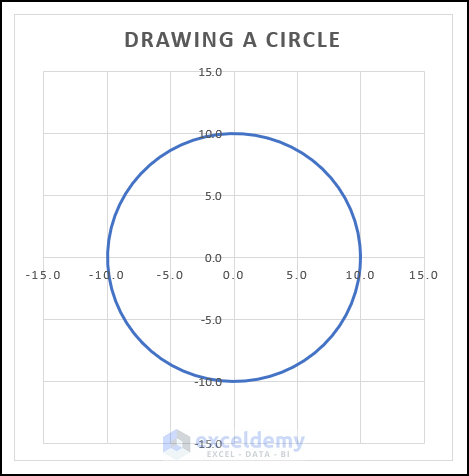
- Customize the scatter chart and to see the following final output.
A circle with a radius of 10, using the parametric equations of the circle.
Read More: How to Create Concentric Circle Chart in Excel
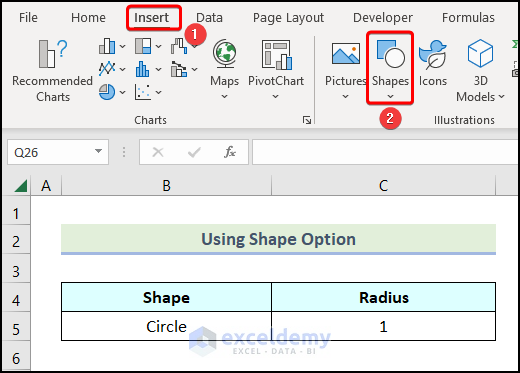
Method 2 – Using the Shapes Option
Steps:
- Go to the Insert tab.
- In Illustrations, click Shapes.
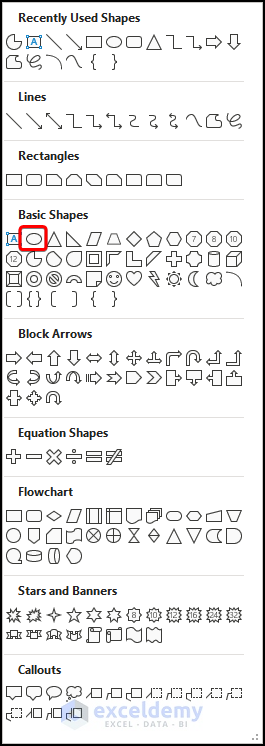
- Choose Oval.
- Press and hold SHIFT.
- Draw a circle on your worksheet.

- Right-click any point inside the circle.
- Choose Format Shape.

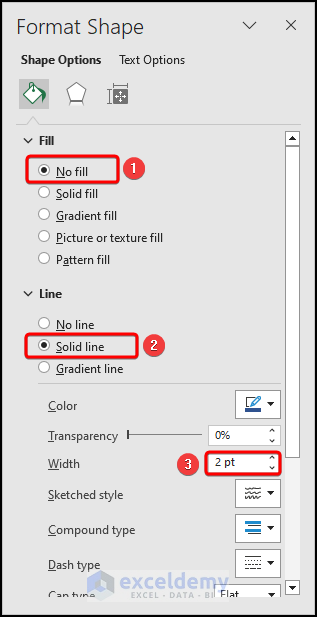
- In the Format Shape dialog box, select No Fill in Fill.
- Choose Solid line in Line.
- Increase the Width to 2 pt.
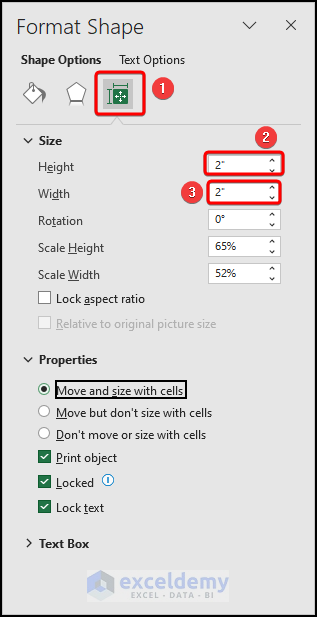
- Go to Size & Properties. In the Format Shape dialog box:
- Enter the Height: It should be the double of the radius. Here, 2.
- Enter the Width. It should be the same as the Height.
- Close the Format Shape dialog box.
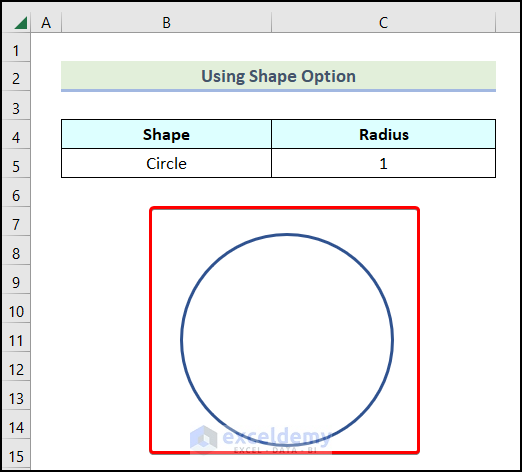
This is the output.
Read More: How to Draw a Mohr Circle in Excel
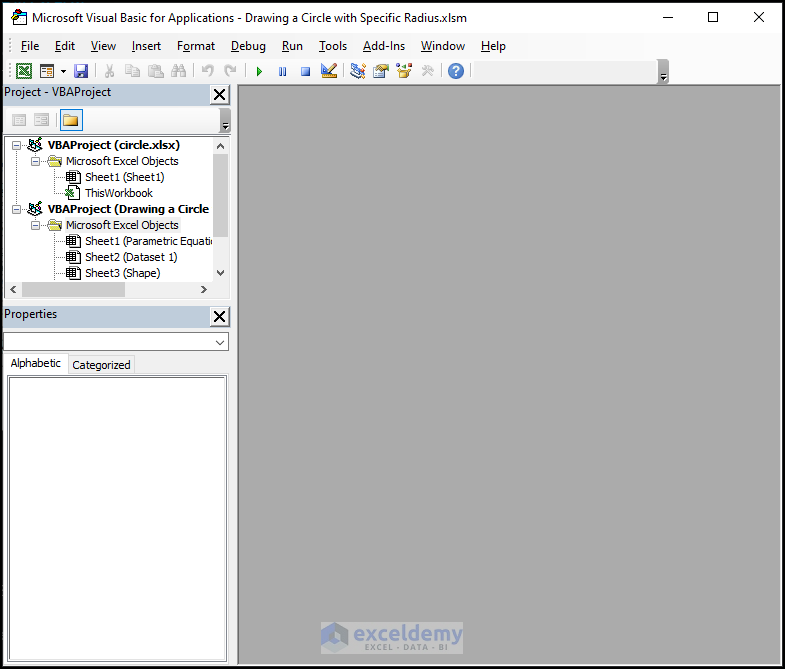
Method 3. Applying the VBA Macro Feature.
Steps:
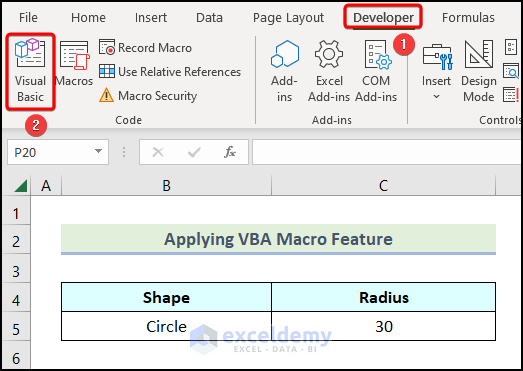
- Go to the Developer tab.
- Choose Visual Basic in Code.
The Microsoft Visual Basic window will open.
- Go to Insert.
- Choose Module.

- Enter the following code in the Module.
Sub CircleGenerator()
Dim rad As Long
rad = InputBox("Insert the radius of the circle")

With ActiveSheet.Shapes.AddShape(msoShapeOval, 200, 200, rad * 2, rad * 2)
.Name = "CIRCLE"
.Fill.ForeColor.RGB = vbWhite
.Line.Transparency = 0
.Placement = 1
End With

End Sub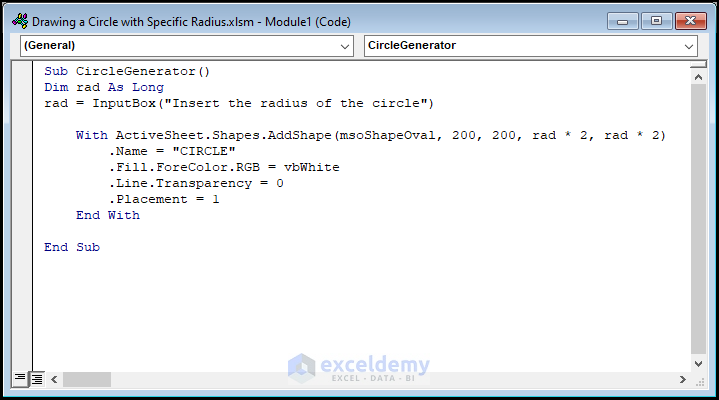
Code Breakdown
- A sub-procedure is created: CircleGenerator.
- A variable:rad is declared and defined as Long.
- The value of rad is taken, by using an InputBox statement.
- The With statement specifies the characteristics of the circle.
- The With statement is ended.
- The sub-procedure is ended.
- Click Save.
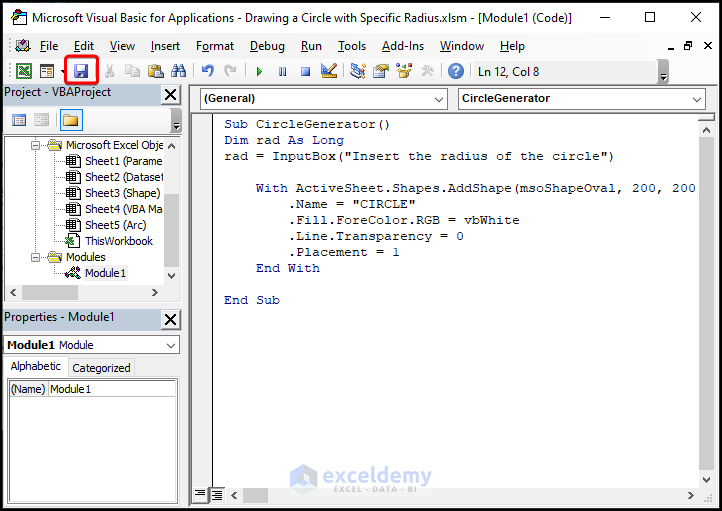
- Press ALT + F11 and you will be redirected to the worksheet.
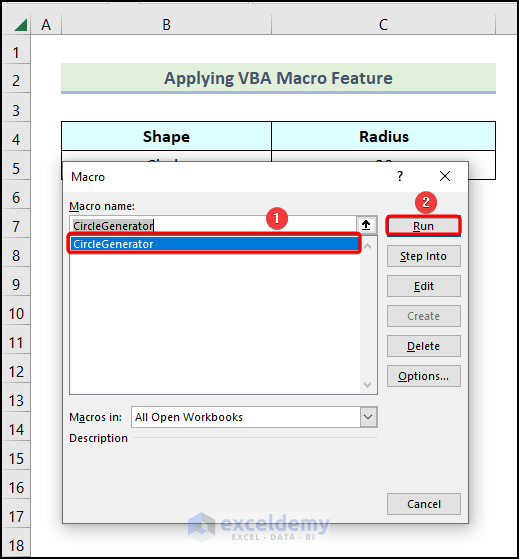
- Press ALT + F8 to open the Macro dialog box.
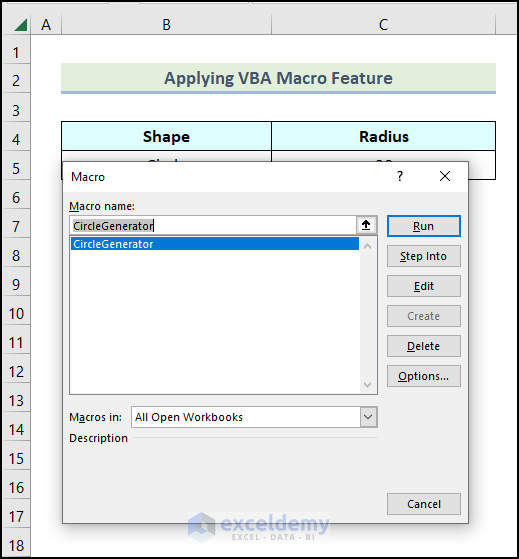
- Select CircleGenerator.
- Click Run.
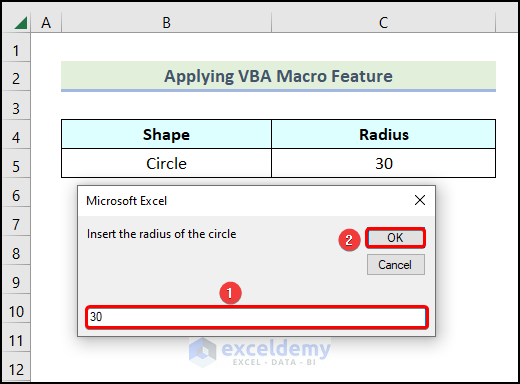
- Enter the radius. Here, 30.
- Click OK.
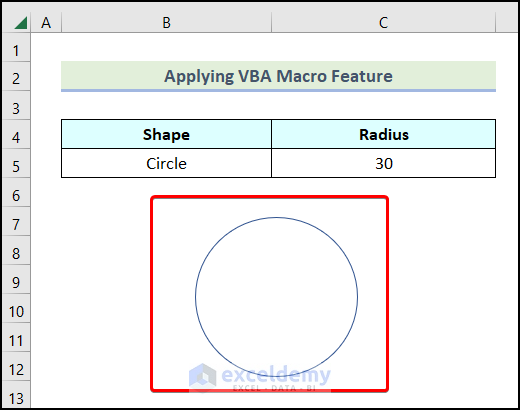
A circle with a radius of 30 is displayed.
Read More: How to Circle Something in Excel
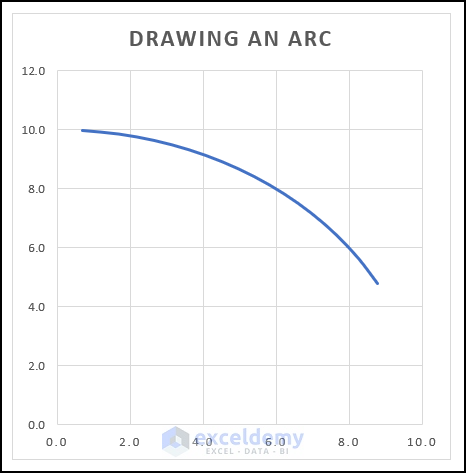
Steps:
- Create a table. Here, the radius is specified as 10 units.
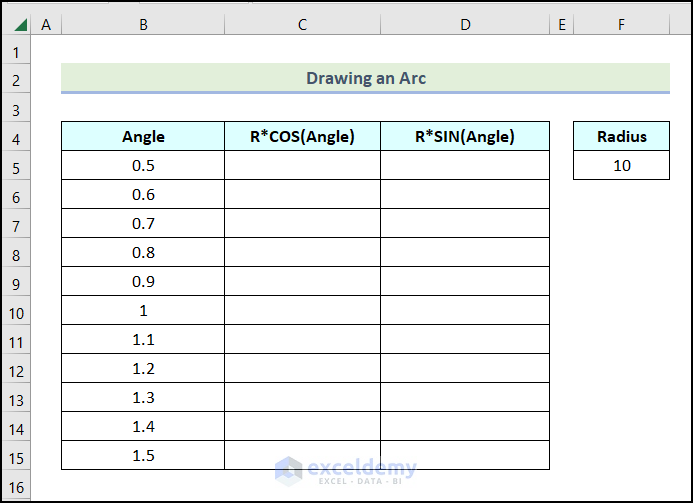
- Follow the steps mentioned in the first method and an arc with a radius of 10 is displayed.
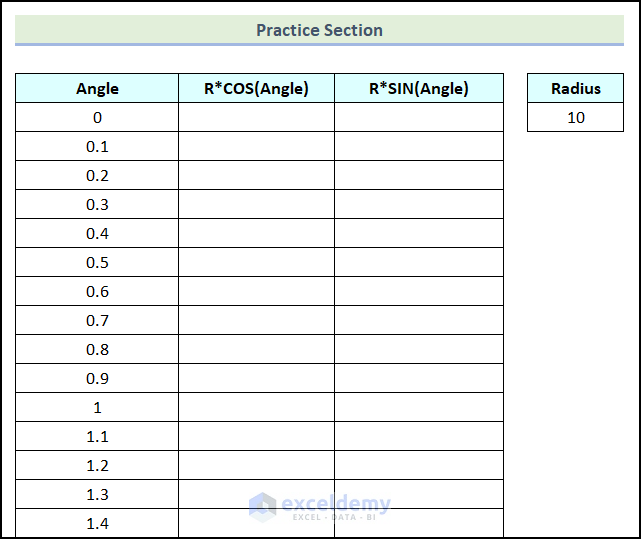
Practice Section
Practice here.
Download Practice Workbook
Related Articles
<< Go Back to Circle in Excel | Learn Excel
Get FREE Advanced Excel Exercises with Solutions!
