In this tutorial, I am going to show you 4 quick tricks to cancel the moving border in Excel. You can quickly use these steps even in large datasets after copying the data cells. Throughout this tutorial, you will also learn some important Excel tools and techniques that will be very useful in any Excel-related task.
How to Cancel Moving Border in Excel: 4 Quick Tricks
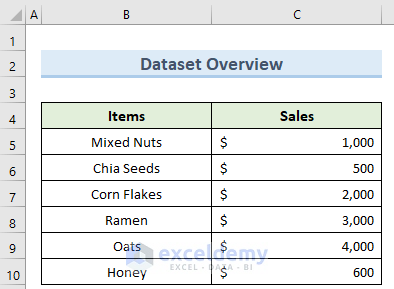
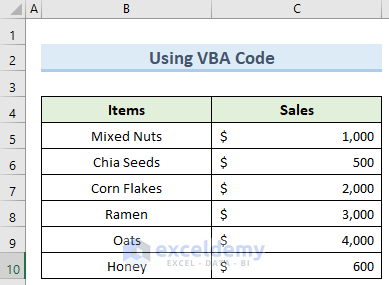
We have taken a concise dataset to explain the steps clearly. The dataset has approximately 6 rows and 2 columns. Initially, we formatted all the cells containing dollar values in Accounting format. But you can use the methods of this tutorial for other types of data like currency, percentage, time, etc although you might have to do some minor modifications.
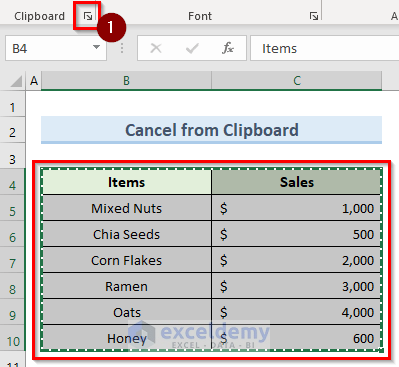
1. Cancel from Clipboard
The Clipboard task pane in Excel can keep track of data that you copy and paste individually or using a single click. We can also modify data histories from this feature. In the following steps, we will see how to use this feature to cancel the moving border in Excel.
Steps:
- First, copy the dataset as you regularly do, and then click on the Clipboard icon on the top left.
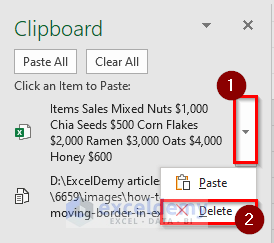
- Now, click on the drop-down beside your data set name and select Delete.
- Alternatively, you can also click on Clear All and this should also work the same.
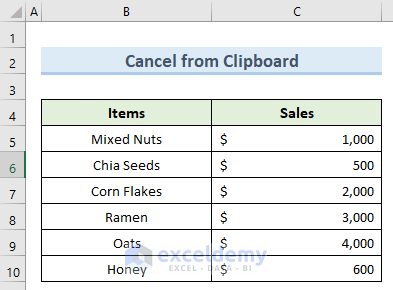
- Consequently, this should cancel the moving border from your dataset.
Read More: How to Insert Border in Excel
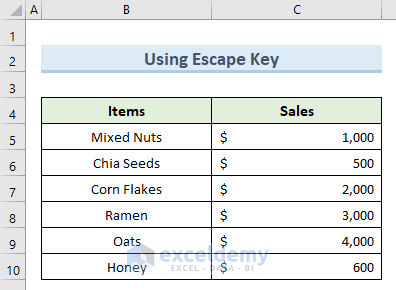
2. Using Escape Key
The Esc key can perform many useful tasks in Excel including canceling entries in a cell or formula bar, closing an open menu, message window, etc. Let us see how to use this key to cancel the moving border.
Steps:
- After copying the dataset, press the Esc key on your keyboard.
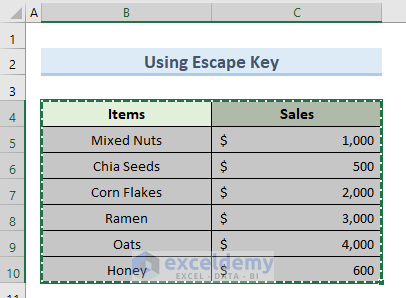
- Immediately, this should remove the moving border and cancel copying.
Read More: How to Change Border Color in Excel
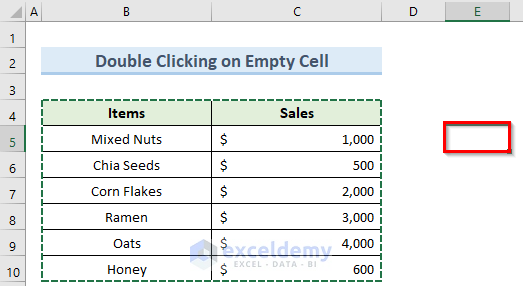
3. Double Clicking on Empty Cell
In this method, we will see how to cancel the moving border in Excel using double-click.
Steps:
- To begin with, simply copy the desired cells, and then to remove the border, double-click on any of the empty cells.
- As a result, the moving border should no longer exist.
Read More: How to Lock Borders in Excel
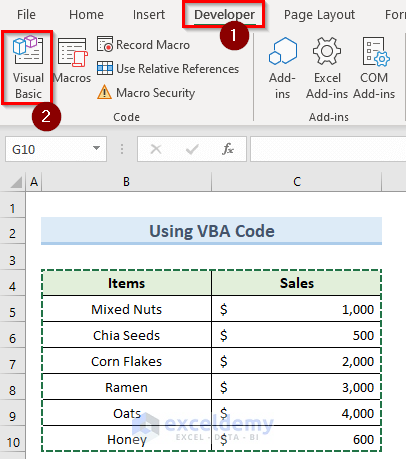
4. Applying VBA to Cancel Moving Border
If you are familiar with VBA in Excel, then you can also use that to cancel the moving border from a dataset. Follow the steps below to do this.
Steps:
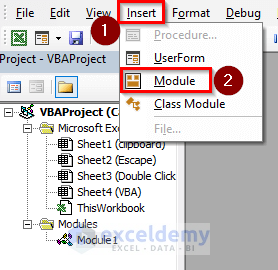
- First, go to the Developer tab and select Visual Basic.
- Now, select Insert in the VBA window and click on Module.
- Next, type in the formula below in the new window:
Public Sub CancelMovingBorder()
Application.CutCopyMode = False
End Sub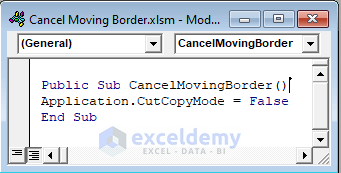
- Then, click on the Run button as in the image below.
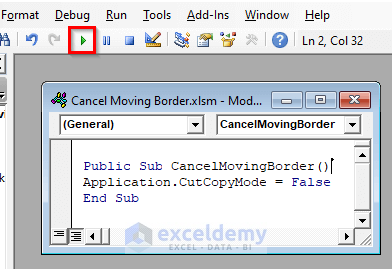
- Finally, you should find that the VBA code has canceled the moving order from the dataset.
Things to Remember
- In Windows 10 and Windows 11, you can configure the clipboard to copy data from one device to another.
- If you are on Mac, then you can use the Cmd+period(.) instead of the Esc key.
Download Practice Workbook
You can download the practice workbook from here.
Conclusion
I hope that you were able to apply the methods that I showed in this tutorial on how to cancel the moving border in Excel. As you can see, there are quite a few ways to achieve this. So wisely choose the method that suits your situation best. If you get stuck in any of the steps, I recommend going through them a few times to clear up any confusion. Lastly, If you have any queries, please let me know in the comments.
Related Articles
- How to Make Graph Paper in Excel
- How to Remove Page Border in Excel
- [Fixed!] Border Not Showing in Excel
<< Go Back to Cell Borders in Excel | Excel Cell Format | Learn Excel
Get FREE Advanced Excel Exercises with Solutions!
