In this article, I will show how to make an exponent in Excel text by using 7 easy methods. You may need to do mathematical calculations when you work on an Excel worksheet. Exponent expression is a very common expression in mathematical calculations. In this article, I will show you seven effective ways to make an exponent in an Excel test. Hopefully, this will help you to increase your Excel skills.
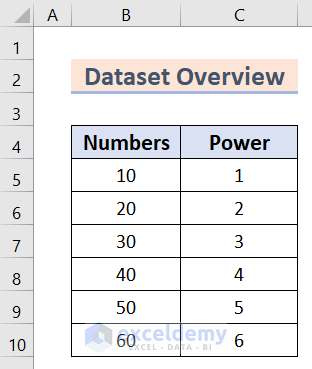
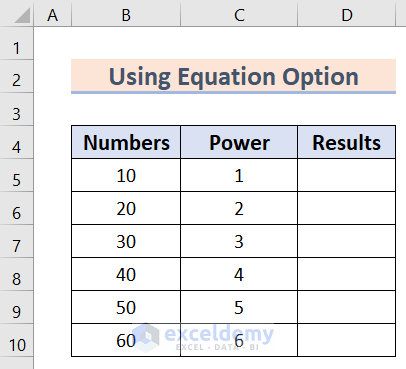
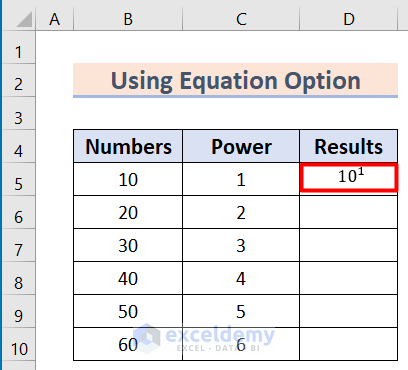
This is the dataset I am going to use in this article for every method. The database contains two columns, B and C, called Numbers and Power. I will add another column in the D column to show the results. Hence, follow the steps of every method one by one. Moreover, I have added the necessary illustrations for every step for your better understanding.
1. Using Equation Option to Make Exponent in Excel Text
In this method, I will show you the procedure of making an exponent in Excel text by using the equation option. Follow the procedure step by step. For a better understanding, have a look at the images.
Steps:
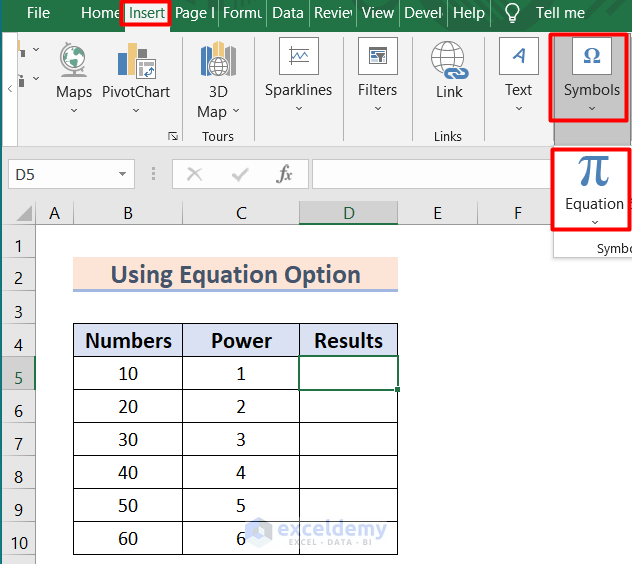
- First, go to the Insert option of your toolbar.
- Then, select Symbols.
- After that, select Equation.
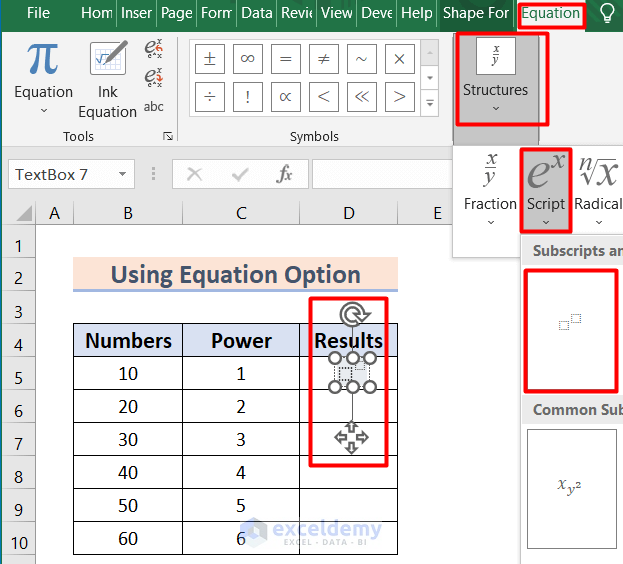
- Meanwhile, in the Equation tab select the structure option.
- Then, select the Script option
- After that, select the first option of the scripts.
- Hence, make a position of it in the D5 cell.
- Then, write down the base and the superscript.
- This command will show you the following result. It will put an exponent (1) over the number 10.
- Similarly, write down the results with superscripts for other values.

This is the procedure to make exponent in Excel text easily.
Read More: How to Display Exponents in Excel
2. Applying Excel Ink Equation
In this part, I will show you how to make an exponent in Excel by applying an Ink Equation. Follow the steps given below.
Steps:
- Go to the Insert tab first.
- Then, go to the Symbol option and select the arrow in the Equation option.
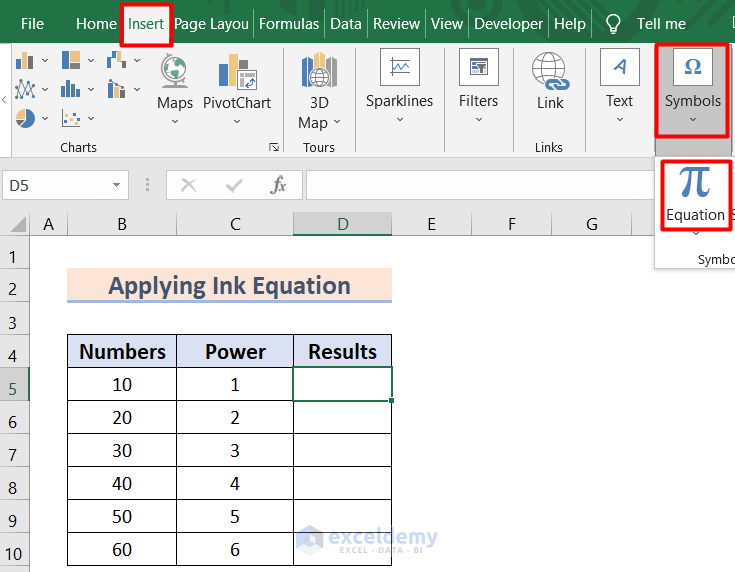
- Then, in the popup window, select the Ink Equation option.
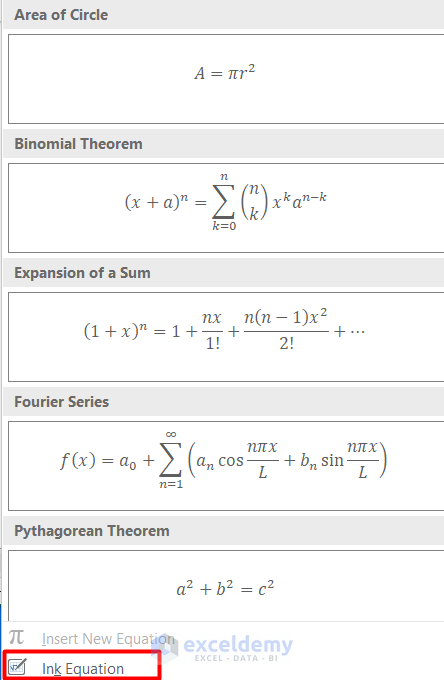
- As a result, this command will show you the following window.
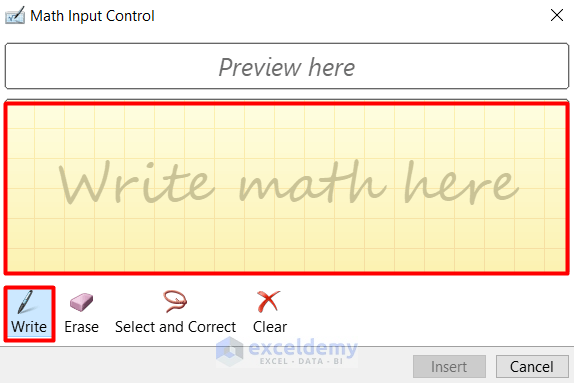
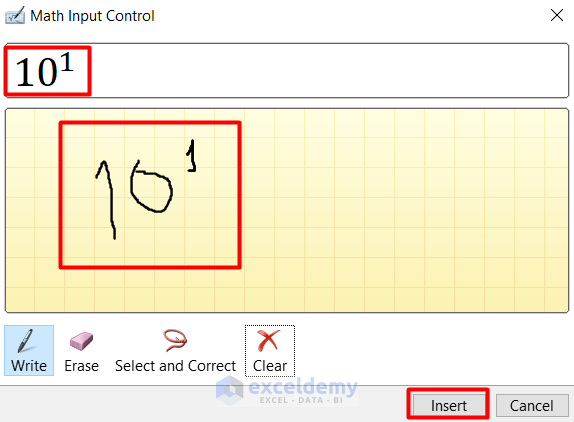
- Now, write down your required expression in the indicated window.
- As a result, the expression will be shown by this command. Then, select the Insert tab.
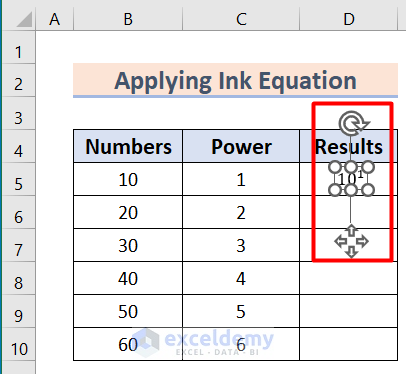
- Then, plot the equation in the D5 cell.
- Similarly, by using this command for every cell of the result column, you will get the exponent in Excel text.
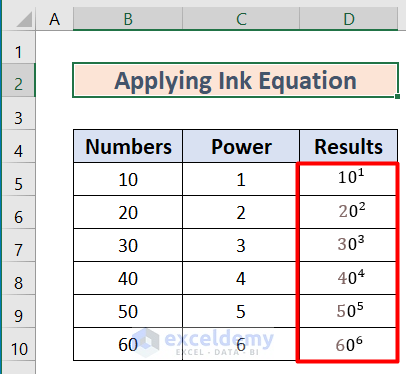
This is the procedure to make an exponent by using the ink equation method.
Read More: How to Use Exponent Symbol in Excel
3. Making Exponent by Using Keyboard Shortcut
In this portion of this article, I will follow the rules of using the keyboard shortcut to make an exponent in Excel. Follow the steps one by one. Take help from the images where necessary.
Steps:
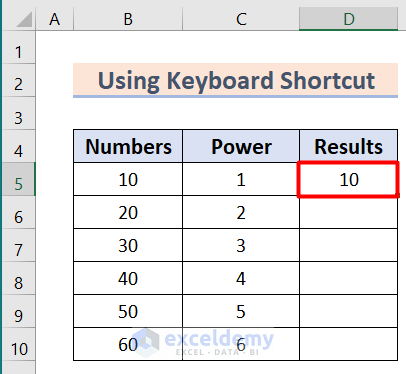
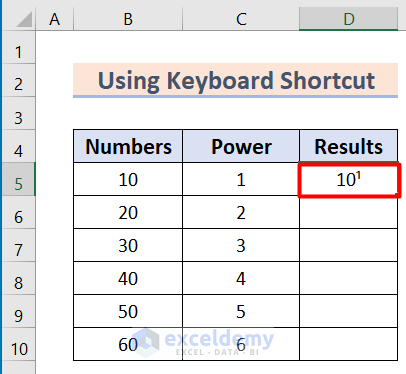
- First, select the D5 cell.
- Then, write down the base number 10 in it.
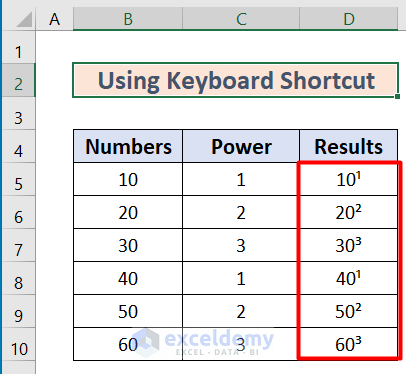
- Then follow the following keyboard shortcut for distinct power.
Alt + 0185 for power 1
Alt + 0178 for power 2
Alt + 0179 for power 3
- By applying the first command, you will get the power of 10 is 1.
- By applying all the commands, you will get all the powers of the B column in the D
This is how you can write exponent in Excel by using a keyboard shortcut.
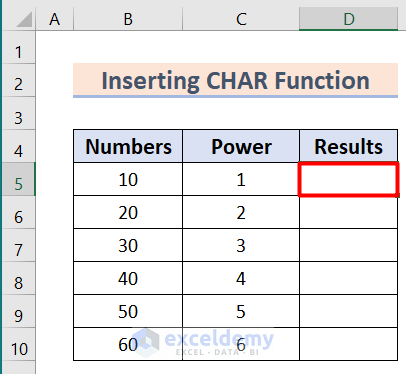
4. Inserting CHAR Function in Excel
Here, I will insert the CHAR function to write exponents in Excel. Follow the steps and illustrations given below.
Steps:
- First, select the D5 cell.
- Then, copy the following formula in the selected cell.
=CONCAT(B5,CHAR(185))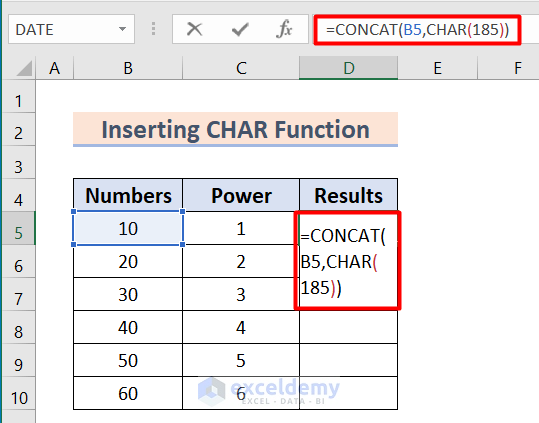
We also used the CONCAT function to add the power component to the value in B5.
- For power 1 you will use CHAR(185) Similarly, for power 2 and 3, use CHAR(178) and CHAR(179) respectively.
- After applying all the commands, you will find the powers of 10, 20, 30, 40, 50, and 60.
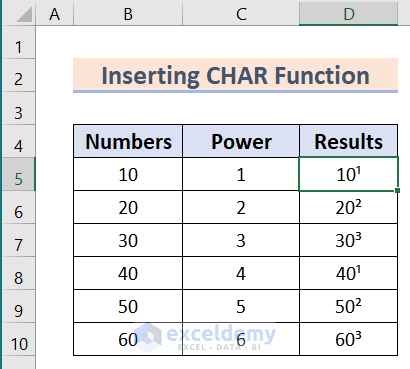
By adopting this procedure, you will have the exponents in Excel by using the CHAR function.
Read More: How to Use Excel Exponential Function of Base 10
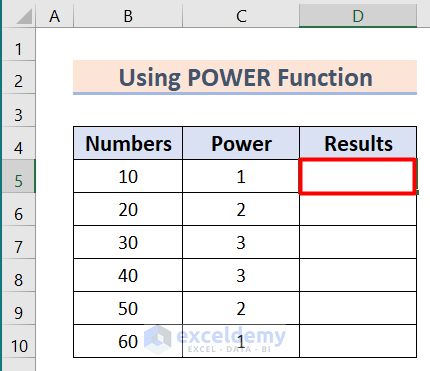
5. Using POWER Function to Make Exponent in Text
In this part, I will use the POWER function to make an exponent in Excel text. Follow the procedures described step by step given below. Hopefully, you will find interest in it.
Steps:
- Select the D5 cell first.
- Then, copy the following formula in the selected cell.
=POWER(B5,C5)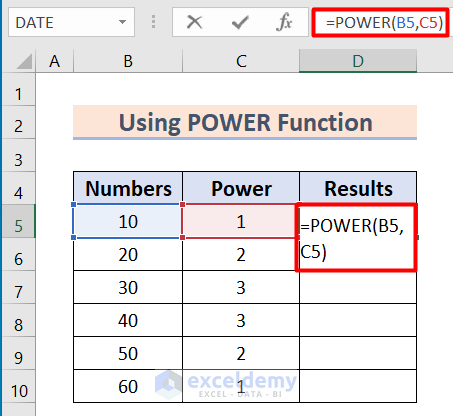
- After pressing Enter, the command will show you the result as 10.

- Then, copy down the formula from D5 to D10
- Consequently, this command will show you the powers of the numbers in B
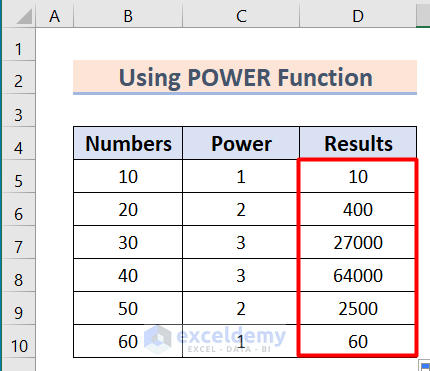
You will find the powers as a result by using the POWER function to make an exponent in Excel.
Read More: How to Calculate Exponential in Excel
6. Implementing EXP Function
In this method, I will show how to make an exponent in Excel text by implementing the EXP function. The procedure will show you how to get the Euler number’s power values. Follow the steps given below.
Steps:
- Select the C5 cell first.

- Then, write down the following formula in the selected cell.
=EXP(B5)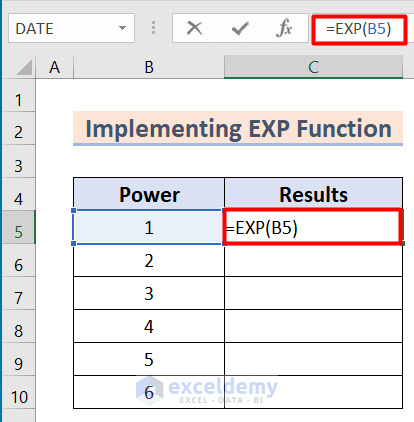
- Consequently, this formula will basically show you the first exponent of Euler’s number.
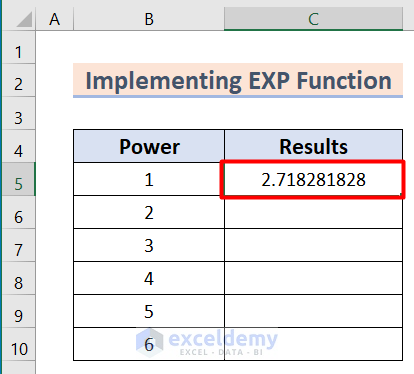
- After that, copy down the formula from C5 to C10 cell
- As a result, Excel will show the exponent of power mentioned in the B column by applying the formula.

This is how you can exponent in Excel by using the EXP function.
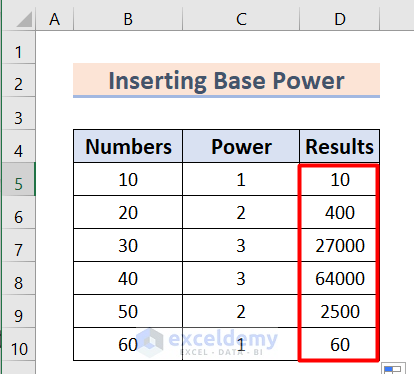
7. Inserting Base Power to Make Exponent in Excel
In this portion of this article, I will show you how to make an exponent in Excel by inserting base power. Follow the following procedure serially.
Steps:
- Select the D5 cell and write down the following formula in that cell.
=B5^C5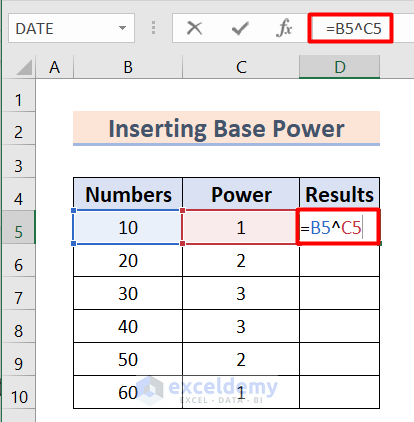
- After pressing enter, the command will show you the result 10.
- Then, copy down the formula to the last cell
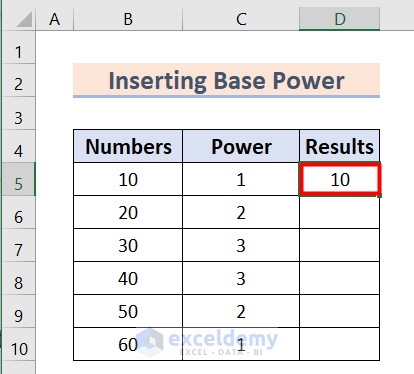
- As a consequence, this command will show the power results of B column.
This is how you can exponent in Excel text by using base power.
Download Practice Workbook
Please download the workbook to practice yourself.
Conclusion
In this article, I have tried to explain how to make an exponent in Excel text. I hope you have learned something new from this article. Now, extend your skill by following the steps of these methods. I hope you have enjoyed the whole tutorial. If you have any queries, feel free to ask me in the comment section. Don’t forget to give us your feedback.
Related Articles
- How to Type Exponential in Excel
- Convert Scientific Notation to x10 to the Power of 3 in Excel
- How to Use Negative Exponents in Excel
- How to Estimate Inverse Exponential in Excel
<< Go Back to Excel EXP Function | Excel Functions | Learn Excel
Get FREE Advanced Excel Exercises with Solutions!
