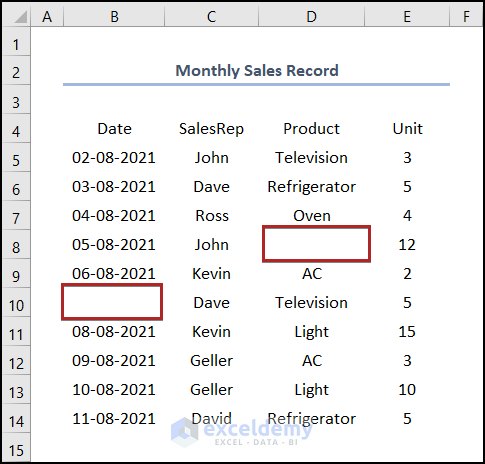
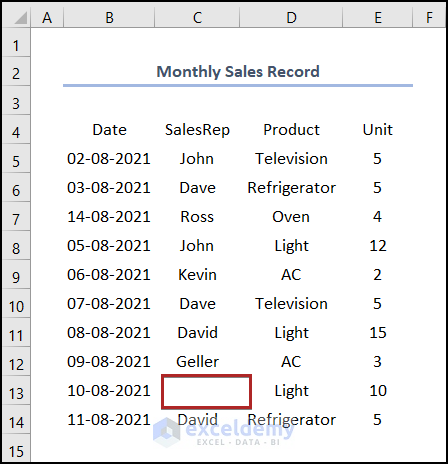
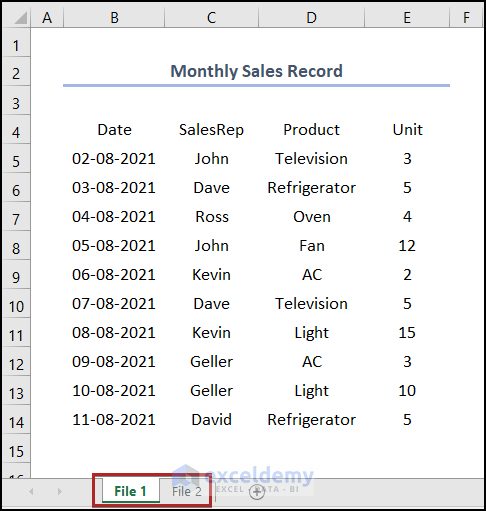
We will use 2 different CSV files and put them in the same folder. One is File 1, and the other one is File 2.
Now, we’ll use these two CSV files to compare them.
Method 1 – Viewing Side by Side
Steps:
- Open the two CSV files.
- Go to one of these and go to the View tab.
- Click on the View Side by Side command in the Window group.
- Select Arrange All on the same group.

Note: The View Side by Side command is only visible when you open two or more workbooks. Otherwise, it remains gray and inactive on the ribbon.
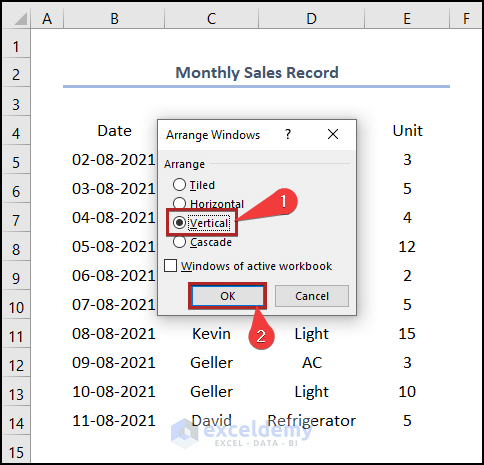
Your previous action will open the Arrange Windows dialog box.
- In the dialog box, select Vertical as the Arrange type.
- Click OK.
The two files are side by side in our display. Now, we can easily compare them.
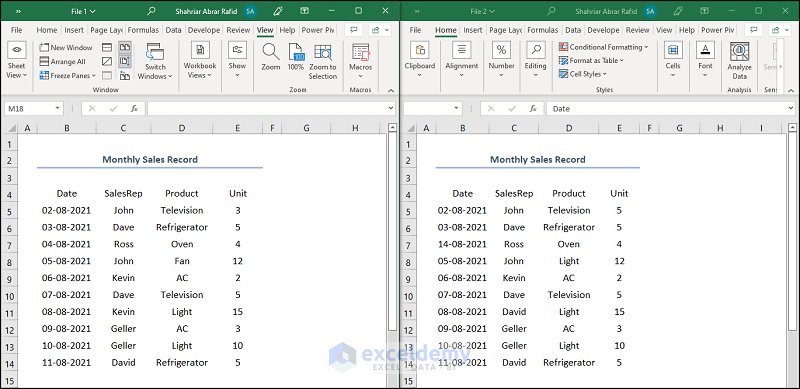
Note: Here, we have done a little bit of formatting, like fixing the Column Width and increasing the Font Size for a better visual presentation. In actuality, CSV files show plain text without any formatting.
Read More: How to Convert CSV to Excel with Columns
Method 2 – Using the IF Function
Steps:
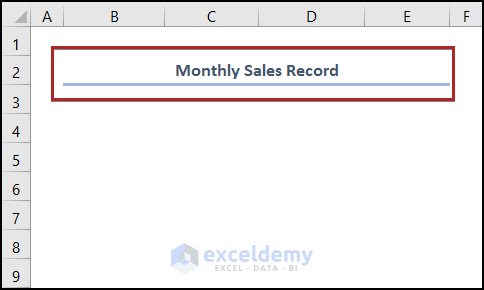
- Create a new Excel workbook.
- In cell B2, enter the Heading as the CSV files.
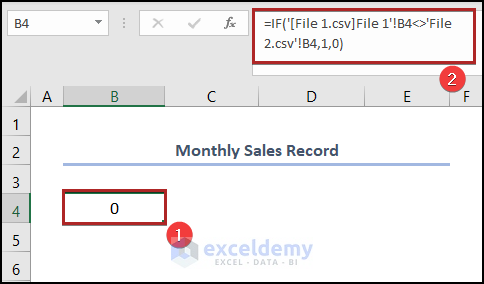
- Select cell B4 and enter the following formula:
=IF('[File 1.csv]File 1'!B4<>'File 2.csv'!B4,1,0)
Here, the IF function inserts a logical_test that the value in cell B4 of File 1 shouldn’t be equal to the value of the corresponding cell B4 of File 2. And if the statement becomes true, the formula puts a 1 in cell B4 in the new workbook. Otherwise, it will put a 0.
- Press ENTER.
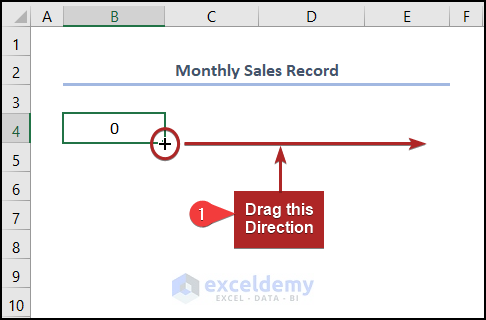
- Bring the cursor to the right-bottom corner of cell B4 and it’ll look like a plus (+) sign. This is the Fill Handle tool.
- Drag this to cell E4.
- Select cells in the B4:E4 range and drag the Fill Handle to cell E14.
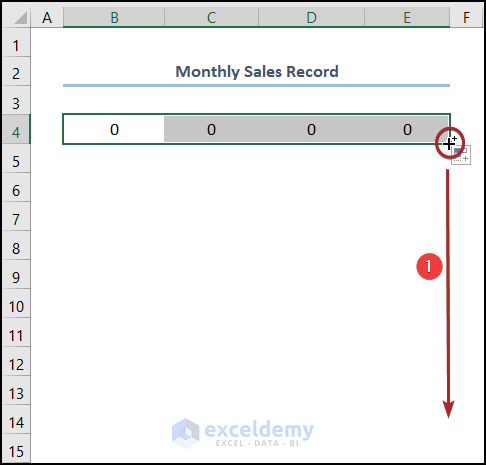
It will give all the remaining cells’ results.
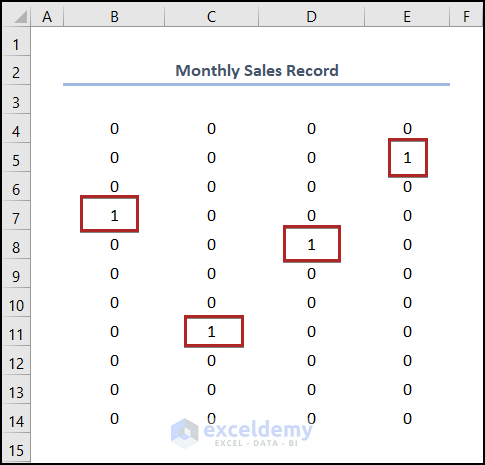
Here, 1 means there is a change in the values of these positions in File 1 and File 2. On the other hand, 0 indicates unchanged values.
Read More: Difference Between CSV and Excel Files
Method 3 – Utilizing AND, IF, and ISBLANK Functions
In File 1, B10 and D8 are blank.
Cell C13 is blank in File 2.
Steps:
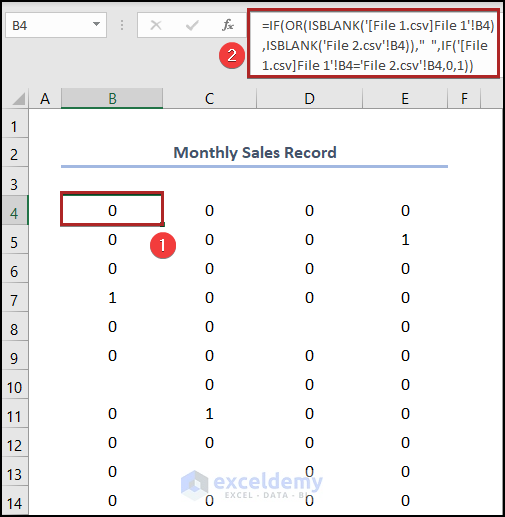
- In the new workbook, go to cell B4 and enter the following formula:
=IF(OR(ISBLANK('[File 1.csv]File 1'!B4),ISBLANK('File 2.csv'!B4))," ",IF('[File 1.csv]File 1'!B4='File 2.csv'!B4,0,1))
Here, we used the ISBLANK function to test if the cell is blank or not. Then, we assigned the OR function to combine two ISBLANK functions operating in two different CSV files. Now, it works as the logical_test of the first IF function. If it’s true, then the formula will return blank (“ ”). Otherwise, it’ll return the result of the previous method.
In the case of cell B4, both CSV files have values and they are the same. So, in the new workbook, cell B4 will get the value 0.
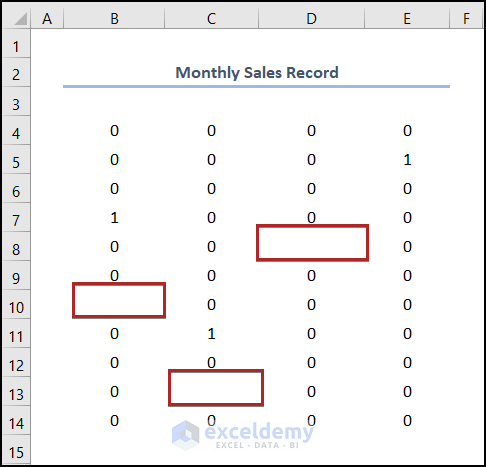
- Hit the ENTER key.
Cells B10, C13, and D8 are blank, as they were in the CSV files.
Read More: How to Convert CSV to XLSX Command Line
Method 4 – Inserting IF and COUNTIF Functions
Steps:
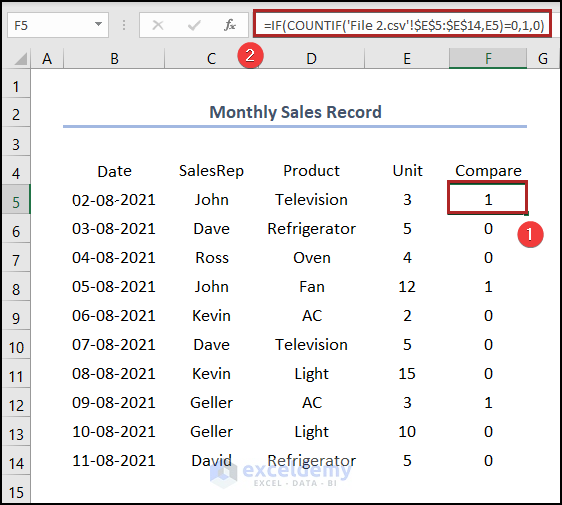
- Create a new column with the heading Compare under Column F.
- Proceed to cell F5 and enter the formula below:
=IF(COUNTIF('File 2.csv'!$E$5:$E$14,E5)=0,1,0)
This formula compares the values in the Unit columns of the 2 different CSV files. If they have the same values in the corresponding cell, then it returns 0. Otherwise, it gives 1 in the cell.
- Press ENTER.
Read More: Convert CSV to Excel Automatically
Method 5 – Applying Conditional Formatting
Steps:
- Copy the worksheet from File 2 and paste it as a new worksheet in File 1.
Note: We are doing this because Conditional Formatting cannot be applied between two different workbooks.
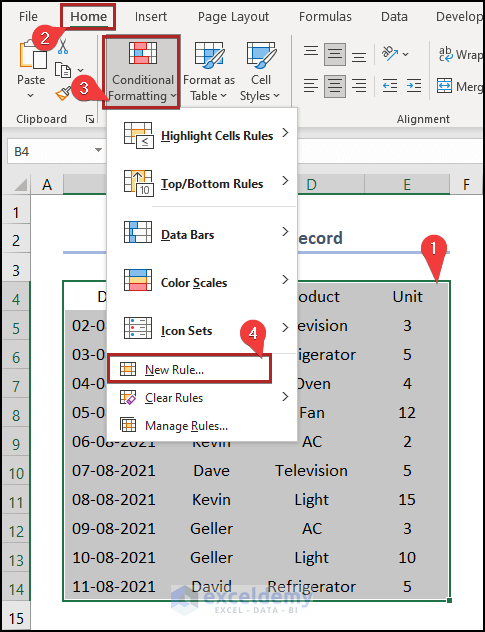
- Select cells in the B4:E14 range.
- Go to the Home tab.
- Click on the Conditional Formatting drop-down on the Styles group.
- From the drop-down list, select New Rule.
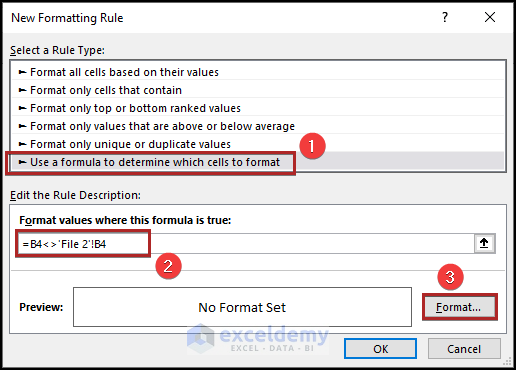
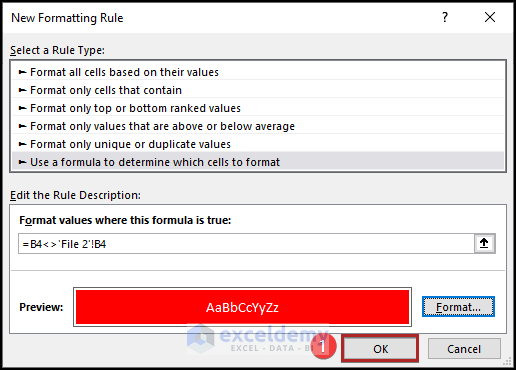
The New Formatting Rule dialog box appears.
- Choose Use a formula to determine which cells to format under the Select a Rule Type section.
- In the Format values where this formula is true box, enter the following formula:
=B4<>”File 2”!B4
- Click on the Format button.
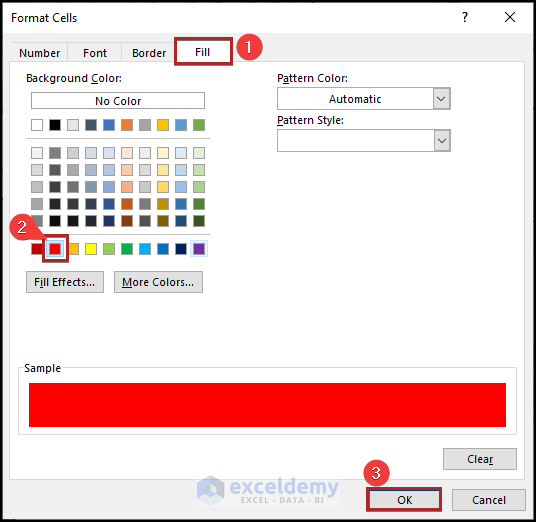
The Format Cells wizard pops up.
- Go to the Fill tab.
- Choose Red from the available colors.
- Click OK.
- In the New Formatting Rule dialog box, click OK.
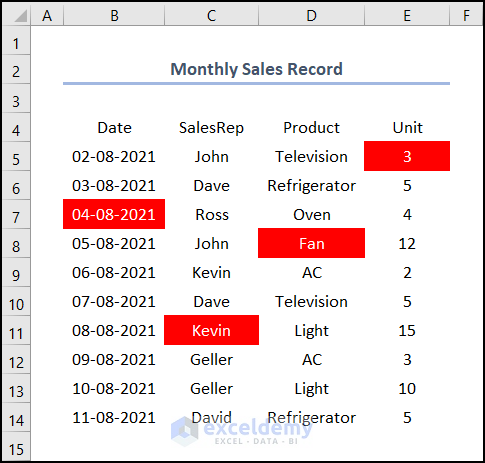
The unmatched cells in File 1 get highlighted in Red. Now, the difference is clearly visible.
Method 6 – Employing VBA Code
Steps:
- Get the two files in one worksheet like before.
- Go to the Developer tab.
- Click on Visual Basic on the Code group.
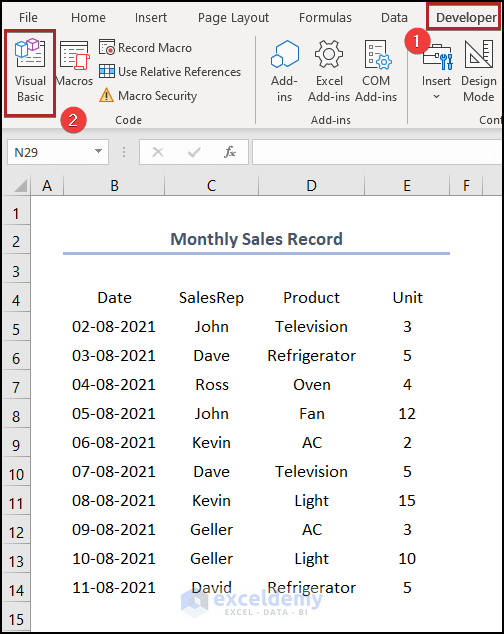
The Microsoft Visual Basic for Applications window appears.
- Go to the Insert tab.
- Select Module from the options.
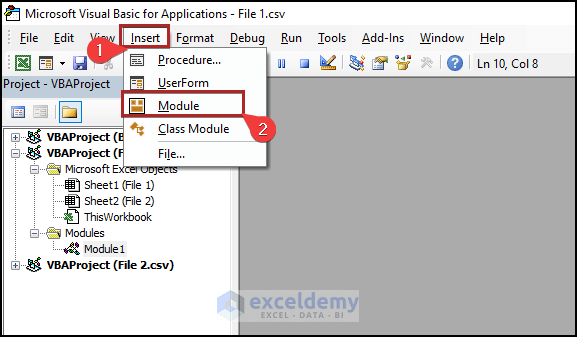
It inserts a code module where we can write down our VBA code to compare 2 CSV files.
- Enter the following code into the module:
Sub Compare_2_CSV()
Dim dRange As Range, Select_Cell As Range
Sheets(1).Activate
Set dRange = ActiveCell.CurrentRegion
For Each Select_Cell In dRange
If Select_Cell.Value <> Sheets(2).Range(Select_Cell.Address).Value Then
Sheets(2).Range(Select_Cell.Address).Interior.Color = vbRed
End If
Next Select_Cell
End Sub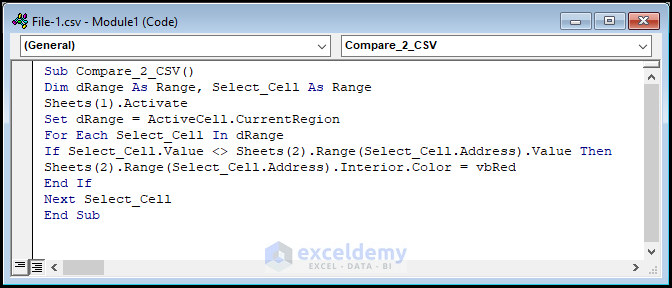
- Run the code.
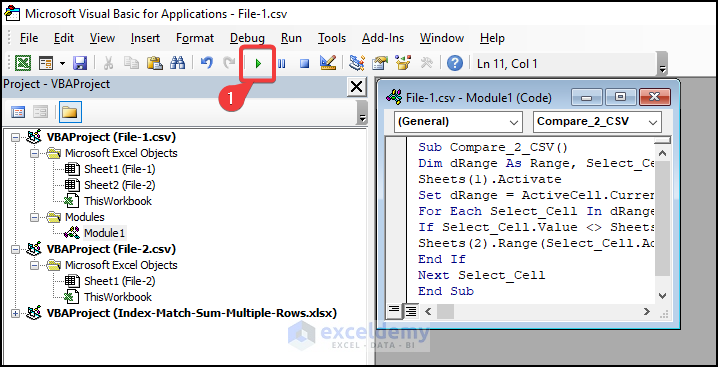
Note: Make sure you select cell B4 in the File 1 worksheet before executing the code.
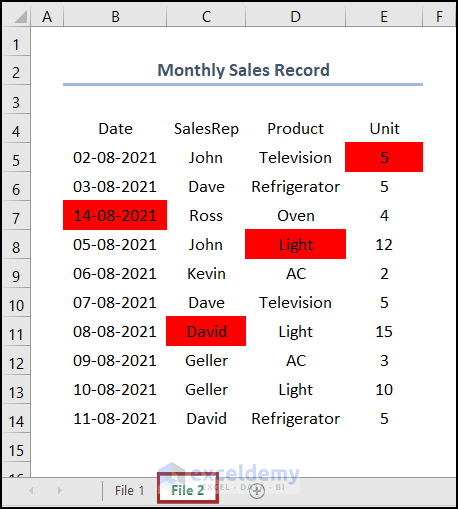
In the File 2 worksheet, you can notice the cells with different values from the File 1 worksheet get highlighted in red.
Read More: How to Import Text File to Excel Automatically
Download the Practice Workbook
Download the workbook to practice.
Related Articles
- How to Convert CSV to XLSX without Opening
- How to Open Notepad or Text File in Excel with Columns
- How to Convert CSV to XLSX
- How to Import CSV into Existing Sheet in Excel
- How to Import CSV Data into Excel
<< Go Back to Import CSV to Excel | Importing Data in Excel | Learn Excel
Get FREE Advanced Excel Exercises with Solutions!
