Method 1 – Employ File Tab to Edit CSV File in Excel
Step-01: Open CSV File in Excel
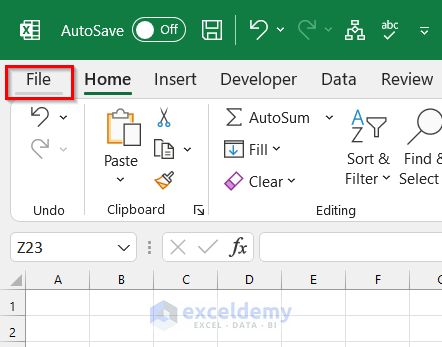
Open the CSV file in Excel.
- Go to the File tab.
- Select Open.
- Select Browse.
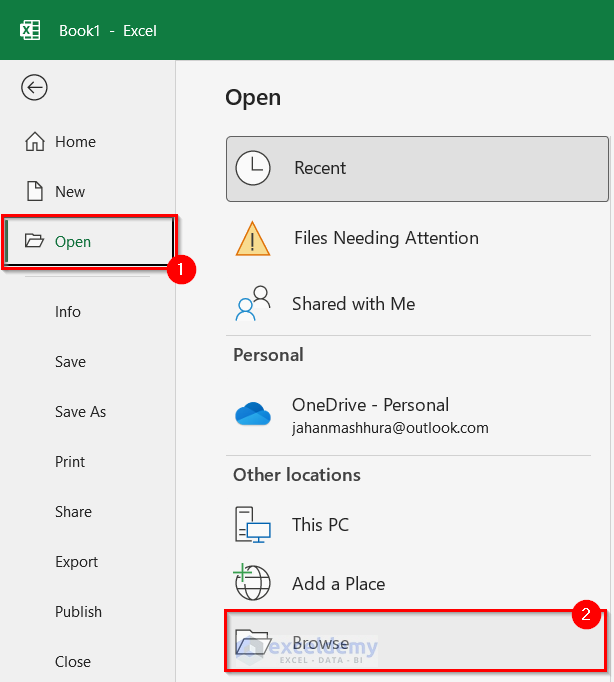
- Open dialog box will appear.
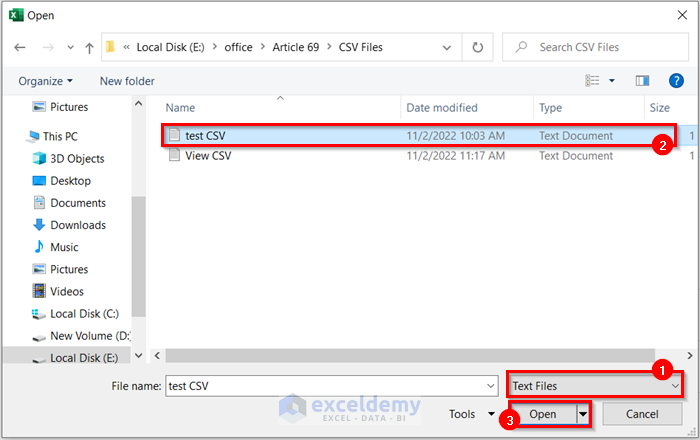
- Select the file type as Text Files.
- Select the CSV file.
- Select Open.
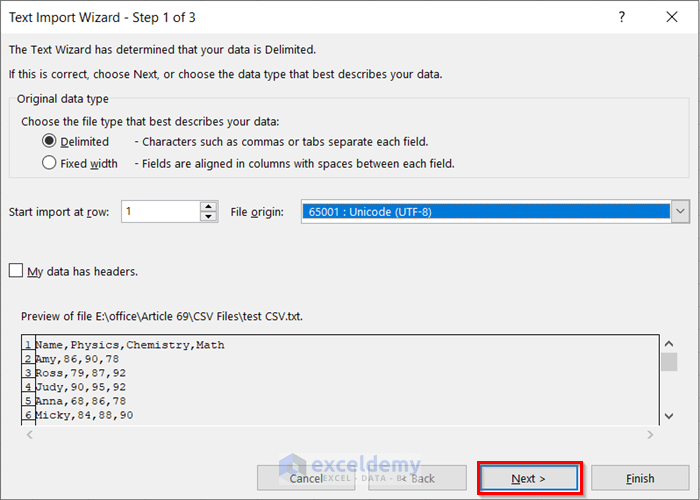
- Text Import Wizard – Step 1 of 3 will appear.
- Select Delimited.
- Click on the drop-down option for File origin.
- Select 65001:Unicode (UTF-8).
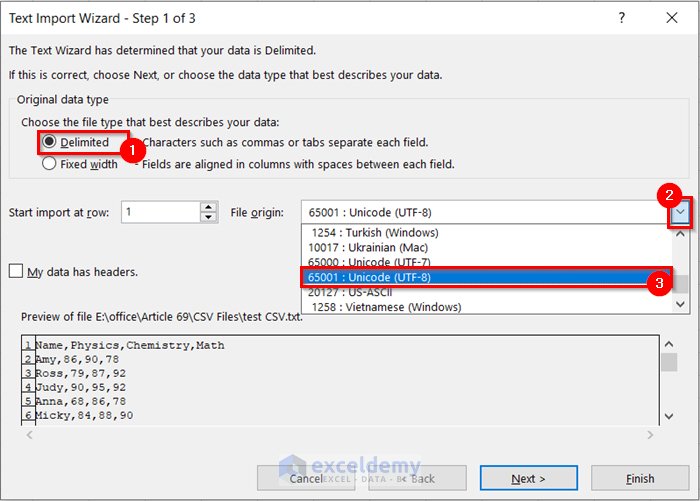
- Select Next.
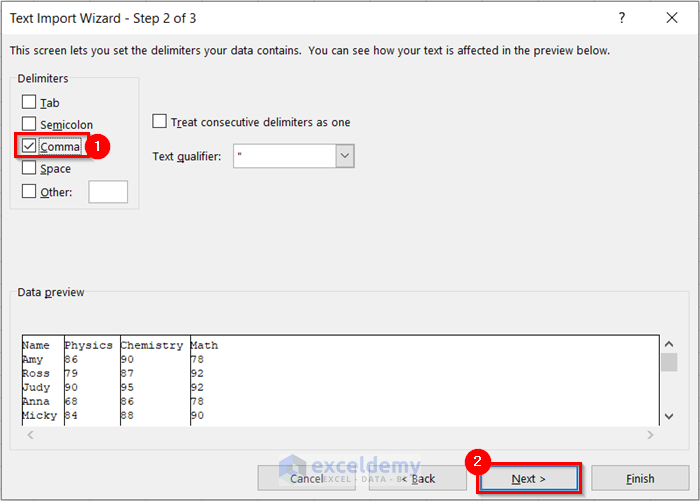
- The Text Import Wizard – Step 2 of 3 will appear.
- Select Comma as Delimiters.
- Select Next.
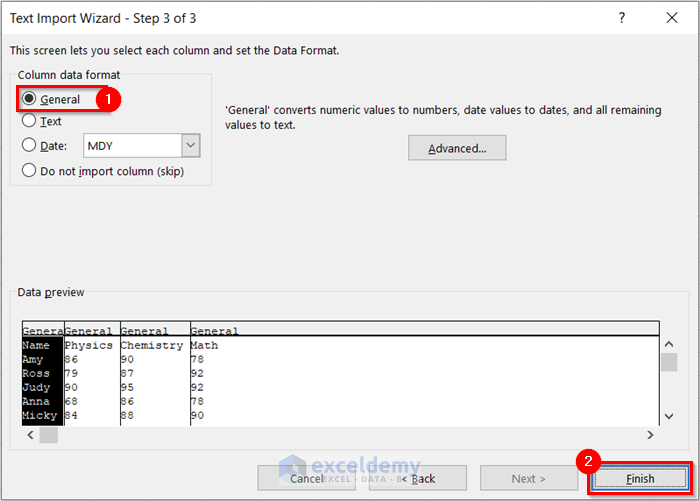
- The Text Import Wizard – Step 3 of 3 will appear.
- Select the Column data format you want. Here, I selected General.
- Select Finish.
- You will see that you have opened the CSV file in Excel.

Step-02: Format CSV File in Excel
- Right-click on column A.
- Select Insert.

- You will see that you have inserted a new column before the table.

- Add 3 rows before the table.
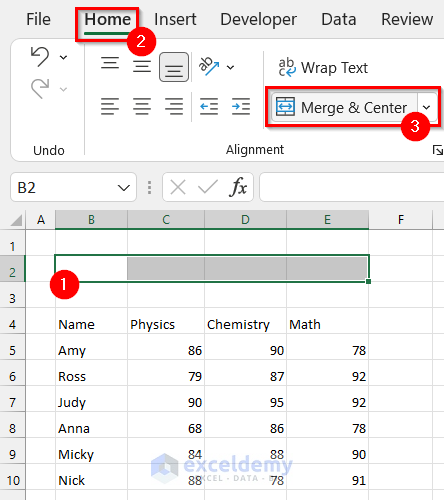
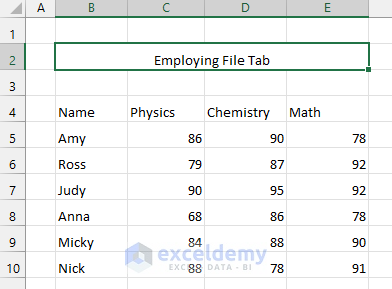
- Select the cell range B2:E2.
- Go to the Home tab.
- Select Merge & Center.
- Write the heading you want to give to this dataset in the merged cell.
- Change the alignment of the Excel sheet.
- Select the whole sheet by clicking on the marked portion in the following picture.
- Go to the Home tab.
- Select the alignment you want. We selected Middle Align.

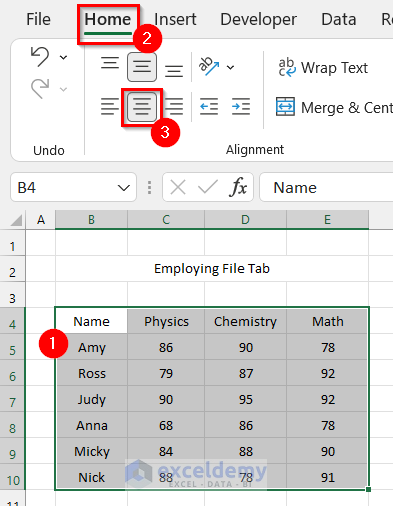
- Change the alignment of the data I got from the CSV file.
- Select cell range B4:E10.
- Go to the Home tab.
- Select Center.
- Change the cell style for the heading.
- Select the cell.
- Go to the Home tab.
- Select Cell Styles.
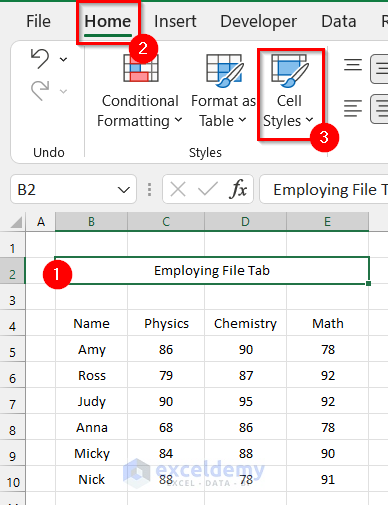
- A drop-down menu will appear.
- Select Heading 2 from the drop-down menu.

- You will see the cell style of the heading has changed.
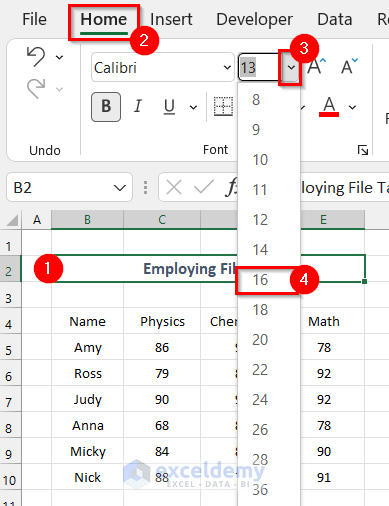
- Change the Font Size of the heading.
- Select the cell where the heading is.
- Go to the Home tab.
- Click on the Drop-down menu for Font Size.
- Select the Font Size you want. We selected 16.
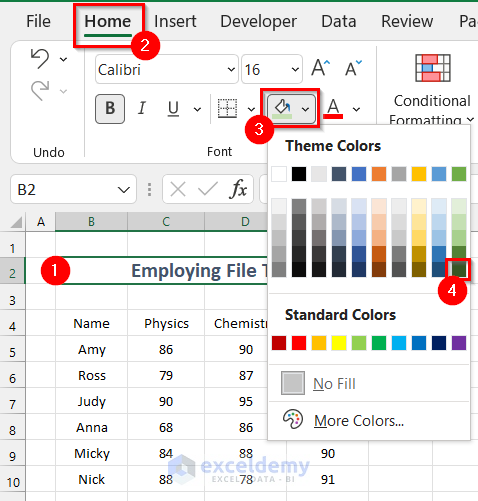
- Change the Fill Color of the heading.
- Select the merged cell.
- Go to the Home tab.
- Click on the drop-down option for Fill Color.
- Select the color you want.
- Change the Font Color.
- Select the cell where you want to change the font color.
- Go to the Home tab.
- Click on the drop-down option for Font Color.
- Select the color you want.
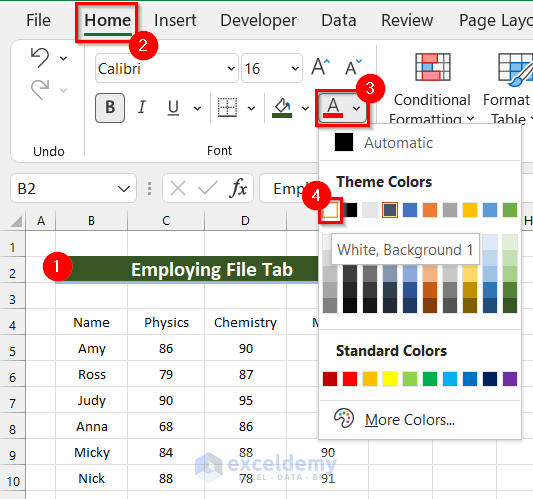
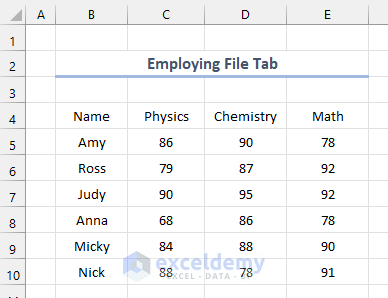
- In the following picture, you can see the final look at my heading.
- Change the formatting of the other cells as you want in the same way.

- Select cell range B4:E10.
- Go to the Home tab.
- Click on the drop-down menu for Borders.

- Select All Borders.
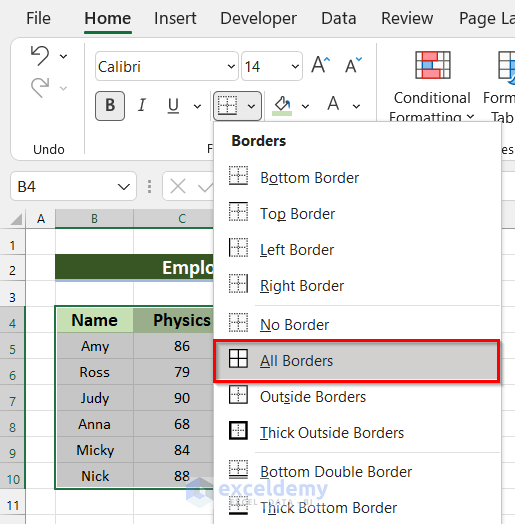
- See borders are added to your dataset.

- Select the whole Excel worksheet by clicking the marked portion in the following picture.
- Go to the View tab.
- Uncheck the Gridlines.
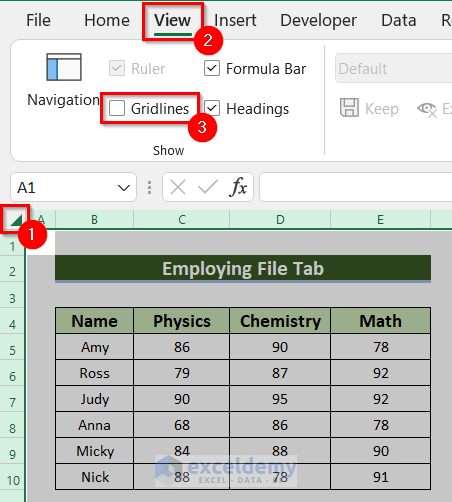
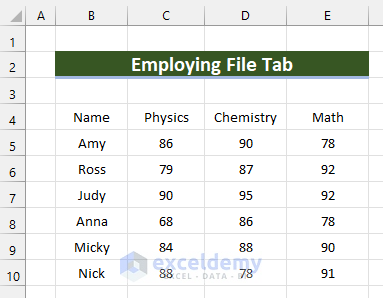
- In the following picture, you can see how my file looks after formatting.

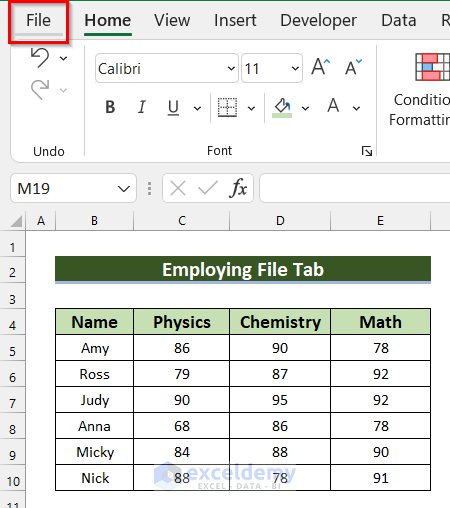
Step-03: Save CSV File in Excel
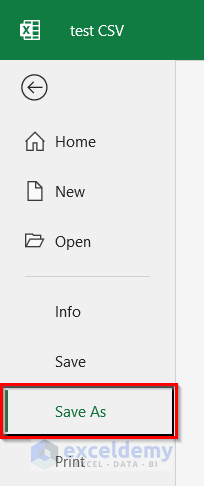
- In the beginning, go to the File tab.
- Select Save as.
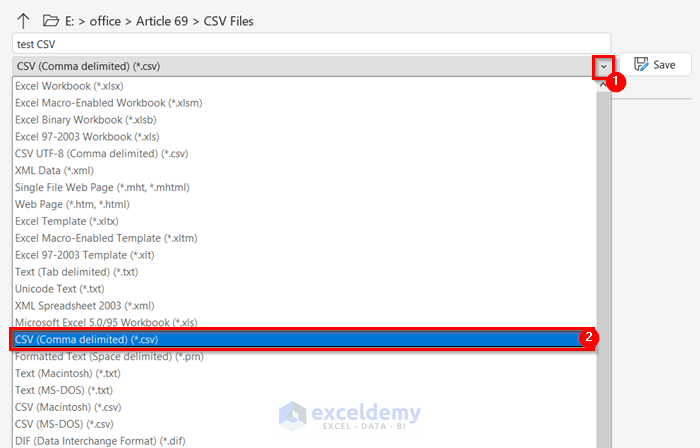
- Click on the drop-down option.
- Select CSV (Comma delimited).
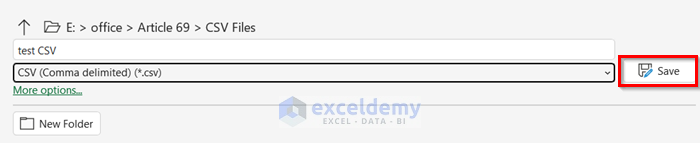
- Select Save and your file will be saved as CSV.
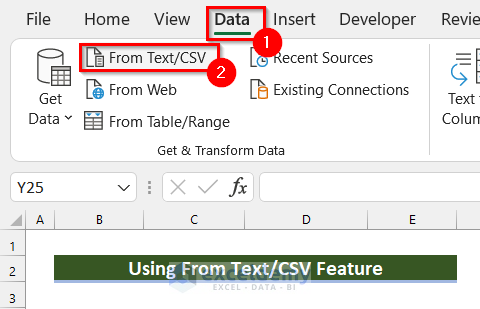
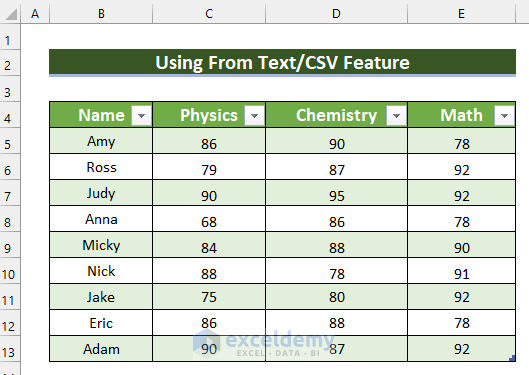
Method 2 – Use From Text/CSV Feature in Excel
Step-01: Import CSV File in Excel
- Go to the Data tab.
- Select From Text/CSV.
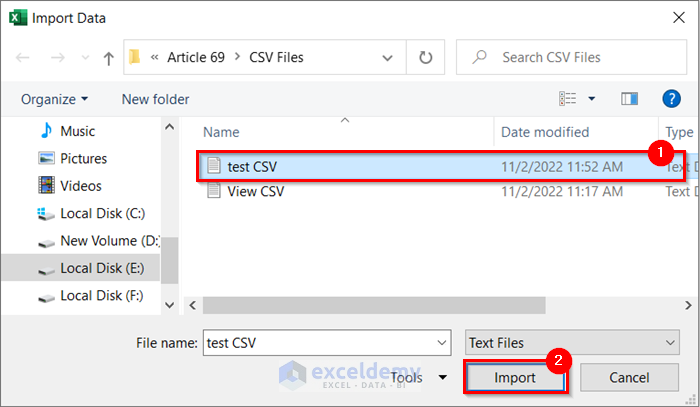
- The Import Data dialog box will appear.
- Select the CSV file.
- Select Import.
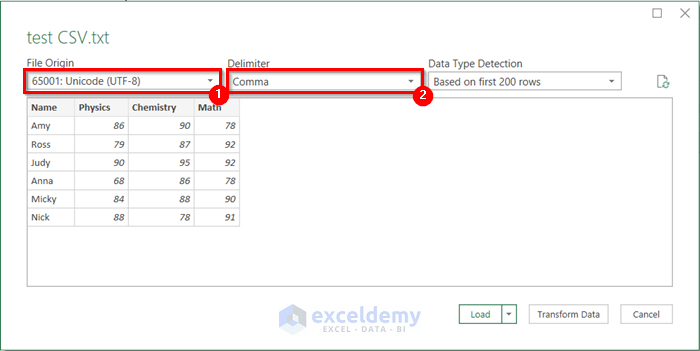
- Another dialog box will appear.
- Select 65001:Unicode (UTF-8) as File Origin.
- Select Comma as Delimiter.
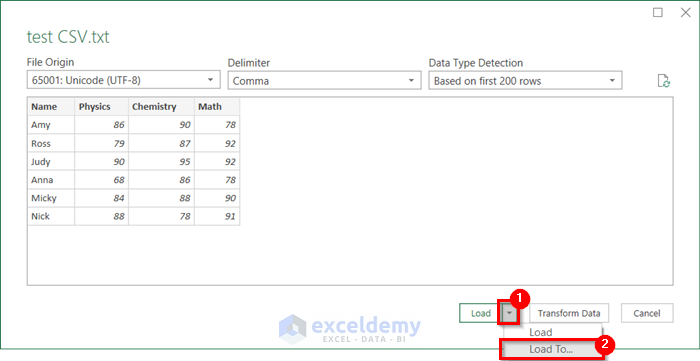
- Click on the drop-down option for Load.
- Select Load To.
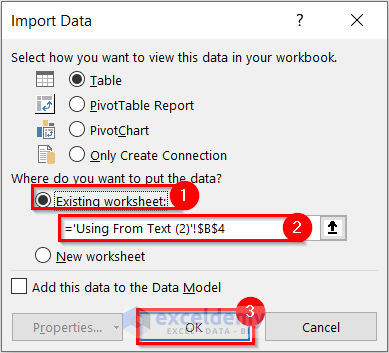
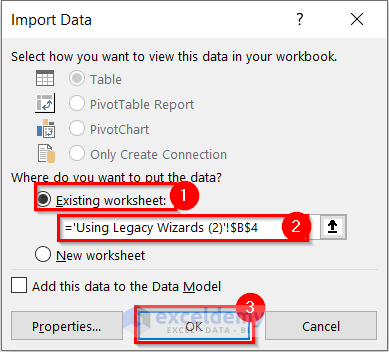
- The Import Data dialog box will appear.
- Select Existing worksheet.
- Select the location where you want to import the data.
- Select OK.
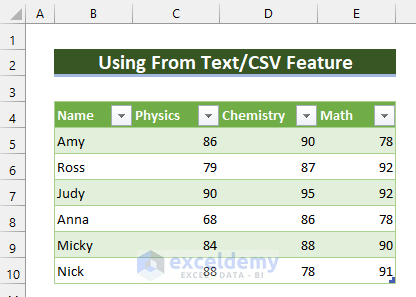
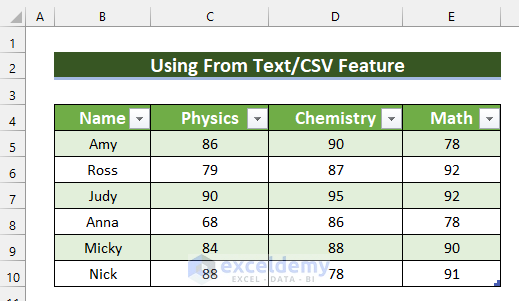
- See that you have imported the CSV file in Excel.
Step-02: Add More Data to CSV File in Excel
- Format the table by following the procedure from Step-02 of method-1.
- Select the first cell after the table.
- Write a student’s Name in that cell.
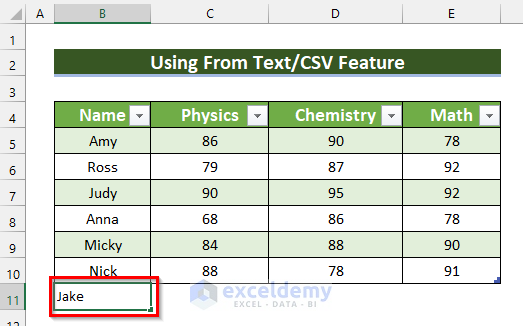
- Press Enter and you will see a new row is added to the table.
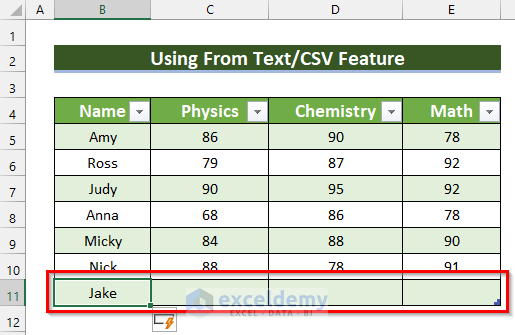
- Enter the obtained marks for that student.
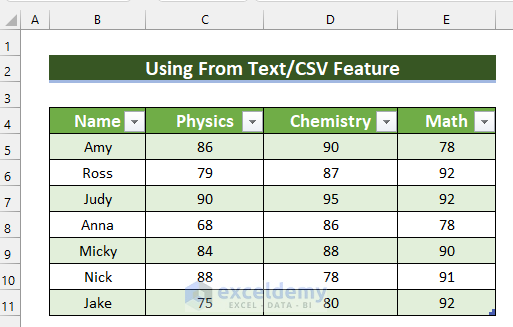
- We added data for two more students, and this is how my final table looks.
- You can Save the file as CSV by following the procedure from Step-03 of method-1.
Method 3 – Edit CSV File in Excel Using Legacy Wizards Feature
Step-01: Add Legacy Wizards in Excel
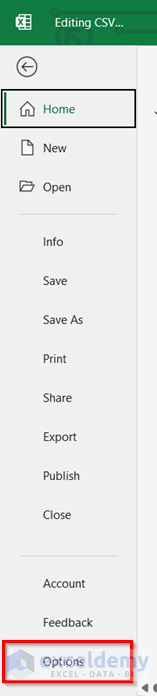
- Go to the File tab.
- Select Option.
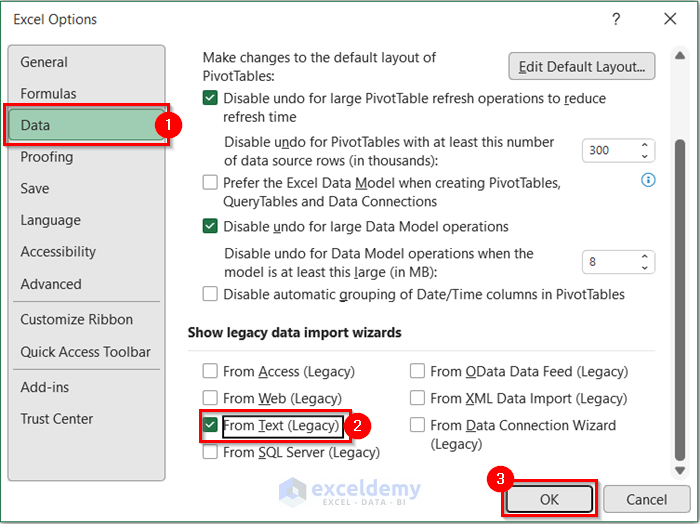
- The Excel Options dialog box will appear.
- Select the Data tab.
- Check the FromText (Legacy) option.
- Select OK and Legacy Wizards will be added to Excel.
Step-02: Insert CSV File in Excel Worksheet
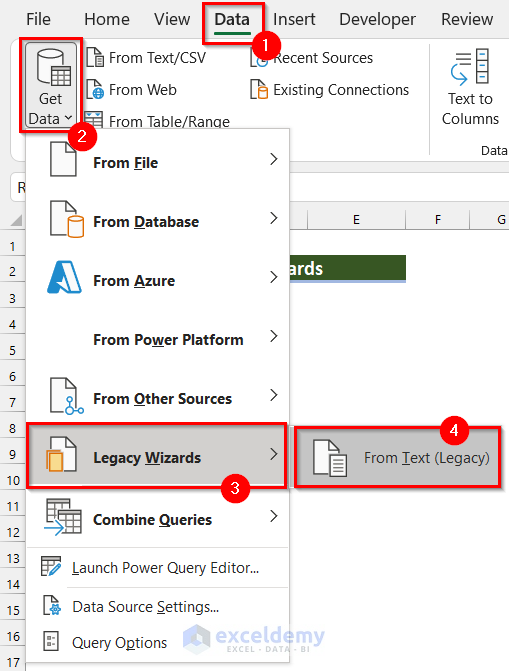
- Go to the Data tab.
- Select Get Data.
- Select Legacy Wizards.
- Select From Text (Legacy).
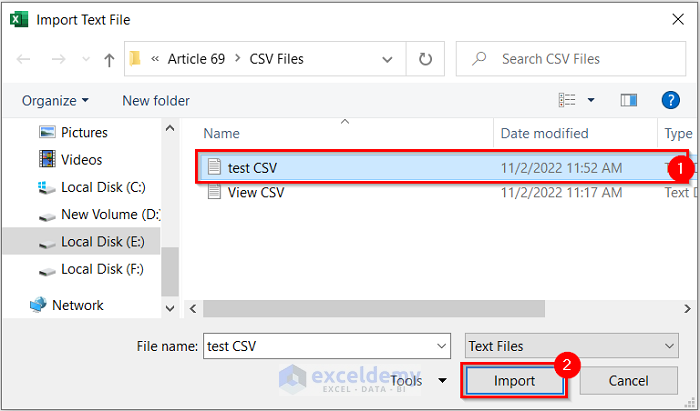
- The Import Text File dialog box will appear.
- Select the CSV file you want to edit.
- Select Import.
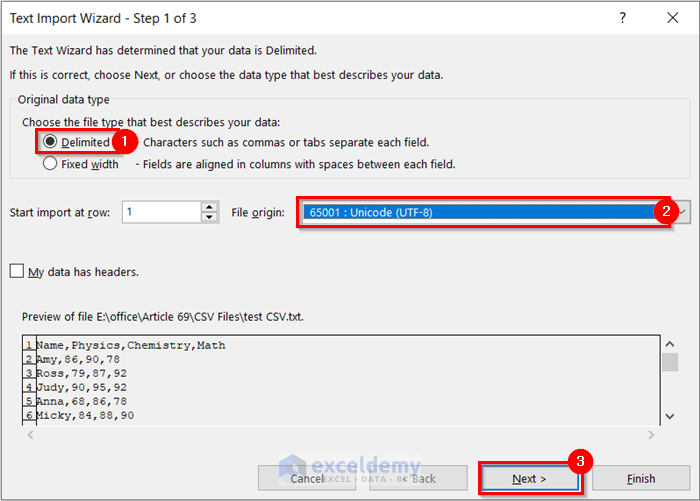
- The Text Import Wizard – Step 1 of 3 will appear.
- Select Delimited.
- Select 65001:Unicode (UTF-8) as File origin.
- Select Next.
- The Text Import Wizard – Step 2 of 3 will appear.
- Select Comma as Delimiters.
- Select Next.

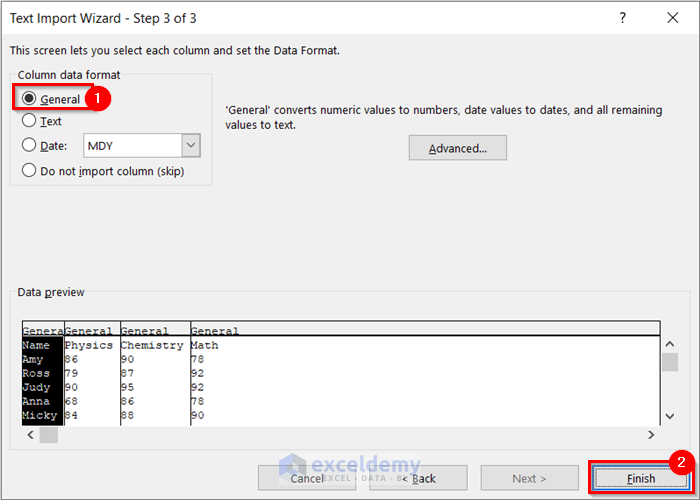
- The Text Import Wizard – Step 3 of 3 will appear.
- Select the Column data format you want. We selected General.
- Select Finish.
- The Import Data dialog box will appear.
- Select Existing Worksheet.
- Select the location where you want the data.
- Select OK.
- You will see that the data from the CSV file is imported to your Excel sheet.

Step-03: Edit CSV File in Excel
- Format the table by following the procedure from Step-01 of method-1.

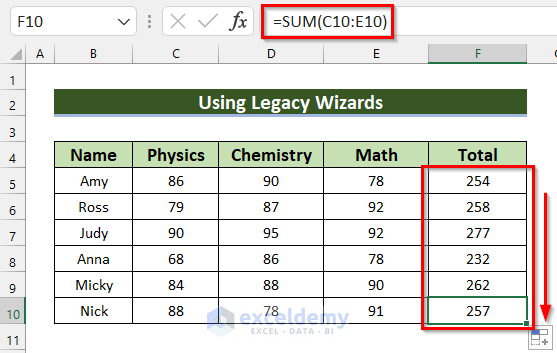
- Create a new column for calculating Total.

- Select the cell where you want to calculate the Total. Here, I selected cell F5.
- In cell F5 write the following formula.
=SUM(C5:E5)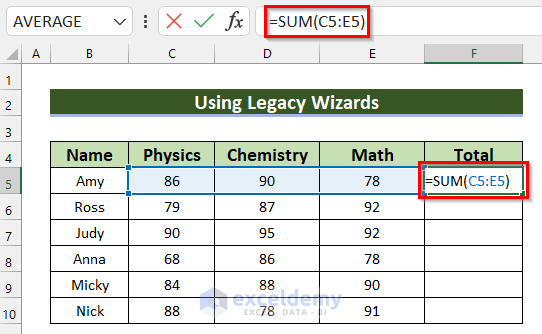
- Press Enter to get the result.
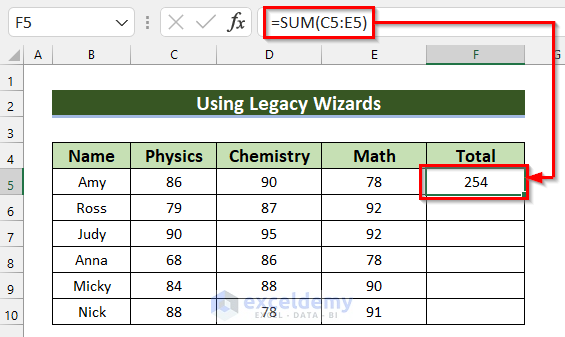
In the SUM function, I selected cell range C5:E5 as numbers. The formula will return the summation of the cell range C5:E5.
- Drag the Fill Handle down to copy the formula to the other cells.
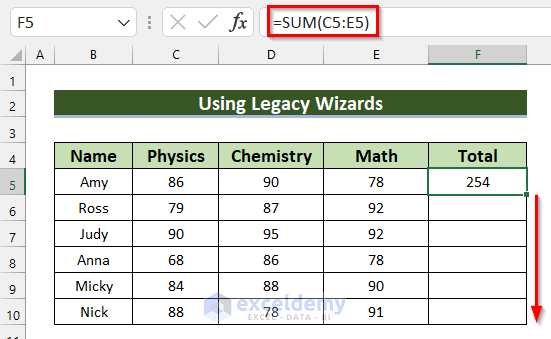
- You can see that I have copied the formula to the other cells and got my desired results.
- Save the file as CSV by following the procedure from Step-03 of method-1.
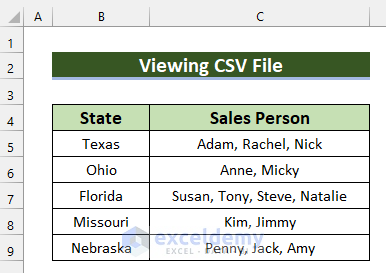
How to View CSV File in Excel
We’ll show how you can view CSV file in Excel. It contains both commas and semicolons and shows the State in one column and Sales Person in another column. 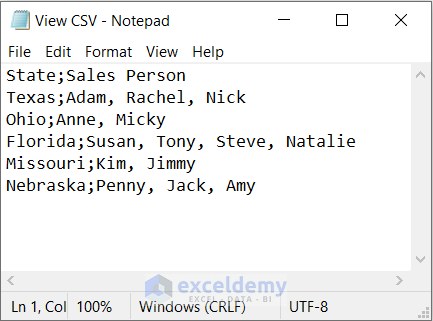
Steps:
- Go to the Data tab.
- Select Get Data.
- Select Legacy Wizards.
- Select From Text (Legacy).

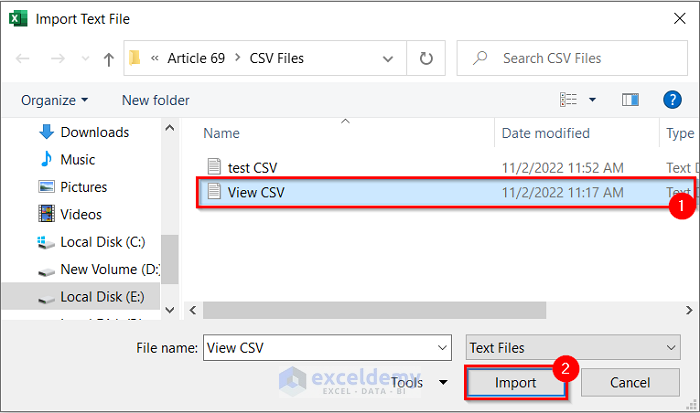
- The Import Text File dialog box will appear.
- Select the CSV file you want to edit.
- Select Import.
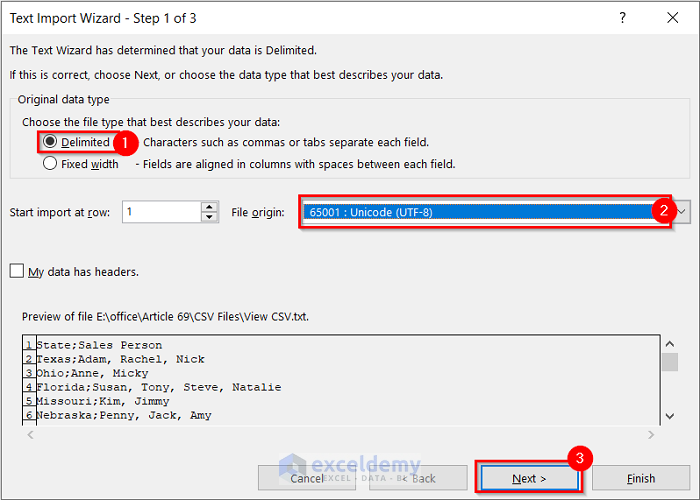
- The Text Import Wizard – Step 1 of 3 will appear.
- Select Delimited.
- Select 65001:Unicode (UTF-8) as File origin.
- Select Next.
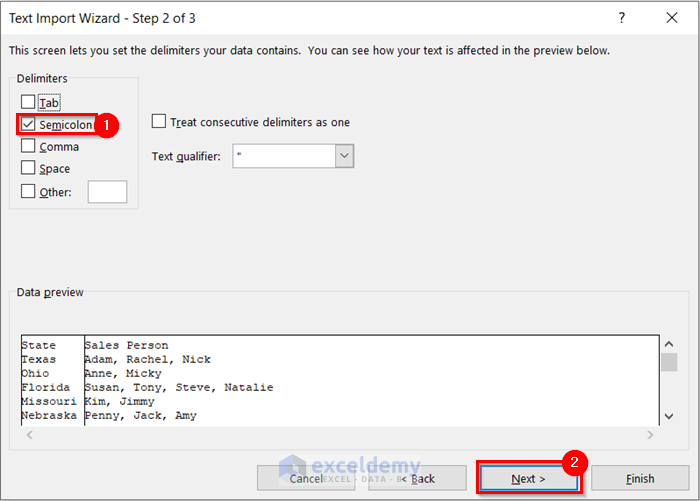
- The Text Import Wizard – Step 2 of 3 will appear.
- Select Semicolon as Delimiters.
- Select Next.
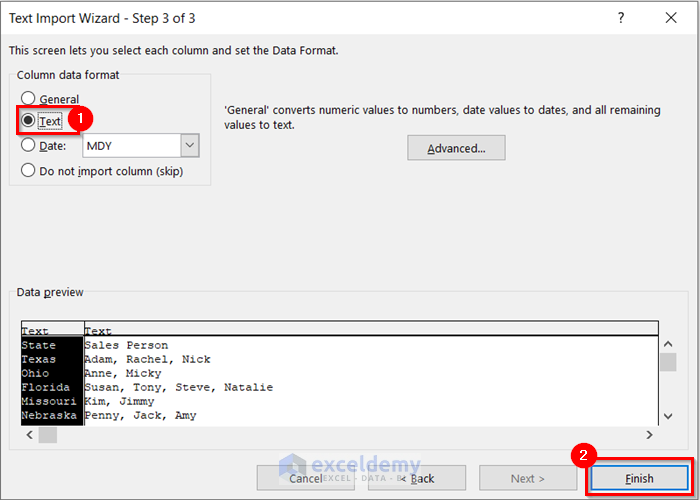
- The Text Import Wizard – Step 3 of 3 will appear.
- Select the Column data format you want. Here, I selected Text.
- Select Finish.
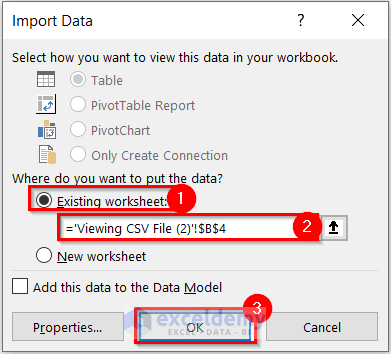
- The Import Data dialog box will appear.
- Select Existing Worksheet.
- Select the location where you want the data.
- Select OK.
- You will be able to view the CSV file in Excel.
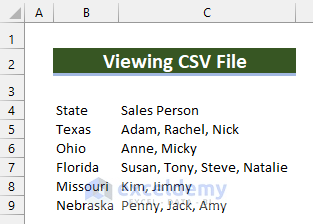
- See that I have formatted the data to give them a clear look. But it is optional.
Download Practice Workbook
You can download the practice workbook from here.
Related Articles
<< Go Back to Import CSV to Excel | Importing Data in Excel | Learn Excel
Get FREE Advanced Excel Exercises with Solutions!
