CSV is short for Comma Separated Values – a kind of Text file with the .csv extension, where the data on each line is split by commas.
Let’s import a csv file into Excel using two different methods.
Example 1 – Import CSV File with Comma in Excel
STEPS:
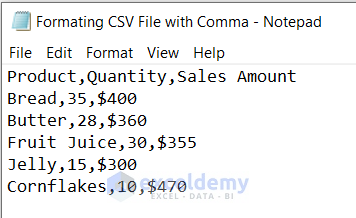
- Prepare and save a text file with headers and row data separated by commas like this:
- Open a new Excel workbook.
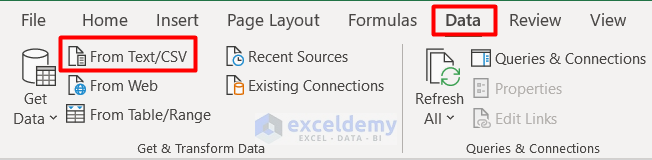
- Click Data tab and select From Text/CSV.
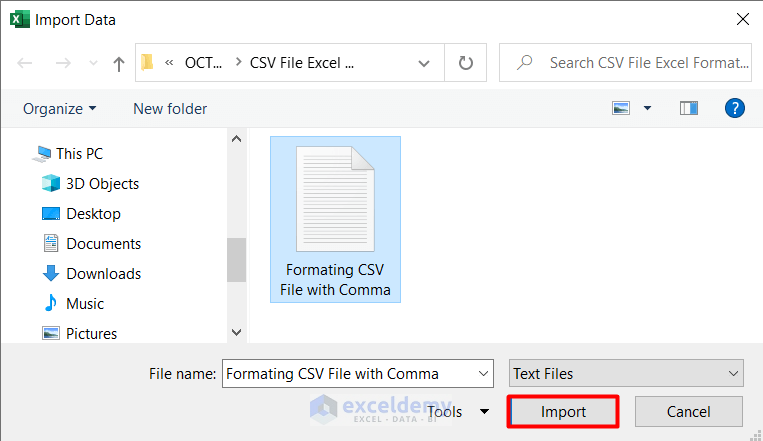
- A window opens to select the CSV file.
- Click the file just created and select Import.
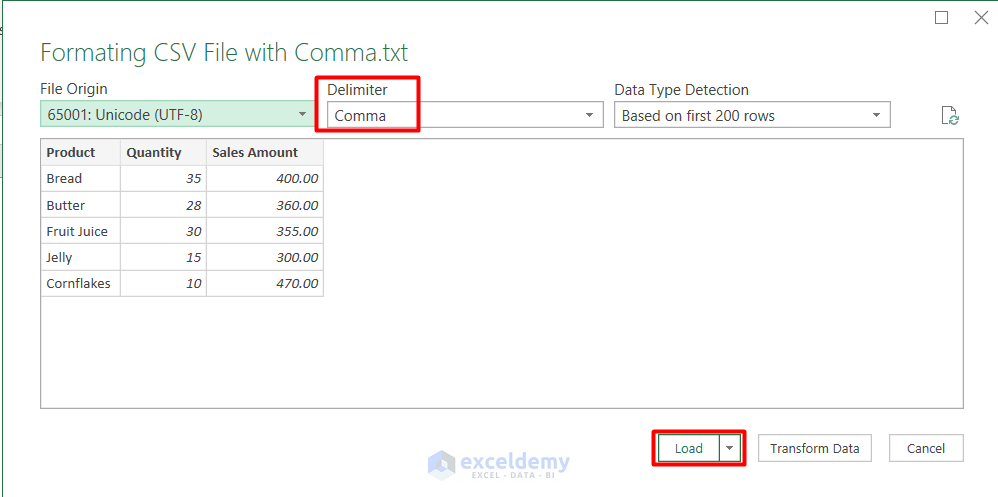
- A preview window opens containing the text to be imported.
- In this window, set the File Origin as 65001: Unicode (UTF-8).
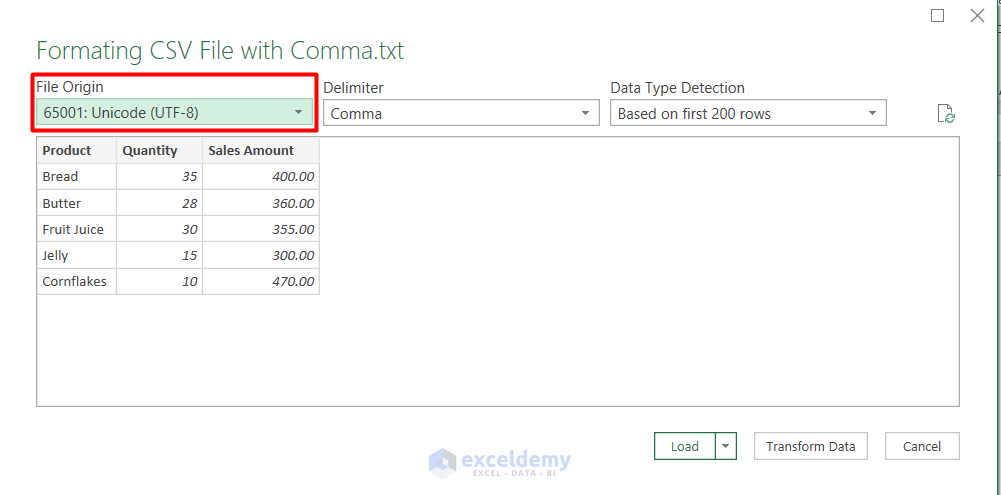
- For the Delimiter, select Comma.
- Click Load to close the window.
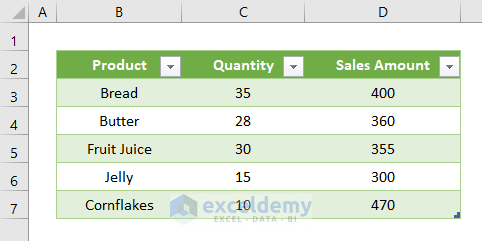
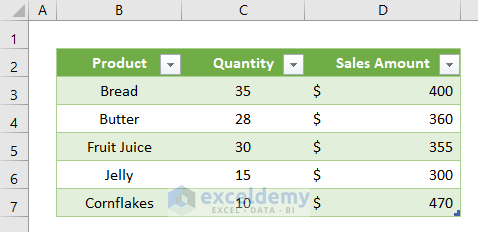
- A new table is displayed as formatted from the CSV file.
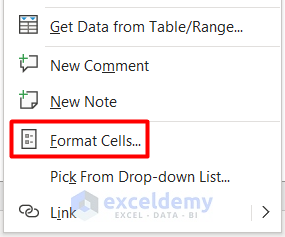
- To change the Sales Amount format, select the range D3:D7.
- Right-click on it and select Format Cells from the context menu.
- Select Accounting from the Number tab.
- Select Symbol.
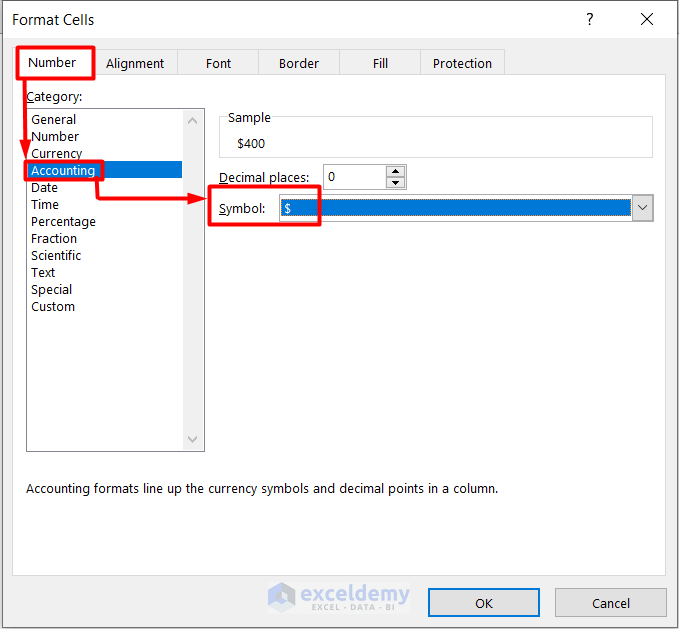
- Click OK to return the final output.
Read More: How to Keep Leading Zeros in Excel CSV Programmatically
Example 2 – Format CSV Data with Commas & Quotation Marks
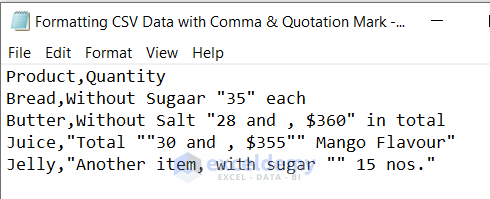
Let’s prepare a text file containing both commas and quotation marks as the separators, and import it into Excel.
- Create and save the following CSV file:
- Import this file using Data > From Text/CSV, as in Example 1.
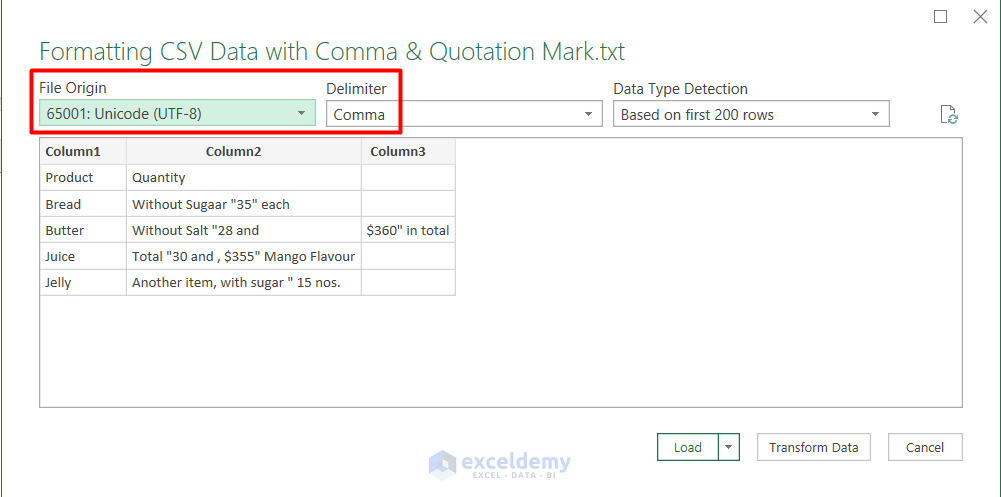
- The preview table is displayed.
- Change the File Origin and Delimiter as in the image below.
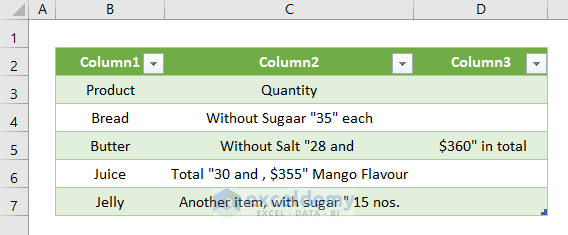
- The formatted CSV file is imported into Excel.
Note: You can use any of the following separators in a CSV file.
- , (comma)
- TAB (the tab key)
- ; (semi-colon)
- | (pipe)
- ^ (carat)
Read More: How to Fix CSV File in Excel
How to Save CSV File in Excel
STEPS:
- Click the File tab in a prepared Excel sheet.
- Select Save As from the left side panel.

- Select CSV UTF-8 (Comma delimited) as the File Type.
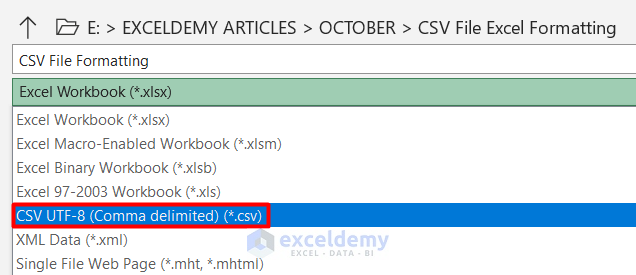
- Click Save.

Read More: Paste Comma Separated Values into Excel
Things to Remember
- Make sure there is no space between values and commas in the CSV file.
- Header rows are required in the text file to be imported.
- For saving the file in CSV format, keep the same format of the values matched.
Download Practice Workbook
Related Articles
- Merge CSV Files into Multiple Sheets in Excel
- How to Edit CSV File in Excel
- How to Sort CSV File in Excel
- How to Merge CSV Files in Excel
- How to Stop Excel from Auto Formatting Dates in CSV
<< Go Back to Import CSV to Excel | Importing Data in Excel | Learn Excel
Get FREE Advanced Excel Exercises with Solutions!
