Method 1 – Use of Text Import Wizard to Convert CSV to XLSX without Opening
Steps:
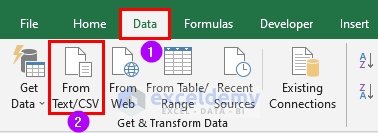
- From the Data tab >>> select From Text/CSV.
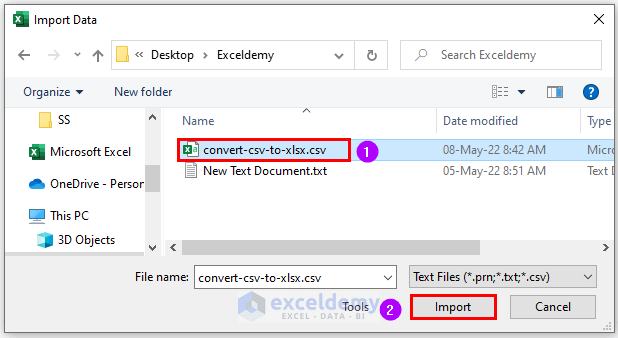
The Import Data dialog box will open.
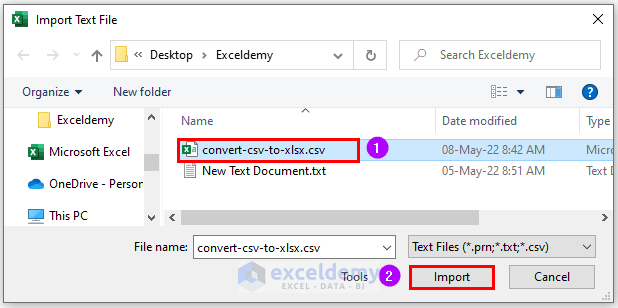
- Select the file named “convert-csv-to-xlsx.csv” and click Import.
A new window will appear.
- From Load >>> select “Load To…”.

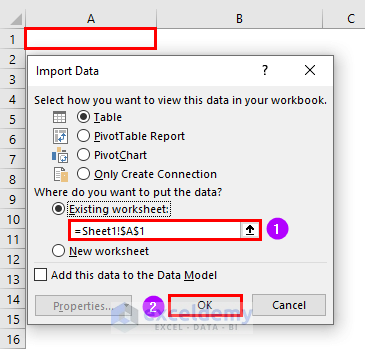
Select the output location.
- Click on “Existing worksheet:” and point to cell A1.
- Click OK.
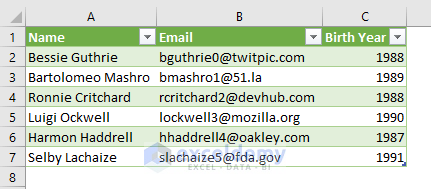
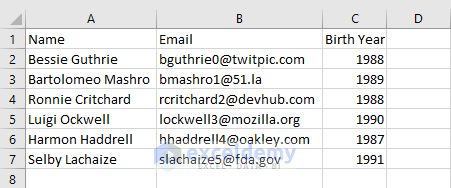
The CSV file will be converted to XLSX file format.
Read More: How to Convert CSV to XLSX
Method 2 – Convert CSV to XLSX without Opening by Using Legacy Wizard
Steps:
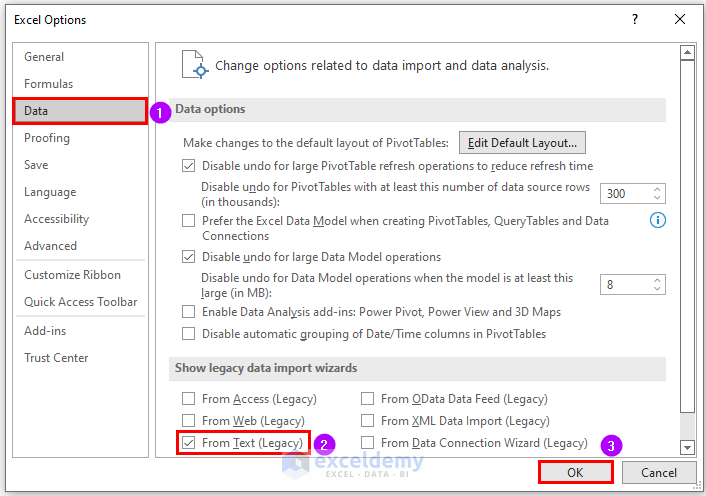
- Press ALT + F + T to bring up the Excel Options window.
- From Data >>> check “From Text (Legacy)” and click OK.
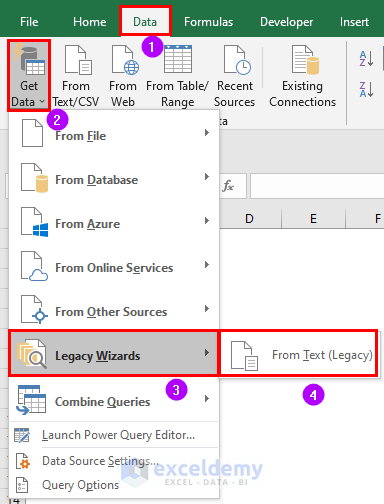
- From the Data tab >>> Get Data >>> Legacy Wizards >>> select From Text (Legacy).
Import the file again.
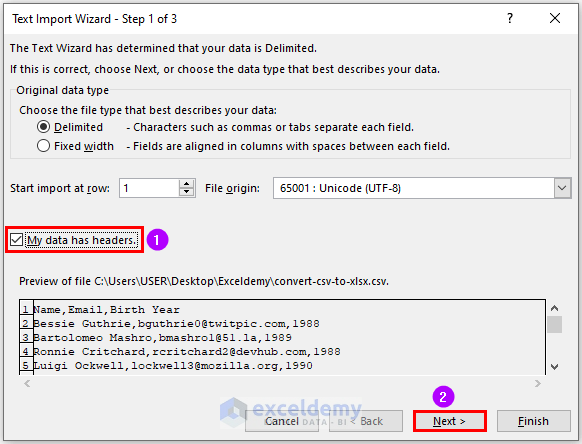
The Text Import Wizard window will pop up.
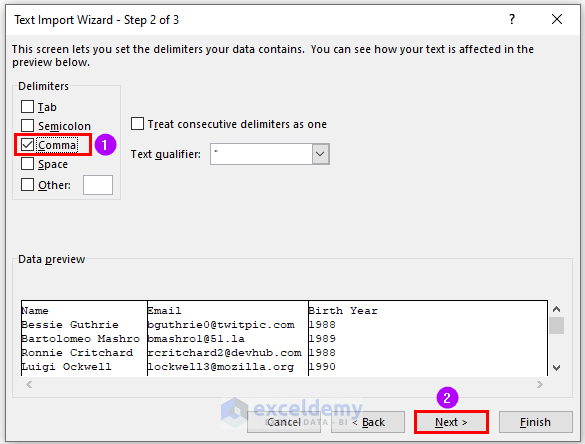
- Check “My data has headers” and click on Next.
- Choose Comma as Delimiter and click Next.
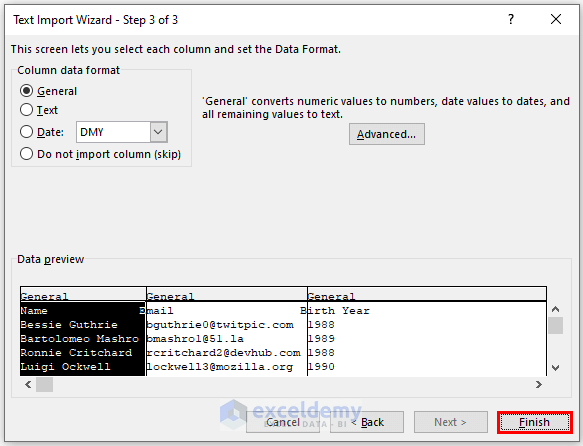
- Click on Finish.
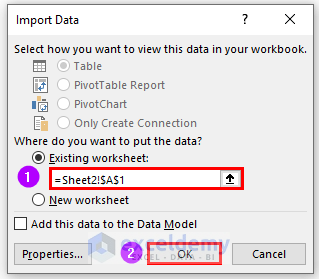
Set the output location as cell A1 in Sheet2.
- Click OK.
The final output will be as shown in the following image.

Read More: Convert CSV to Excel Automatically
Method 3 – Convert CSV to XLSX without Opening by Using VBA Code
We’ll use VBA code to convert CSV files. We will define our input and output files. However, this code is only for a single file.
Steps:
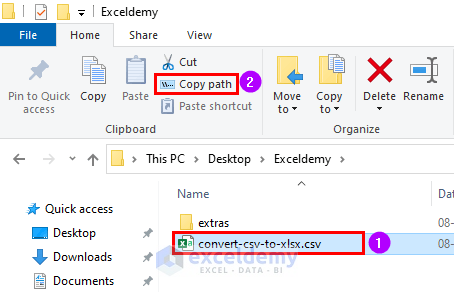
- Select the file and from the Home tab >>> select Copy path.
This will copy the location of the file.
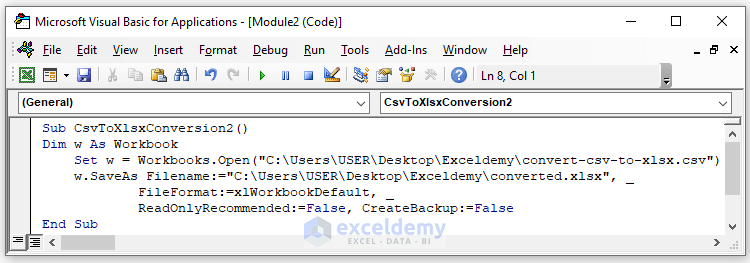
- Open the Module window and enter the following code.
Sub CsvToXlsxConversion2()
Dim w As Workbook
  Set w = Workbooks.Open("C:\Users\Rafi\OneDrive\Desktop\Softeko\36\convert-csv-to-xlsx.csv")
  w.SaveAs Filename:="C:\Users\Rafi\OneDrive\Desktop\Softeko\36\convert-csv-to-xlsx.xlsx", _
      FileFormat:=xlWorkbookDefault, _
      ReadOnlyRecommended:=False, CreateBackup:=False
End Sub
VBA Code Breakdown
- We have used the Sub Procedure as CsvToXlsxConversion2.
- Declaring our variable types.
- We’re defining our input file using the Set Statement.
We’ve got our file location via the Copy path option. - We’re setting our output file as “xlsx” and the file format as xlWorkbookDefault, which is XLSX format.
- Save and Run the Module.
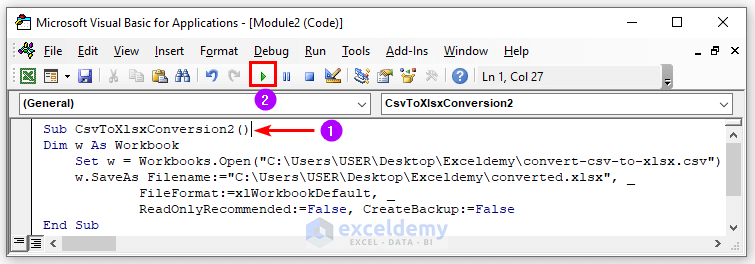
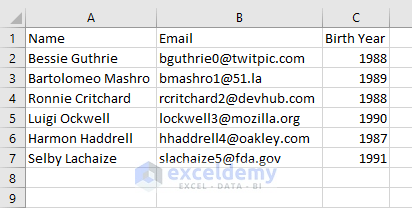
The CSV file will be converted to XLSX.
Read More: How to Convert CSV to Excel with Columns
Method 4 – Applying VBA Code to Convert Multiple CSV Files to XLSX without Opening
Steps:
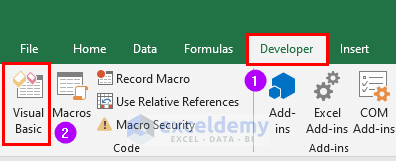
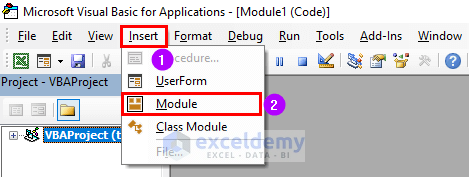
- From the Developer tab >>> select Visual Basic.
- From Insert >>> select Module.
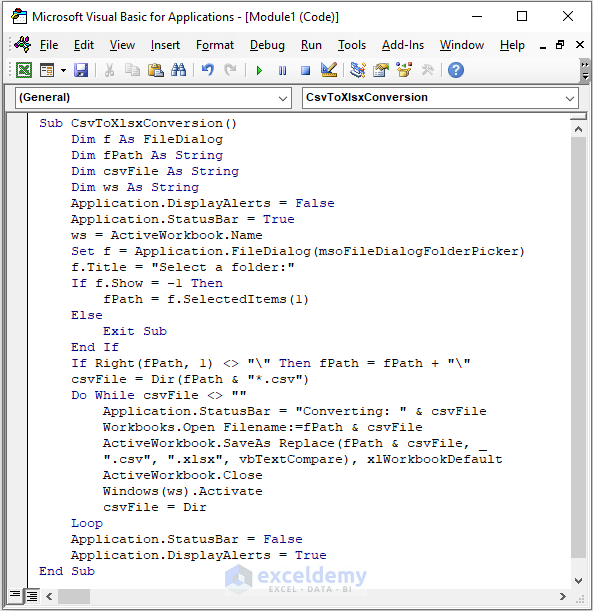
- Enter the following code.
Sub CsvToXlsxConversion()
Dim f As FileDialog
Dim fPath As String
Dim csvFile As String
Dim ws As String
Application.DisplayAlerts = False
Application.StatusBar = True
ws = ActiveWorkbook.Name
Set f = Application.FileDialog(msoFileDialogFolderPicker)
f.Title = "Select a folder:"
If f.Show = -1 Then
fPath = f.SelectedItems(1)
Else
Exit Sub
End If
If Right(fPath, 1) <> "\" Then fPath = fPath + "\"
csvFile = Dir(fPath & "*.csv")
Do While csvFile <> ""
Application.StatusBar = "Converting: " & csvFile
Workbooks.Open Filename:=fPath & csvFile
ActiveWorkbook.SaveAs Replace(fPath & csvFile, ".csv", ".xlsx", vbTextCompare), xlWorkbookDefault
ActiveWorkbook.Close
Windows(ws).Activate
csvFile = Dir
Loop
Application.StatusBar = False
Application.DisplayAlerts = True
End Sub
VBA Code Breakdown
- We’re naming our Sub Procedure CsvToXlsxConversion.
- We’re declaring our variable types.
- We’re displaying the InputBox to pick a folder.
- The code will search for all CSV files in that folder.
- We’re using the Do While Loop to convert all CSV files.
- Save the Module.
- Click anywhere in the code and press Run.
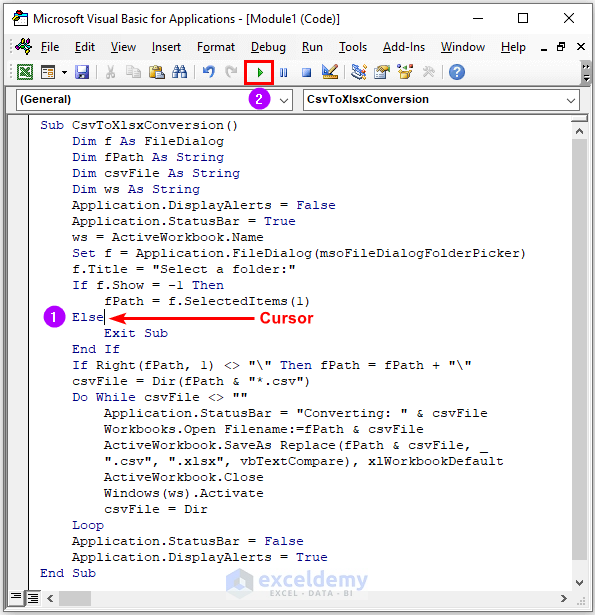
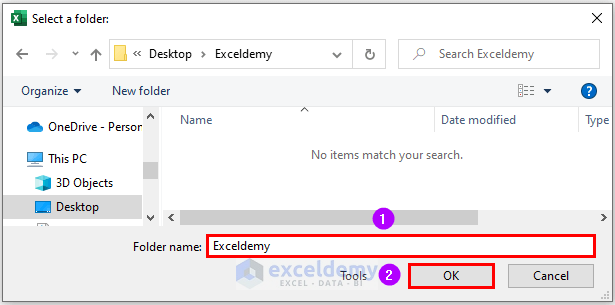
It will ask to select a folder.
- Select a folder and click OK.
We have two files with XLSX format in that folder (it can vary depending on the number of CSV files you have in that folder).
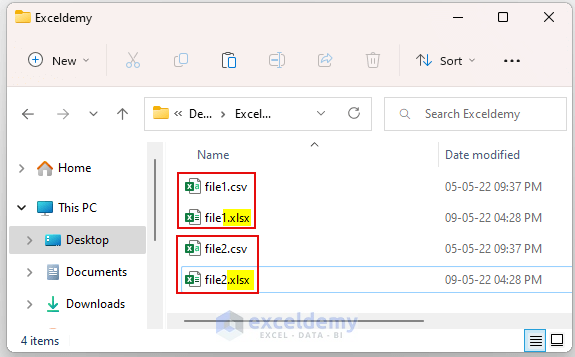
Open any file to check if the data conversion has been done correctly.
Read More: Difference Between CSV and Excel Files
Method 5 – Utilizing Command-Line to Convert CSV to XLSX
Steps:
- Enter the following code in the notepad.
sourceFile= Wscript.Arguments(0)
targetFile = Wscript.Arguments(1)
On Error Resume Next
Set tExcel = GetObject(,"Excel.Application")
If Err.Number = 429 Then
Set tExcel = CreateObject("Excel.Application")
End If
tExcel.Visible = false
tExcel.displayalerts=false
Set tWorkbook = tExcel.Workbooks.open(sourceFile)
Set tWorksheet1 = tWorkbook.Worksheets(1)
Set tRange = tWorksheet1.UsedRange
tRange.EntireColumn.Autofit()
tExcel.Rows(1).Font.Bold = TRUE
tWorksheet1.SaveAs targetFile, 51
tExcel.Quit()
VBS Code Breakdown
This is the Visual Basic scripting edition code.
- We’re setting two arguments.
- We’re defining the input file. Moreover, the first Worksheet is used in our code only.
- We’re setting the cell
- We’re using Autofit.\
- We’re making the first row Bold.
- We’re saving the file as 51 (this means XLSX).
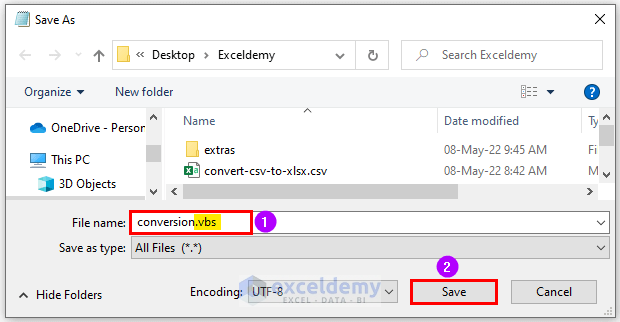
- Select All Files in “save as type:”.
- Save it as “vbs” filename.
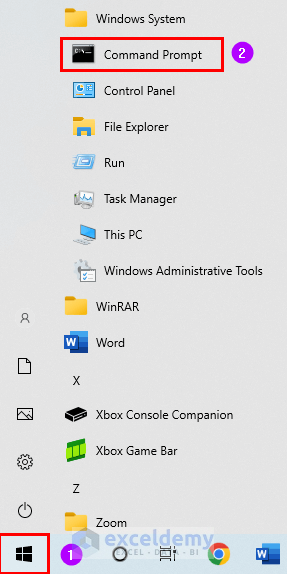
- From the Start Menu >>> open Command Prompt.
- Enter the following code and press ENTER.
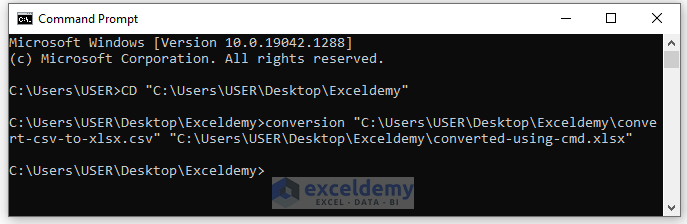
CD "C:\Users\USER\Desktop\Exceldemy"This will set our directory to our working folder.
- Add this code.
conversion "C:\Users\USER\Desktop\Exceldemy\convert-csv-to-xlsx.csv" "C:\Users\USER\Desktop\Exceldemy\converted-using-cmd.xlsx"This code will run our “conversion.vbs” file. In our code, the first location is the input and the second one is the output file.
- Press ENTER.
Open the “converted-using-cmd.xlsx” file to verify it.
Read More: How to Import CSV Data into Excel
Convert CSV Incorporating Online Converter
You can also use websites like Cloud Convert to convert your file.
Steps:
- Go to the website.
- Select your file.
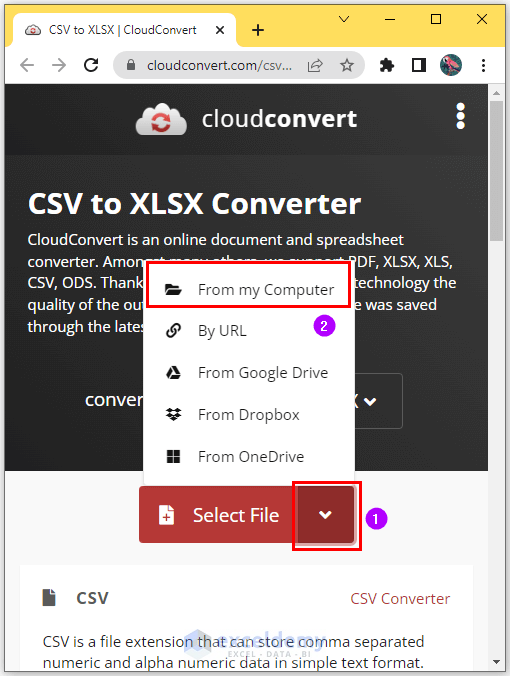
- Click on Open.

- Select XLSX as the output format and click on Convert.
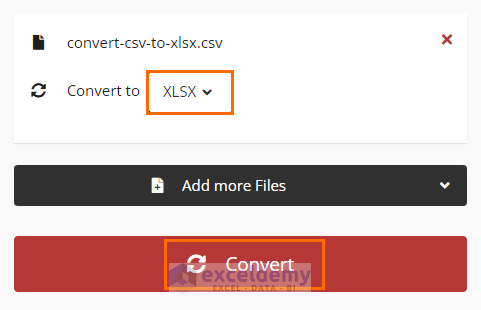
- Click on Download.

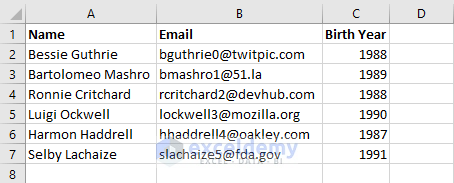
The output will look like the image below.

Read More: How to Convert CSV to XLSX Command Line
Download Practice Workbook
Related Articles
- How to Open Notepad or Text File in Excel with Columns
- How to Import Text File to Excel Automatically
- How to Import CSV into Existing Sheet in Excel
- How to Compare 2 CSV Files in Excel
<< Go Back to How to Convert CSV to Excel | Import CSV to Excel | Importing Data in Excel | Learn Excel
Get FREE Advanced Excel Exercises with Solutions!

The below works fine for me and is what i’ve been looking for, but how do i get it to set all columns to text?
Thank you.
sourceFile= Wscript.Arguments(0)
targetFile = Wscript.Arguments(1)
On Error Resume Next
Set tExcel = GetObject(,”Excel.Application”)
If Err.Number = 429 Then
Set tExcel = CreateObject(“Excel.Application”)
End If
tExcel.Visible = false
tExcel.displayalerts=false
Set tWorkbook = tExcel.Workbooks.open(sourceFile)
Set tWorksheet1 = tWorkbook.Worksheets(1)
Set tRange = tWorksheet1.UsedRange
tRange.EntireColumn.Autofit()
tExcel.Rows(1).Font.Bold = TRUE
tWorksheet1.SaveAs targetFile, 51
tExcel.Quit()
Thank you so much JOHN JOYCE for your comment. To set all the columns into text, you can follow the below steps accordingly.
After changing the format save the file and re-open it to check whether the data shows in the proper format.
Best Regards,
Bishwajit
Team ExcelDemy
Is there a quick way to make any of these work with multiple files in subfolders?
Hello M,
Thank you for your query. I hope you are doing well. The quickest way to convert CSV files to XLSX files is by using programming languages like Excel VBA. You may check Method 4 ( Applying VBA Code to Convert Multiple CSV Files to XLSX without Opening) to convert multiple files in subfolders.