Excel offers changing cases in Excel either using a formula or without even using formulas. In this article, you will learn 5 ways to change cases in Excel without using a formula with ease.
How to Change Case in Excel without a Formula: 5 Ways
1. Use Flash Fill to Change Case in Excel
If you are using Excel 2019 or the later versions, then you can change cases with the help of the Flash Fill feature.
To change cases using Flash Fill,
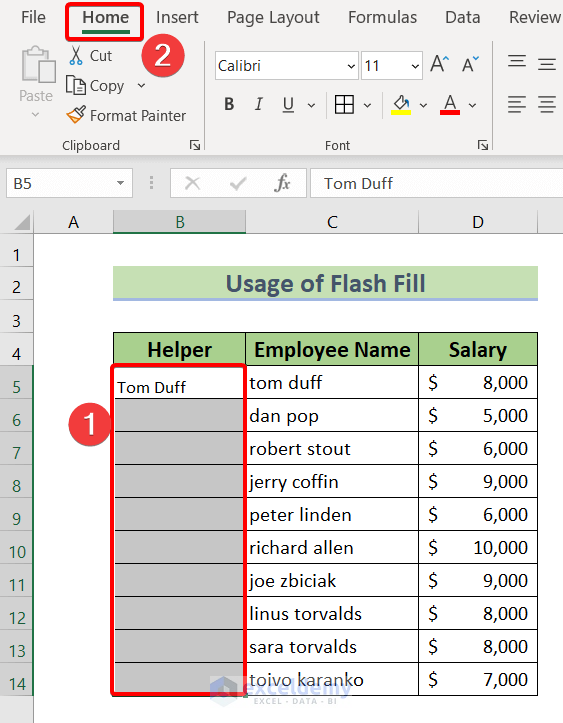
- Create a helper column next to the original column having texts with case issues.
- Then in the top cell of the helper column, type the first text data with the right cases.
- Here, I typed Tom Duff.
- Now select the entire column and go to the Home.
- From the Editing group, click on the Fill drop-down and choose Flash Fill.
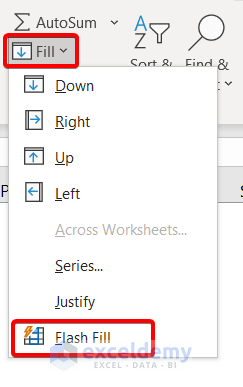
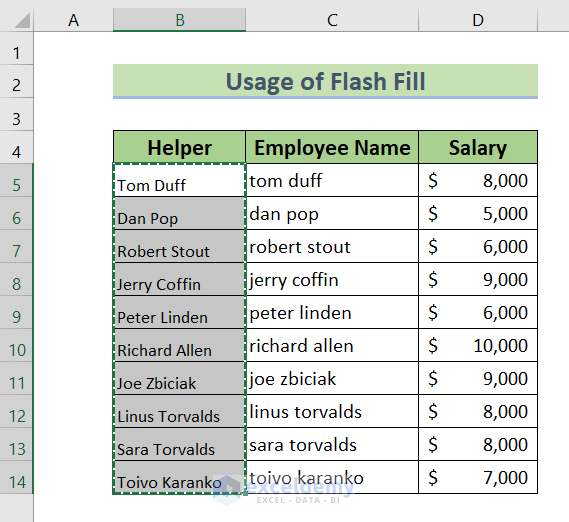
This will fill up the Entire Helper column with texts about your preferred cases.
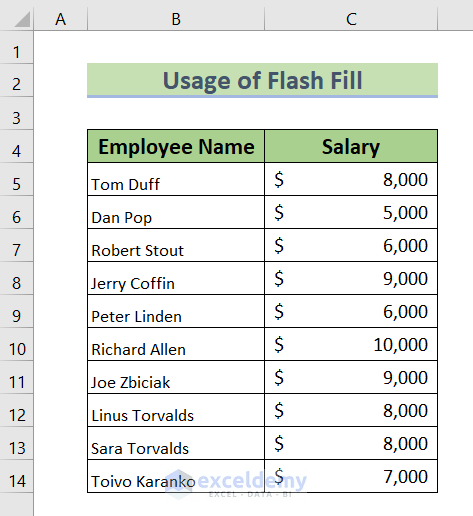
- Copy the Entire Helper column and Paste it to the original column to update the cases.
Now your data table will have the text data with your preferred cases.
2. Change Case in Excel Using MS Word
If you are using an older version of Microsoft Excel, then you are probably missing out on the Flash Fill feature.
In that case, you can seek the help of MS Word to change the cases of your datasheet.
For that,
- Select the Entire column having text data with case issues.
- Now press CTRL + C to copy the text data.
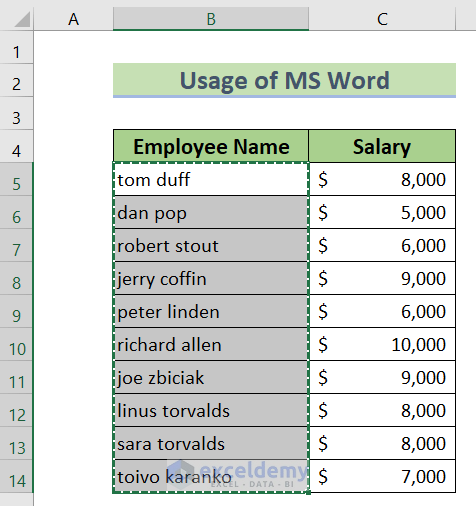
- Then open the MS Word and press CTRL + V to paste the copied data.
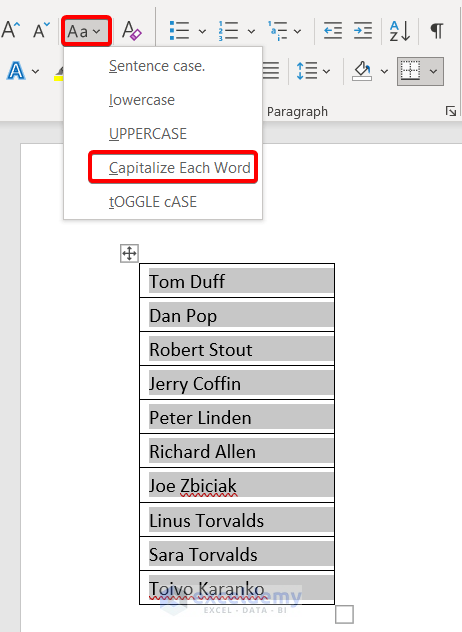
- From the Home tab, click on the Change Case drop-down.
- Then select any option you like.
For this instance, I’m choosing Capitalize Each Word.
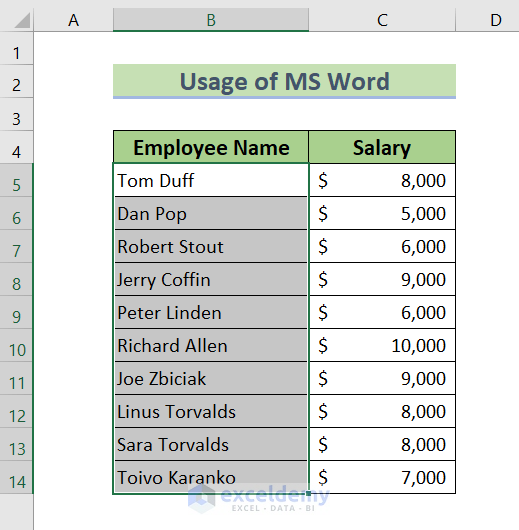
Now the cases of the text data will change.
- Again Copy the whole data by selecting them first and then pressing CTRL + C.
- Come back to the Excel spreadsheet and press CTRL + V to paste the contents.
Now you will see the cases have been changed as in the picture below:
Read More: How to Capitalize First Letter of Each Word in Excel
3. Apply All Caps Font to Change Case in Excel
Another trick you can apply for changing the cases in Excel without even using a formula is by applying an All-Caps Font.
Excel provides some built-in All-Caps Fonts. Such as,
- Copperplate Gothic
- Engravers
- Stencil
- Felix Tilting
Now let’s go through the following steps for applying the technique.
- First, select all the texts to fix the case issues.
- Go to the Home
- From the Font drop-down, select any of the all-caps fonts.
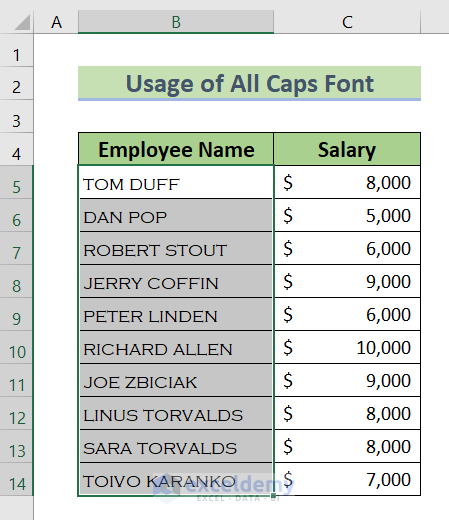
For this instance, I’m selecting the COPPERPLATE GOTHIC LIGHT font.

After applying the font, you will have all your text data changed with the cases.
Read More: How to Capitalize All Letters Without Formula in Excel
4. Change Case in Excel Using Power Query
If you want to change the cases of an Excel table, then you can use the Power Query.
To do that,
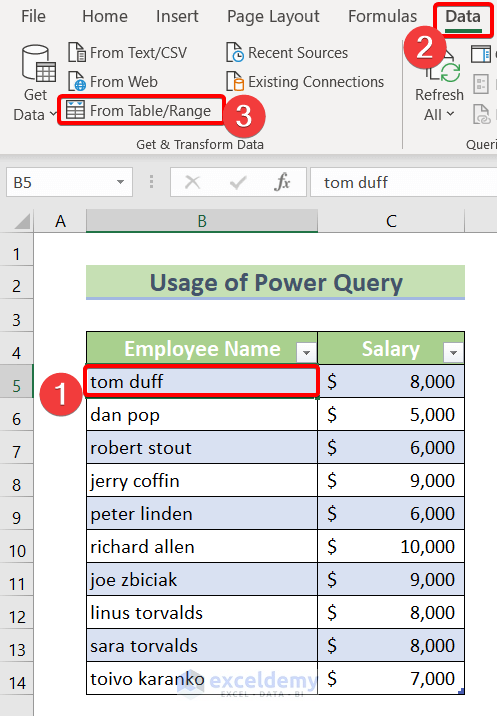
- Click on a cell of your Excel table.
- Then go to the Data
- From the Get & Transform data group, click on From Table/Range.
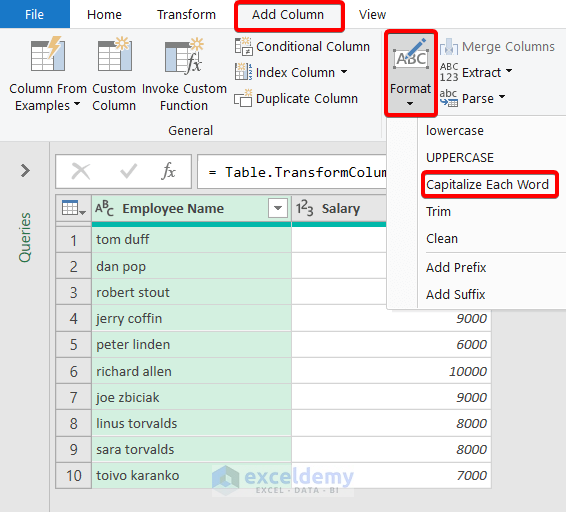
A window of Power Query Editor will pop up.
- Then go to the Add Column tab from the new window.
- After that click on the Format drop-down.
Now you will have multiple options to change the cases.
- Select any one of them.
For now, I’m choosing Capitalize Each Word.
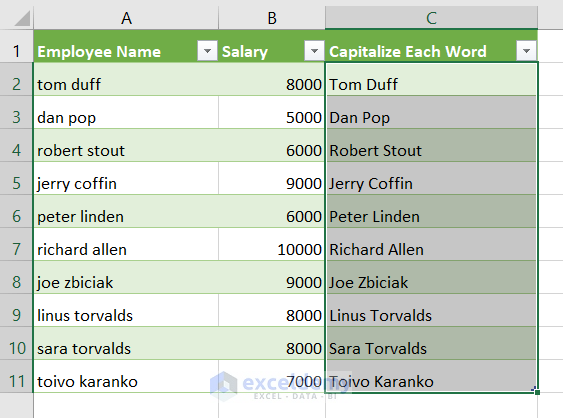
- Then go to the Home tab and hit the Close & Load.
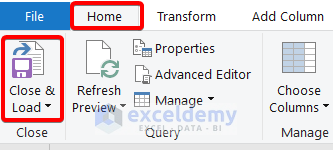
This will take you to a new worksheet, where you will find the changed cases of your table in a new column.
5. Use VBA Code to Change Case in Excel
If you need to change the cases repeatedly, you can use VBA code to make your life a lot easier.
To use the VBA code,
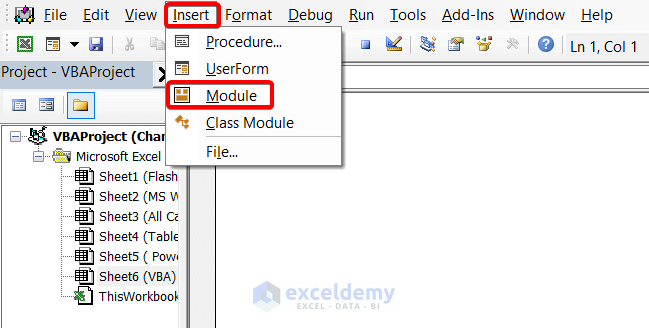
- Press ALT + F11 to open the VBA
- Then go to Insert > Module.
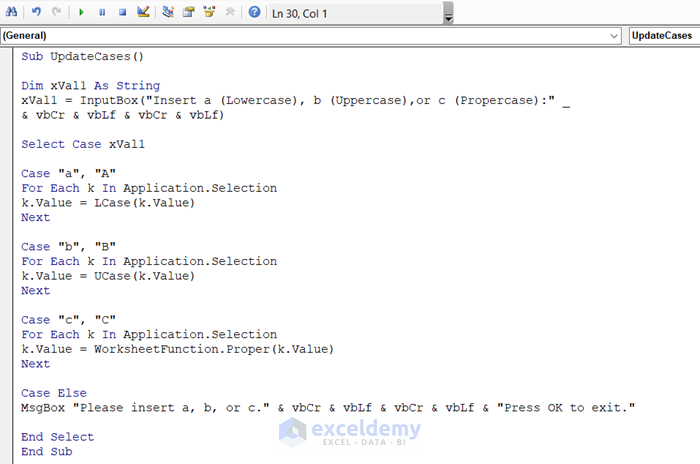
- Copy the following VBA code.
Sub UpdateCases()

Dim xVal1 As String
xVal1 = InputBox("Insert a (Lowercase), b (Uppercase),or c (Propercase):" _
& vbCr & vbLf & vbCr & vbLf)

Select Case xVal1

Case "a", "A"
For Each k In Application.Selection
k.Value = LCase(k.Value)
Next

Case "b", "B"
For Each k In Application.Selection
k.Value = UCase(k.Value)
Next

Case "c", "C"
For Each k In Application.Selection
k.Value = WorksheetFunction.Proper(k.Value)
Next

Case Else
MsgBox "Please insert a, b, or c." & vbCr & vbLf & vbCr & vbLf & "Press OK to exit."

End Select
End Sub
Code Breakdown
- In this code, I’ve used a Case Statement to apply 3 different VBA.
- Then used the Selection method to select the cell or range from the sheet.
- Next, I’ve used an InputBox for you to insert a for Lowercase, b for Uppercase, and c for Proper case.
- Then I used switches for applying Uppercase, Lowercase, and Proper Case into the selected cells chronologically.
- Finally, I’ve used a MsgBox to warn if you insert an invalid input.
- Paste and Save the code in the VBA.
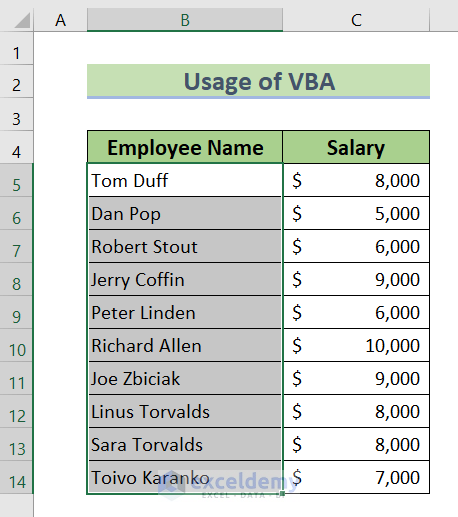
- Now go back to the spreadsheet and select the texts to change the cases.
- I selected the range B5:B14.
- Then press ALT + F8 to avail the Macro dialog box.
- All you need to do now is select the Macro and click on the OK button to run the VBA code.

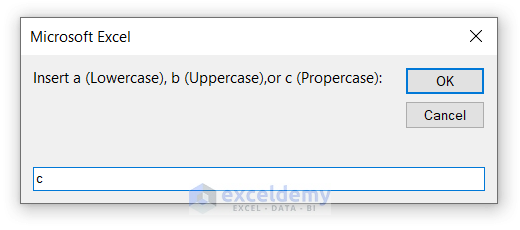
An InputBox will appear.
- Now enter “a” to change the case to lowercases, “b” for uppercase, and “c” for proper cases or tile cases.
For this instance, I’m inserting “c”.
After that, you will see your text’s cases have been changed as per your preference.
Read More: How to Use VBA in Excel to Capitalize All Letters
Practice Section
You can practice all the methods in the last worksheet of the provided Excel file.
Download Practice Workbook
You can download the Excel file from the following link and practice along with it.
Conclusion
To sum up, we have discussed 5 ways to change cases in Excel without using a formula. You are recommended to download the practice workbook attached along with this article and practice all the methods with that. And don’t hesitate to ask any questions in the comment section below. We will try to respond to all the relevant queries asap.
Related Articles
- How to Stop Auto Capitalization in Excel
- Automatic Uppercase in Excel VBA
- How to Change to Title Case in Excel
- Excel Change to Proper Case Without Formula
<< Go Back to Change Case | Text Formatting | Learn Excel
Get FREE Advanced Excel Exercises with Solutions!
