Row Hierarchies are helpful to read data easily when we have rows of data that are connected to each other. If you want to add row hierarchy in Excel. In the following article, we described 2 easy methods to do the task smoothly.
How to Add Row Hierarchy in Excel: 2 Simple Methods
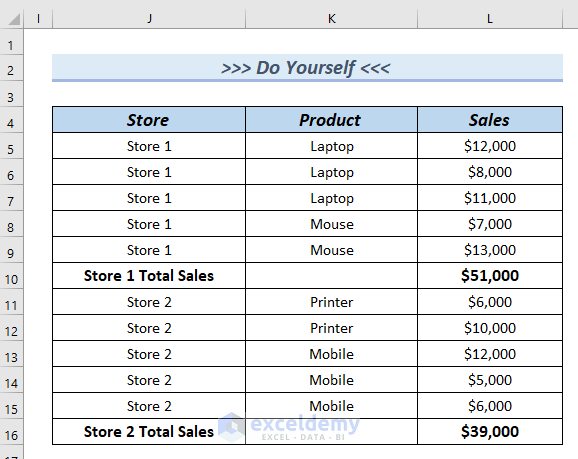
The following dataset has the Store, Product, and Sales columns. Here, we calculate the Store 1 Total Sales and Store 2 Total Sales by using the SUM function. Using this dataset we will go through 2 easy methods to add row hierarchy in Excel. Here, we used Microsoft Office 365. You can use any available Excel version.

1. Using Group Rows Feature to Add Row Hierarchy in Excel
In this method, we will use the Row Group feature to add row hierarchy in Excel.
Here, first, we will add a hierarchy for the rows of Store 1, and after that, we will add a hierarchy for the rows of Store 2.
Let’s go through the following steps to do the task.
Steps:
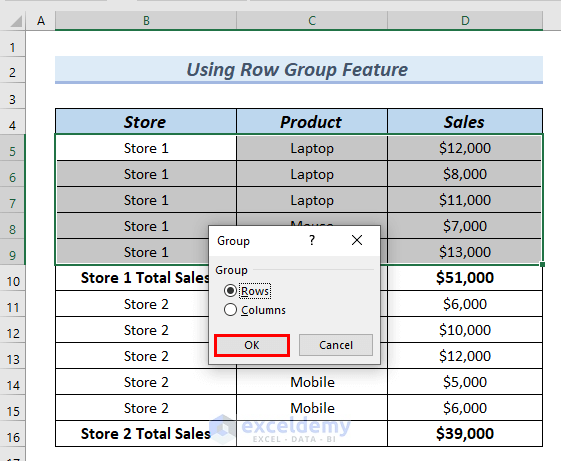
- First of all, we will select the Store 1 rows by selecting cells B5:D9.
- After that, go to the Data tab.
- Afterward, from Outline >> click on Group >> select Group.

At this point, a Group dialog box will pop up.
Here, you will see Row is marked.
- Then, click OK.
Therefore, you will see an Outline with a Negative sign on the left side of the worksheet.
Here, we have created a hierarchy for Store 1.

- In a similar way, we have created a hierarchy for Store 2.
As a result, you can see 2 negative signs on the left side of the worksheet.
- Next, we will click on these negative signs.

As a result, you can see the added hierarchy in Excel.
Here, if you click on the positive signs, you will be able to see the hierarchy level.

Read More: How to Make Hierarchy Chart in Excel
2. Applying Auto Outline Option
In this method, we will apply the Auto Outline option to add row hierarchy in Excel. Applying the Auto Outline option is the fastest feature to add row hierarchy in Excel. However, this Auto Outline creates a hierarchy where there is a formula in the rows.
Here, you can easily notice that cell D10 has Store 1 Total Sales and cell D16 has Store 2 Total Sales. Therefore, Auto Outline will add 2 hierarchies to the dataset.
Let’s go through the following steps to do the task.
Steps:
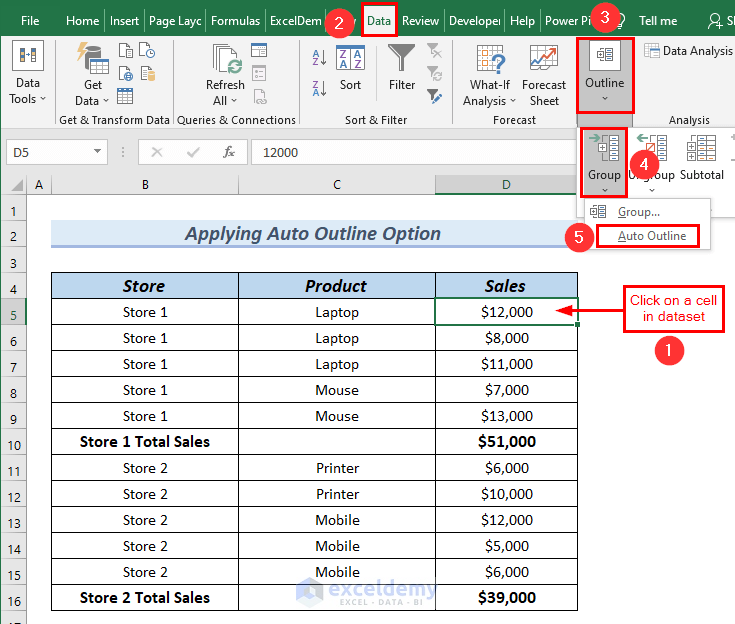
- In the beginning, we will click on any cell of the dataset.
- Moreover, go to the Data tab.
- Afterward, from Outline >> click on Group.
- Furthermore, from the 2 Group types select Auto Outline.
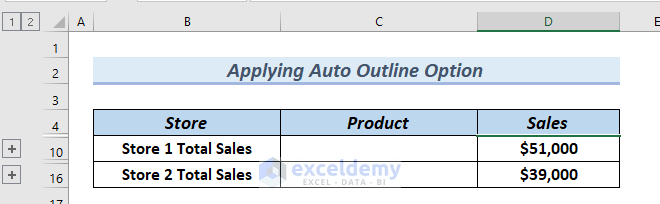
As a result, you can see the created Auto Outline on the left side of the dataset. The Outline has 2 negative signs, meaning 2 hierarchy levels have been created for the dataset.
- Next, we will click on the negative signs of the Outline.

Hence, you can see the added hierarchy in Excel.
Here, if you click on the positive signs, you will be able to see the hierarchy level.
Read More: How to Create Multi Level Hierarchy in Excel
Adding Multiple Row Hierarchy in Excel
We can add Multiple hierarchy levels or nested row levels in Excel. Here, in the following dataset, you can easily notice that the dataset contains Laptop Subtotal, Mouse Subtotal, Printer Subtotal, and Mobile Subtotal along with the Store 1 Total Sales and Store 2 Total Sales.
Next, we will add a multiple-row hierarchy to this dataset.

Let’s go through the following steps to do the task.
Steps:
- First, we will click on any cell of the dataset.
- Moreover, go to the Data tab.
- Afterward, from Outline >> click on Group.
- Furthermore, from the 2 Group types select Auto Outline.

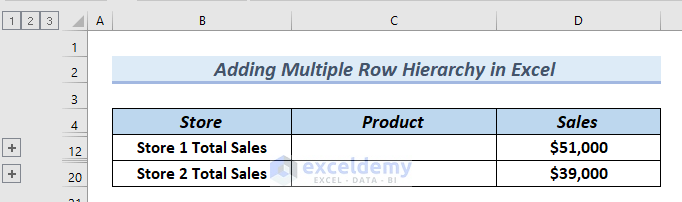
As a result, you can see two inner outlines in between two Outer outlines that have been created on the left side of the Worksheet.
- Next, we will click on the negative signs of the Inner Outline.

Hence, you can see the dataset with the Subtotal and Total sales.
- Furthermore, we will click on the negative signs of the Outer Outline.

As a result, you can see the added hierarchy in Excel.
Here, if you click on the positive signs, you will be able to see the hierarchy level.
Practice Section
You can download the above Excel file to practice the explained methods.
Download Practice Workbook
You can download the Excel file and practice while you are reading this article.
Conclusion
Here, we tried to show you 2 methods to add row hierarchy in Excel. Thank you for reading this article, we hope this was helpful. If you have any queries or suggestions, please let us know in the comment section below.
Related Articles
- Create Date Hierarchy in Excel Pivot Table
- How to Use SmartArt Hierarchy in Excel
- How to Create a Hierarchy of the State City and Zip Code in Excel
- How to Create Hierarchy in Excel Pivot Table
<< Go Back to Hierarchy in Excel | SmartArt in Excel | Learn Excel

