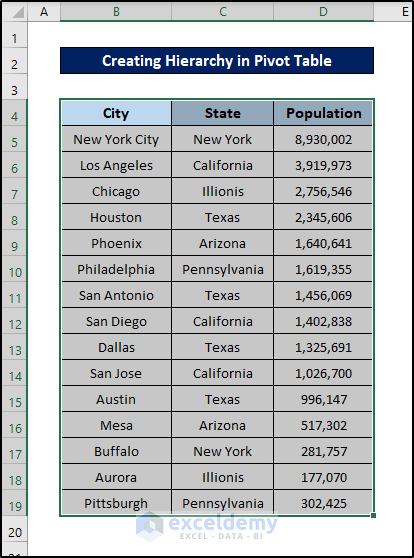
Method 1 – Select Dataset
Select the whole dataset or the part of the dataset you want to convert into a pivot table. This stage’s selection will go into the hierarchy.
Method 2 – Convert Dataset into Pivot Table
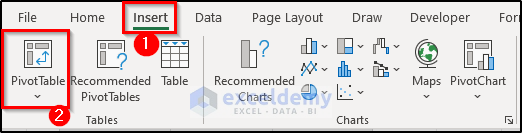
Convert it from a mere chart to a pivot table. Go to the Insert tab on your ribbon and select PivotTable from the Tables group.
A box will appear next. Select whether you want the pivot table in the existing worksheet or the new worksheet in this box. You’re going for the new worksheet option.
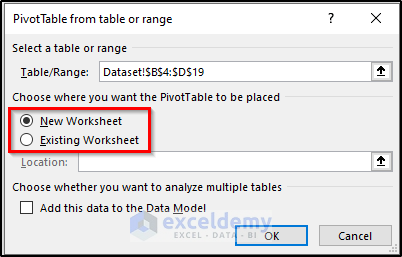
Click on OK. A new worksheet will open up that will contain the pivot table.
Method 3 – Drag Parent Fields to Rows
Go to the newly created spreadsheet and select any cell on the supposed pivot table. You will find the PivotTable Fields window on the right side of the spreadsheet.
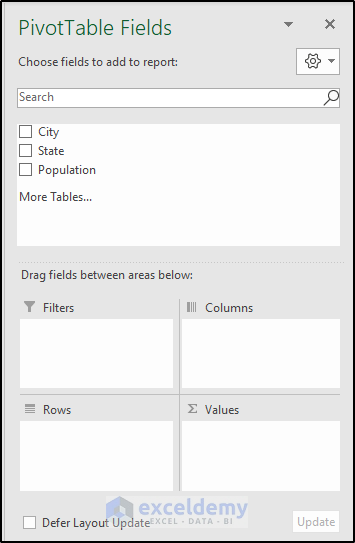
In our dataset, we have the state as the parent field. Click and drag it first to the Rows area and release it.
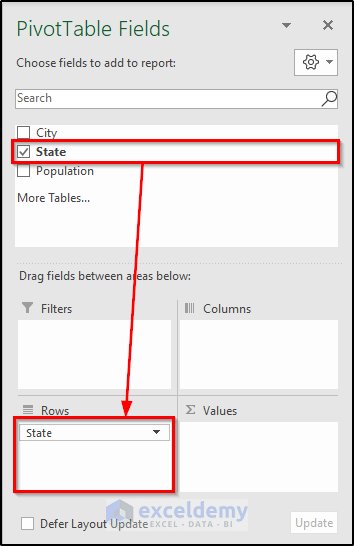
The pivot table will now look something like this.

Method 4 – Drag Child Fields Under Parent Fields
Now do the same for the child fields. We have only one child field- the city column. Click and drag the city field in the PivotTable Field to the Rows area.
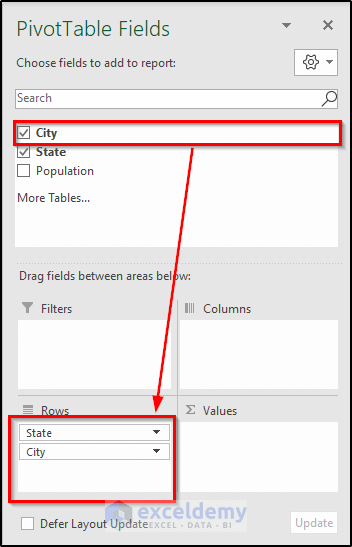
Ensure the child field is under the parent field after release in the Rows area. If you have more than one child field, maintain the order of the hierarchy here.
The pivot table will now look something like this.
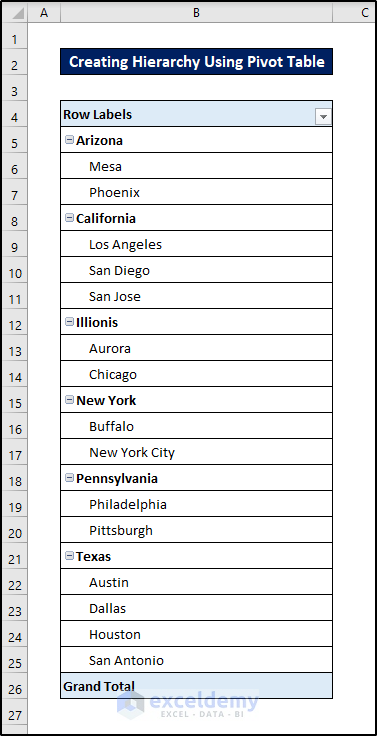
From the figure, the hierarchy list is created already in the pivot table.
Method 5- Drag Other Necessary Fields
Add the fields you think necessary to represent your data by using the same clicking and dragging process in the PivotTable Field.
For example, we want to add the population column to this hierarchy pivot table. Click and drag the population field into the Values area and then release it.
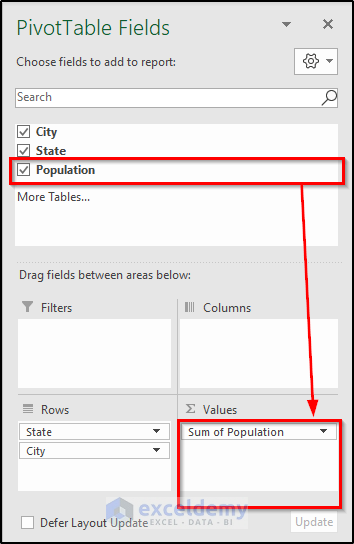
The pivot table will look like this.
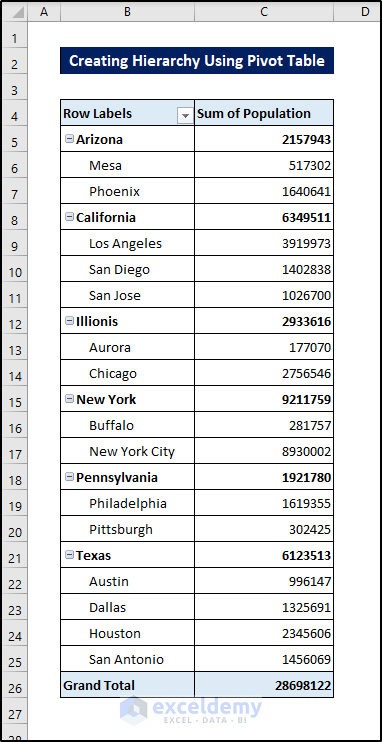
Create a hierarchy in an Excel pivot table only.
How to Create Hierarchy in Excel Power Pivot
There is another way to create a hierarchy in Excel using the Power Pivot feature. This feature has been in existence for some time now in Excel. But you have to add it in manually as an extension. Follow these steps to add power pivot in your Excel and create the hierarchy.
Steps to Add Power Pivot Feature in Excel:
- Click on the File tab on the ribbon.
- Click on Options on the left side of the backstage view.

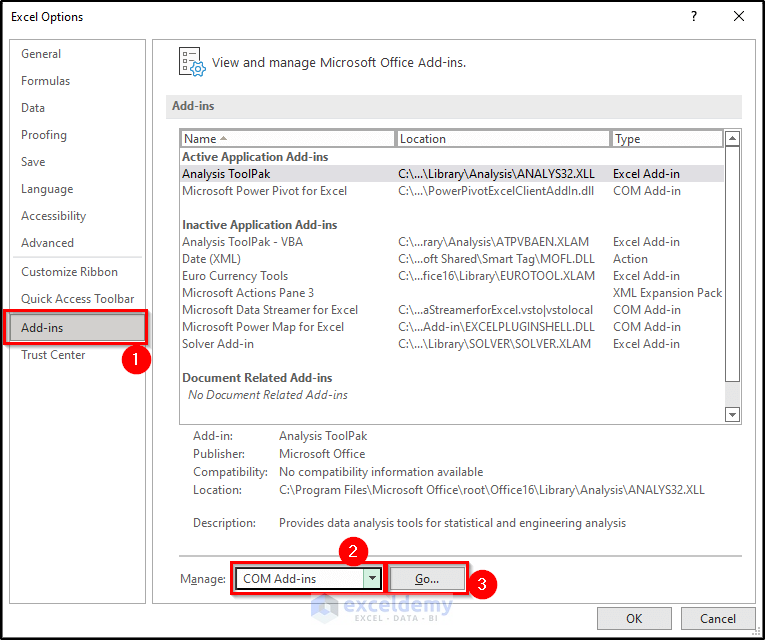
- The Excel Options box will open up. Select the Add-ins from the left of the box.
- Select COM Add-ins as the Manage option.
- Click on Go.
- In the COM Add-ins box that pops up next, check the Microsft Power Pivot for Excel option and click OK.
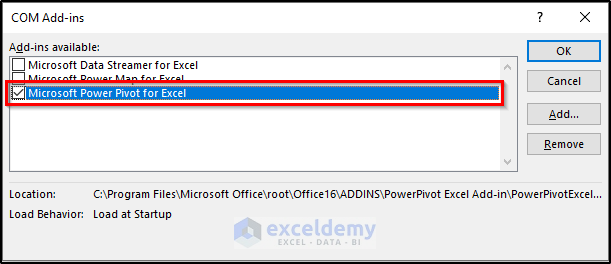
See the Power Pivot tab appear on your ribbon.

Steps to Create Hierarchy Using Power Pivot:
- Select the dataset in the Excel spreadsheet.
- Go to the Insert tab and click on PivotTable from the Tables group.
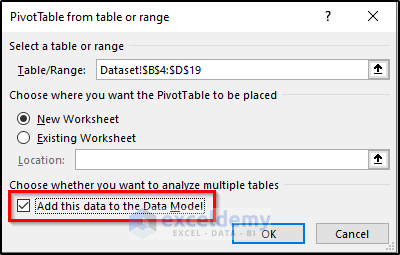
- Select whether you want the pivot table in the existing worksheet or a new one.
- Check the Add this data to the Data Model option.
- Click OK.
- Go to the Power Pivot tab on your ribbon and select Manage from the Data Model group.

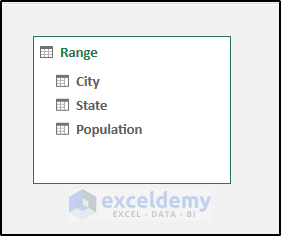
- The power pivot window will open up. It will look something like this in the figure.

- Go to the File tab on the ribbon of the power pivot window and select Diagram View from the View group.

The sheet of the power pivot window will now look like this.
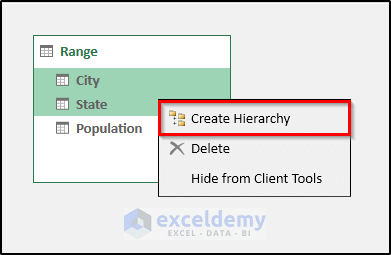
- Select the fields in the hierarchy and right-click on the selection. Select Create Hierarchy from the context menu.
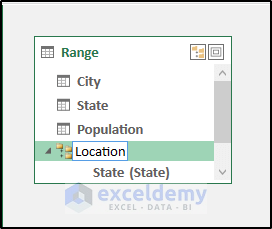
- Create a name for the hierarchy group. We are naming it “Location” here. After naming, press Enter.
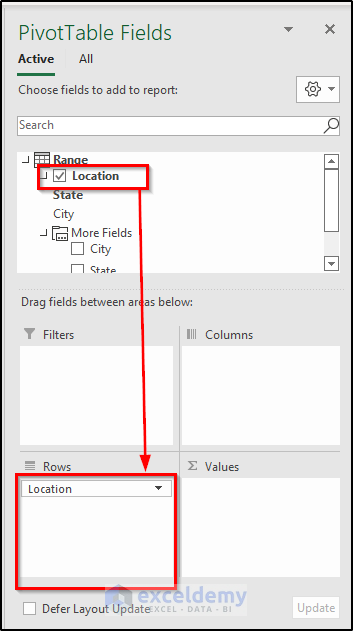
- Go back to the pivot table spreadsheet and select a cell from the pivot table range. You will find the PivotTable Field on the right of the spreadsheet. In it, you can see the newly created hierarchy group in the fields.

- Click and drag “Location” to the Rows area and release it there.
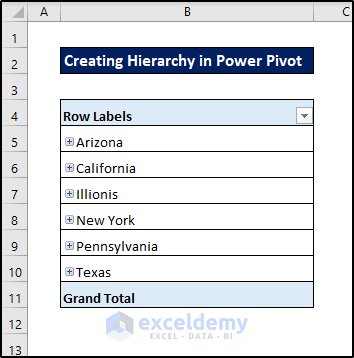
The pivot table will now look something like this.
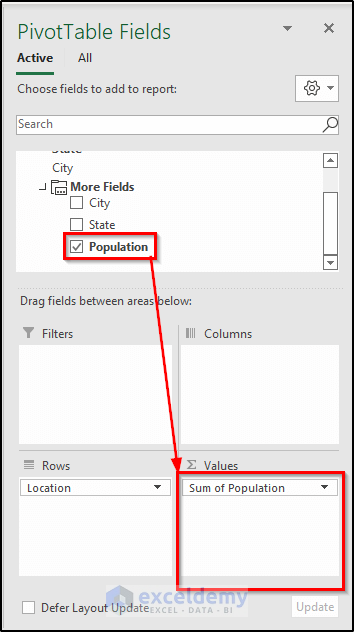
- Select any other columns you need and do the same for them to represent them in the pivot table. We are clicking and dragging the population into the Values.
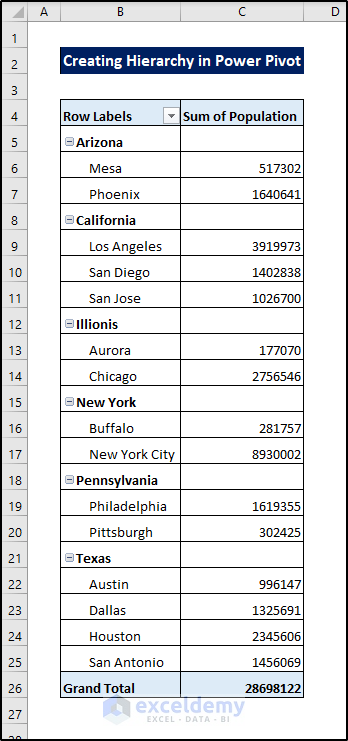
Our pivot table with the hierarchy is ready on the Excel spreadsheet.
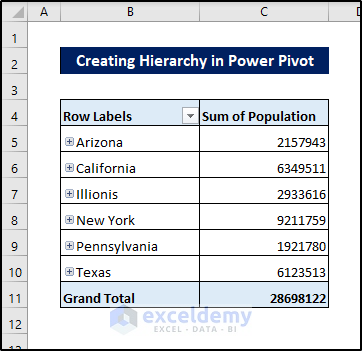
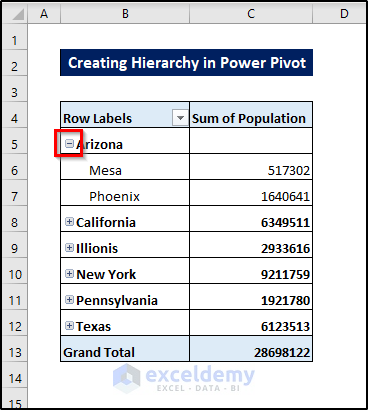
The pivot table initially shows the hierarchy’s parent class. To view the child classes, click on the plus icon at the start of each class, which expands into the classes below it.
Right-click on the column containing the hierarchy, select Expand/Collapse, and Expand Entire Field from the context menu.
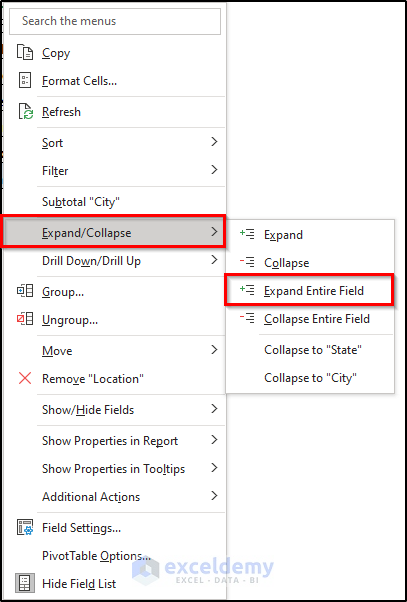
This will expand all of the entries of the hierarchy and it will look something like this.
You can create a hierarchy in Excel using the power pivot feature.
How to Create a Hierarchy Chart in Excel
Steps:
- Go to the Insert tab on your ribbon.
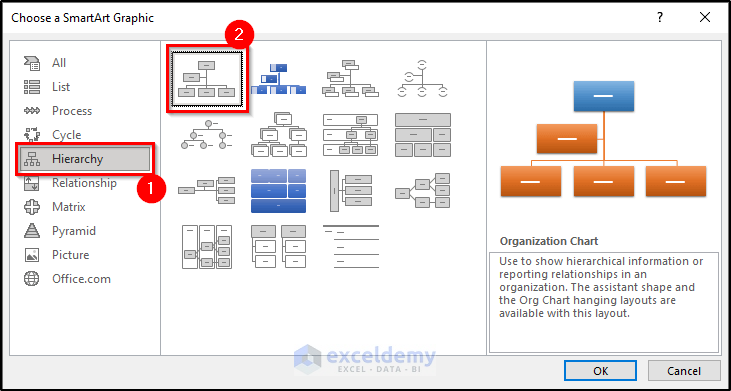
- Select SmartArt from the Illustrations group.

- Select Hierarchy from the left of the Choose a SmartArt Graphic, and select the type of hierarchy chart you want from the right side of the box.
- After clicking OK, something like this will appear on the spreadsheet.
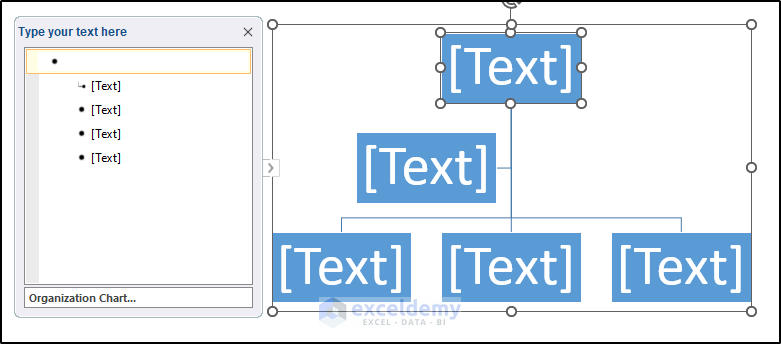
- On the left of it, under the Type your text here section, manually write down the hierarchy classes. If any class is a child class, type it under the parent class and press the Tab button on your keyboard at any point of the typing.
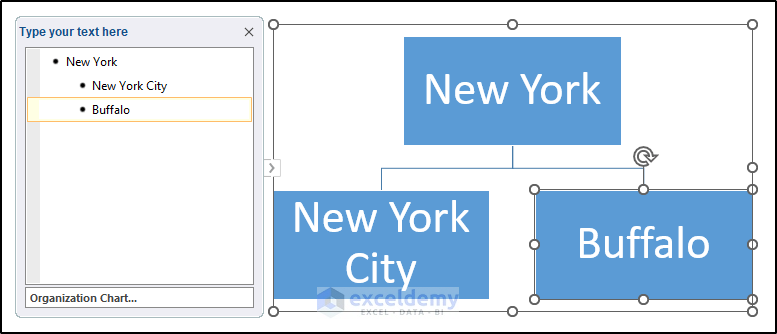
We have written the “New York City” and “Buffalo” with a tab after typing “New York” state.
- To enter a parent class after this, press Shift+Tab on your keyboard and follow the same pattern to enter the parent and child class.
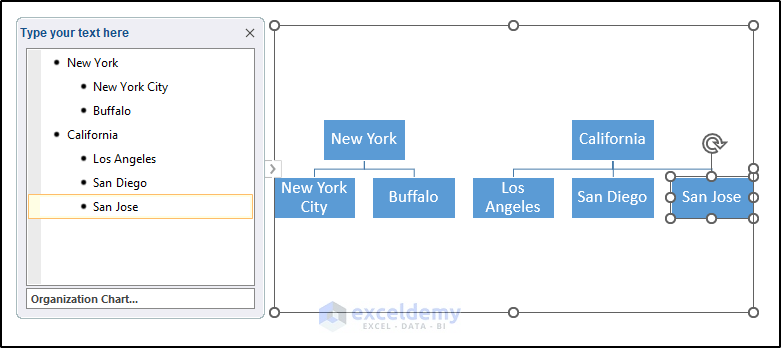
- Fill out all of the classes manually, and you will have something like this.

- After some modifications, you can make it more presentable.

This way you can create a hierarchy chart in Excel easily.
Download Practice Workbook
You can download the workbook used for the demonstration from the download link below.
Related Articles
<< Go Back to Hierarchy in Excel | SmartArt in Excel | Learn Excel
Get FREE Advanced Excel Exercises with Solutions!
