Method 1 – Use Ascending (A-Z) or Descending (Z-A) Options to Sort Rows by Column in Excel
Method 1.1 – Sort Rows by Column from A-Z (Smallest to Largest)
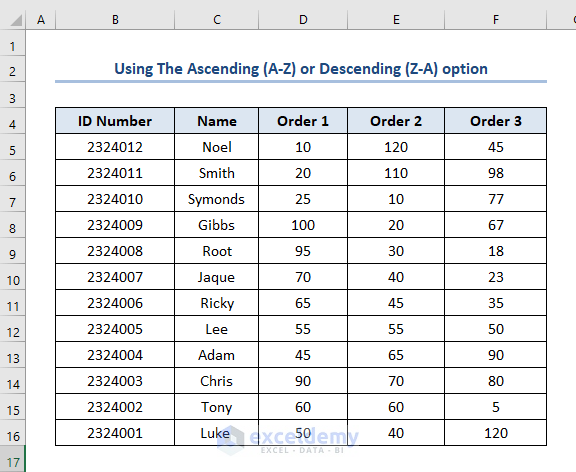
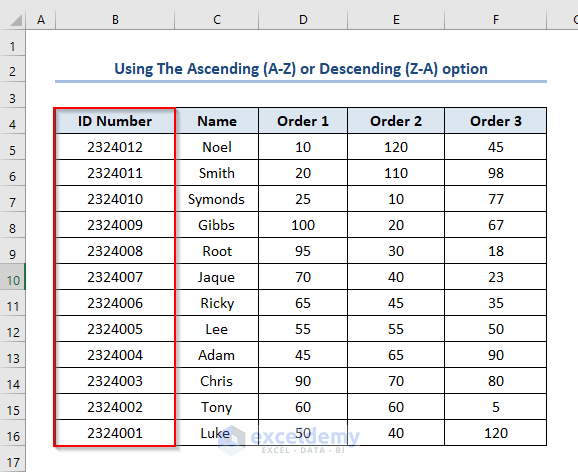
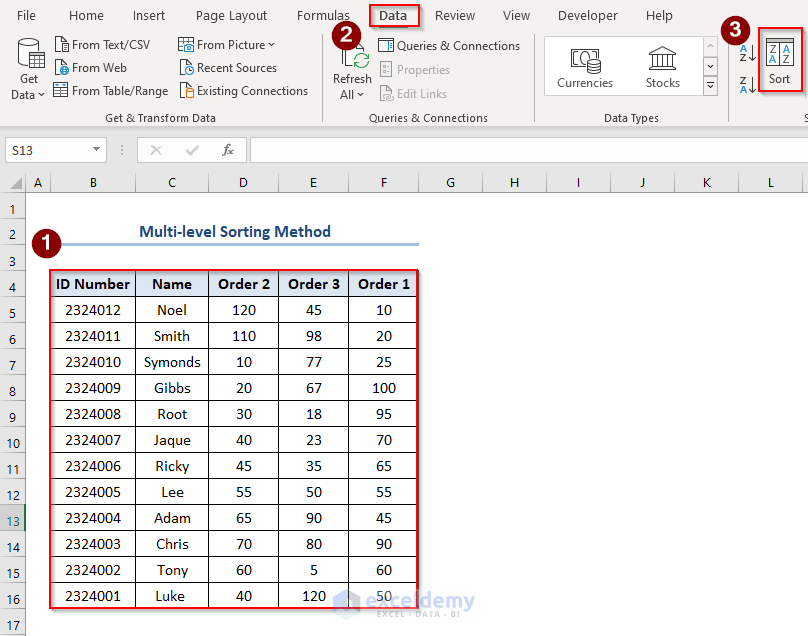
First, we want to sort rows by column from smallest to largest. We need a data set for that. We can take this picture as a sample. It has column headers as ID Number, Name, Order 1, Order 2, and Order 3.
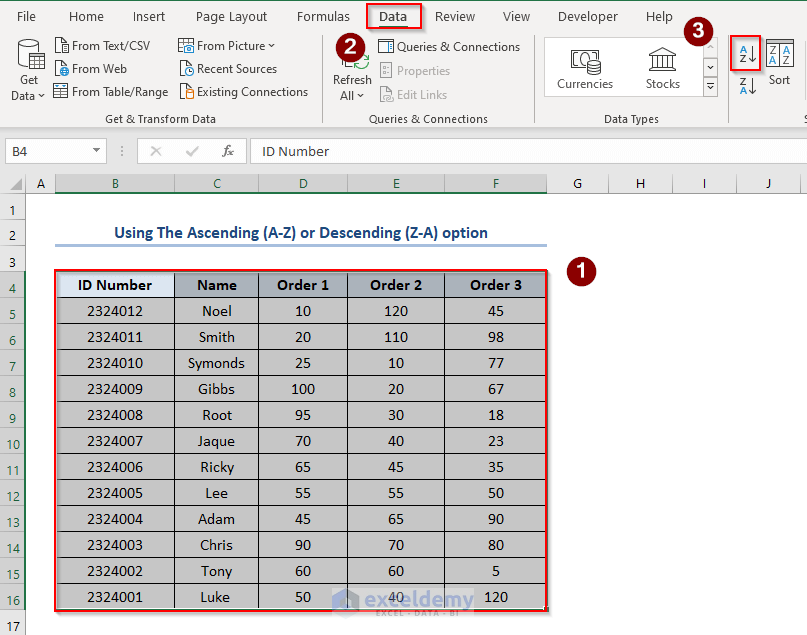
- Select the Dataset > open your Data tab > go to the “Sort & Filter” ribbon and click this icon
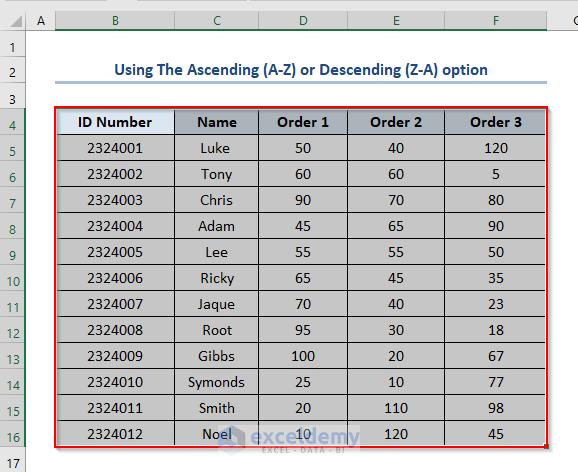
- We can see that the rows are sorted according to the columns.
Method 1.2 – Sorting Rows by Column from Z-A (Largest to Smallest)
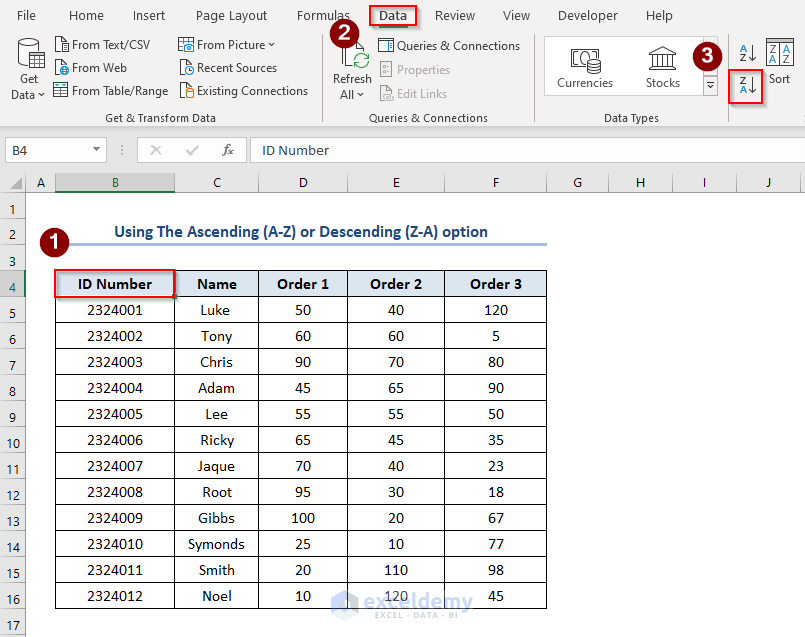
- Select the ID Number
- Open your Data tab > go to the Sort & Filter ribbon and click this icon
- Our rows are sorted with respect to the columns.
Read More: How to Sort Data by Row not Column in Excel
Method 2 – Apply a Custom Sorting Method to Sort Rows by Column
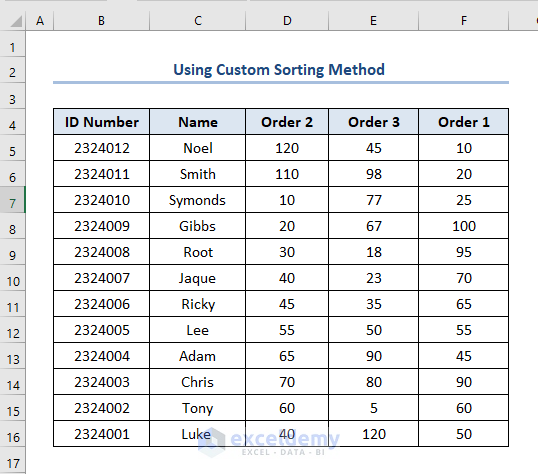
Custom sorting is an amazing process of sorting your rows by column. Use the following dataset when applying this method:
Steps:
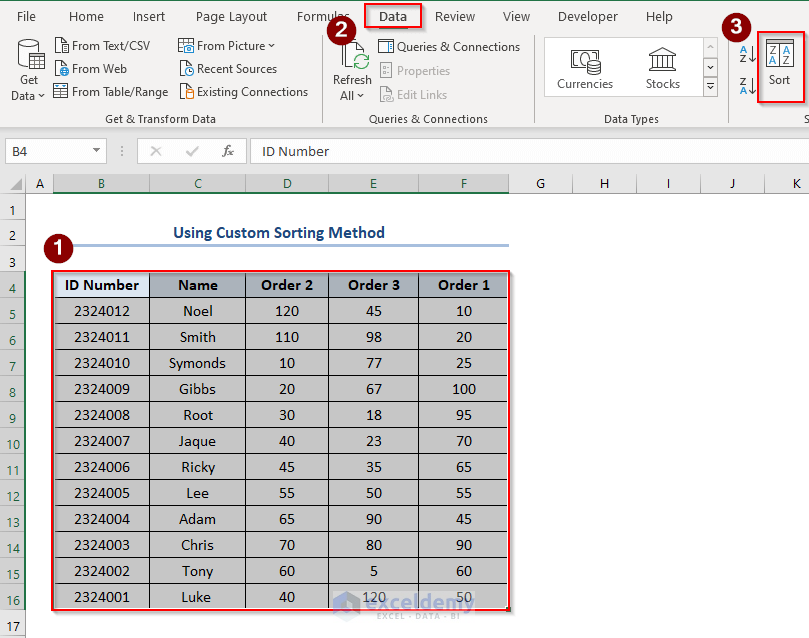
- Select your data range, go to “Data” and click this icon
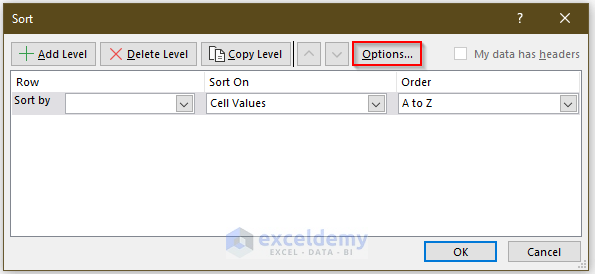
- A window named Sort will appear.
- Go to Options.
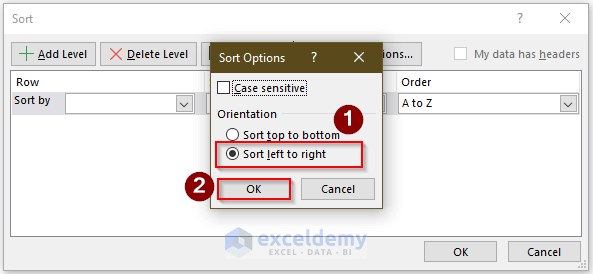
- Another window will pop up named Sort Options.
- Click on Sort Left to Right.
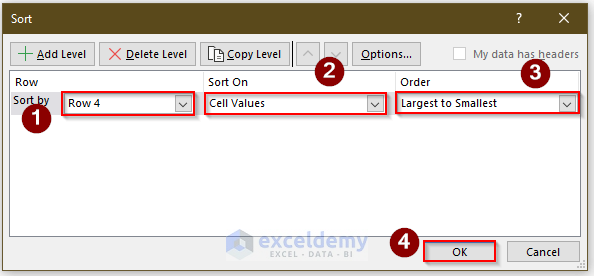
- In the new window, sort by Row 4, sort on Cell Values and order is Largest to Smallest.
- Click OK.
All columns are now sorted based on the selections you made in the Sort dialog box.

Read More: How to Sort Alphabetically in Excel with Multiple Columns
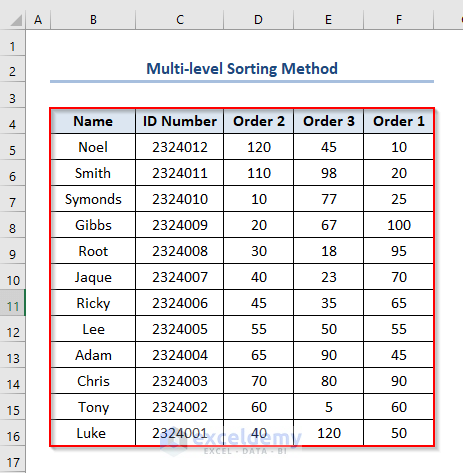
Method 3 – Use a Multi-level Sorting Method to Sort Rows by Column in Excel
Steps:
- Select your dataset, go to Data, and click this icon
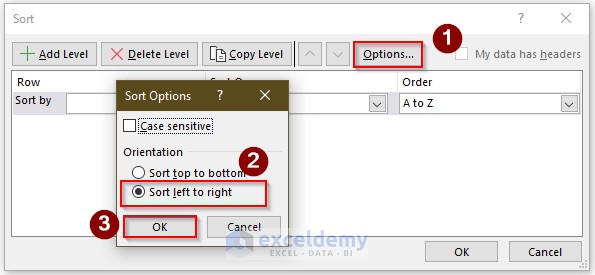
- When the Sort window opens, click on Option.
- Choose Sort Left to Right from the new window.
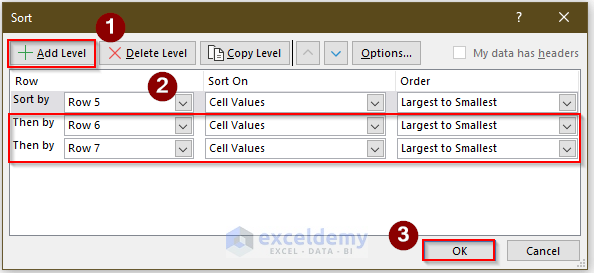
- On the Sort window, click on Add Level to add another row to the existing sorted row. In the picture below we added two new levels (Row 5, Row 6).
- Customize their style by their values and from Largest to Smallest.
- Click OK.
- Our rows are sorted by their column value.
Read More: How to Sort Multiple Columns in Excel Independently of Each Other
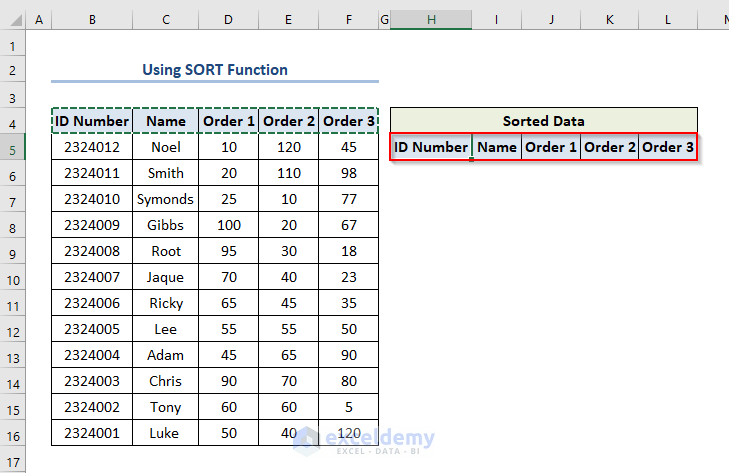
Method 4 – Apply SORT and SORTBY Functions in Excel
Steps:
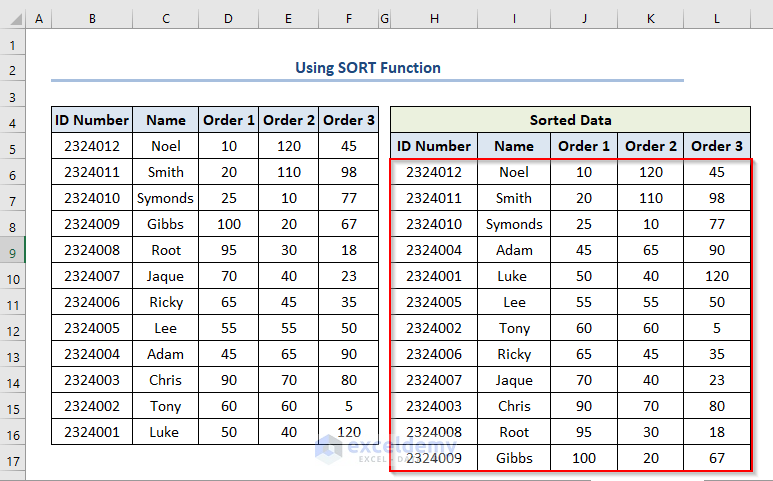
- Copy the column headers and paste them to the cell where you want to get your sorted values. In this case, it is cell H5.
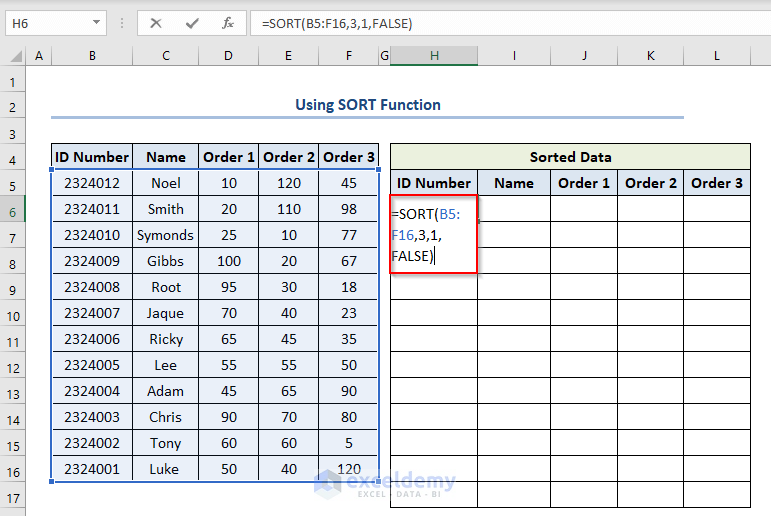
- Apply the “SORT” function in the H5 cell.
=SORT(B5:F16,3,1,FALSE)Here,
- “Array” is the selected Range or array to sort. (B5:F16)
- [sort_index] is the Column index to use for sorting. The default is 1. We choose (3)
- [sort_order] where, Ascending=1, Descending = -1. Default is ascending order. We choose (1)
- [by_col] where, sort by column=TRUE , sort by row= FALSE . Default is FALSE. We choose
- Press “ENTER”.
- Our rows are sorted.
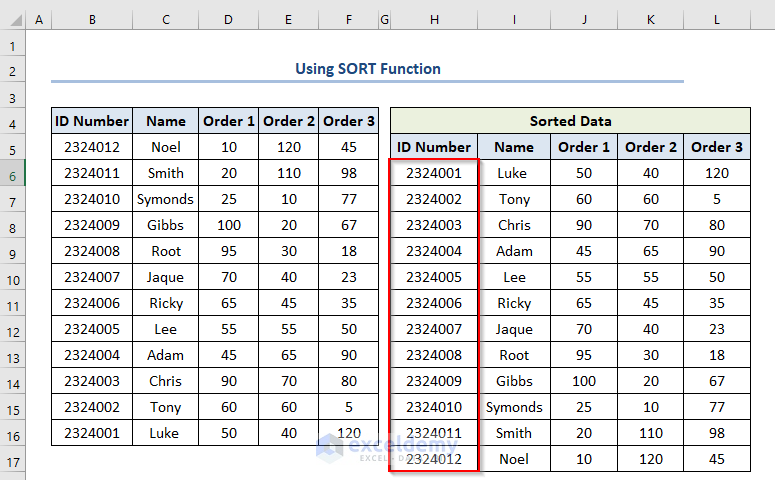
- Additionally, if we want to sort ID Number in Ascending order, we need to use the SORTBY function. So, write the following formula in the H5 cell.
=SORTBY(B5:F16,B5:B16)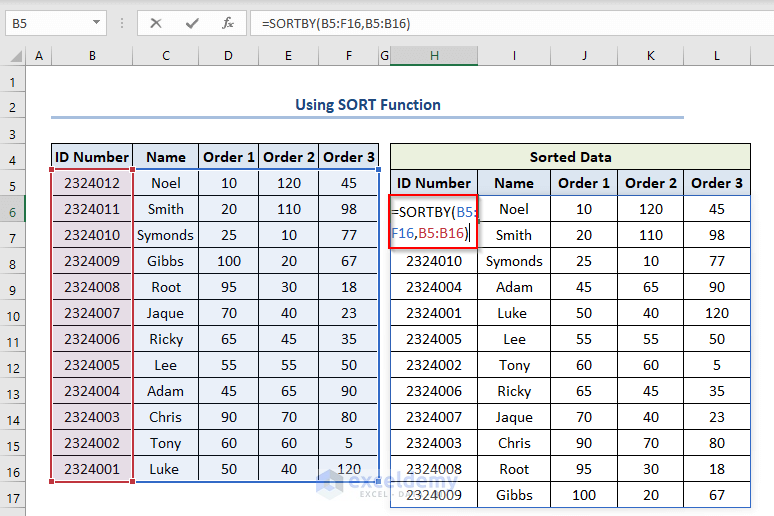
- Press ENTER to see that the ID Numbers are sorted in Ascending order.
Read More: How to Sort Alphabetically in Excel and Keep Rows Together
Things to Remember
➤ The “SORT” function is only available for “Excel 365”. You won’t be able to use this function unless you have this version of Excel.
➤ You can auto-sort columns by their value when you use the SORT function.
➤ When sorting, you need to select the header column cell.
➤ When you perform a multi-level custom sorting method, the data will first be sorted by the 1st level, then the 2nd level, and so on.
Download Practice Workbook
Download this practice sheet to practice while you are reading this article.
Related Articles
- Sorting Columns in Excel While Keeping Rows Together
- Excel Sort by Column Without Header
- How to Sort Column by Value in Excel
- How to Sort Two Columns in Excel to Match
- How to Sort Columns in Excel Without Mixing Data
- How to Sort Multiple Columns in Excel
<< Go Back to Sort in Excel | Learn Excel
Get FREE Advanced Excel Exercises with Solutions!
