Manually routing invoices can become time-consuming when a business receives many requests every week. Someone has to check the invoice, find the right approver, send an email, wait for a reply, and then update the status again. This process is easy to manage for a few invoices, but it becomes difficult when the number of requests increases. There is a simple way to automate this process by using Excel as the invoice tracker and Power Automate as the workflow tool.
In this tutorial, we will show how to build an automated invoice routing workflow with Excel and Power Automate. It will read new invoice rows from Excel, send approval requests, and update the invoice status automatically.
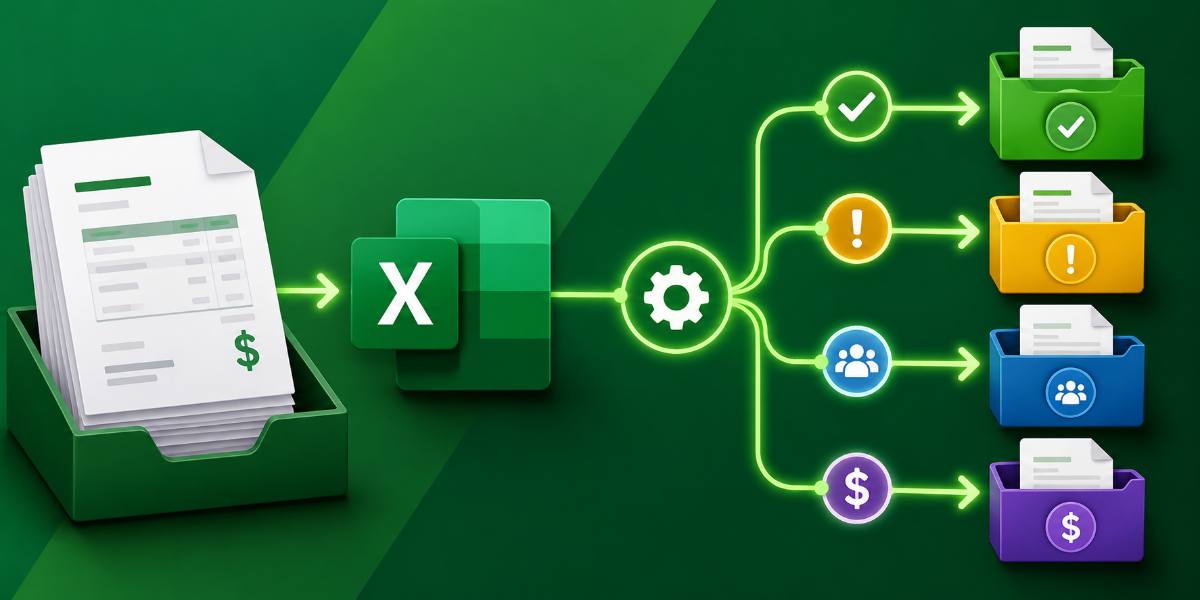
Workflow:
The workflow will follow this process:
New invoice is added in Excel
   ↓
Power Automate checks the Excel table
   ↓
Only rows with Status = New are selected
   ↓
Approval request is sent to the correct approver
   ↓
Approver approves or rejects the invoice
   ↓
Excel status is updated automatically
Step 1: Create the Excel Invoice Tracker
First, create an Excel workbook to store the invoice information. The workbook must be saved in a cloud location so Power Automate can access it.
If you are using a work or school account, save the file in OneDrive for work or school or SharePoint. If you are using a personal Microsoft account, save it in your personal OneDrive.
Convert the Data into a Table:
- Select the data range
- Go to the Insert tab >> select Table
- Select My table has headers >> click OK
- Then go to the Table Design tab >> rename the table: tblInvoices

This is important because Power Automate reads data from an Excel table, not from a normal range.
Step 2: Create a Scheduled Flow in Power Automate
Now open Power Automate and create a new flow.
- Click on Create from the left menu >> select Scheduled cloud flow

- Give the flow a name: Automated Invoice Routing Workflow
- Set the flow to run every week or select your desired interval
- Click Create

The first action is Recurrence, which means the flow will check the Excel file automatically at regular intervals.
Step 3: Add the Excel Action
After the recurrence trigger, add a new step.
- Click the plus (+) icon to add a New step
- Search for List rows present in a table and choose the correct connector
- In the Parameters tab, configure the following fields:
| Field | Value |
| Location | OneDrive for Business or SharePoint Site |
| Document Library | Documents |
| File | Your invoice workbook |
| Table | tblInvoices |

This action reads the rows from the Excel invoice table. Microsoft notes that List rows present in a table returns up to 256 rows by default, so turn on pagination when your invoice tracker may contain more rows.
To turn on pagination:
- Click the three dots on the action
- Select Settings
- Turn Pagination on
- Set a threshold, for example: 5000

Step 4: Filter Only New Invoices
You do not want Power Automate to resend approval requests for old invoices, so the flow should only select rows where the status is New.
- In the List rows present in a table action, open Advanced parameters or Show all
- Find the field named: Filter Query
- Enter this filter query: Status eq ‘New’

- This means it will only get rows where the Status column is New
- Make sure the Excel column name is exactly Status
- Make sure the cell value is exactly: New
- Do not write Status = ‘New’ or use ‘new’ (lowercase)
- Power Automate filter queries use eq, not the equal sign
Step 5: Add Apply to Each
The Excel action may return one invoice or many. For example, if three rows have the status New, Power Automate must process all three rows one by one.
- Click the plus (+) icon to add a control
- Click Control >> select Apply to each

- In the field named Select an output from previous steps:
- Press / to select, or click the Insert dynamic content option
- Select body/value from the List rows present in a table action

This value comes from the List rows present in a table action and represents the list of Excel rows returned by that action. The Apply to each control is used to process a list or array of items from a data source, allowing Power Automate to handle each new invoice row separately.
Step 6: Update the Status to Pending Approval
Inside Apply to each, we will add the approval steps.
- Inside the Apply to each box, click the plus (+) icon to add a new action
- Search for Update a row from Excel Online
- Configure it like this:
| Field | Value |
| File | Same invoice workbook |
| Table | tblInvoices |
| Key Column | InvoiceID |
| Key Value | InvoiceID from the current row (dynamic content) |
| Status | Pending Approval |

This step is important because it prevents duplicate approval requests if the flow runs again while an approval is still pending.

The Excel connector’s key column field is case-sensitive, so make sure the column name in Power Automate exactly matches the column name in Excel.
Step 7: Add the Approval Request
We will add the approval action inside Apply to each.
- Click the plus icon (+) inside Apply to each
- Click Approvals >> select Start and wait for an approval

- Use this setup:
| Field | Value |
| Approval type | Approve/Reject – First to respond |
| Title | Invoice approval needed: InvoiceID |
| Assigned to | ApproverEmail |
| Details | Invoice information |
| Item link | InvoiceLink |
| Item link description | Open invoice |
In the Details field, write a clear approval message. For example:
Please review the following invoice:

Invoice ID: InvoiceID
Vendor: Vendor
Department: Department
Amount: Amount
Submitted Date: SubmittedDate

Please approve or reject this invoice.

Use dynamic content for values such as InvoiceID, Vendor, Department, Amount, and SubmittedDate.
Step 8: Add a Condition for the Approval Result
After the approval action, add a condition control.
- In Apply to each, click the plus icon (+)
- Search for Control >> select Condition
- Set the condition like this: Outcome is equal to Approve
- This creates two branches:
- If True → Approved
- If False → Rejected

The flow will now decide what to do based on the approver’s response.
Step 9: Update Excel If Approved
In the If True branch, add another action.
- Select Update a row from Excel Online
- Use the same workbook and table
- Set up:
| Column | Value |
| Status | Approved |
| ApprovalDate | utcNow() |
| Comments | Approver comments |

You can also send an email to the finance team to let them know the invoice was approved.
Example email subject: Invoice Approved - INV-001

Example email body:

Hello Finance Team,

The following invoice has been approved:
Invoice ID: INV-001
Vendor: ABC Supplies
Amount: 8500

Please proceed with the next payment step.
Step 10: Update Excel If Rejected
In the If False branch, add another action.
- Select Update a row from Excel Online
- Use the same workbook and table
- Set up:
| Column | Value |
| Status | Rejected |
| ApprovalDate | utcNow() |
| Comments | Approver comments |
You can also send an email to the submitter or the finance team explaining that the invoice was rejected.
Example email subject: Invoice Rejected - INV-001

Example email body:

Hello,

The following invoice was rejected:
Invoice ID: INV-001
Vendor: ABC Supplies
Amount: 8500

Please review the approver comments and make the required corrections.
Final Workflow:
- Click Save to save your workflow

Step 11: Test the Workflow
Now test the workflow with a new invoice row.
- Add a new row to the Excel table
- Save the workbook
Then go to Power Automate and run the flow manually, or wait for the scheduled time.
- Click on Test >> select Manually
- Click Test

- Click on Run flow

Check the flow carefully:
- The flow should read the Excel table
- It should find the row where Status is New
- It should update the status to Pending Approval
- It should send an approval request
- After approval or rejection, it should update the status again
Common Problems and Fixes
| Problem | Cause | Fix |
| Power Automate cannot find the Excel file | File is stored locally | Save it in OneDrive for Business or SharePoint |
| Power Automate cannot find the table | Data is not formatted as a table | Select data and use Format as Table |
| Same invoice is routed multiple times | Status was not changed before approval | Update the status to Pending Approval before sending the approval request |
| Update row fails | Wrong key column or duplicate InvoiceID | Use a unique InvoiceID column |
| Only some rows are processed | Pagination is off | Turn on pagination in the Excel action |
| Approver does not receive the request | ApproverEmail is blank or incorrect | Check the Approver Matrix formula |
Conclusion
By combining Excel and Power Automate, you can build a simple automated invoice routing workflow without writing any code. Excel works as the invoice tracker, while Power Automate handles the approval process. Once this basic workflow is running, you can extend it by adding multiple approvers, reminder emails, payment status tracking, or separate routing rules for different departments.
Get FREE Advanced Excel Exercises with Solutions!
