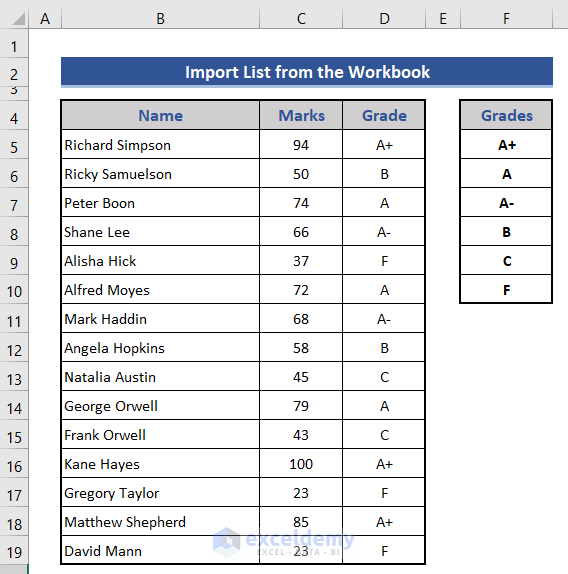
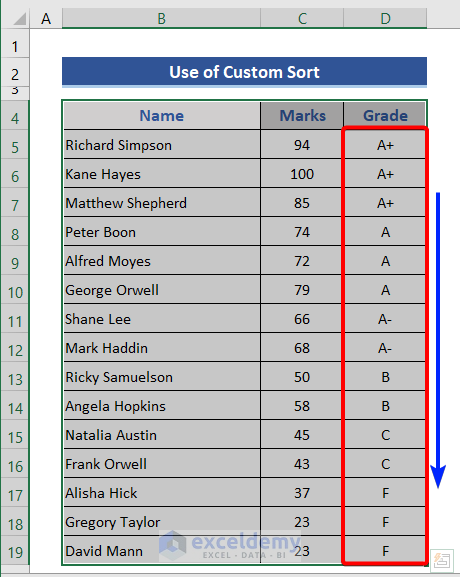
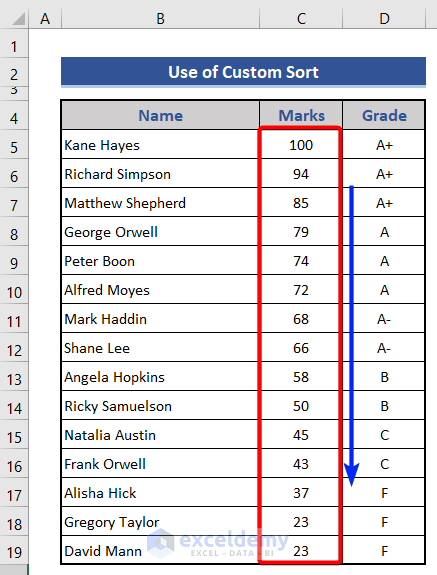
The sample dataset showcases Names, Marks in Mathematics, and students’ Grades.

There are 6 different grades. A+, A, A-, B, C, and F. They are highlighted in six different colors (dark to light).
Step 1 – Create a Custom Sort List Using the Custom Lists Dialog Box in Advanced Options

Steps:
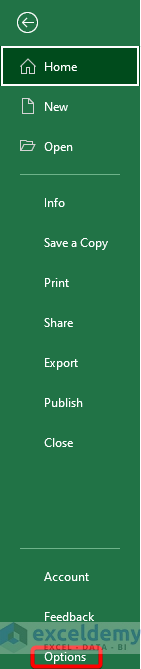
- Go to File > Options.
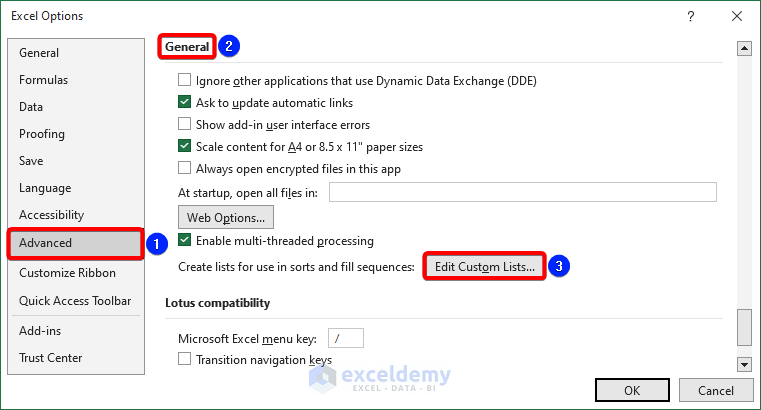
- In Excel Options, click Advanced.
- In General, click Edit Custom Lists.
- In the Custom Sort dialog box, select Custom lists.
- Click NEW LIST.
- In List entries, enter A+, A, A-, B, C, F.
- Click Add.
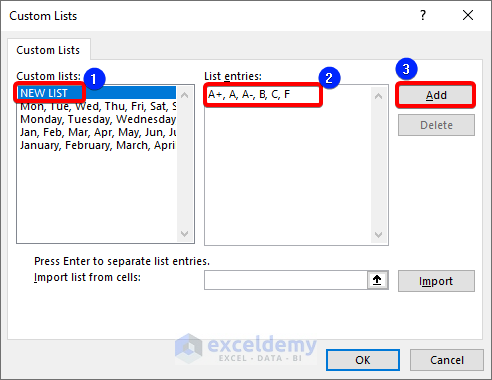
- Click OK.
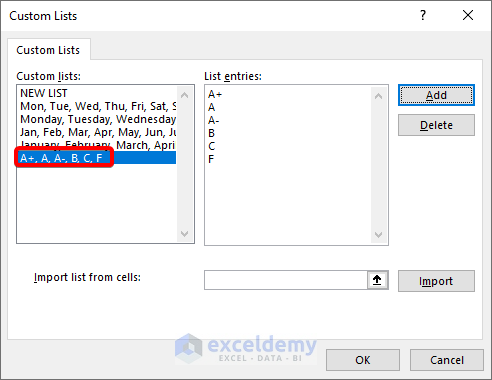
The list is added to the Custom lists.
Step 2 – Import the Custom Sort List from the Workbook
Steps:
- Create the sorting list in your workbook maintaining the sequence.
- Follow steps 1-3 in the previous section to open the Custom Lists dialog box.
- Click Import.
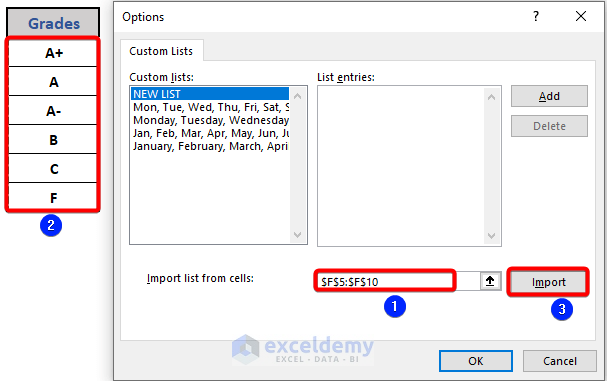
- Select the list in the worksheet. The formula will automatically be inserted in Import list from cells.
- Click Import.
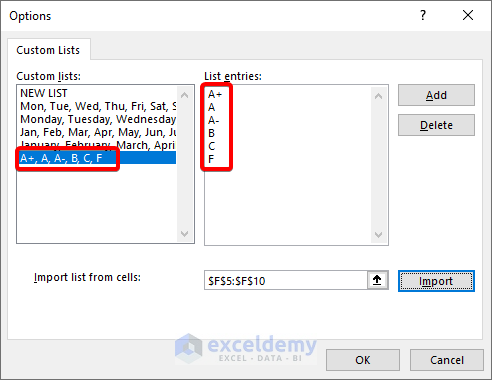
The list is added to the Custom lists.
- Click OK.
Read More: How to Do Advanced Sorting in Excel
Step 3 – Use the Custom Sort List
Steps:
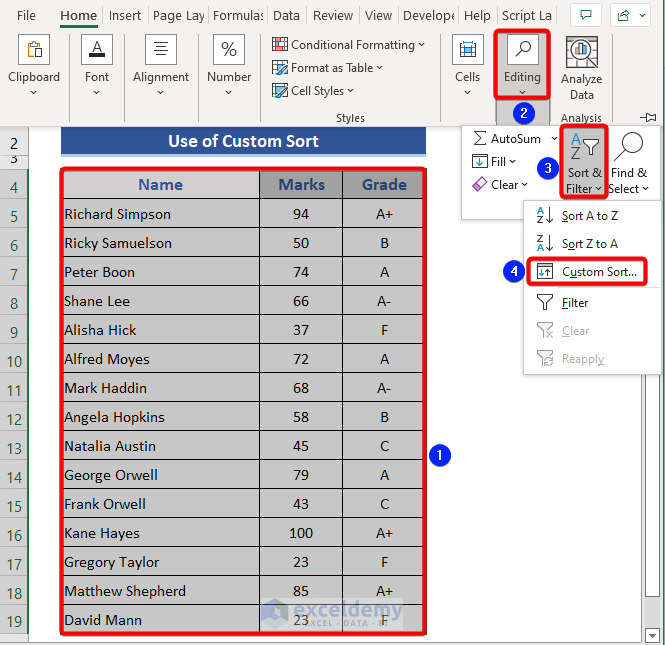
- Select the dataset (including the headers) and go to Sort & Filter in the Home tab.
- Select Custom Sort.
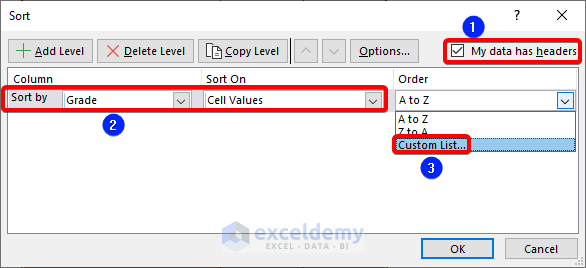
- In Sort, check My data has headers.
- In Column, select a title. Here, select Grade.
- In Sort On, select Cell Values.
- In Order, select Custom List.
Excel Shortcut for Custom Sorting:
Alt+A+S+S
- In the Custom Lists dialog box, select the list in Custom lists.
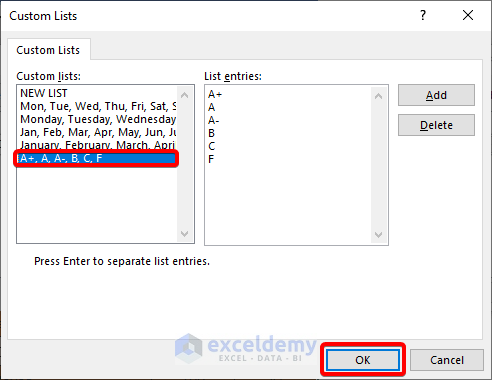
- Click OK in Custom Lists and in Sort.
The dataset is sorted based on the Grade column:
- Click Add Level.
- In Then by, enter Marks.
- In Sort On, select Cell Values.
- In Order, choose Largest to Smallest.
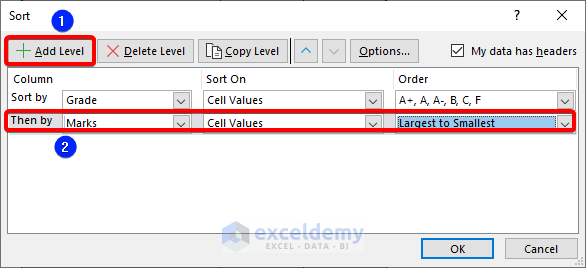
- Click OK.
Read More: How to Sort and Filter Data in Excel
The Custom Sort is Not Working in Excel – Possible Reasons:
Reason 1: Custom Sort Is Not Working Due to Blank Cells Present in Your Data
There are blank cells in the dataset:
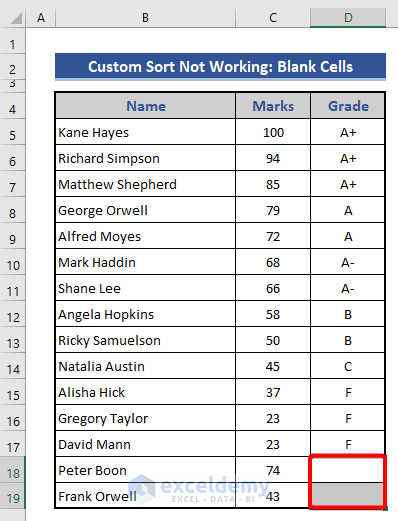
After sorting, blank cells are at the bottom of the dataset.
Solution:
- Enter data in the blank cells and custom sort again.
Reason 2: Hidden Rows or Columns Create Problems in Custom Sorting
Solution:
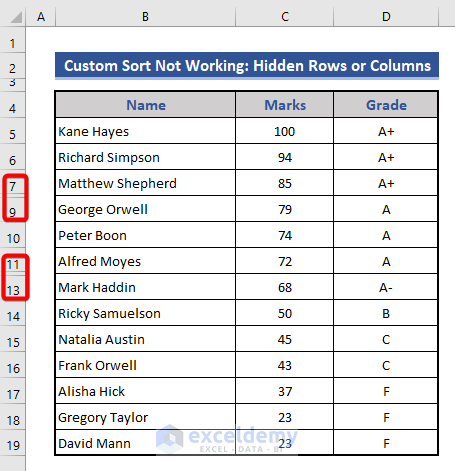
- Unhide the hidden rows.
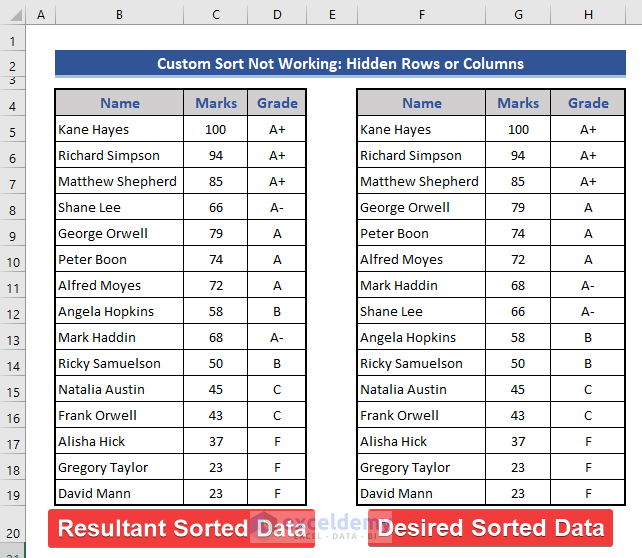
The two datasets show sorted data with hidden rows, and without hidden rows.
Read More: How to Perform Random Sort in Excel
Reason 3: Custom Sort May Not Work Due to Leading Spaces
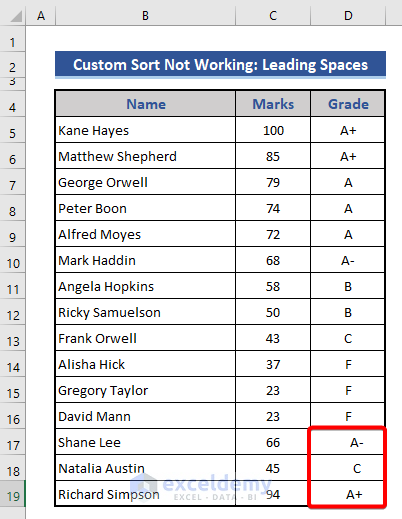
Solution:
Remove leading spaces using the TRIM function.
Reason 4: Mixed Data Types in the Same Column
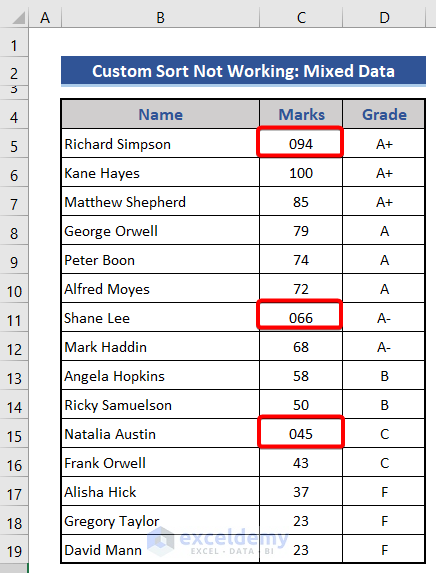
Solution:
Make sure data in the column is in the same type.
Download the following practice workbook.
Related Articles
- How to Sort Drop Down in Excel
- How to Sort IP Address in Excel
- How to Sort Excel Tabs
- Advantages of Sorting Data in Excel
- Difference Between Sort and Filter in Excel
<< Go Back to Sort in Excel | Learn Excel
Get FREE Advanced Excel Exercises with Solutions!
