Method 1 – Change Workbook Views to Remove the Page 1 Watermark in Excel
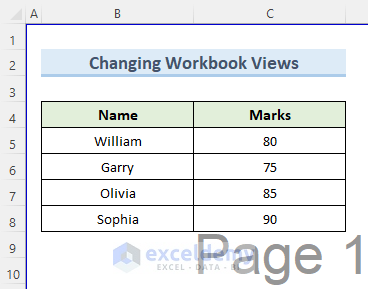
In many situations, a page 1 watermark appears in an Excel workbook because of a certain style that is set as the workbook views. We have shown an example of this in the dataset below.
Steps:
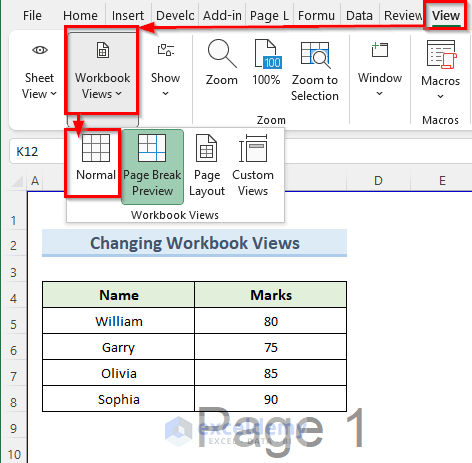
- Navigate to the View tab and click on the Workbook Views dropdown.
- The current view style is set to Page Break Preview.
- Select the Normal view style.
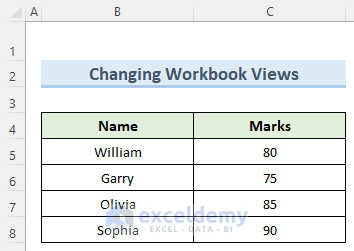
- Excel will clear the watermark from the worksheet.
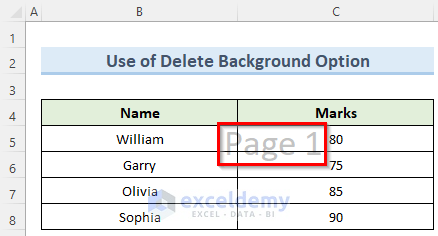
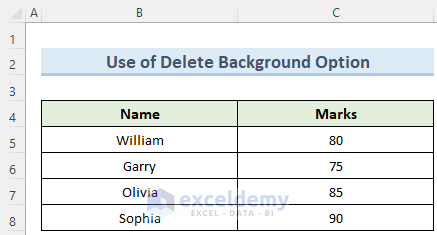
Method 2 – Using the Delete Background Option to Remove the Page 1 Watermark
The page 1 watermark here is actually a background image.
Steps:
- Go to the Page Layout tab.
- Select the option Delete Background.
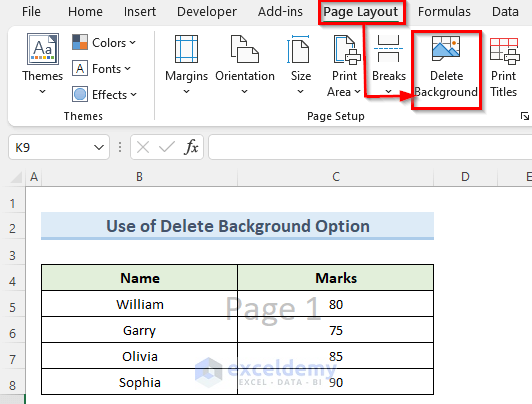
- This will clear the watermark.
Read More: How to Remove Watermark in Excel
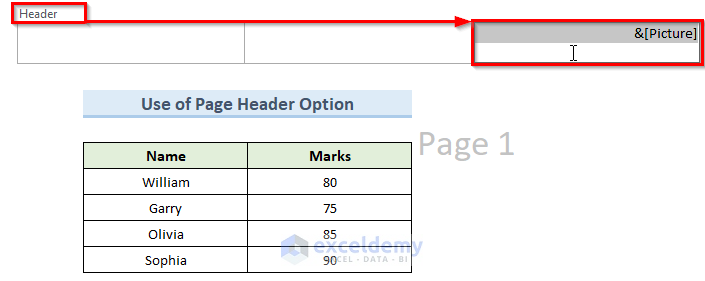
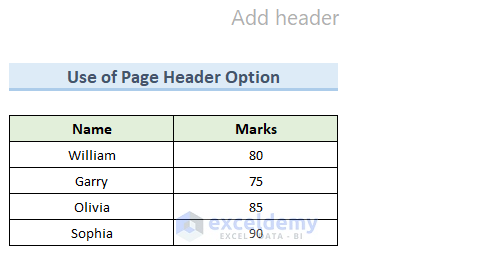
Method 3 – Remove the Page 1 Watermark from the Page Header Option in Excel Worksheet
Here, the page 1 watermark which is applied as a page header in an Excel worksheet. This type of watermark typically appears on the top right side of the worksheet.

Steps:
- Move the pointer to the top of the worksheet. You will see 3 boxes.
- Click on the first box from the right.
- The Header will appear on the top left side, and the text &[Picture] inside the selected box.
- Delete the word &[Picture] using Backspace.
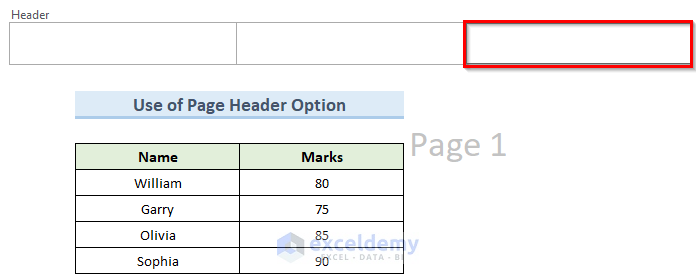
- This will clear the page 1 watermark picture from the Header of the page.
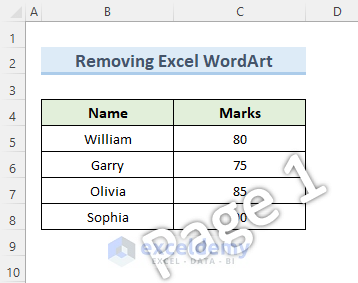
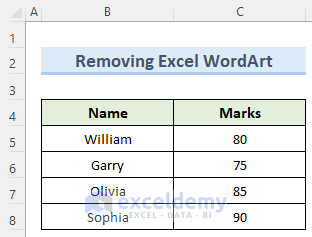
Method 4 – Remove a WordArt Type Page 1 Watermark in Excel
You may sometimes have a WordArt page 1 watermark in your Excel worksheet.
Steps:
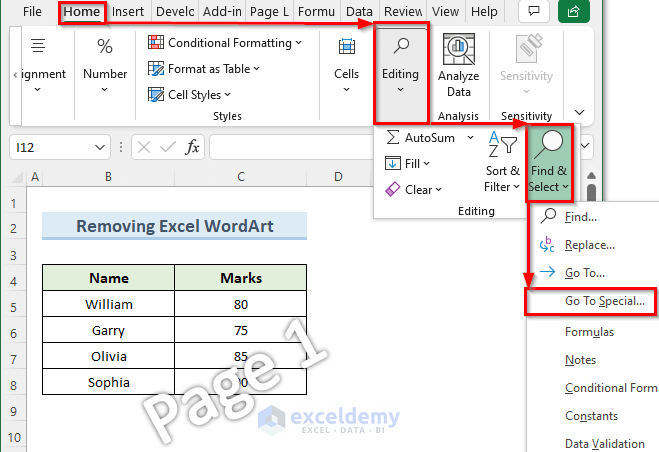
- Go to the Home tab and navigate to the Editing section.
- Click on the Find & Select dropdown and select Go To Special.
- Excel will find the watermark and automatically select it.
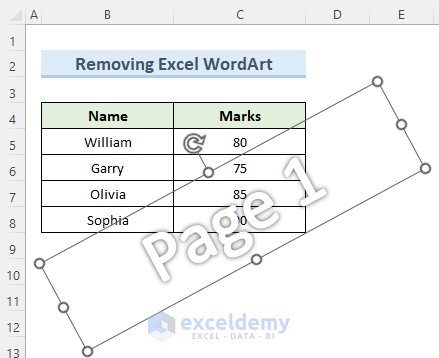
- Press the Delete button on the keyboard and Excel will remove the watermark.
Download the Practice Workbook
Related Article
<< Go Back to Watermark | Page Setup | Print in Excel | Learn Excel
Get FREE Advanced Excel Exercises with Solutions!

Thanks!
Hello, Chole Faulkner!
Thanks for your appreciation. Stay in touch with ExcelDemy.
Regards
ExcelDemy