A watermark is a logo, text, picture, or pattern. We usually superimpose it onto another image or dataset intentionally. The main purpose of a watermark is to make it more difficult to copy the main image or dataset without permission. Excel provides several methods to add watermarks and move them. In this article, we will discuss two easy steps to move watermark in Excel with explanations.
Introduction to Watermark
Most of the time, watermarks are employed to give a document a copyright edge while preventing plagiarism. To prevent note theft, teachers and tutors frequently watermark their notes with their names. To prevent tampering with sensitive information, significant documents and correspondence in a corporation are tagged with Confidential.
When confidentiality isn’t the only concern, watermarks can be used to promote businesses by adding their name or brand on paper. It visually acts as a quick and reliable reminder of the brand identity of the business.
How to Move Watermark in Excel: with Easy Steps
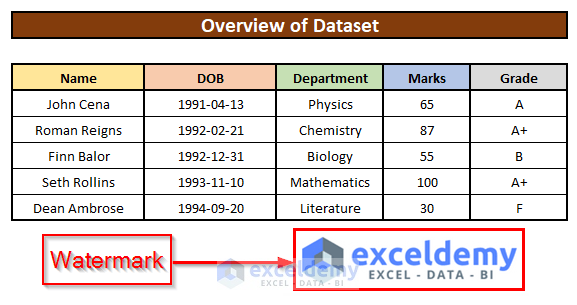
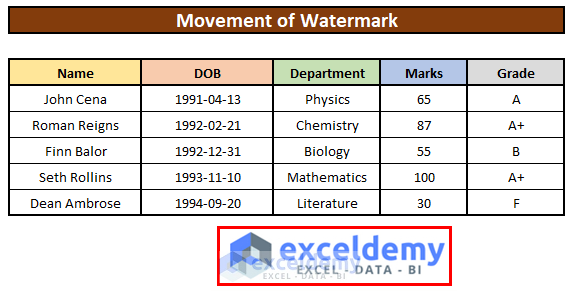
Let’s assume we have an Excel workbook that contains information about several Students of XYZ School. We will insert a watermark in Excel. Hence, we will move it as we want. Here’s an overview of the dataset for today’s task.
Step 1: Insert Watermark Using Header & Footer Option
In this section, we will learn how to insert a watermark image in Excel. We can easily insert an image as a watermark using the Insert ribbon. From our dataset, we can easily do that. Let’s follow the instructions below to learn!
- First of all, from your Insert ribbon, go to,
Insert → Text → Header & Footer
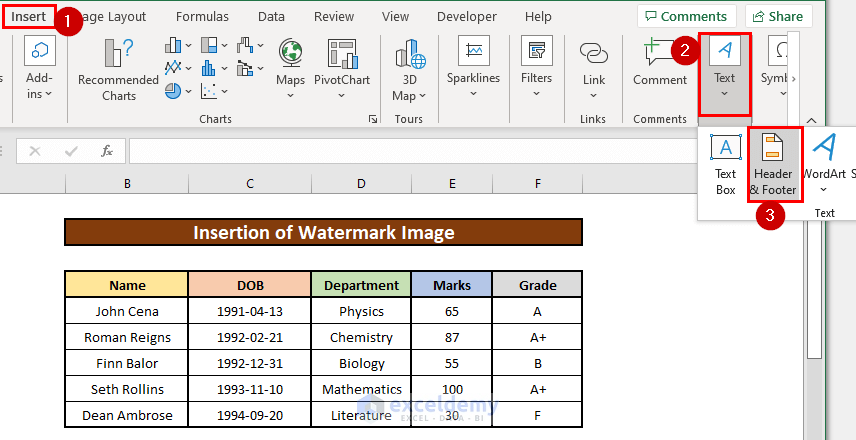
- Hence, from your Header & Footer tab, go to,
Header & Footer → Header & Footer Elements → Picture

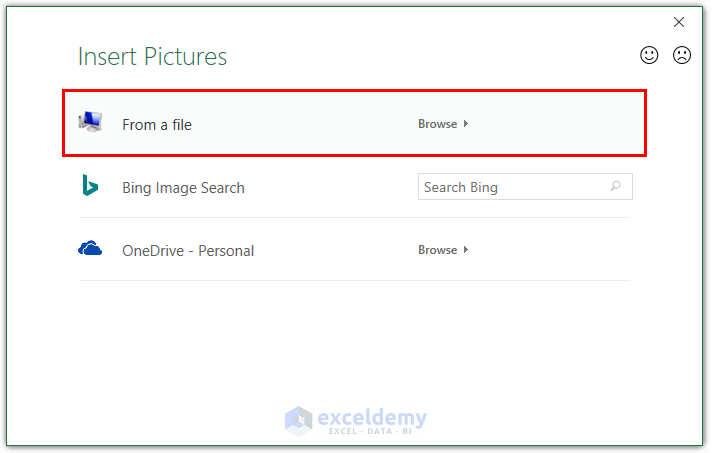
- After that, an Insert Pictures dialog box will appear in front of you. From the Insert Pictures dialog box, press the From a file option.
- Further, do like the below screenshot.

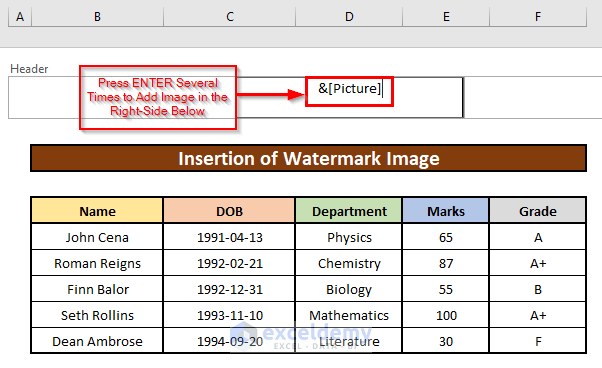
- After that, you will add a watermark image in Excel. Now, press ENTER on your keyboard to place it as you want. Hence, click your cursor anywhere to see the watermark image.
- Finally, you will be able to insert a watermark image which has been given in the below screenshot.

Read More: How to Fix Watermark in Excel
Step 2: Move the Watermark in a Different Direction
Now, we will move the watermark image as we want. Let’s follow the instructions below to learn!
- First of all, click on the &[Picture] title, and move it as you want. Hence, click your cursor anywhere to see the watermark image.

- Finally, you will be able to insert a watermark image which has been given in the below screenshot.
Things to Remember
➜ You can add any kind of image extension to the watermark image.
Download Practice Workbook
Download this practice workbook to exercise while you are reading this article.
Conclusion
I hope all of the suitable steps mentioned above to move the watermark will now provoke you to apply them in your Excel spreadsheets with more productivity. You are most welcome to feel free to comment if you have any questions or queries.
Related Articles
<< Go Back to Watermark | Page Setup | Print in Excel | Learn Excel
Get FREE Advanced Excel Exercises with Solutions!
