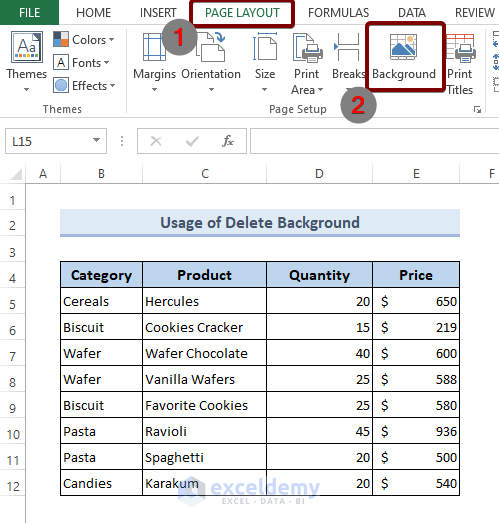
Method 1 – Use the Delete Background Command to Remove the Watermark in Excel
- Go to the PAGE LAYOUT tab.
- Click Background.
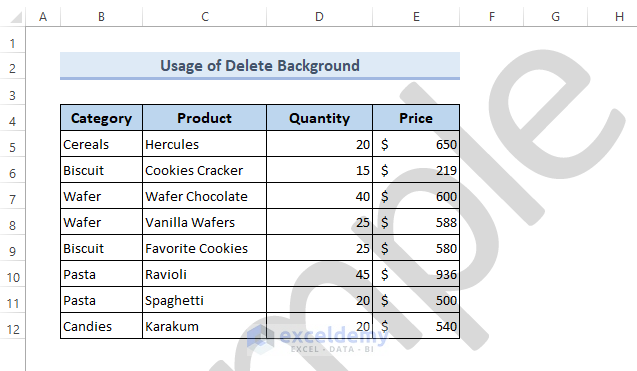
This is the output.
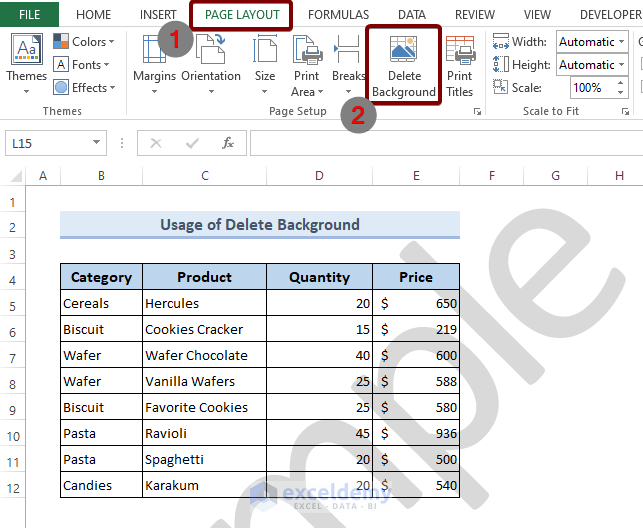
To remove the watermark,
- Go to the PAGE LAYOUT tab again.
- Select Delete Background.
Read More: How to Remove Page 1 Watermark in Excel
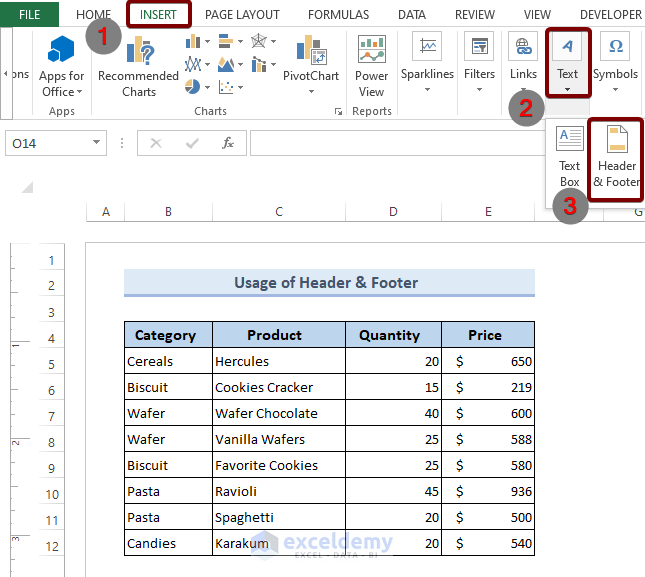
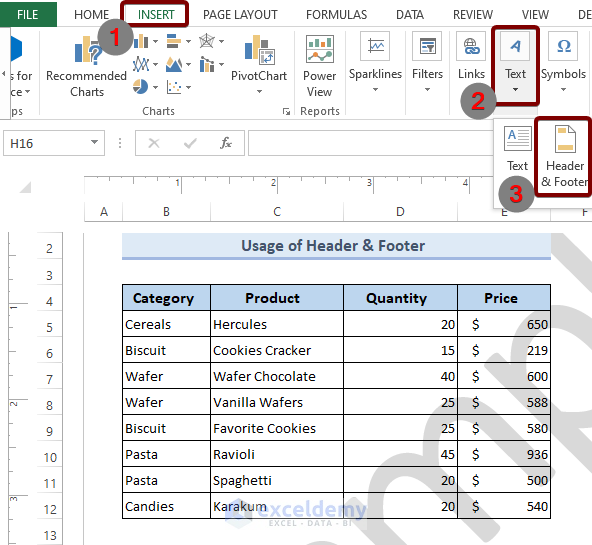
Method 2 – Use the Header & Footer command to Remove Watermark in Excel
- Go to the INSERT tab.
- In Text, click Header & Footer.
A box with a “Click to add header” caption will be displayed.

- Click the box.
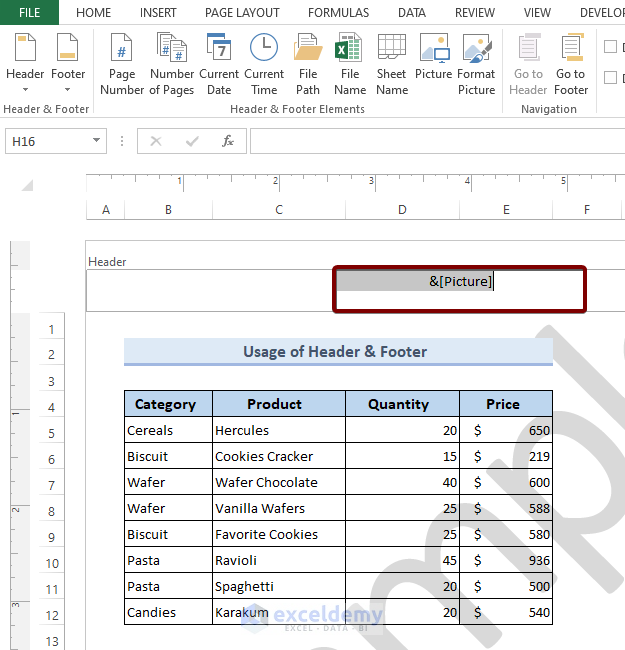
- In Header & Footer, choose Picture .
- Insert an image as a watermark and you will see the Header box showing the &[Picture] message.
- Click any cell out of the Header box to see the watermark.

To remove the watermark:
- Go to the INSERT tab.
- In Text, click Header & Footer.
The Header box with the &[Picture] caption will be displayed.
- Select the whole &[Picture] caption and delete it.
- Click any cell outside of the Header box. The watermark was removed.
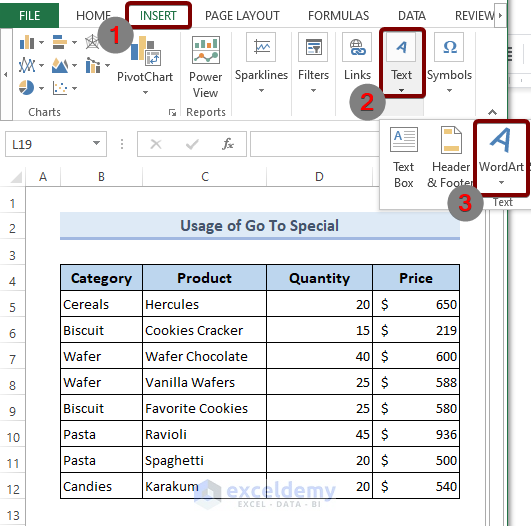
Method 3 – Use Go The To Special command to Remove a Watermark in Excel
- Go to the INSERT tab.
- In Text, click WordArt.
- Insert your text in the box to see the watermark.

To remove the watermark:
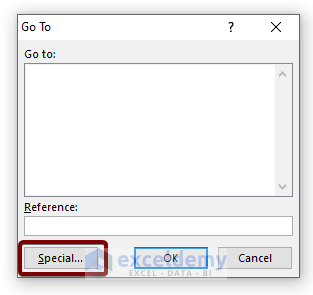
- Press CTRL + G to open the Go To dialog box.
- In Go To, click Special.
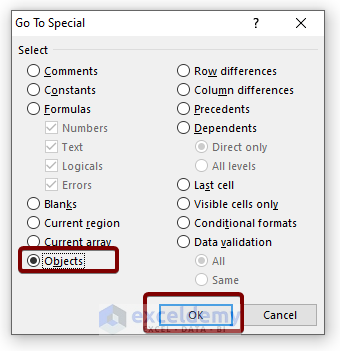
In the Go To Special dialog box:
- Select Objects and click OK.
- Select the WordArt and press Delete.

Things to Remember
- Watermarks are not visible in Normal view mode. They are visible in Page Layout and Print Preview mode only .
Download the Practice Workbook
Download the Excel file and practice.
Related Articles
<< Go Back to Watermark | Page Setup | Print in Excel | Learn Excel
Get FREE Advanced Excel Exercises with Solutions!

hello it was wonderful to know
Dear Jess,
Thanks for your appreciation.
Regards
ExcelDemy