Do you want to know how to mark a workbook as final in Excel to signal that this is the concluding version of your worksheet? We often use this type of feature when we are the main editor or author and want to discourage modification of our file. However, users may still modify the worksheet. Now, let’s see how to do this.
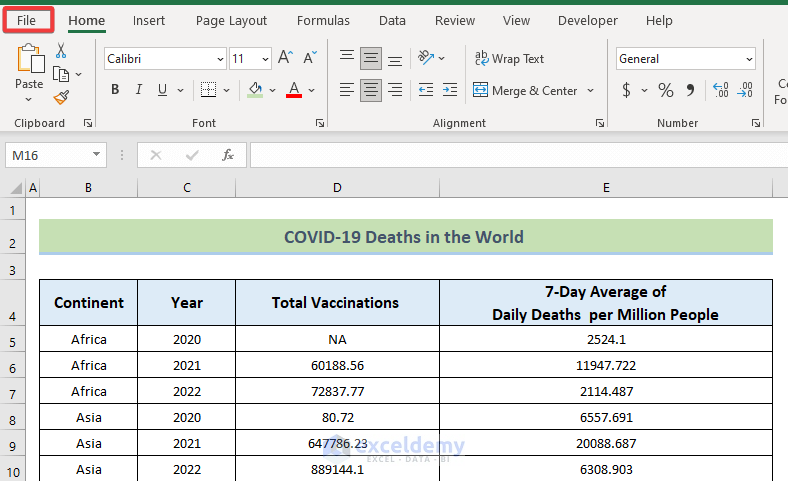
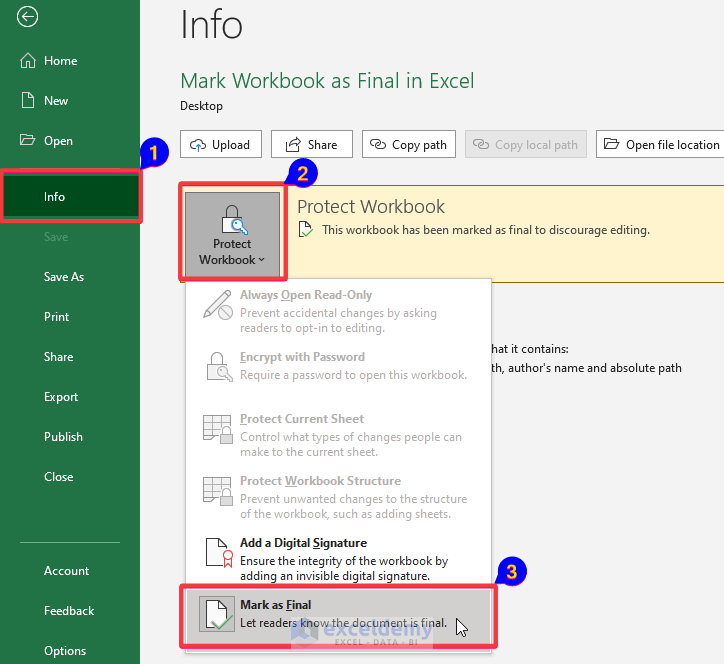
Step 1: Opening Excel Workbook and Go to File Tab
- First and foremost, we must open a workbook, and then we’ll go to the File tab.
Step 2: Navigate to the Info Section and Click on ‘Mark as Final’ Option
- Now as shown in the image below, choose Info, and after clicking the drop-down menu of Protect Workbook select Mark as Final.

- After that, click on the OK button.
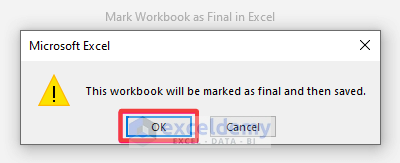
- As a result, a Microsoft Excel message will appear. Just click OK.
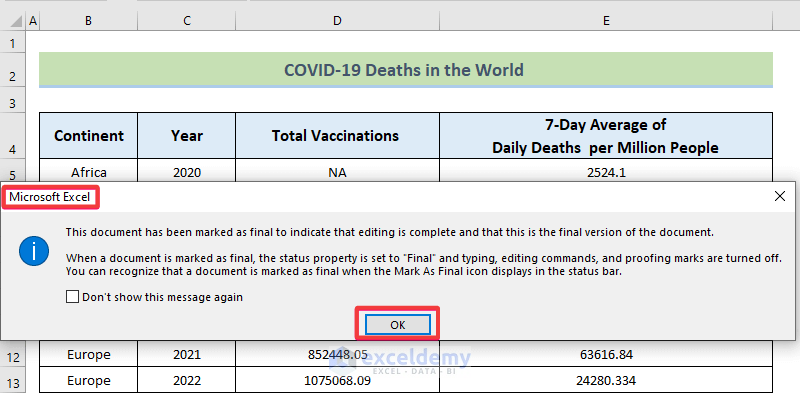
- So, the resulting workbook has been marked as final.
Note:
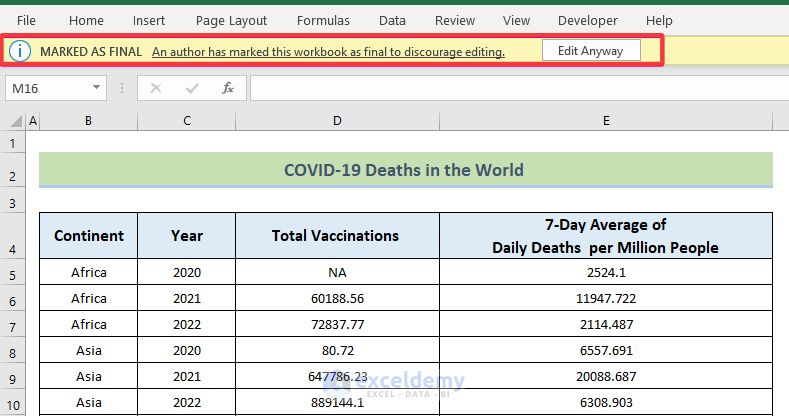
Users can continue to modify the worksheet by selecting Edit Anyway. Take note of the MARKED AS FINAL icon in the status bar as well.
Read More: [Fixed!] Protect Workbook in Excel Not Working
How to Remove Mark Workbook as Final in Excel
If you wish to remove marked as final, you can do that very easily. Just go to File > Info in a Final file, where you will see a notification indicating that the workbook has been Marked as Final. To modify this, go back to Protect Workbook and choose Mark as Final.
- The final workbook without Mark as Final.
Read More: How to Protect Excel Workbook from Editing
Conclusion
Follow these steps and stages of the article to mark a workbook as final in Excel. You are welcome to download the workbook and use it for your own practice. If you have any questions, concerns, or suggestions, please leave them in the comments section.
Related Articles
- How to Protect Excel File with Password
- Protect and Share Excel Workbook
- Difference Between Protect Sheet and Protect Workbook in MS Excel
<< Go Back to Protect Workbook in Excel | Excel Protect | Learn Excel
Get FREE Advanced Excel Exercises with Solutions!
