This is an overview.
Download Practice Workbook
Download the practice workbook here:
Here’s the password- 12345.
Method 1 – Protect the Excel Workbook Using the Mark as Final Option
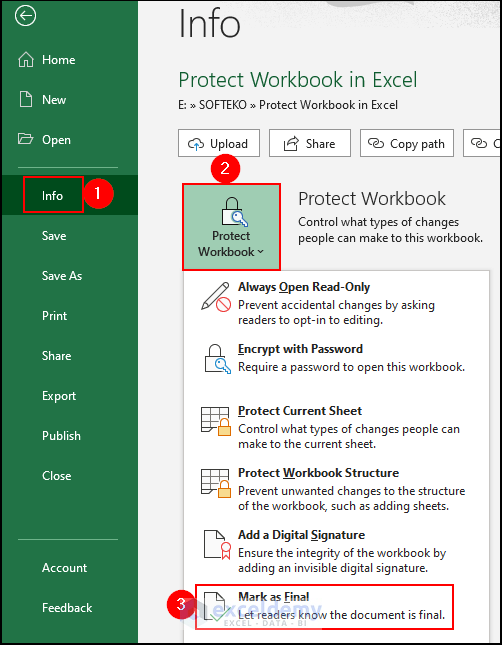
- Open the Excel file.
- Go to File>> Info>> Protect Workbook>> Mark as Final.

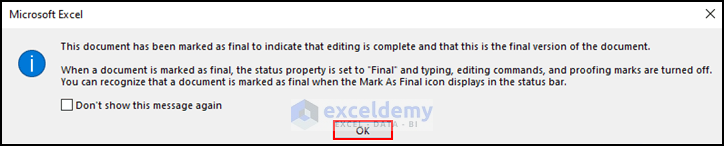
- In the dialog box, click OK.

- Excel will automatically mark the Excel workbook as a final version.
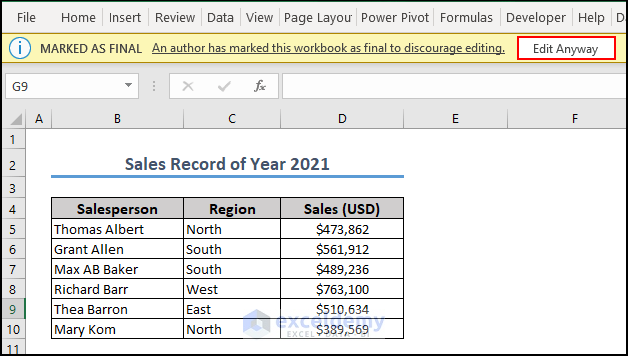
- A warning box will be displayed if someone tries to open the workbook.
- Click OK .
- To continue editing, click Edit Anyway.
Excel will allow you to edit the workbook.
Method 2 – Protect the Excel Workbook with a Password
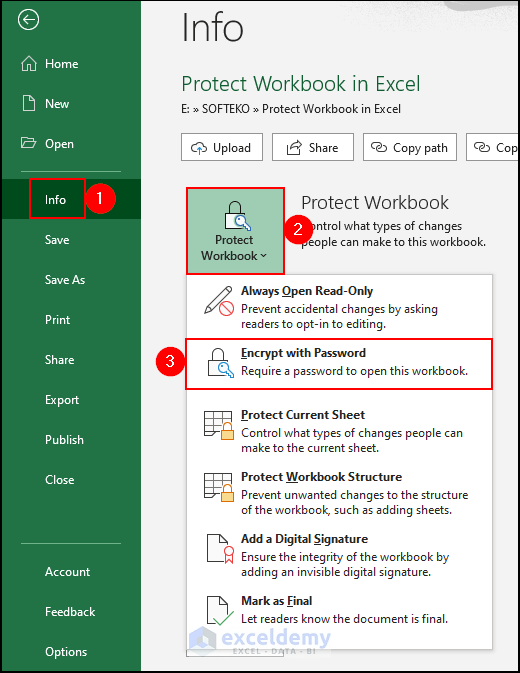
- Go to File>> Info>> Protect Workbook>> Encrypt with Password.
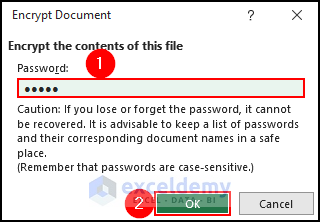
- Enter a password in the Encrypt Document dialog box and click OK.
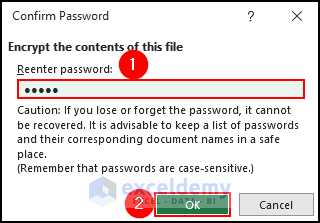
- Re-enter the password in the Confirm Password dialog box and click OK.
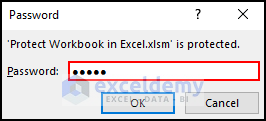
- If you try to open your workbook, a password prompt is automatically displayed.
- Enter the password: 12345 and click OK.

Method 3 – Use the ‘Open as Read-Only’ Feature to Protect Workbook
- Go to File>> Info>> Protect Workbook>> Always Open Read-Only.
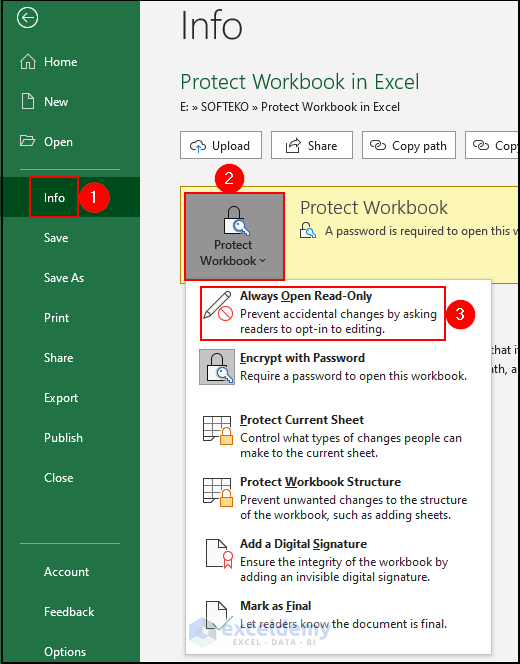
- The Excel workbook is in Read-Only mode. If someone tries to open the file, the following dialog box will be displayed.
- Click Yes to proceed with the Read-Only mode. Selecting No will enable editing the workbook.

Method 4 – Use the General Options to Protect the Excel File with a Password
- Click the File tab.
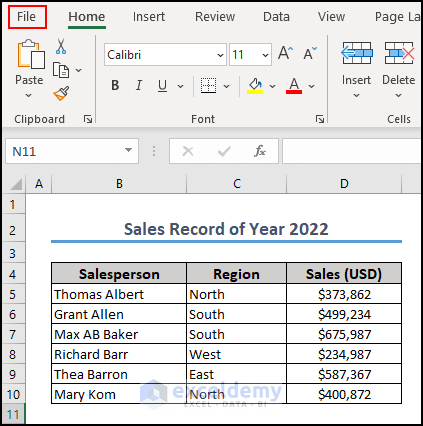
- Go to Save As>> Browse.

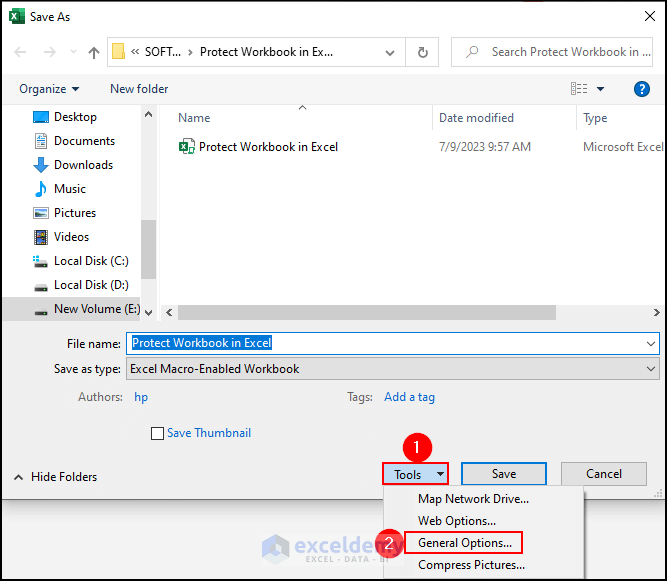
- In Save As, click Tools.
- Select General Options.
- Set a password to open the file.
- Set another password to modify the file. Here, 12345 in both fields.
- Click OK.

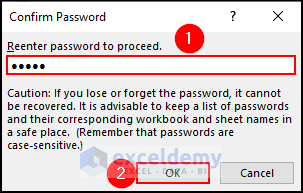
- Re-enter the password and click OK.
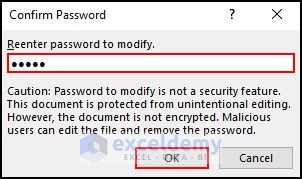
- Re-enter the password to modify the file and click OK.
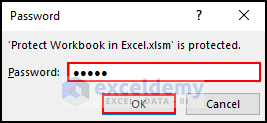
- If you close the workbook, the password will be asked to open it.
- Enter the password to open the file.
- Enter the password to modify the file.
- Click OK.
Read More: [Fixed!]: Protect Workbook in Excel Not Working
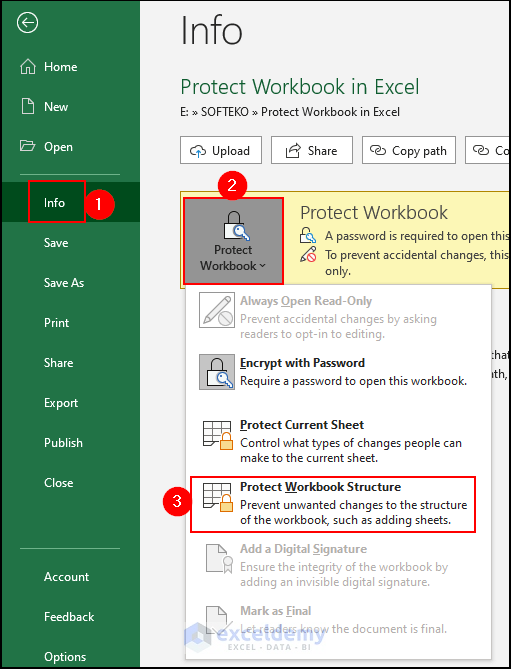
Method 5 – Protect the Structure of an Excel Workbook
- Go to File>> Info>> Protect Workbook>> Protect Workbook Structure.
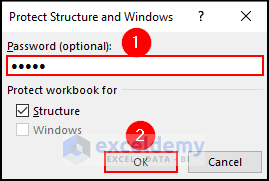
- Enter the password in Protect Structure and Windows dialog box and click OK.
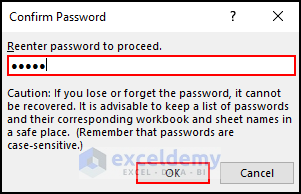
- Re-enter the password.
- Double-click the name of the sheet you want to rename, and Excel will prompt you with the message below.
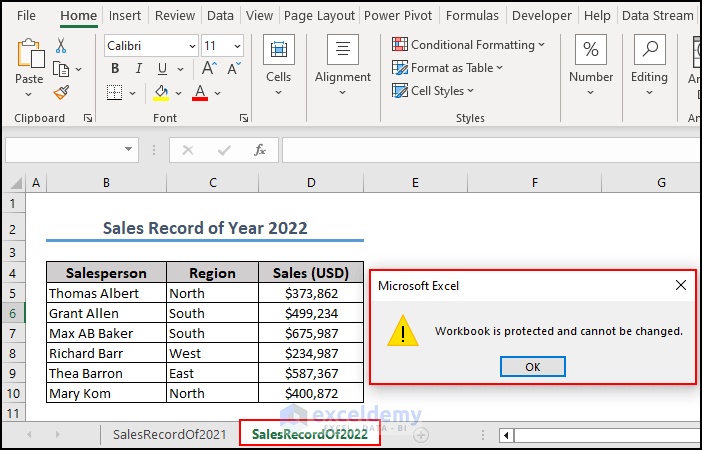
You can open the Excel file, but cannot add a sheet, change the name, or delete any existing sheets.
Method 6 – Using a VBA Code to Protect the Excel Workbook with a Password
- Press ALT + F11 to open Visual Basic.
- Click Insert and select Module.
- Enter the following code in the code editor and press F5 to run it.
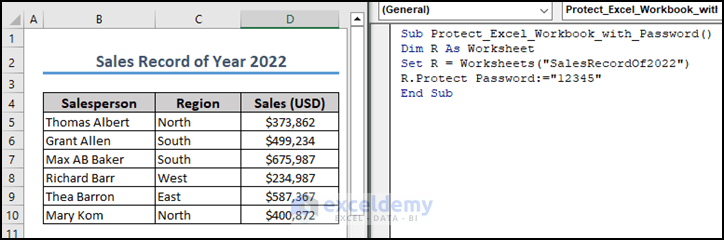
If you open the file again after running the VBA code, you will need to enter the password.
Read More: Difference Between Protect Sheet and Protect Workbook in MS Excel
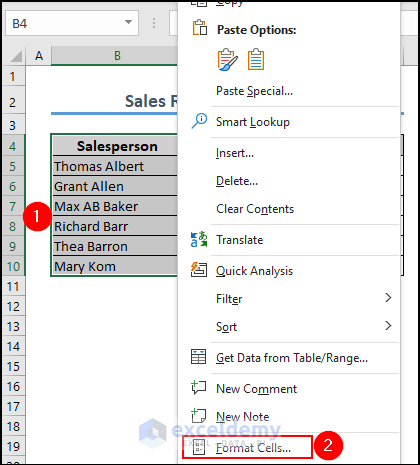
How to Protect Specific Cells in an Excel Workbook
- Select the cell range you want to protect.
- Here, column B in the SalesRecordOf2021 worksheet.
- Right-click and select Format Cells.
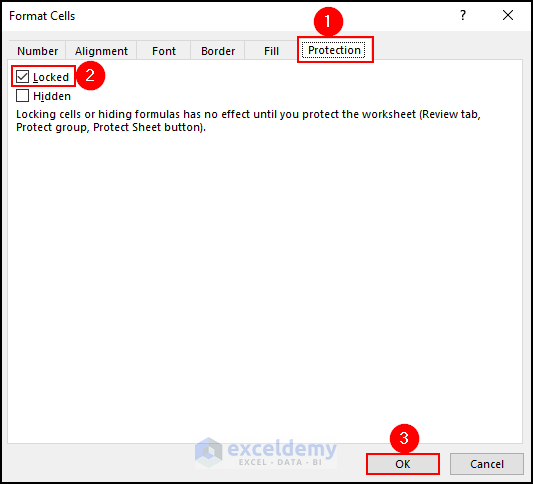
- Go to Protection>> check Locked>> click OK.
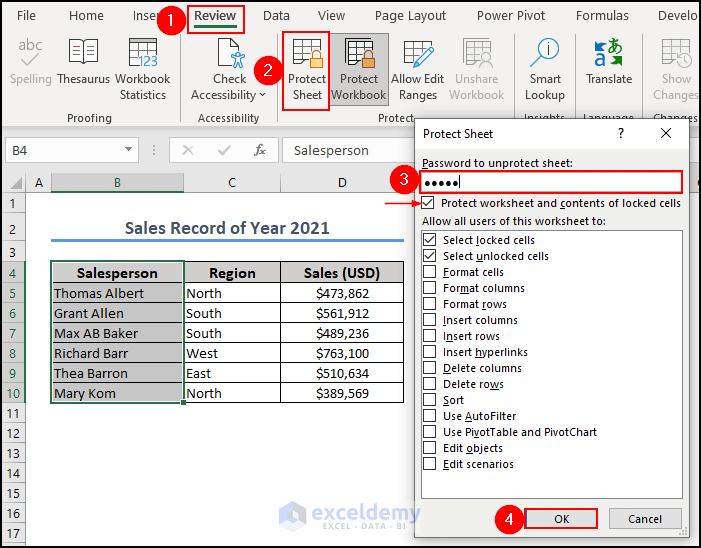
- Go to the Review tab>> click Protect Sheet.
- Enter the password and enable “Protect worksheet and contents of locked cells”.
- Click OK.
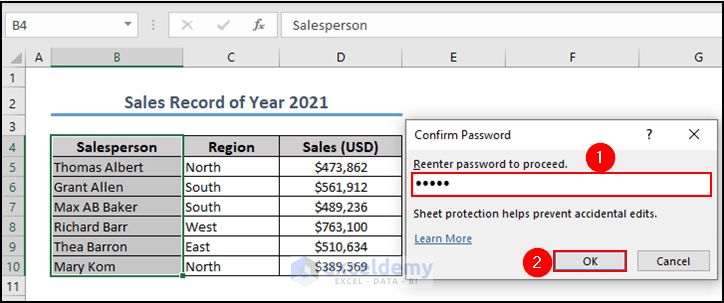
- Re-enter the password and click OK.
- If you want to make any changes in column B, Excel will show you a warning message:

Frequently Asked Questions
1. What are the 3 types of protection in Excel?
Answer: A workbook can be protected at the file or worksheet level in Excel. Excel provides three levels of password protection: password protection for opening files, password protection for changing data, and password protection for adding, deleting, or hiding worksheets.
Protect Workbook in Excel: Knowledge Hub
<< Go Back to Excel Protect | Learn Excel
Get FREE Advanced Excel Exercises with Solutions!
