This is an overview.
1. Using the “Save As” Command to Export Excel Data to Text or CSV File
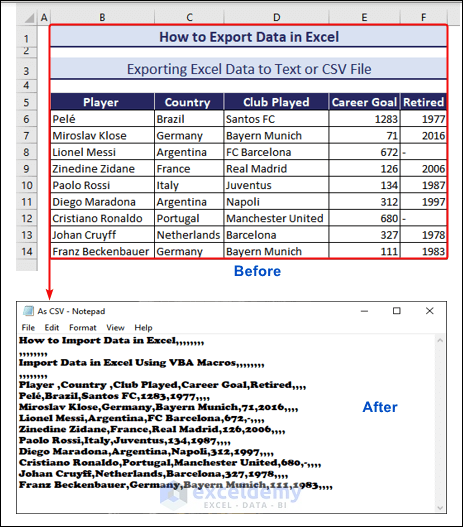
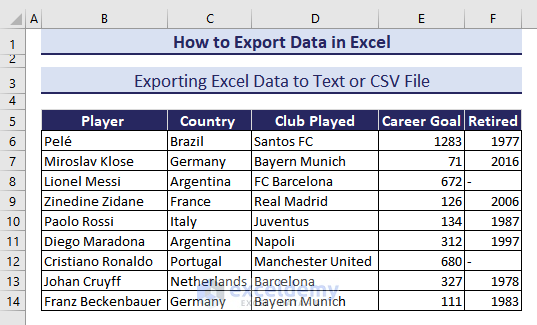
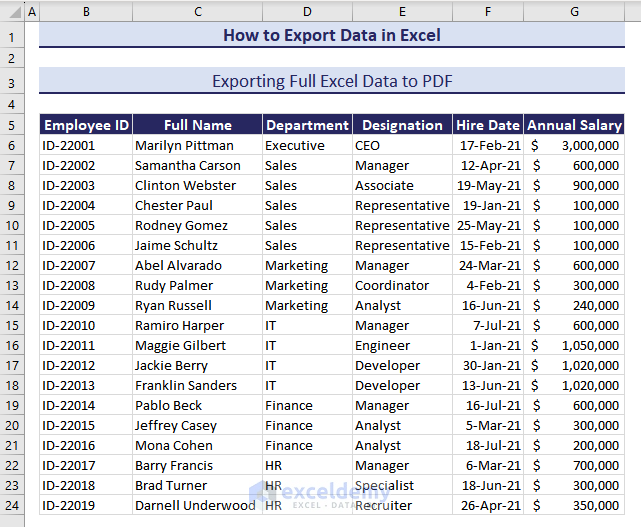
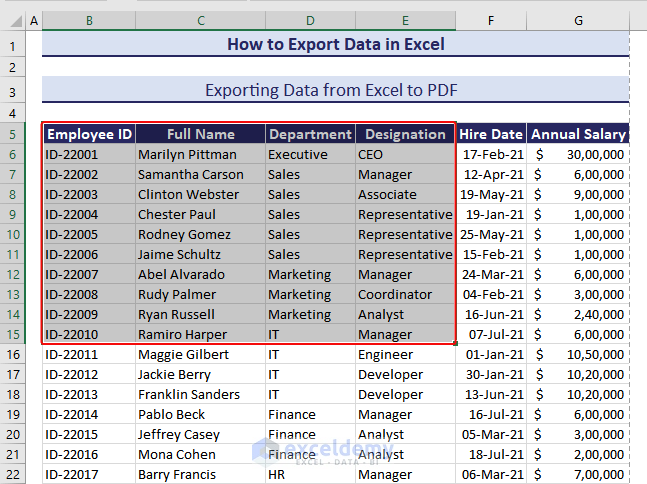
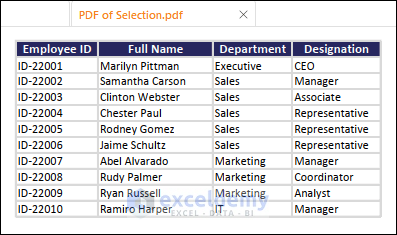
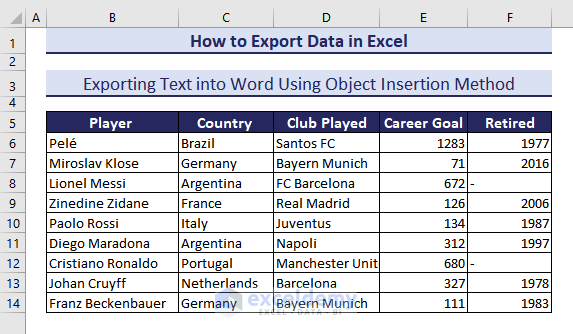
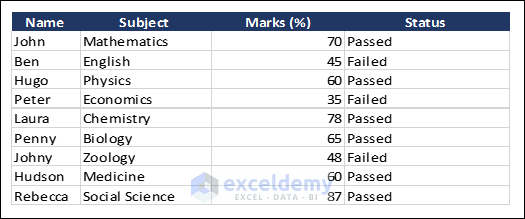
This is the sample dataset.
To export this data to a CSV file:
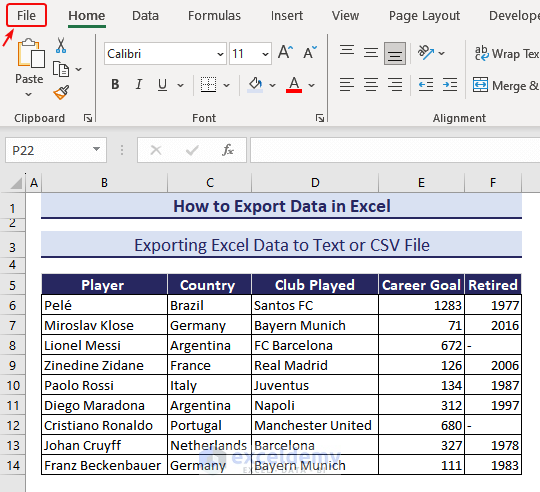
- Click the File tab.
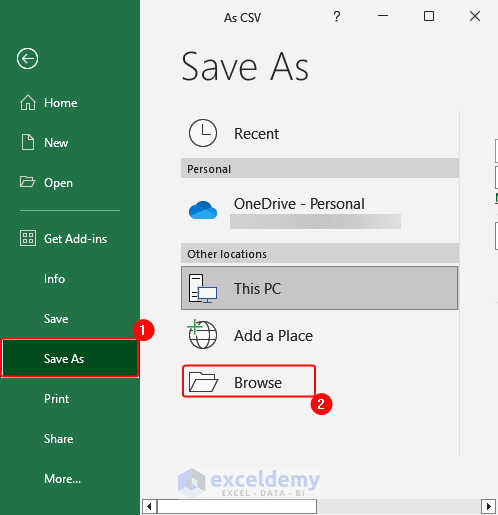
- Click Save As> Browse.
- Select CSV (Comma Delimited) in Save As Type > Choose the Folder Location> Enter the Folder Name> Click Save.

- If you open the Notepad, you will see the exported data separated by commas.

Note: If your Workbook contains multiple worksheets, it will only export the data in the Active worksheet.
When this dialogue box is displayed, click OK to continue exporting.

2. Exporting Data from Excel to PDF
2.1. Exporting the Full Excel Data to PDF
To export the whole worksheet into PDF file format:
- Click File> Save As> Browse.
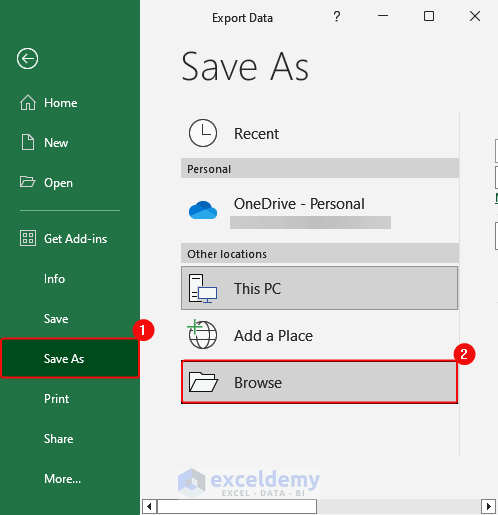
- Select PDF in Save As Type > Choose the Folder Location> Enter the Folder Name> Click Save.
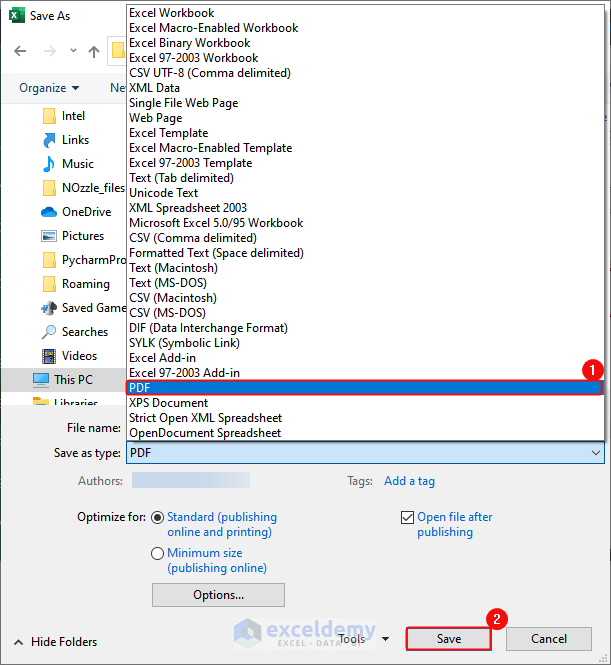
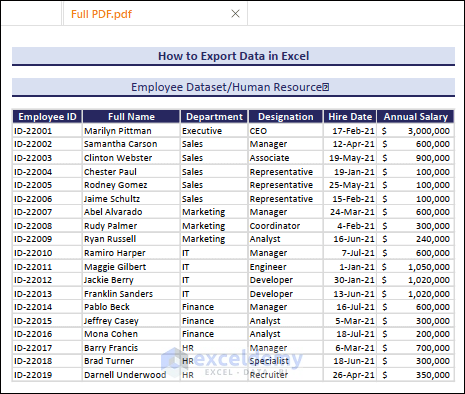
- The worksheet is saved as a PDF.
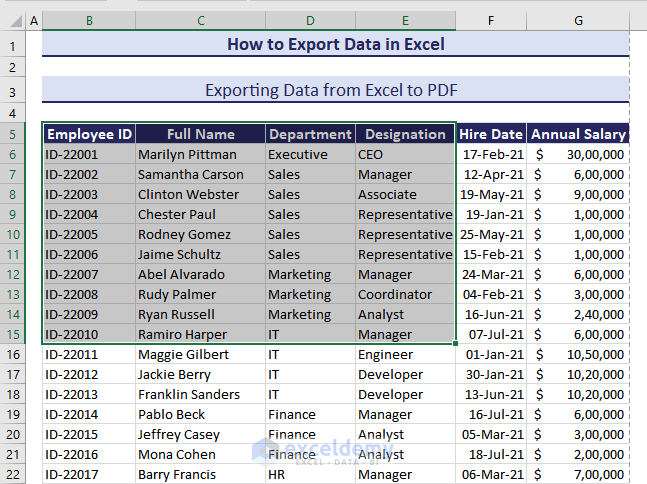
2.2. Export Part of Excel Data to PDF
Export the selection (B5:E15) to PDF.
- Select B5:E15.
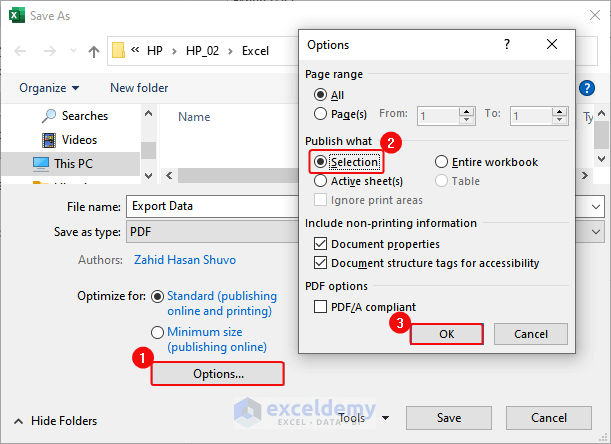
- Select PDF in Save As Type> Choose the Folder Location> Enter the Folder Name> Click Options.
- Check Selection in Publish what.> Click OK.
- Click Save.
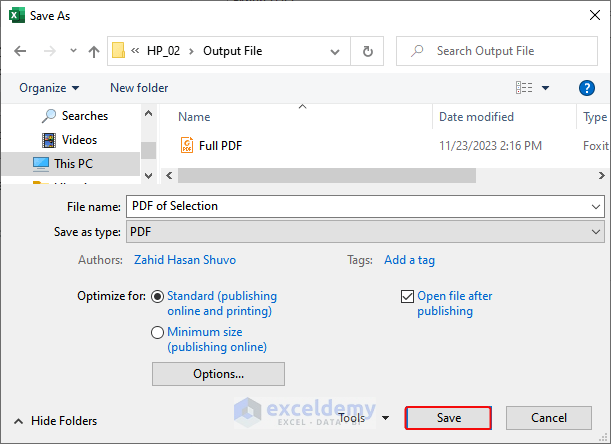
The exported data will be displayed in a PDF.
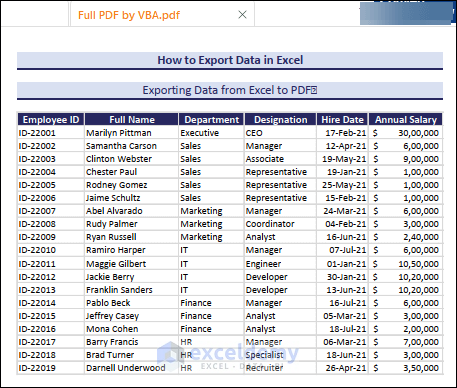
2.3. Using VBA Macros to Export the Full Excel Data to PDF
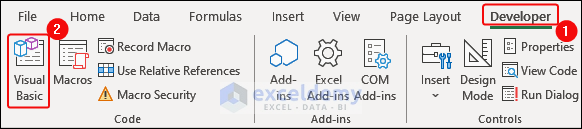
- Click Developer > Visual Basic in Code.
- Click Insert> Module.
- In the module, copy and paste the code below.> Save the file as a macro-enabled file.> Press F5.
Code:
Sub SaveAsPDF()
' Define variables
Dim ws As Worksheet
Dim savePath As String
' Set the current worksheet
Set ws = ActiveSheet
' Specify the path and filename for the PDF
' Change "C:\Path\to\save\file.pdf" to your desired path and filename
savePath = "C:\Users\SHUVO\Desktop\HP\HP_02\Output File\Full PDF by VBA.pdf"
' Save the worksheet as PDF
ws.ExportAsFixedFormat Type:=xlTypePDF, Filename:=savePath, Quality:=xlQualityStandard
' Optional: Display a message when the PDF is saved
MsgBox "PDF saved successfully!"
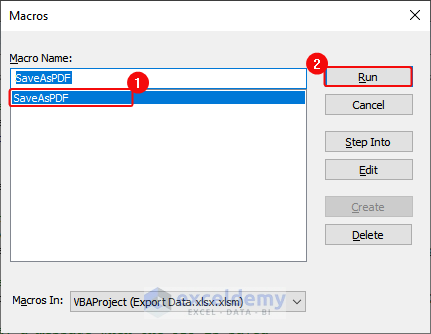
End SubIn the Macros dialog box:
- Select
"SaveAsPDF"> Click Run.
- A message box will display:
"PDF saved successfully".
The PDF is created.
3. Exporting Excel Sheets to Word
3.1. Using the Copy Paste Method
Export the dataset into Microsoft Word:
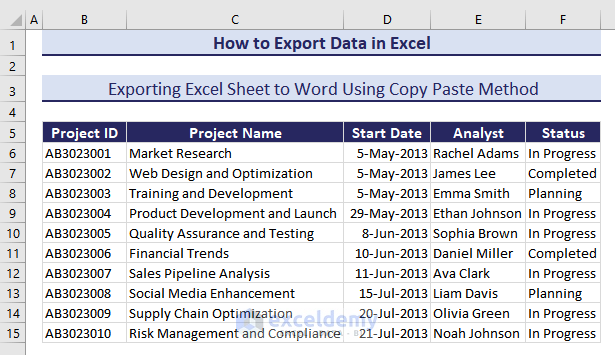
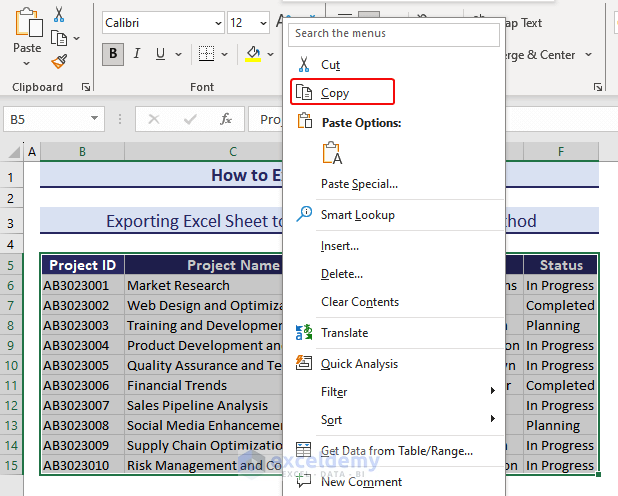
- Select the data.> Right-click.> Click Copy. (Or press Ctrl+C).
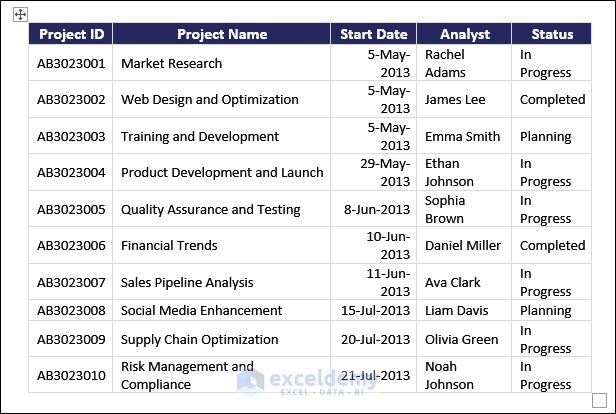
- Paste the data into Word (Press Ctrl+V). The exported data will appear in a table. Adjust the column width to fit the pasted data.
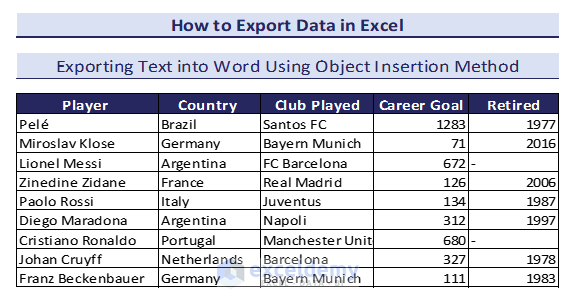
3.2. Using the Object Insertion Method
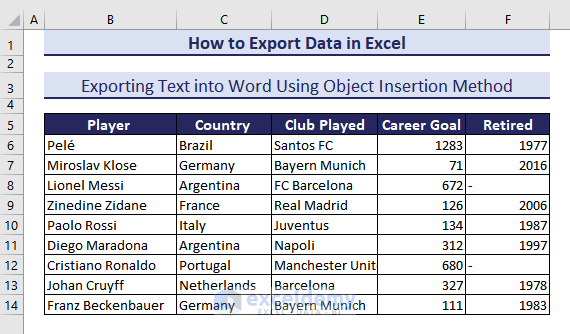
Export the dataset below to Word:
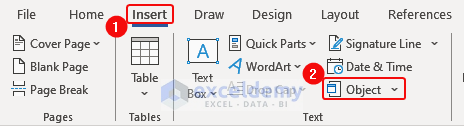
- Open a Word file> Place the cursor on the page where you want to export the data.> Click Insert > Object.
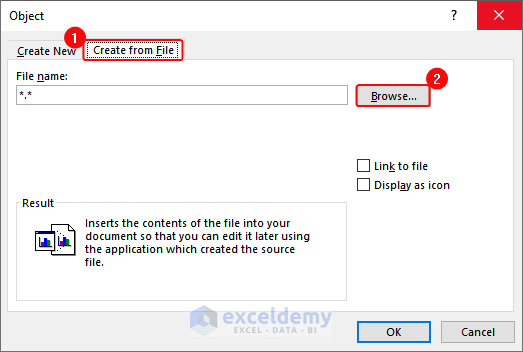
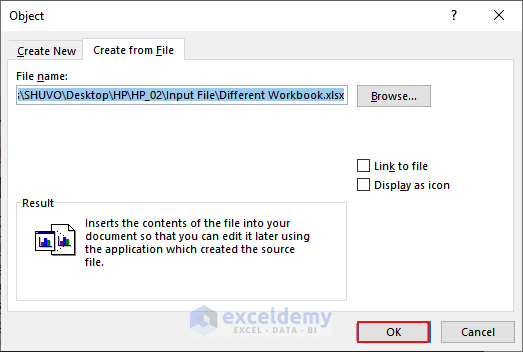
- Click Create from File in Object > Browse.
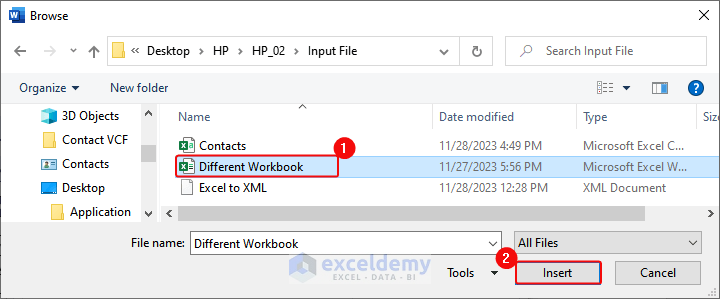
- Find and select the worksheet. (Make sure your workbook is open and place the cursor on the dataset that you want to export.)> Click Insert.
- Click OK.
The dataset is exported from Excel to Word.
3.3. Embedding a Spreadsheet into a Word Document
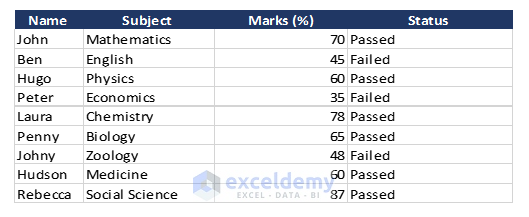
To add this data table to a Word file:
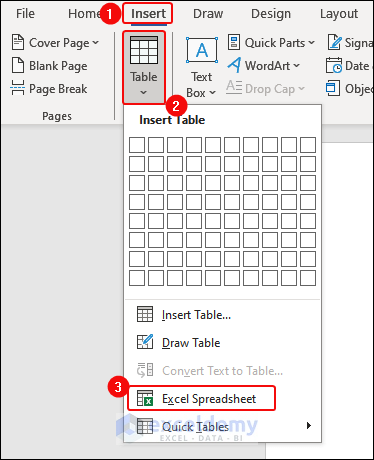
- Open Word.> Click Insert> Table.> “Excel Spreadsheet”.
- This will enable a spreadsheet interface into your Word file. Copy and paste the data to this table.
- This is the output.
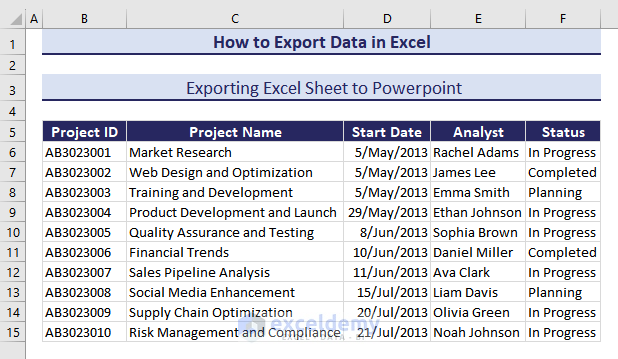
4. Exporting Data from Excel to PowerPoint
Export the dataset to PowerPoint as a picture.
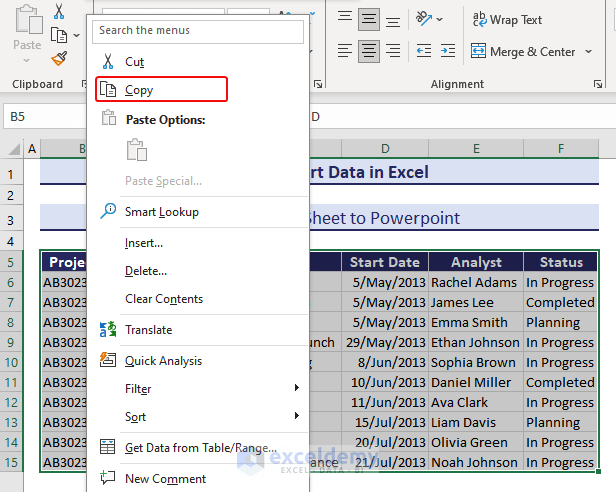
- Select the data.> Right-click > Click Copy.
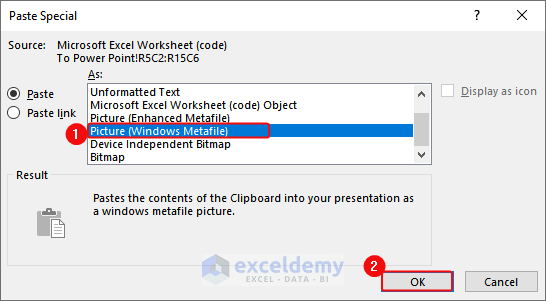
- Open the PowerPoint.> Press Ctrl+Alt+V.> Check Paste.> Select Picture (Windows Metafile) in As:> Click OK.
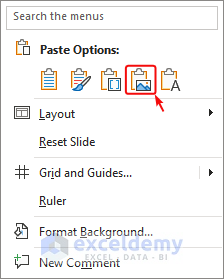
- Or right-click > Click Paste as Picture.
This is the output.
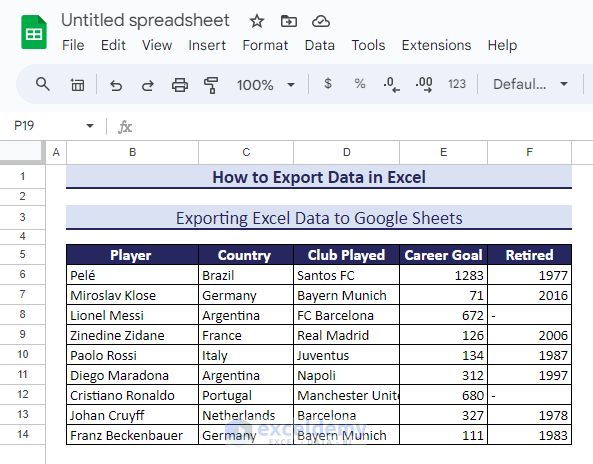
5. Exporting Data from Excel to Google Sheets
Export this file:
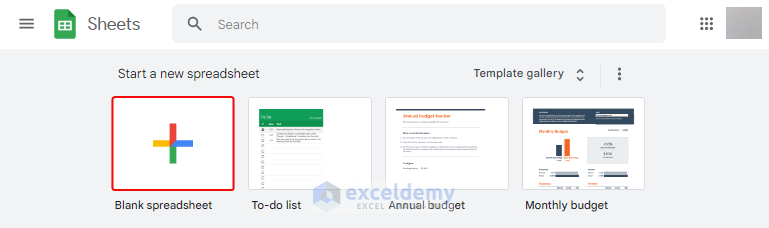
- Go to the following link to open the Google Sheets webpage.> Click the Blank page option to open a blank sheet.
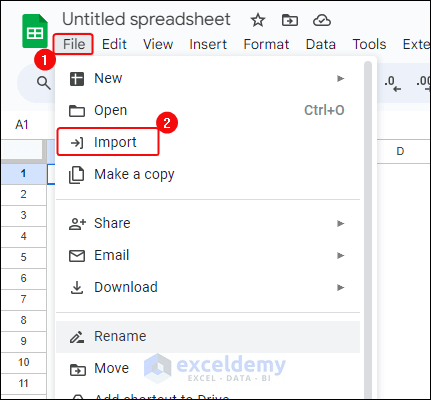
- Click File.> Import.
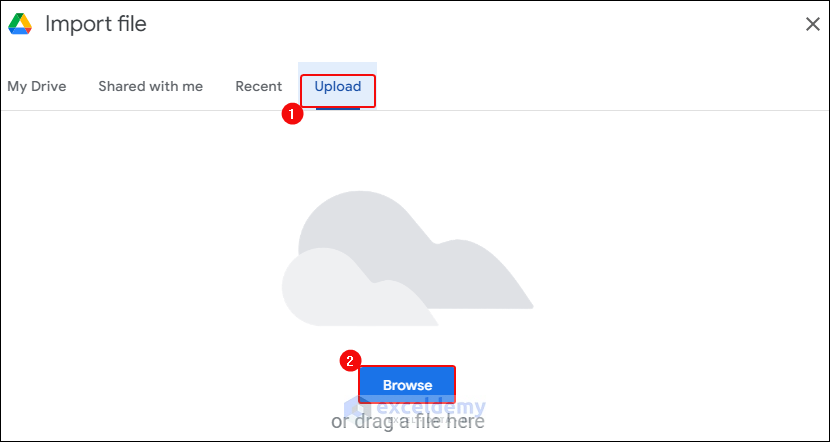
- Click Upload.> Browse.
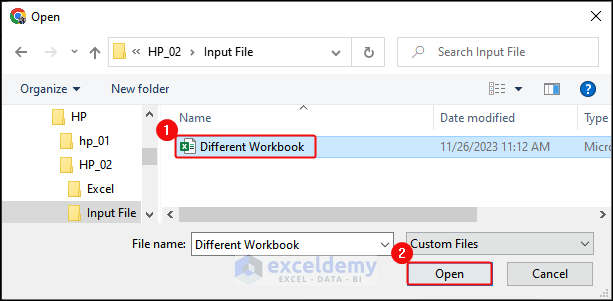
- Select the file (Different Worksheet).> Click Open.
- Click Import Data> Open Now.
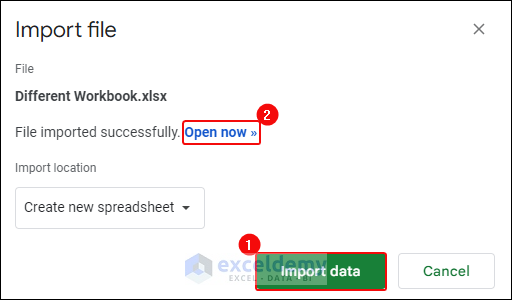
The exported data will be displayed in the Google Sheet.
Note:
If you have multiple sheets, it will upload the whole workbook.
Loss While Converting Excel Files to Google Sheets:
- Macros and VBA Codes
- Interactive Controls
- Charts, Split Worksheets, and Linked Shapes.
Formats Compatible with Google Sheets:
The supported formats of Excel files are:
.xls, .xlsx, .xlsm,.xlt, .ods, .csv, .tsv, .tab
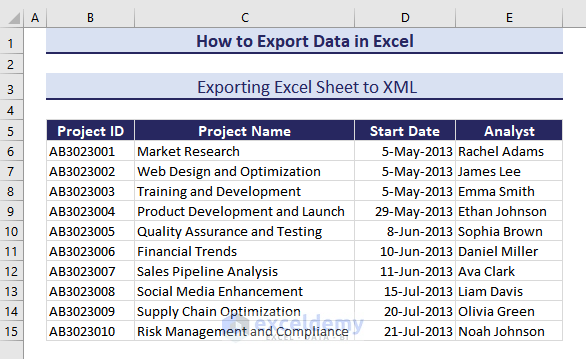
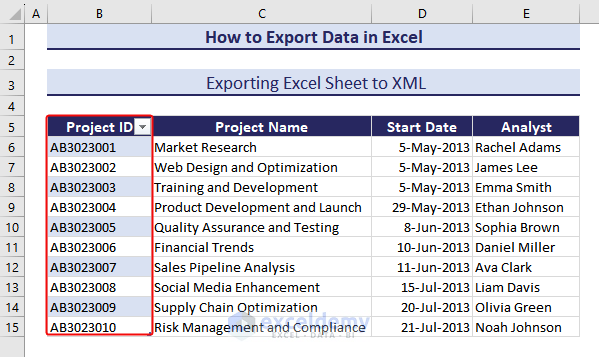
6. Exporting Excel Sheets to XML
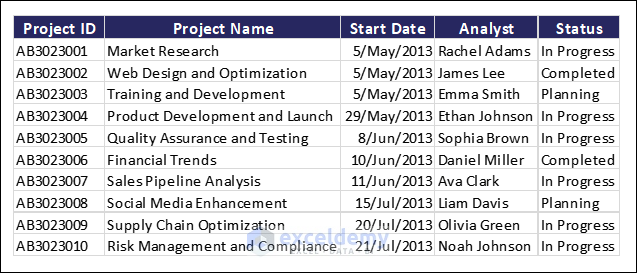
Export this dataset to XML.
- Enter the schema in the Notepad.
X=Number of columns in your dataset.
A, B, C are the name of columns name.
Schema Code:
<?xml version="1.0" encoding="UTF-8"?>
<xs:schema xmlns:xs="http://www.w3.org/2001/XMLSchema">
<xs:element name="Projects">
<xs:complexType>
<xs:sequence>
<xs:element name="Project" maxOccurs="unbounded">
<xs:complexType>
<xs:sequence>
<xs:element name="ProjectID" type="xs:string"/>
<xs:element name="ProjectName" type="xs:string"/>
<xs:element name="StartDate" type="xs:date"/>
<xs:element name="Analyst" type="xs:string"/>
</xs:sequence>
</xs:complexType>
</xs:element>
</xs:sequence>
</xs:complexType>
</xs:element>
</xs:schema>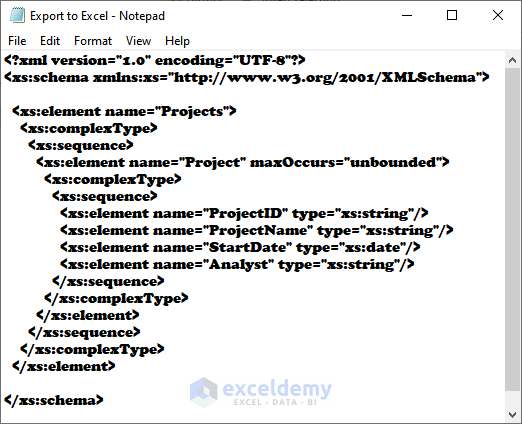
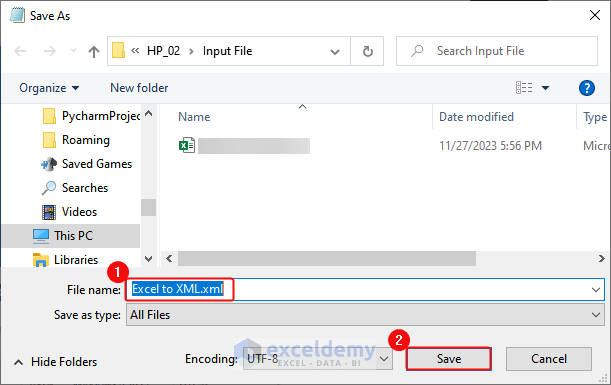
- Save it as “.xml” (Export to XML.xml).> Click Save.
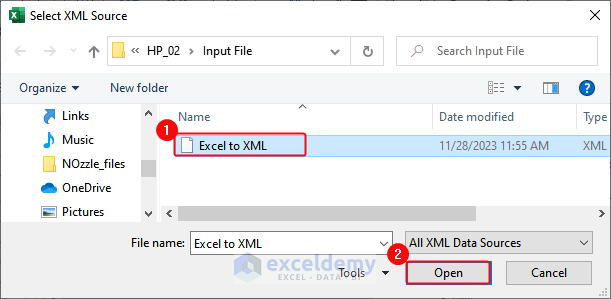
- Click Developer > Source.> XML Maps> Add in the “XML Maps” dialogue box.

- Select the file.> Click Open.
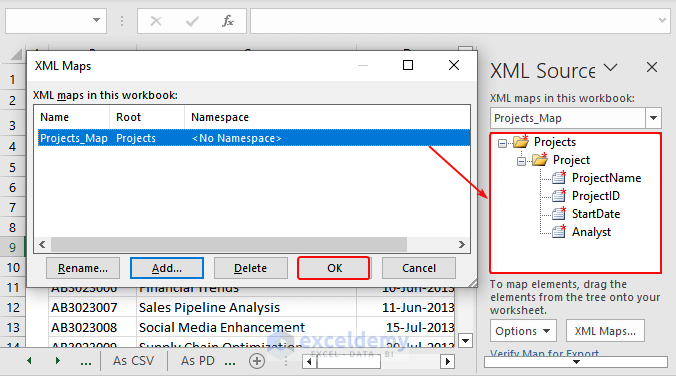
- Click OK.
- Select the Column header > Double click “ProjectID”.
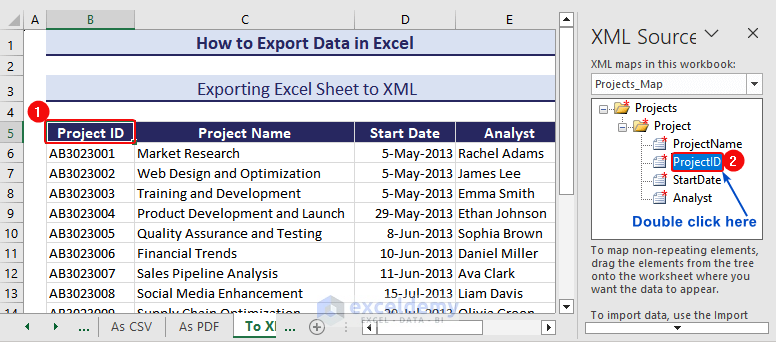
The first column will be displayed.
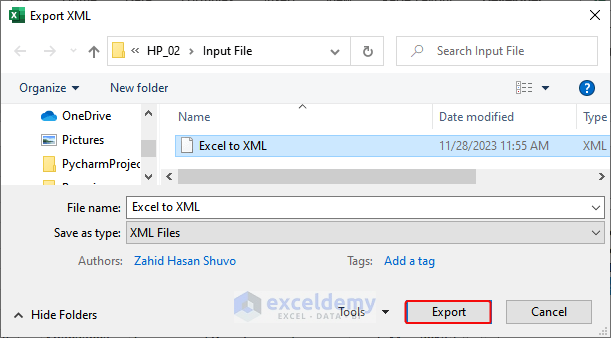
- Repeat the procedure for each column and the data will appear as a table.> Click Developer > Export.

- Select a folder to export.> Click Export.
The exported data will be displayed if you open the file in the Notepad.

7. Exporting Data from Excel to a vCard
Convert the dataset into a VCF file or vCard.
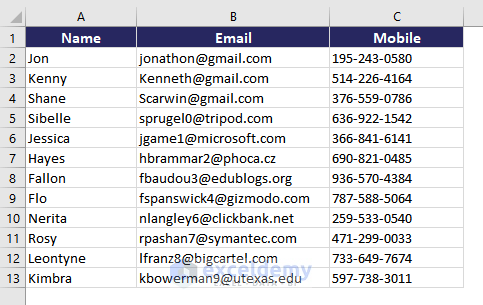
Convert data into a CSV file:
- Click File.
- Click Save As> Browse.
- Select CSV (Comma Delimited) in Save As Type > Choose the Folder Location> Enter the Folder Name (Contacts)> Click Save.
The contact information is saved as a CSV file.

Export data to a VCF file:
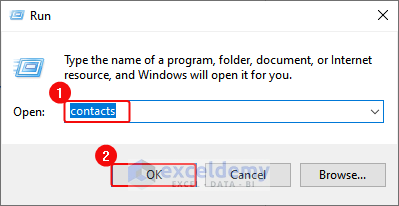
- Click the Windows icon> Click Run.
- Enter Contacts into the Open box in the Run dialog box.> Click OK.
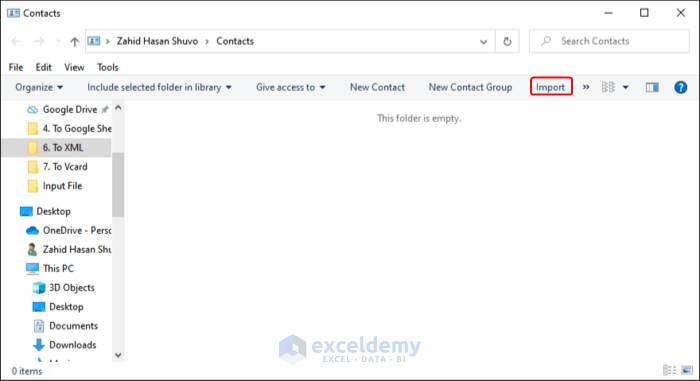
- Click Import.
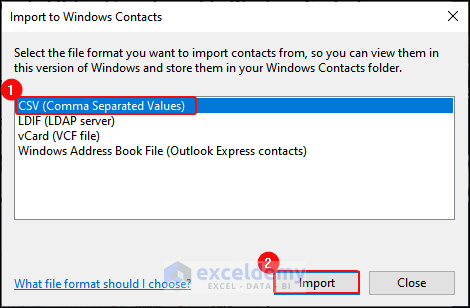
- Select CSV (Comma Separated Values) in “Import to Windows Contacts” dialog box.> Click Import.
- Click Browse.
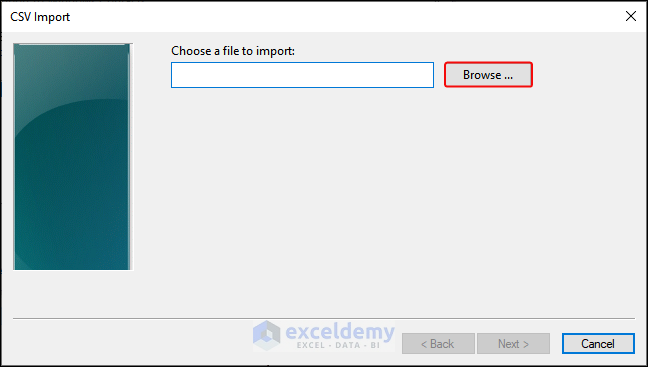
- Select the file. (Contacts).> Click Open.
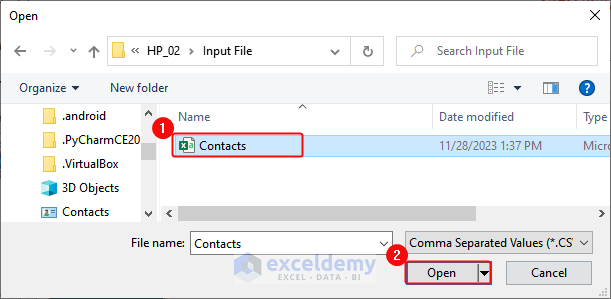
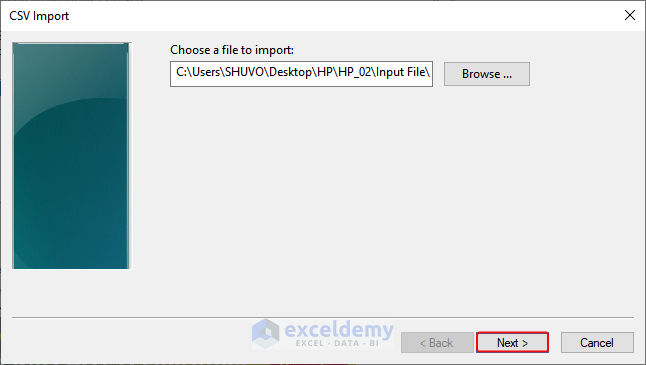
- Click Next.
- Check Email.> Select ‘E-mail Address” in the “Change Mapping” dialog box.> Click OK.
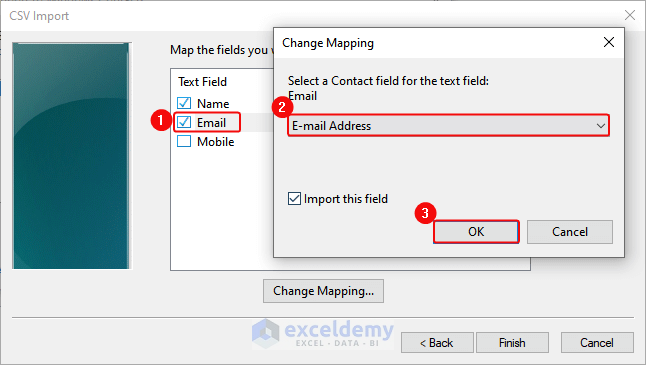
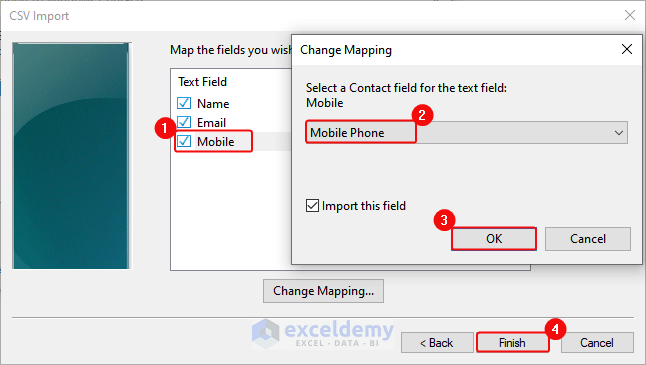
- Check Email.> Select ‘E-mail Address” in the “Change Mapping” dialog box.> Click OK.> Finish.
- Click Export.
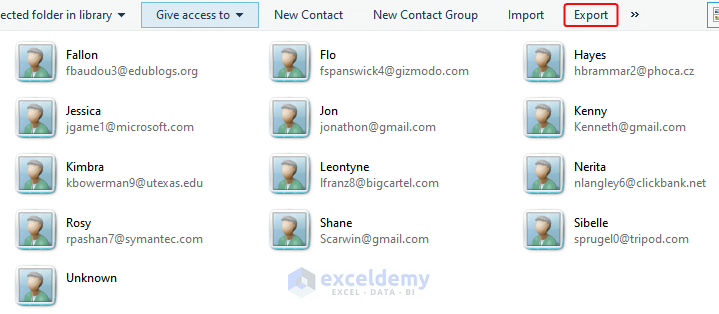
- Select vCards(folder of .vcf files) in the dialog box.> Click Export.

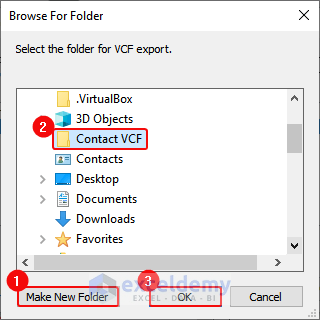
- Click “Make New Folder”.> Rename it: “Contact VCF”.> Click OK.
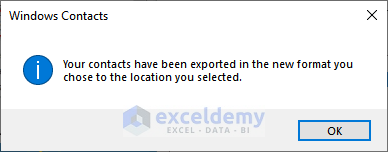
- Click OK.
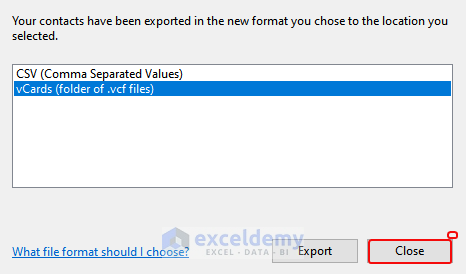
- Choose vCards(folder of .vcf files).> Click Close.
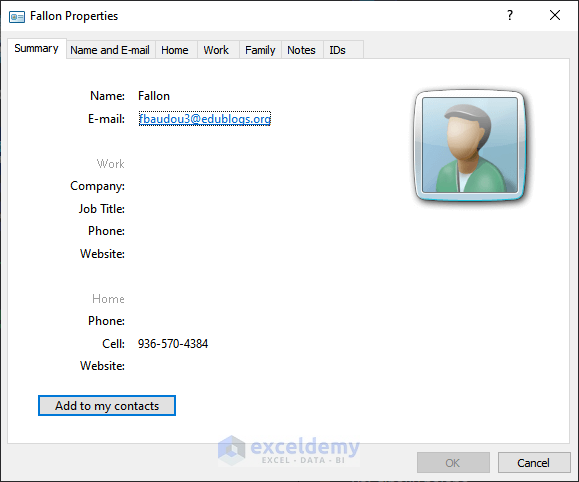
This is the output.
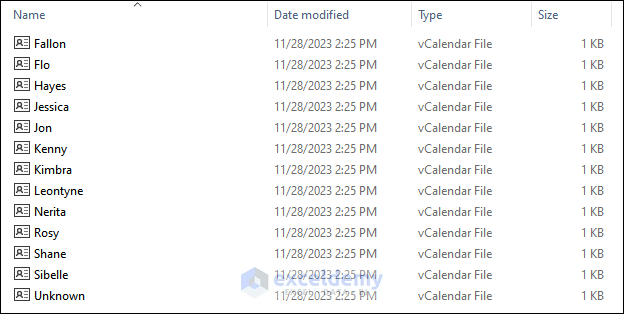
Click any VCF file, it will show the details about the person in a vCard.
8. Exporting Data from Excel to a SQL Server
The SQL Server Management Studiol’19 was used.
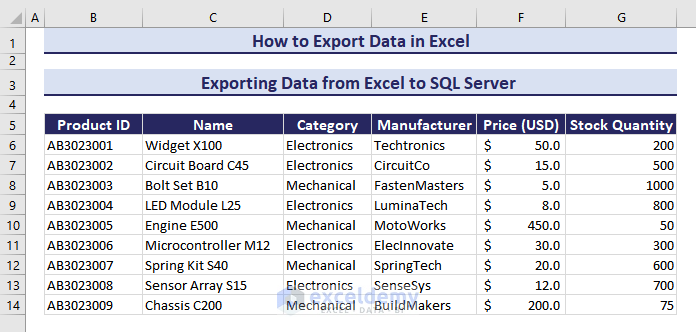
Export the data above into Database_A:
To export data to the SQL server:
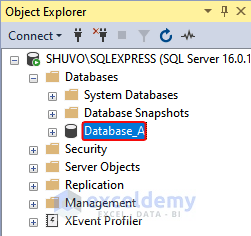
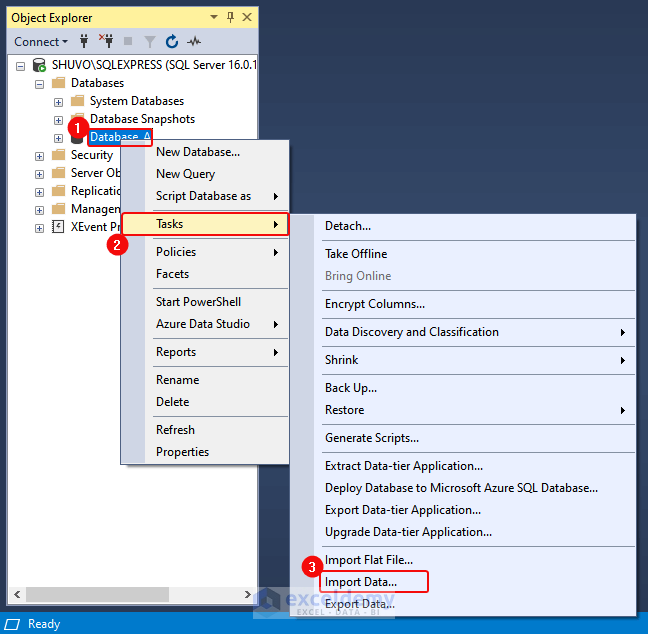
- Open SQL Server Management Studio’19.> Right-Click Database> Click Tasks.> Import Data.
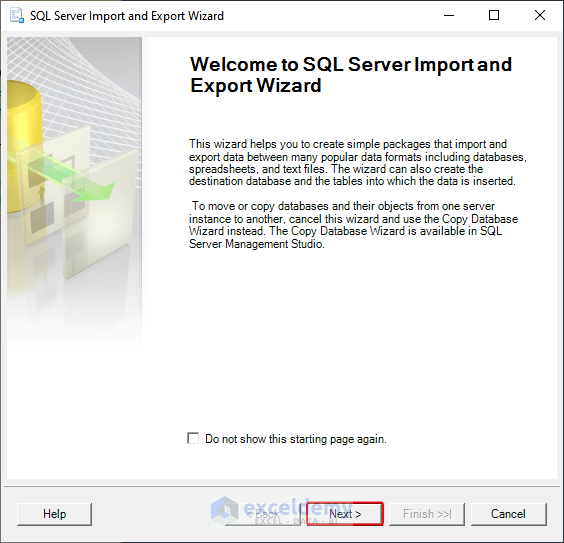
- Click NEXT in the SQL Server Import and Export Wizard.
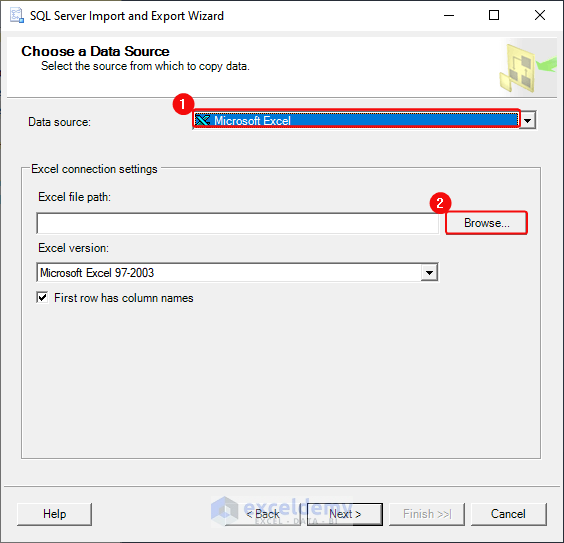
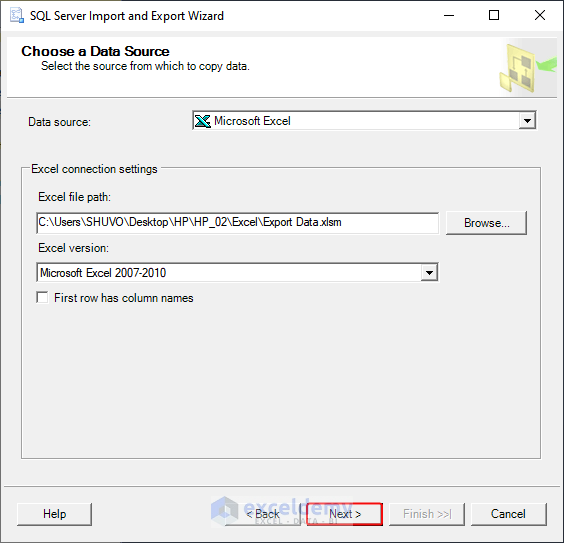
- Select Microsoft Excel in Data Source> Click Browse.
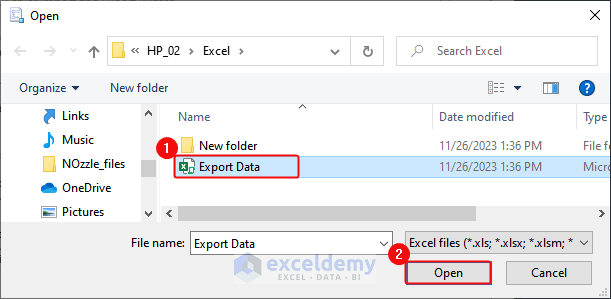
- Go to the folder and select the Excel file. > Click Open.
- Click NEXT in the Wizard.
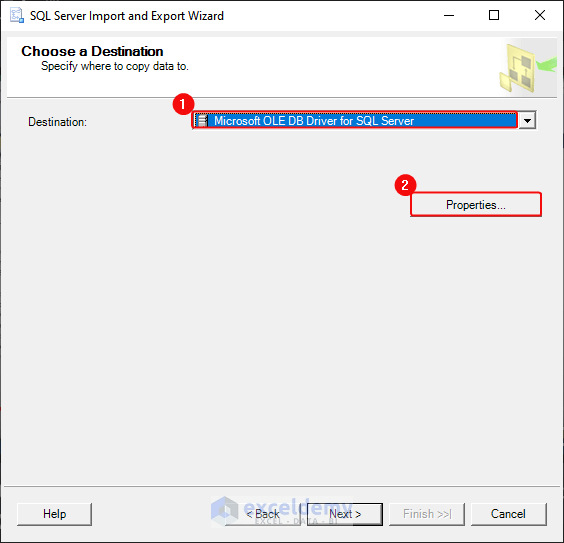
- Select Microsoft OLE DB Driver for SQL Server in Destination > Click Properties.
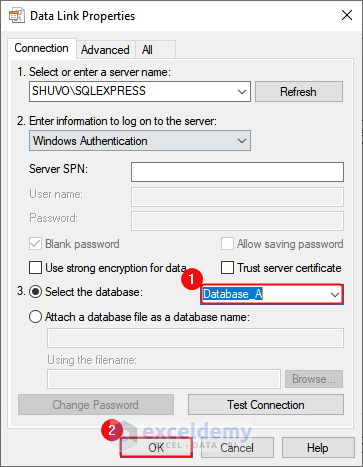
- Enter the Name of your SQL Server in “Select or enter a server name” > Select Windows Authentication in “Enter information to log on to the server”.> Click Test Connection.> OK in the dialog box that shows “Test Connection Succeeded”.

- Select Database_A in “Select the database” > Click OK in “OLE DB Driver for SQL Server Data Link” > Click OK.
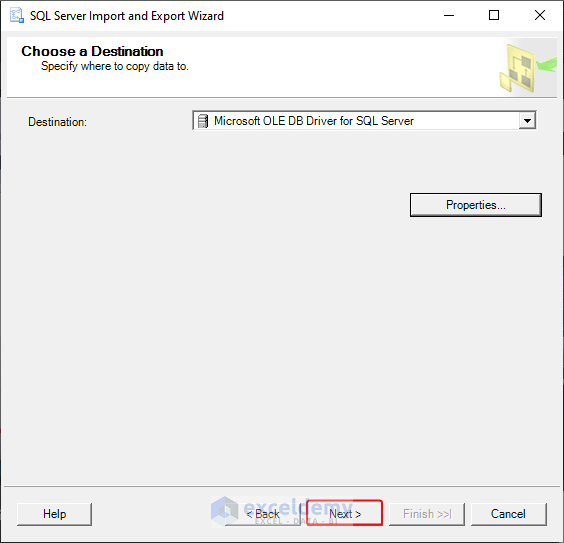
- Click NEXT in the Wizard.
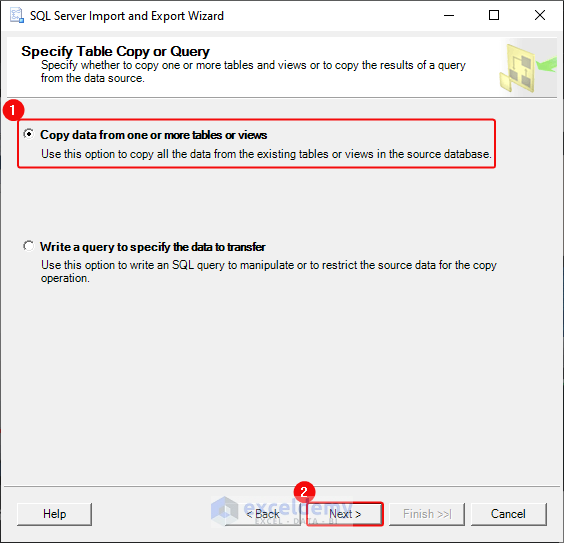
- Check “Copy data from one or more tables or views”.> Click NEXT.
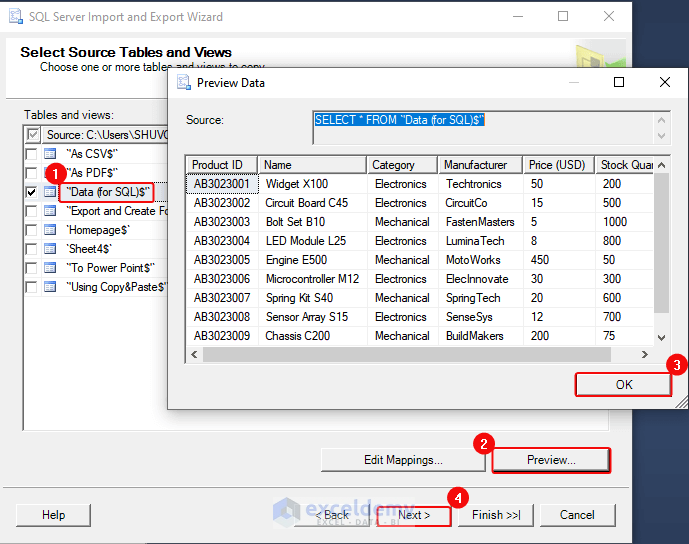
- Select the sheet Data (For SQL).> Click Preview > OK. > NEXT.
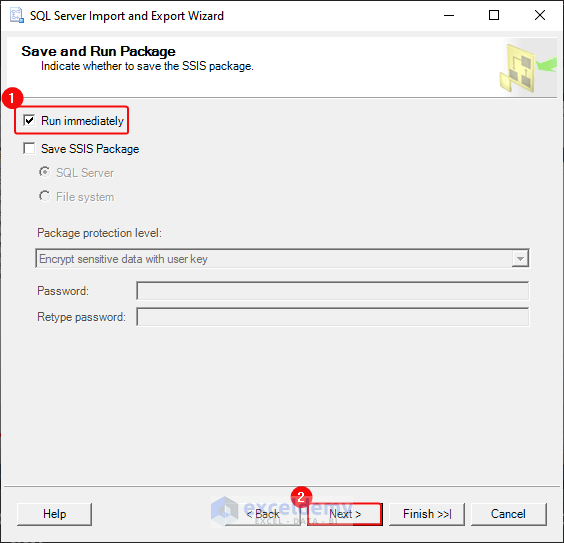
- Check “Run immediately” in the Wizard.> Click NEXT.
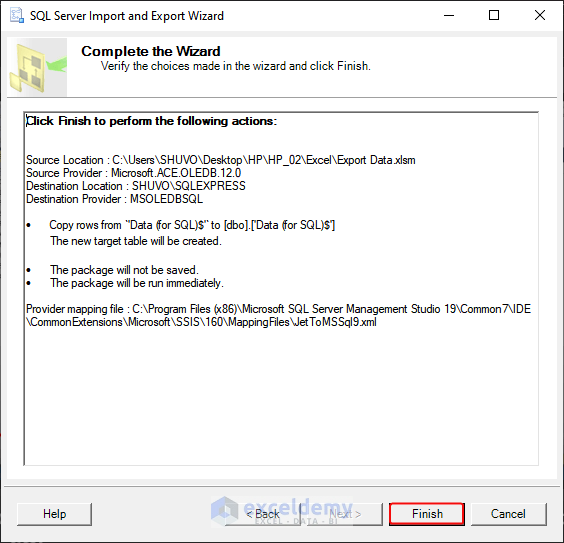
- Click Finish to complete the task.
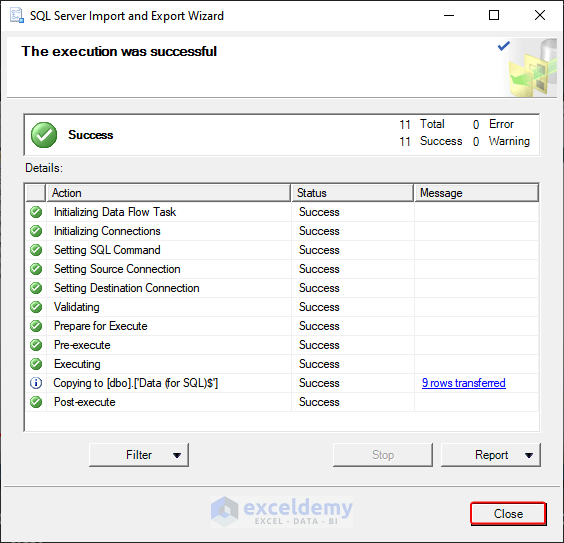
- The message “The execution was successful” is displayed.
- Click Close.
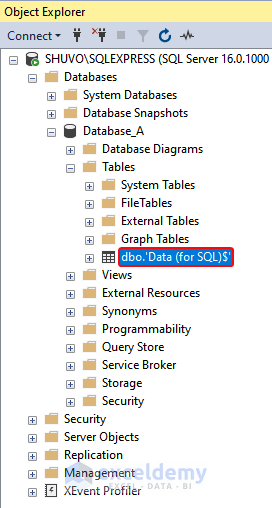
- Select ’Data (for SQL)$’ in Database_A.
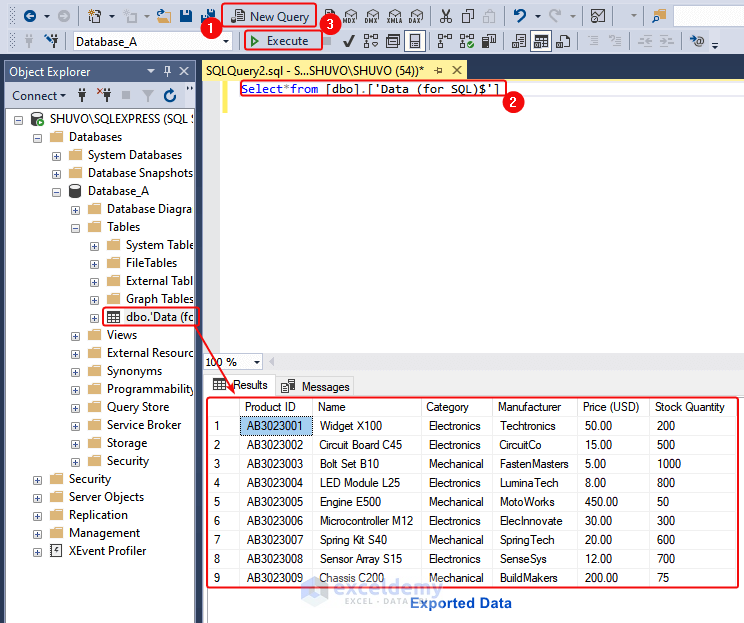
- Click New Query.> Enter the code “select*from. [‘data(for SQL)$’” in the new query.> Click Execute.
This will run the code and show the preview of the database that was exported from Excel.
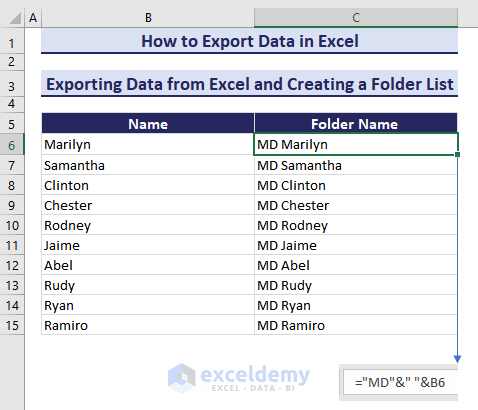
How to Export Data from Excel and Create a Folder List with the File Explorer?
Create a folder for each name in the dataset using a batch file in Notepad.
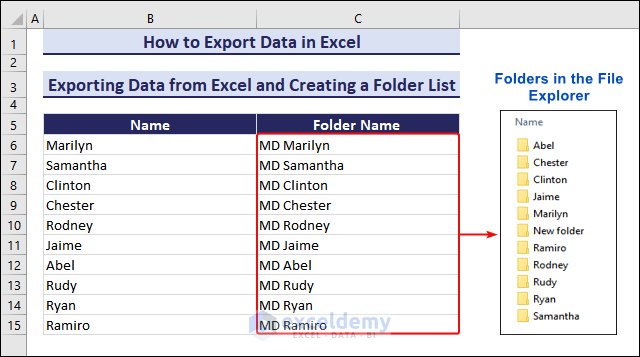
- Create a new column and name it “Folder Name”.> Select C6.> Use the following formula in the cell to add MD (Make Directory) before every name.
=”MD” &” “&B6
- Press Enter.> Copy the data in C6:C15.
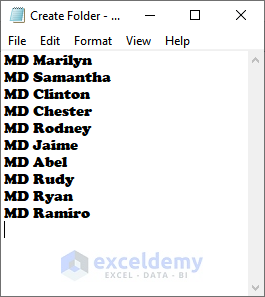
- Open the Notepad.> Paste the data.
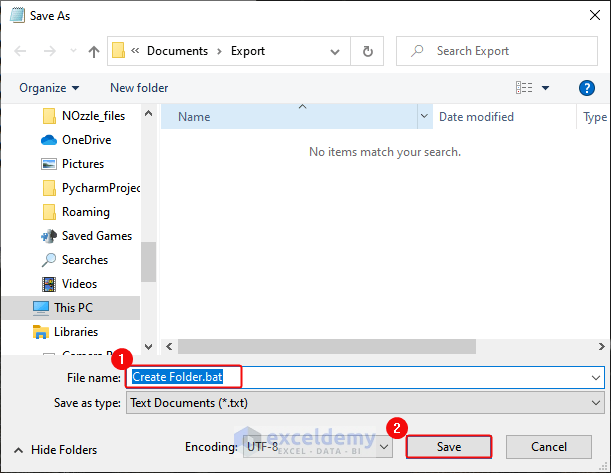
- Click File.> Save As.> Choose a Folder to save it.> Name the file.> Use .bat (it creates batch files.) as an extension at the end of the name (Create Folder.bat).> Click Save.
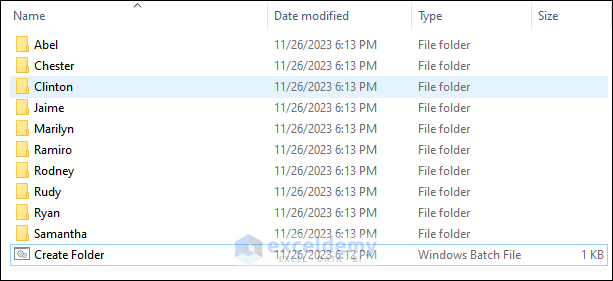
- Double-click Create Folder.bat file.
- A folder is created for each name as shown below.
Download Practice Workbook
Download the workbook.
Export Data from Excel: Knowledge Hub
- Export Excel to Txt
- Export Excel to PDF
- Export Excel Data to PowerPoint
- Export Excel to CSV
- Export Data from Excel to Word
- Export Excel to XML
- Export Data from Excel to vCard
- Export Data and Save as Image
<< Go Back to Learn Excel
Get FREE Advanced Excel Exercises with Solutions!
