Introduction to Extensible Markup Language (XML)
XML, a markup language similar to HTML, is specifically designed to store and transport data. Here are some of its properties:
- XML is like data with tags around it.
- Most XML programs allow you to add or remove data.
- XML makes moving data, sharing, and adapting to different devices easier.
- The XML standard is flexible and simple for creating information formats.
- With XML, we can share organized data online or in companies.
- XML organizes data in a hierarchical or tree-like structure.
XML Data and Schema Files
Excel generally works with 2 types of XML data:
- XML data files (.xml): stores information with custom tags and structured data.
- Schema files (.xsd): contains schema tags that define rules, like data type and validation, to enforce a specific structure for the XML
XML vs XSD
- XML schema language is commonly known as XML Schema Definition (XSD).
- XSD is used to define the structure of an XML file that needs to be created and specifies where the columns should be mapped in Excel’s tabular data.
- XSD can also be referred to as Extensible Stylesheet Language Transformation (XSLT) or as a .xslt file.
- XSD is responsible for implementing data types and validation rules in the file.
- With XSD, you can create elements, define data relationships, and specify data validation within the XML file.
- XML data files (.xml) store information with custom tags and structured data.
How to Use XML Data in Excel
In Excel, you can add an XML Schema File (.xsd) to your workbook. It allows you to map specific XML Schema elements to individual cells or XML tables within the Excel sheet. By importing an XML Data File (.xml) and binding XML elements to the previously mapped cells, you can preserve the XML structure and its corresponding definitions. After making revisions to the data within the mapped cells, you can export the updated data back to the XML Data File.
To write an XML element:
- Each element should have an opening tag (<entry>) and a corresponding closing tag (</entry>).
- All tags in an XML file must be enclosed within angle brackets (
"<"and">"), with the tag name placed between these characters. To create a closing tag, simply add a slash ("/") after the opening angle bracket.
How to Export Excel Data to XML Data
- Convert Excel data first. Select B4:G17 >> Go to File.
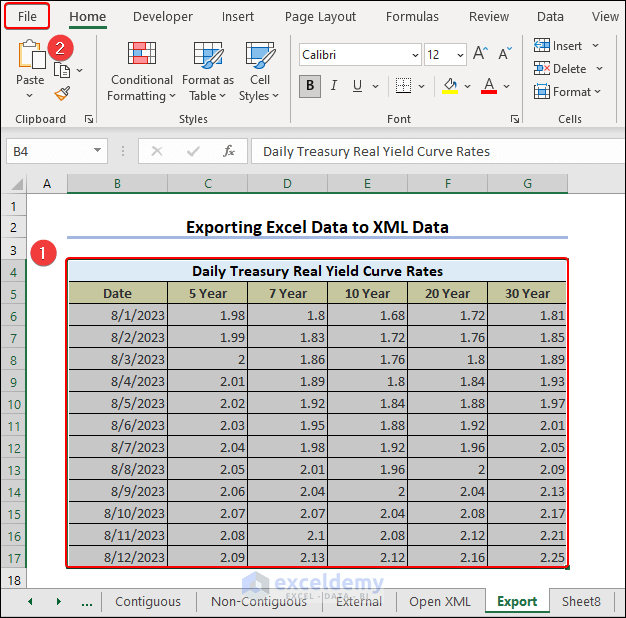
- Click Save As >> select XML Data (*.xml) >> Save.
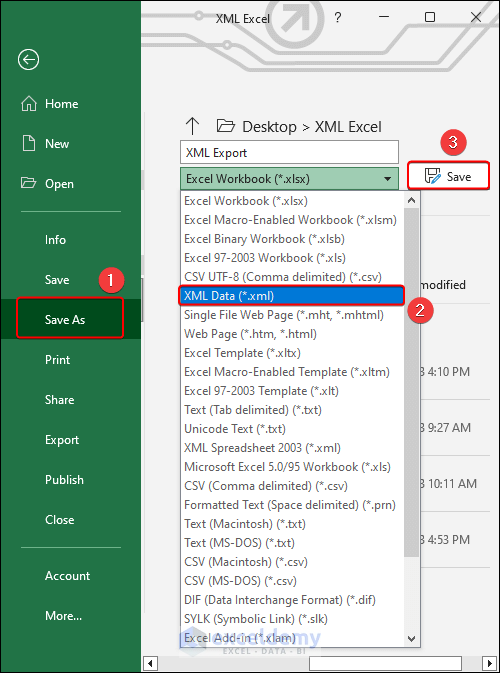
- Excel does not allow saving XML data if data has no XML mappings.

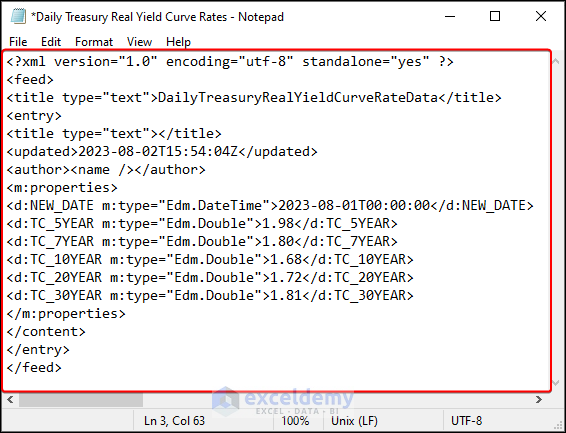
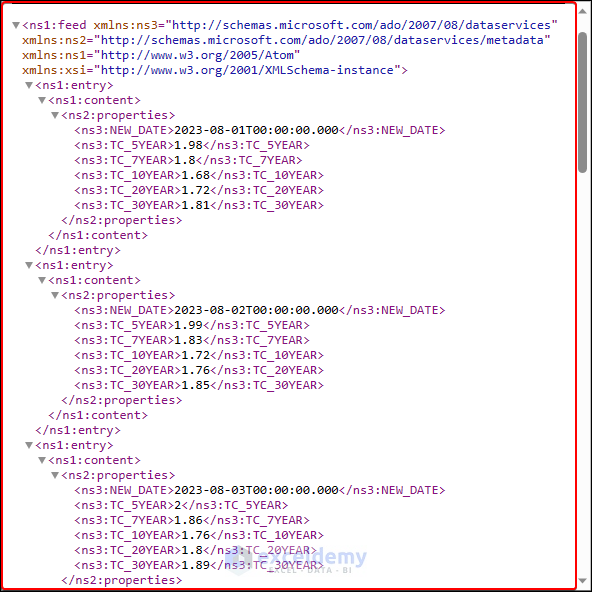
- Create an XML Map. Create a blank file and add XML header information as mentioned above. Here is the full code:
<?xml version="1.0" encoding="utf-8" standalone="yes" ?>
<feed>
<title type="text">DailyTreasuryRealYieldCurveRateData</title>
<entry>
<title type="text"></title>
<updated>2023-08-02T15:54:04Z</updated>
<author><name /></author>
<m:properties>
<d:NEW_DATE m:type="Edm.DateTime">2023-08-01T00:00:00</d:NEW_DATE>
<d:TC_5YEAR m:type="Edm.Double">1.98</d:TC_5YEAR>
<d:TC_7YEAR m:type="Edm.Double">1.80</d:TC_7YEAR>
<d:TC_10YEAR m:type="Edm.Double">1.68</d:TC_10YEAR>
<d:TC_20YEAR m:type="Edm.Double">1.72</d:TC_20YEAR>
<d:TC_30YEAR m:type="Edm.Double">1.81</d:TC_30YEAR>
</m:properties>
</content>
</entry>
</feed>- Save and close the file.
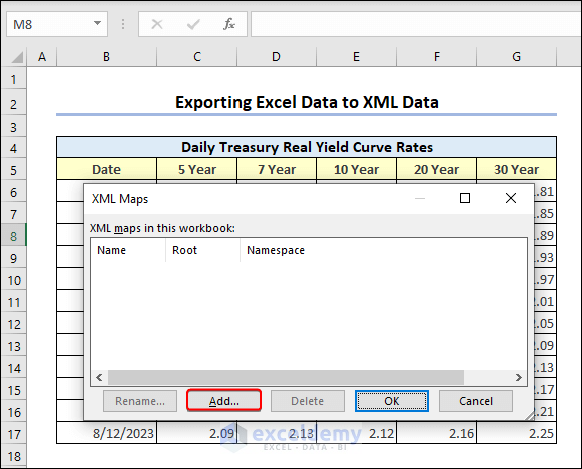
- Open the Excel file >> go to Developer tab >> click Source >> XML Maps.
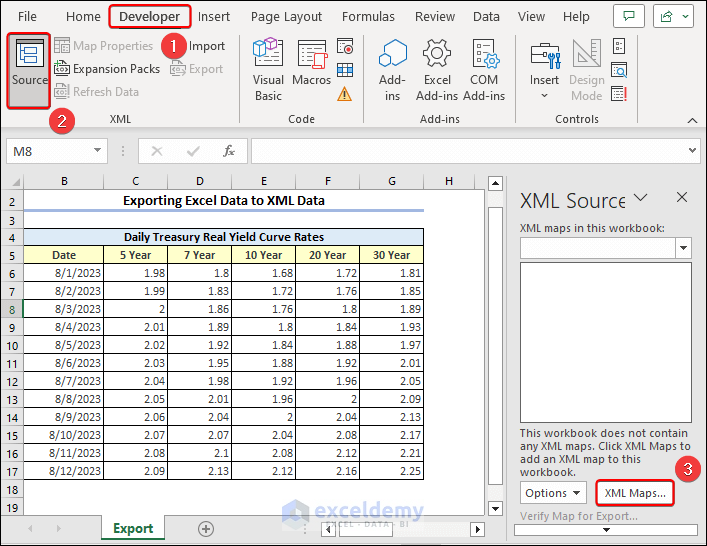
- Click Add in the XML Maps dialog box.
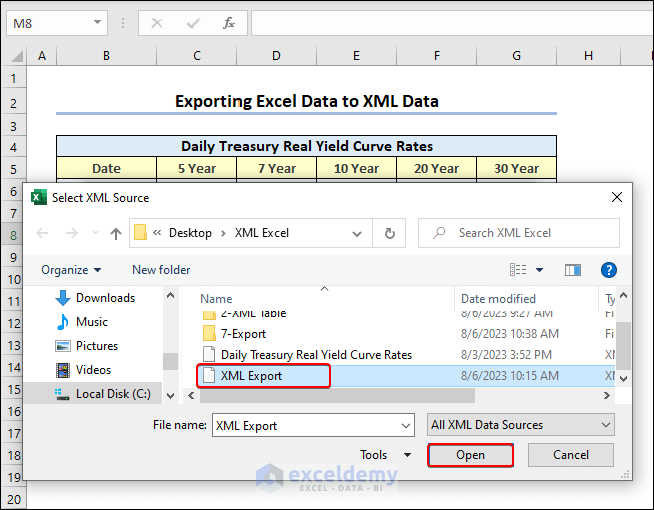
- Locate and select the XML file >> Open.
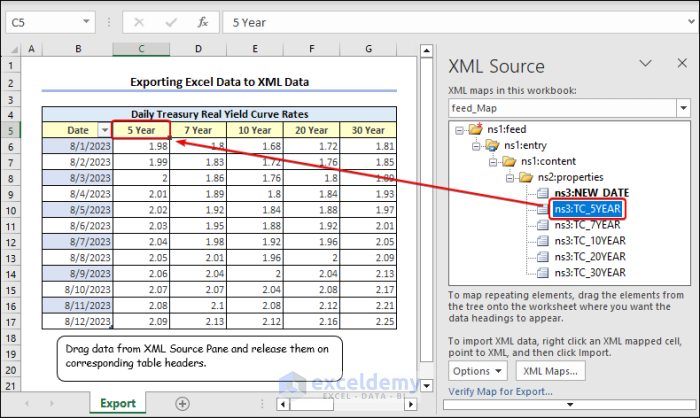
- The map will appear in the XML Source pane >> drag each value to the respective header as shown below.
- Click Export in Developer.
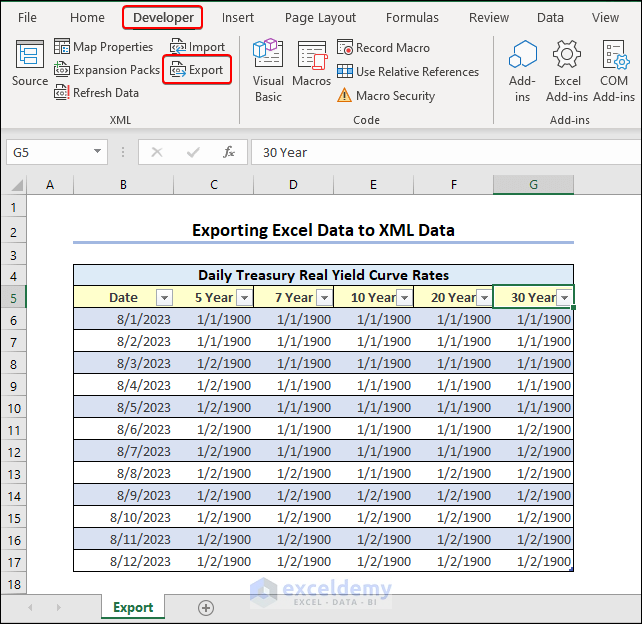
- The Excel file is converted and exported to XML file.
How to Connect XML Data to Excel
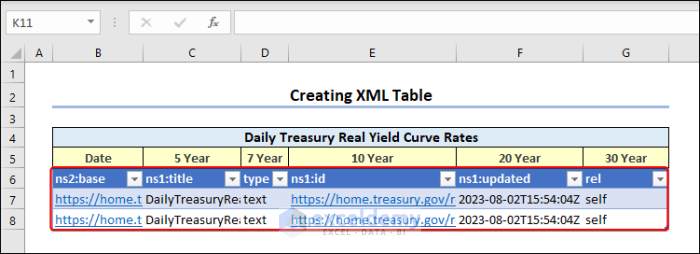
1. Create an XML Table to Import XML Data
- Go to the Developer tab >> Import.
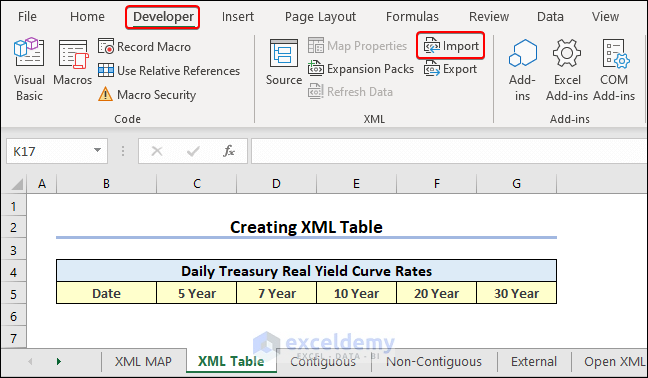
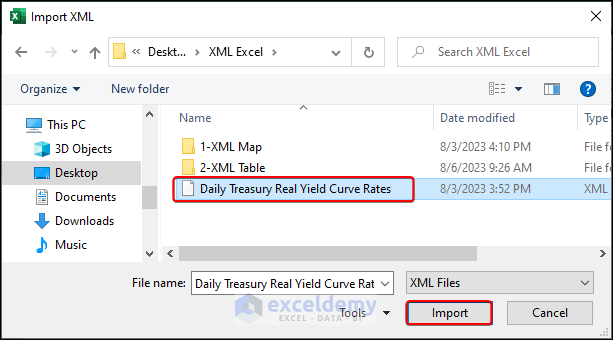
- Select the XML file >> Import.
- In the Import Data dialog box, select XML table in existing worksheet >> choose B6 >> OK.
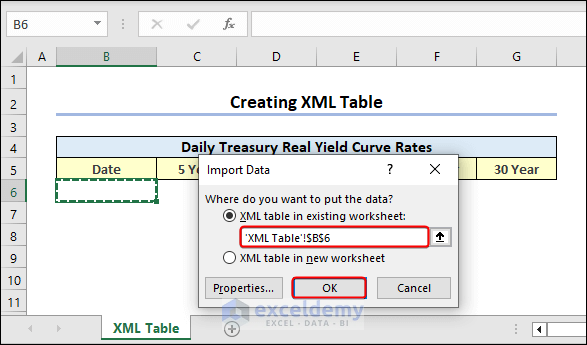
The link to the XML file is displayed in the worksheet.
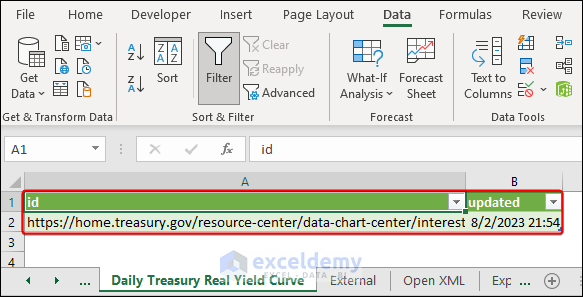
2. Import XML Data Files as External Data
- Go to Data >> Get Data >> From File >> From XML.

- Select the XLM file, click Load in the dialog box.

The XML file is connected to Excel.
Things to Remember
- Pay attention to the case sensitivity of tag names, ensuring that the capitalization in the end tag matches the beginning tag.
- An XML file should always begin and end with a root tag, and there can only be one root tag in the file.
- Empty tags are allowed, denoted by placing a slash at the end of the opening tag, like <Entry> </Entry>.
Frequently Asked Questions
1. Can I edit XLM in Excel?
As you select cells in the worksheet, the different nodes will be highlighted in the XML Source pane, so you can see what is being referred to. You can alter the different values and save the document as an XML document.
2. What are the benefits of using XML in Excel for data exchange?
Transferring XML data in Excel allows combining data from various sources and systems into a single spreadsheet. Also, it provides a structured format for data, making it easier to organize and manage information within Excel.
Export Excel to XML: Knowledge Hub
- Perform XML Mapping
- Convert Excel to XML File
- Convert CSV to XML
- Generate XML File from Excel Using Macro
<< Go Back to Export Data from Excel | Learn Excel
Get FREE Advanced Excel Exercises with Solutions!
