Download the Practice Workbook
Convert an Excel File to XML: 6 Easy Steps
We will use the sample dataset below to illustrate the process.
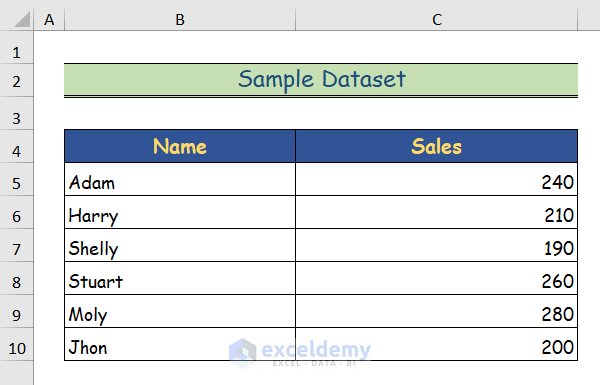
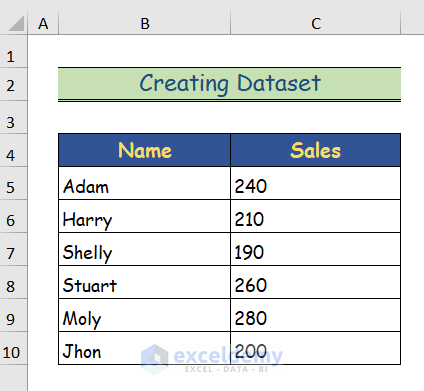
Step 1 – Creating a Dataset in Excel
- Create a dataset in an Excel spreadsheet.
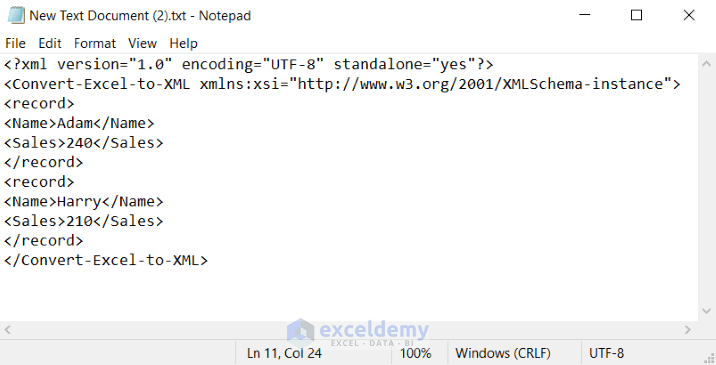
Step 2 – Saving the XML Schema in Notepad
- Write the XML schema in a text editor.
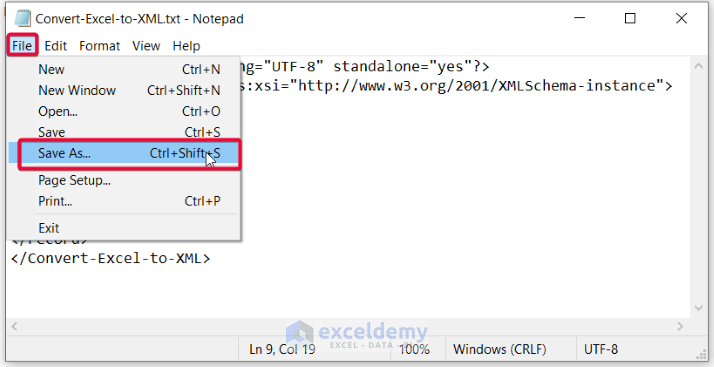
- Go to the File tab in Notepad.
- Select the Save As option.
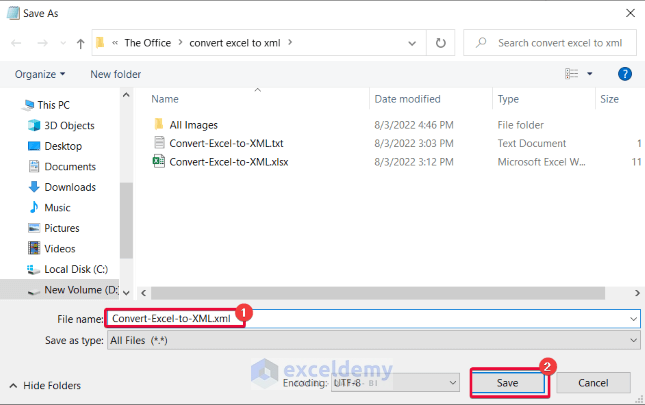
- Write the file name with an .xml extension.
- Select Save.
Step 3 – Opening the XML Source Panel
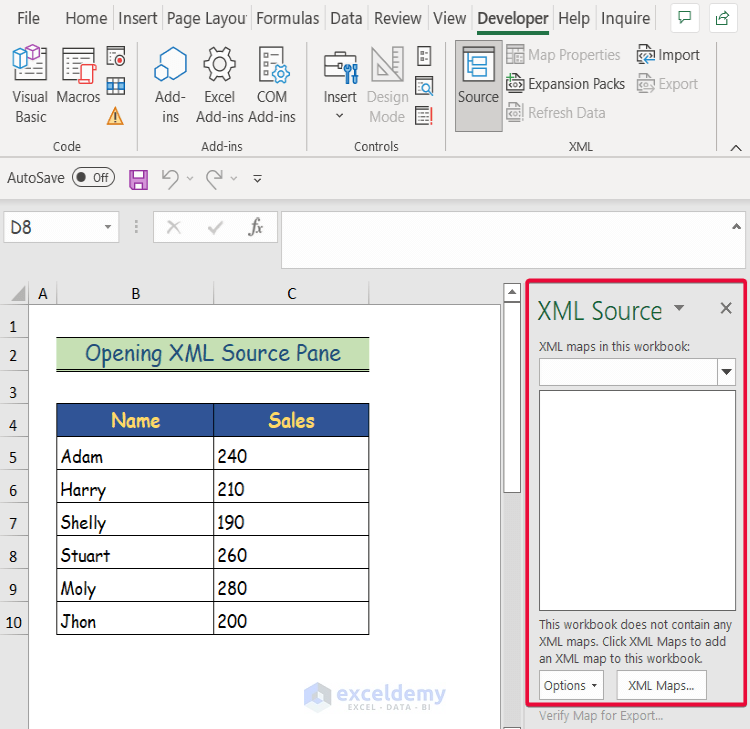
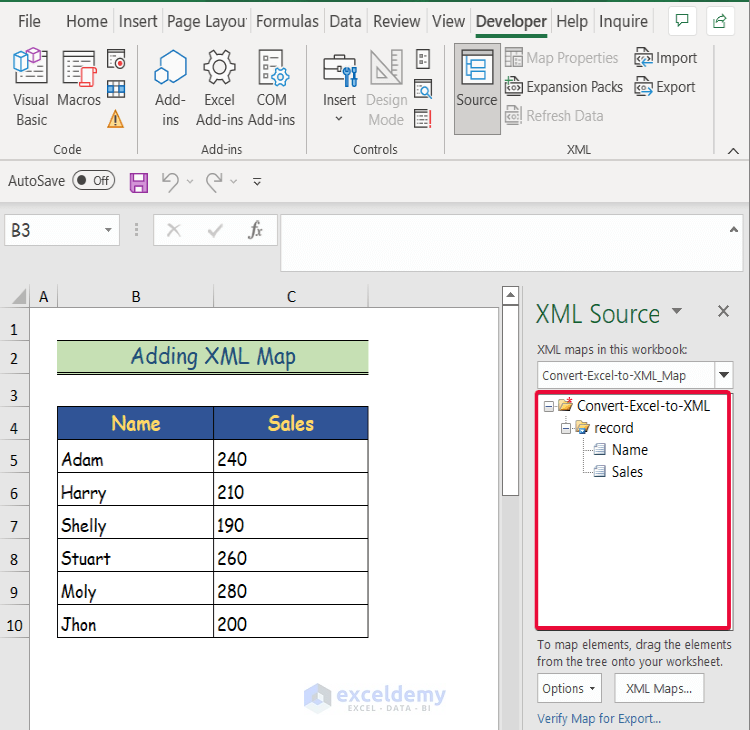
- In the Excel worksheet, go to the Developer tab.
- Select the Source command from the XML group.

- The right side of the Excel worksheet will now display the XML Source panel.
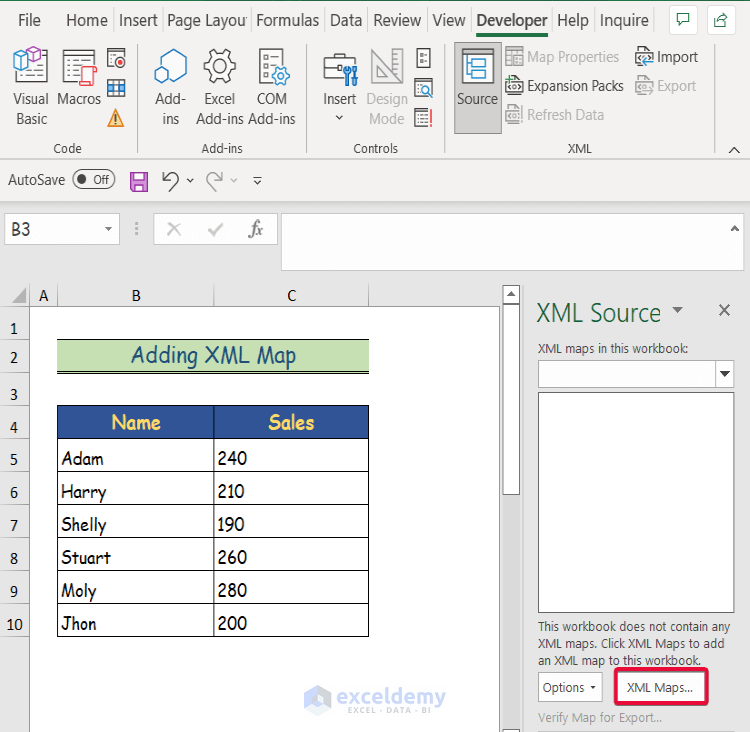
Step 4 – Adding an XML Map Using the Developer Tab
- Fom the XML Source panel, click on the XML Maps tab.
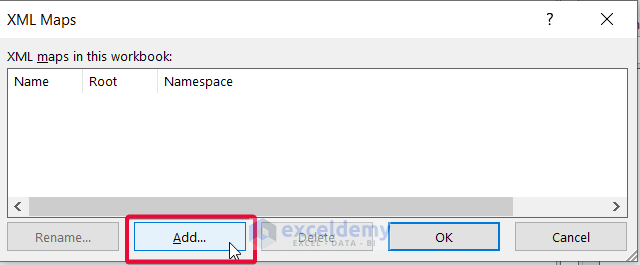
- The XML Maps dialog box will appear.
- Select Add.
- Add the XML file that was created previously.
- Click OK.
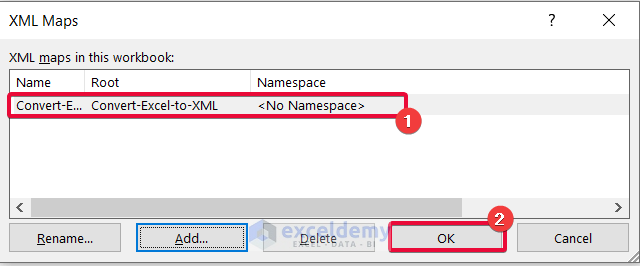
- The elements of our dataset will appear in the XML Source panel.
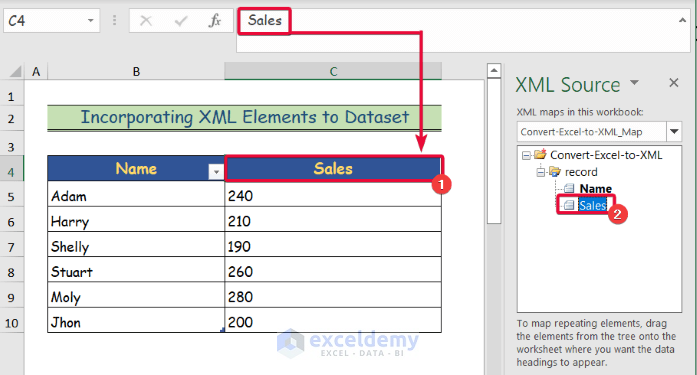
Step 5 – Incorporating XML Elements to the Dataset
- Select the first row header in the dataset. In this case, that is “Name”.
- Select the element having the same name from the XML Source panel.
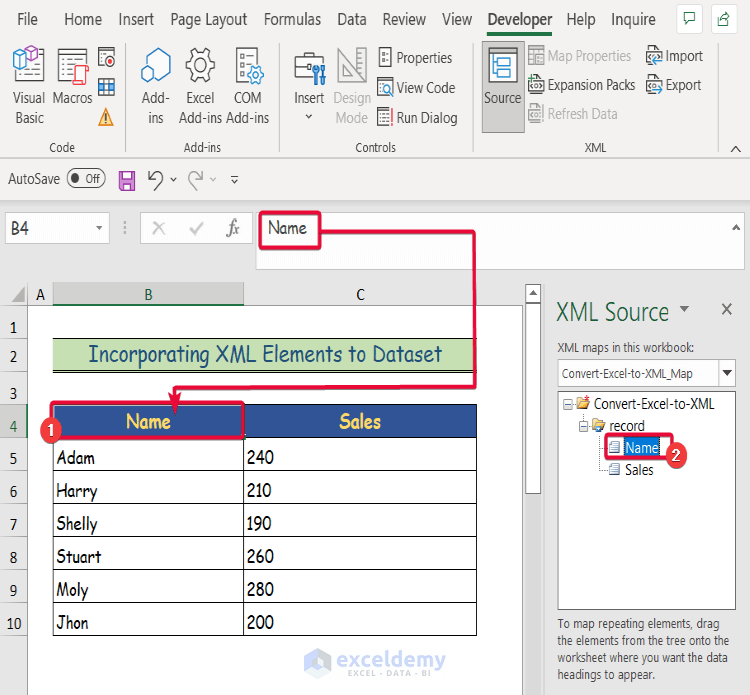
- The selected row header and the dataset under it have turned into a table.
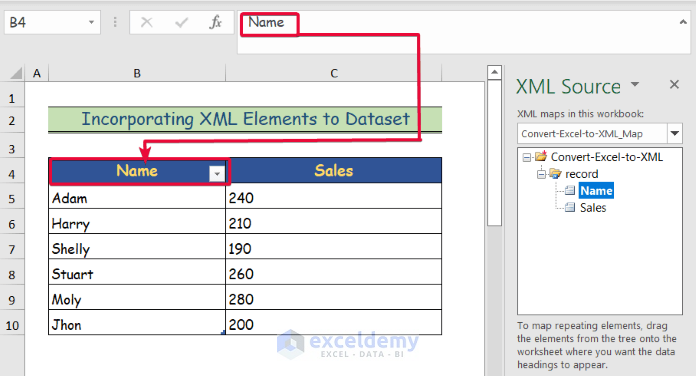
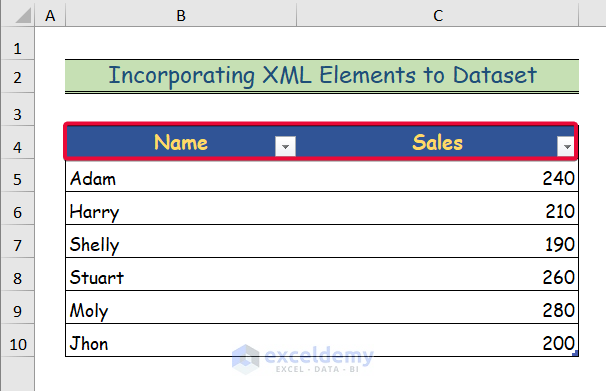
- Do the same for the rest of the row headers.
- Here’s the result.
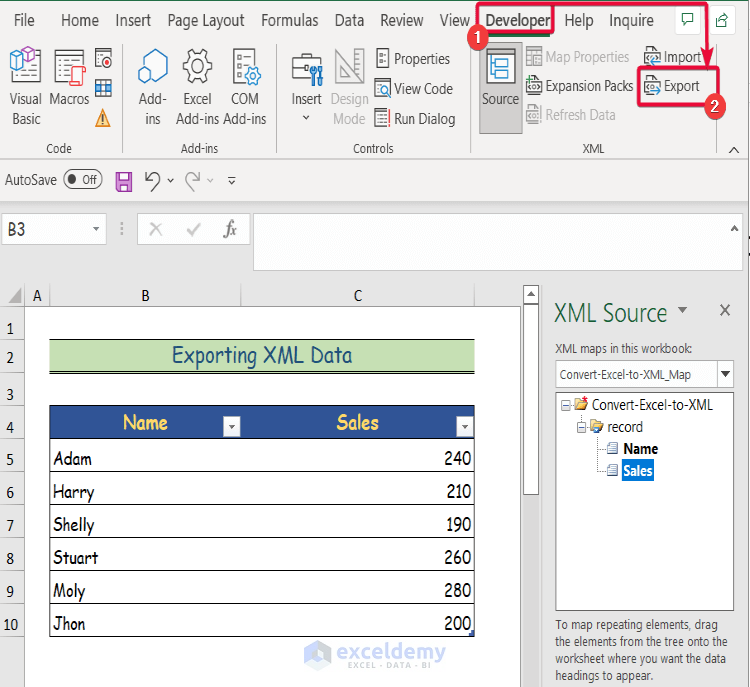
Step 6 – Exporting XML Data
- Go to the Developer tab.
- Select the Export option.
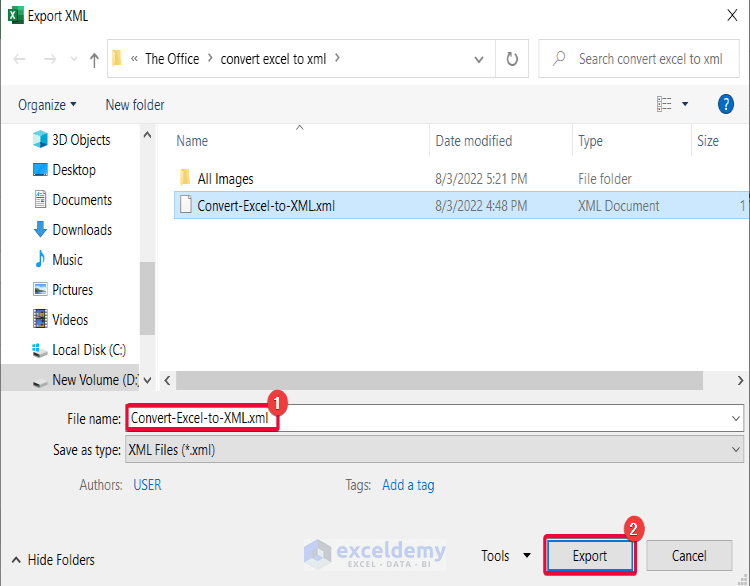
- The file already has an .xml extension.
- Click on Export.
- Open the XML file.

Things to Remember
- Before converting Excel to XML, ensure that you have a clear understanding of the XML structure.
- Pay attention to the data types of the mapped XML elements. Excel interprets certain data types differently, such as dates, numbers, or text.
- Test the XML conversion with various test cases to ensure accuracy.
Frequently Asked Questions
Can I customize the XML structure during the conversion process?
You may have the options to define XML tags, hierarchy or other formatting aspects.
Can formulas and formatting be preserved in the converted XML file?
Excel to XML conversion focuses mainly on data. So, formulas and formatting are not usually preserved in XML output.
How to Convert XML into Excel File.
There are 2 easy ways to convert an XML file into Excel. One is to use Power Query feature. You’ll get a dedicated From XML option from the drop-down options of From File option in the Data tab. Apart from it, you can also use the Import option from the Developer tab.
Convert Excel to XML: Knowledge Hub
<< Go Back to Export Excel to XML | Export Data from Excel | Learn Excel
Get FREE Advanced Excel Exercises with Solutions!
