Middle alignment in Excel means showing the content vertically in the middle position of a cell border. The default alignment of numbers is in the bottom right corner, and for text, it is in the bottom left corner of a cell in Excel. However, you can change the default alignment and make your cell content middle-aligned.
In this Excel tutorial, you will learn how to middle align in Excel. To do this, we will use Excel’s Alignment group, Format Cells dialog box, and a VBA code.
The dataset below contains both texts and numbers, where the texts are bottom-aligned and the numbers are middle-aligned.

Here are 3 ways to middle-align your cell content in Excel:
1. Using Middle Align Command from Alignment Group
In the “Home” tab of the Excel ribbon, you will find a dedicated “Alignment” group that provides multiple options to align your cell content. You will find the “Middle Align” command that aligns text so that it is centered between the top and bottom of the cell.
To make your cell content middle align using the “Middle Align” command, follow these steps:
- Select the cells you want to align vertically in the middle.
Here, we have selected the range D5:F8. - Go to the “Home” tab from the Excel Ribbon.
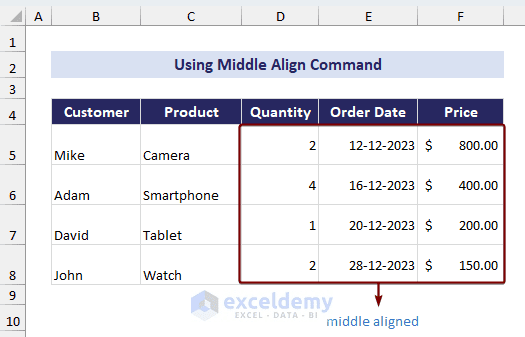
- From the “Alignment” group, select the “Middle Align” icon.
 In the image below, you can see that Excel has aligned the selected range vertically in the middle position of the cell.
Note: To middle-align in Excel, you can use a keyboard shortcut. Select the desired cells and press Alt + H + A + M for instant alignment.
2. Using Format Cells Dialog Box
The “Format Cells” dialog box offers additional control and customization over the alignment. It provides alignment options beyond the basic middle, middle, and bottom alignments. You can adjust text orientation, control text within merged cells, and much more. The dialog box provides more detailed and precise control if you need to set specific margins, indentation, or other alignment-related settings.
To middle-align in Excel using the Format Cells dialog box, follow these steps:
- Select the range of cells.
- Right-click on your mouse.
- From the context menu, choose Format Cells.
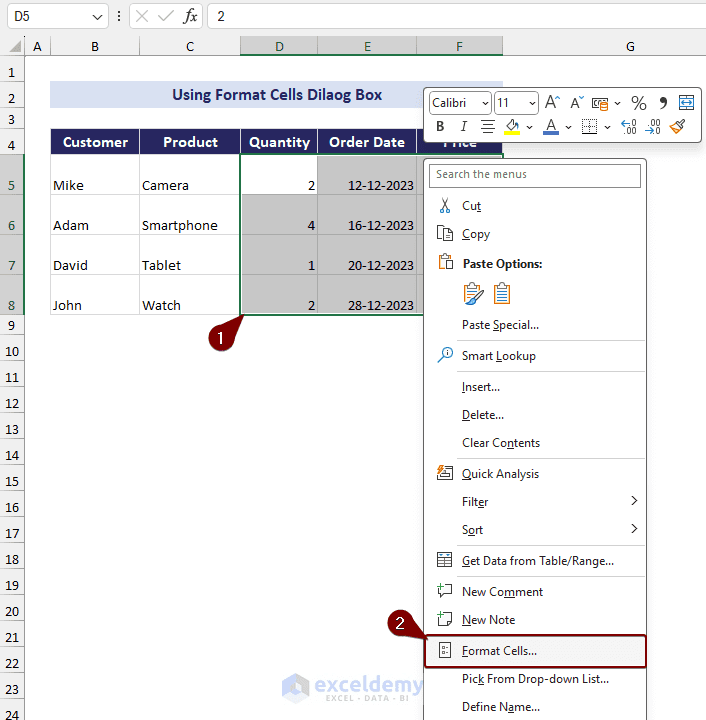 Here, the Format Cells dialog box will appear.
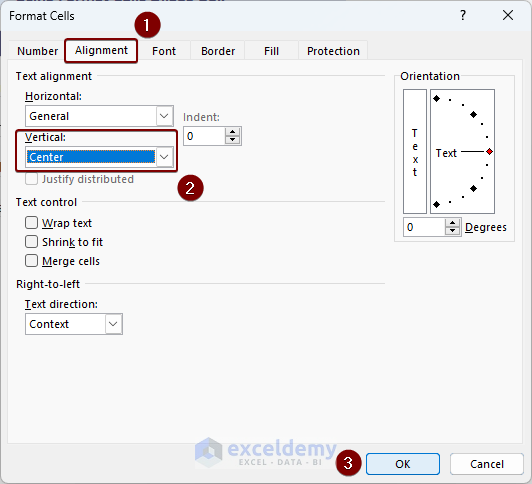
 - Go to the Alignment tab > Text alignment group > Vertical drop-down > Center > OK.
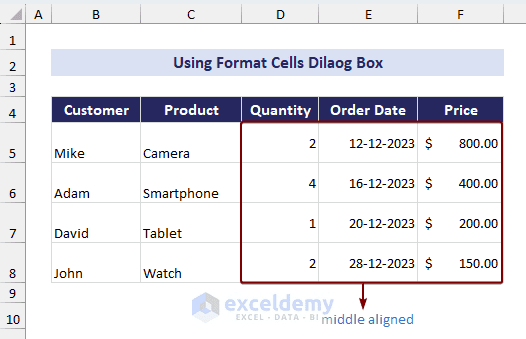
 As a result, Excel will middle-align your cell content. Here, we have selected the range B5:C10 to make it middle-aligned.
Note: You can also launch the “Format Cells” dialog box by pressing Ctrl + 1 or clicking the Alignment Settings arrow in the Alignment group of the Home tab.
3. Using VBA Code
If you are an Excel enthusiast and want to use advanced features to middle-align your cell content, a VBA macro can be a better choice in that case. Using VBA for middle alignment in Excel is useful when you need to automate repetitive tasks based on dynamic conditions.
To middle-align in Excel using VBA code, follow these steps:
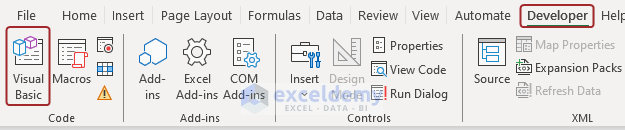
- Go to the Developer tab > Visual Basic. Or, just press Alt + F11.
 Hence, the “Microsoft Visual Basic for Applications” window will appear.
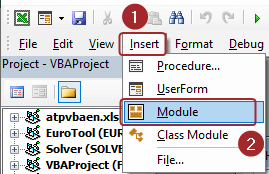
 - From the window, click Insert > Module.
- Now, insert the following code in the Module:
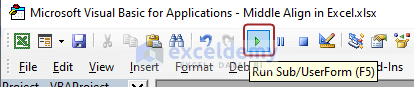
Code:Sub Middle_Alignment() 'Specifying the range for middle alignment Range("D5:F8").VerticalAlignment = xlCenter End Sub - Click Run to execute the VBA code.
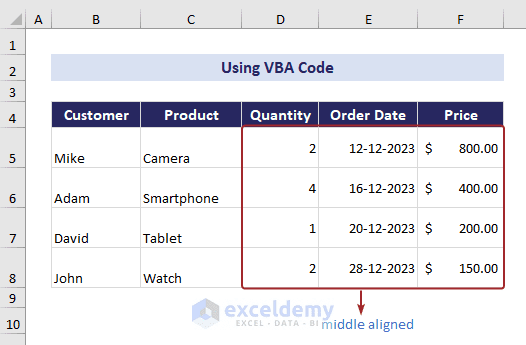
 Hence, Excel will middle-align the specified range in the VBA code. As we specified the range ‘D5:F8’ in the code, Excel has adjusted the alignment of this range vertically in the middle position of the cell.
Read More: How to Apply Center Horizontal Alignment in Excel
Download Practice Workbook
You may download the following Excel workbook for better understanding and practice it by yourself.
Conclusion
So, you can middle align in Excel using the “Middle Align” command from the “Alignment” group, “Format Cells” dialog box, and the VBA macro. The Alignment group doesn’t need too much navigation to align text and numbers in a cell. The “Format Cells’ dialog box provides additional customization for alignment. Moreover, VBA macro also provides you with a quick way to middle-align your cell content.
Frequently Asked Questions
Why is middle alignment not working in Excel?
Middle alignment in Excel may not work as expected due to several reasons. Here are the solutions to fix them:
- Disable text-wrapping through the ‘Wrap Text’ button in the ‘Home’ tab.
- Adjust row height using the ‘Row Height’ option.
- Unprotect the worksheet from the ‘Review’ tab if it is protected.
Can I middle align multiple rows or columns at once?
Yes, you can middle-align multiple rows or columns at once in Excel. Simply highlight the desired rows or columns, go to the ‘Home’ tab, locate the ‘Alignment’ group, and click on the ‘Middle Align’ button. This will apply middle alignment to the selected range, providing a quick and efficient way to format multiple rows or columns simultaneously.
How do I middle align in a specific part of the cell, not the entire cell?
Unfortunately, Excel doesn’t provide any option to middle-align any specific part of a cell.
Related Articles
- All Types of Alignment in Excel
- How to Change Alignment in Excel
- Align Two Sets of Data in Excel
- [Fixed!] Excel Cell Alignment Not Working
<< Go Back to Alignment | Format Cells | Learn Excel

