The default font is the font you see when you open Excel. Calibri, Times New Roman, and Arial are popular fonts normally used as defaults. You can also select which font you want to see as the default in Excel.
In the Excel tutorial, you will learn how to change the default font in an existing workbook.
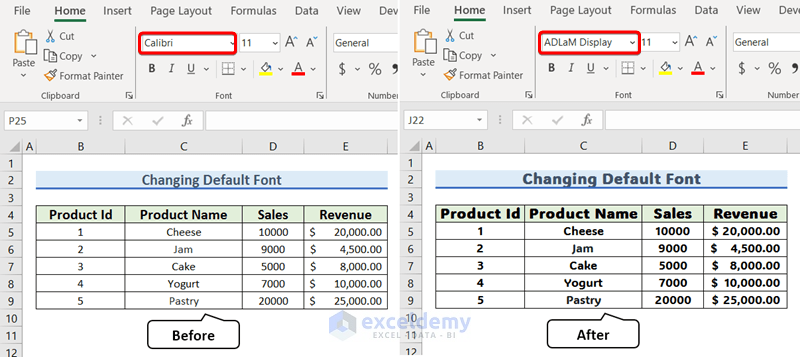
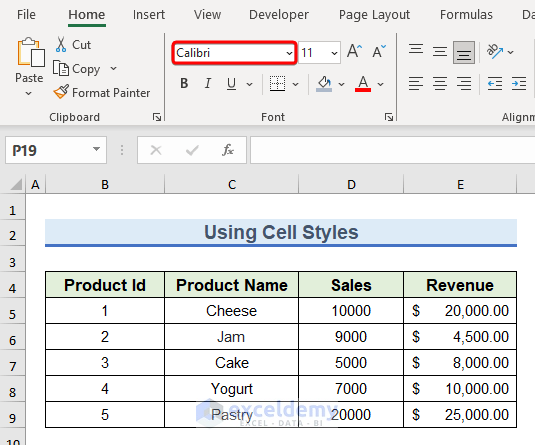
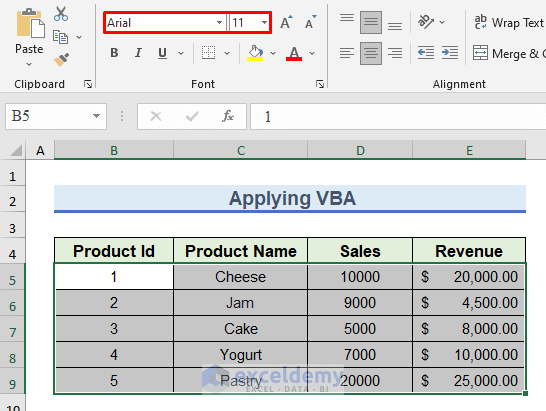
In the following dataset, we have information about a company in a default Calibri font. We will try to change the default font in the existing Excel workbook.
3 Ways to Change Default Font in Existing Excel Workbook
To change the default font in the existing Excel workbook, you can use the Theme Fonts option from the Page Layout tab, Cell Styles from the Home tab, or a VBA code.
Here are the 3 ways to change the default font in the existing Excel workbook:
Using Theme Fonts Option from Page Layout Tab
The Theme Font feature changes the default font of all sheets in the existing Excel workbook. There is no need to select the sheets separately.
To change the font for all sheets in the existing Excel workbook with the Theme Font option:
- Select any cell.
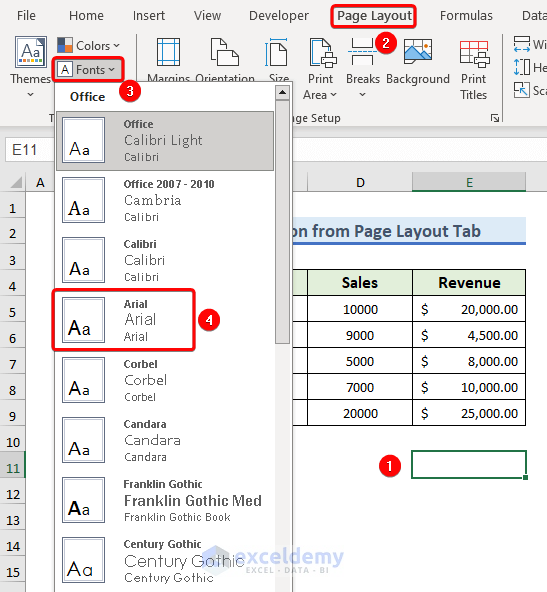
- Go to the Page Layout tab > Themes group > Fonts.
- Pick a font from the available fonts.
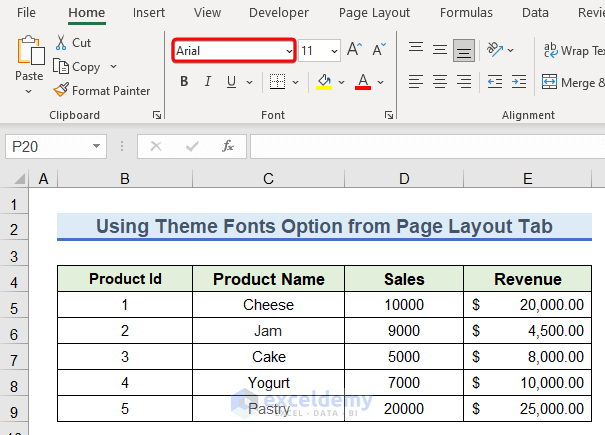
You get the output after changing the default font in the existing Excel workbook.
Read More: How to Increase Font Size Using Keyboard in Excel
Using Cell Styles Option
You can use the Cell Styles option from the Home tab to change the default font in the existing Excel workbook. You must select the existing worksheets and all cells in a worksheet before using Cell Styles. The applied font will be the default one for any new worksheets you create.
To change the default font in the existing Excel workbook using Cell Styles:
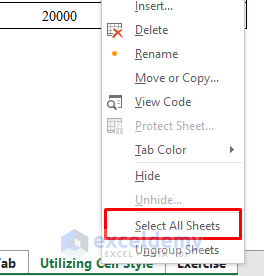
- Move your cursor to the sheet name tab.
- Right-click on the mouse.
- Select the Select All Sheets option.
- Next, select any cell on the sheet.
- Press Ctrl + A to select all cells.

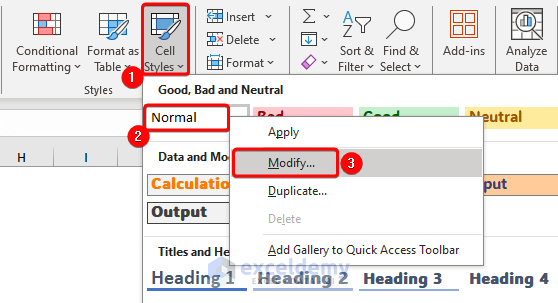
- Now, select Cell Styles from the Home tab.
- From the drop-down, right-click on the mouse keeping the cursor on Normal.
- Select the Modify option.
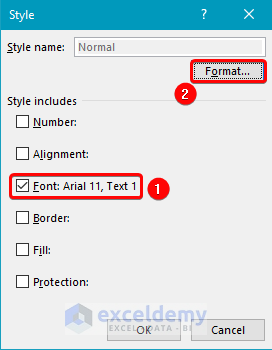
 You can notice from the Style dialog box that the present default font is Arial 11.
 - Check only the Font box and click on Format.
- From the Format Cells dialog box:
- Go to Font tab > Font.
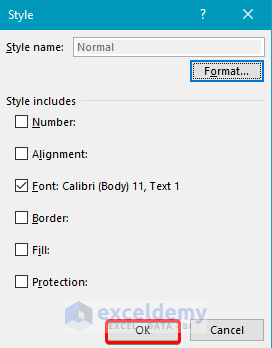
- Select a font and click OK.

- Click OK again from the Style box.
You will have the applied font as the default for the existing Excel workbook.
Read More: How to Change Font in Excel for All Sheets
Using Excel VBA
You can easily change the default font of the existing workbook using VBA in Excel. The code is only applicable to the worksheets that already exist in the workbook. It does not work for any worksheets that will be created after running the code.
Follow the steps to change the default font in the existing Excel workbook with VBA:
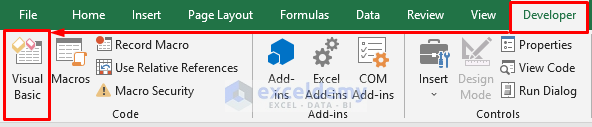
- Go to the Developer tab > Visual Basic to open Visual Basic Editor.
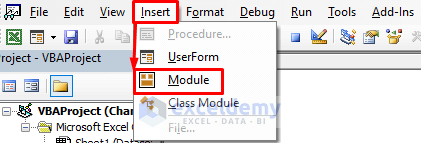
- Go to the Insert tab > Module.
- Copy and paste the following VBA code:
Sub ChangingDefaultFontInExistingWorkbook()
       For Each iWrksht In Worksheets
            iWrksht.Activate
            ActiveSheet.UsedRange.Select
            Selection.Font.Name = "Arial"
       Next
End Sub
By Selection.Font.Name = “Arial”, we are putting Arial font in our workbook. You can change the font here in which font you want to set as default.
- Click on Run.

Thus, you can change the default font in the existing Excel workbook with VBA.
Note: If you don’t see the Developer tab in the ribbon, you have to enable the Developer tab from Excel Options.
How to Change Default Font in Excel Workbook
To change the default font in the Excel workbook, you can use the Excel Options. Keep in mind that changing the default font from the Excel Options will not apply to the current workbook at all. Rather it will be applicable for all newer workbooks.
Follow the steps to change the default font for Excel workbooks using Excel Options:
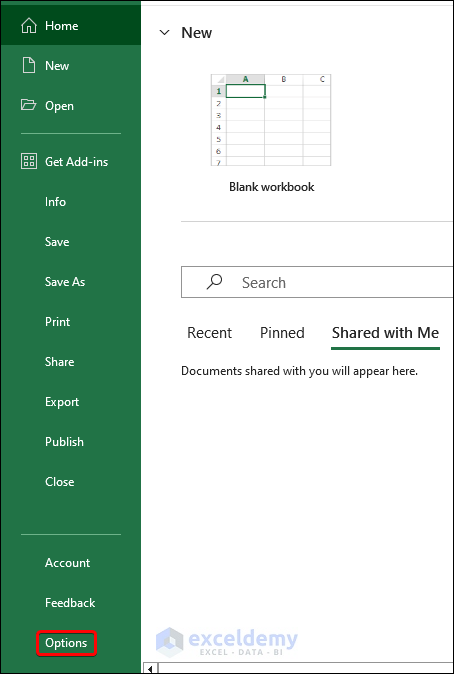
- Select the File tab.

- Go to Options.
- From the Excel Options dialog box:
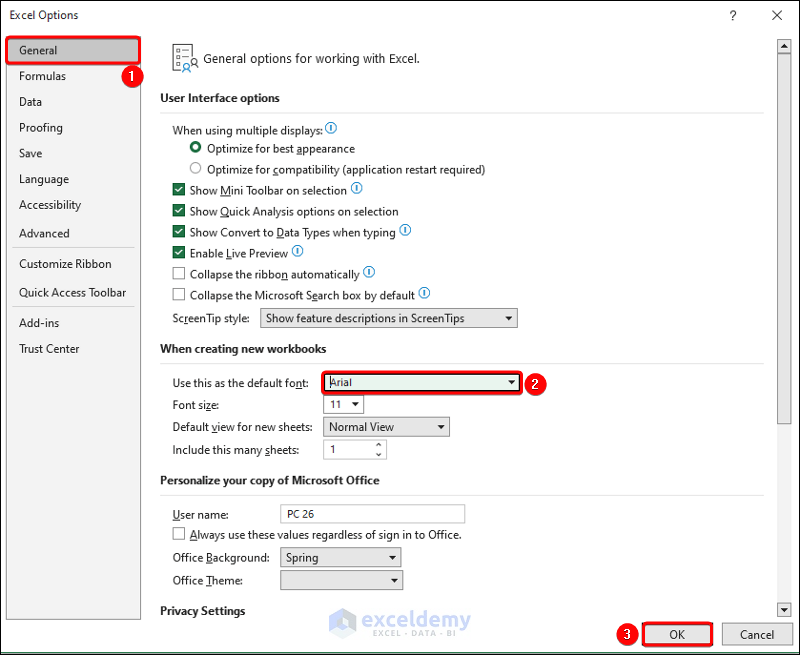
- Go to the General tab > When creating new workbooks group > Use this as default font.
- Pick a font from the drop-down and click OK.
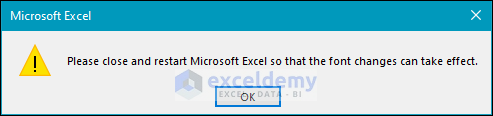
- Click OK in the confirmation message box.
 This doesn’t change the font in a workbook that already exists.
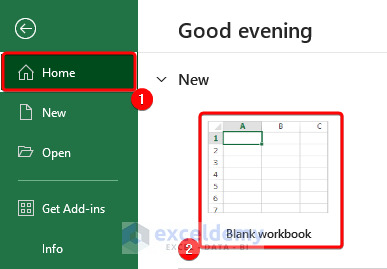
 - Close Excel and create a new blank workbook to see the changed default font.
Go to the File tab > Home > Blank workbook.
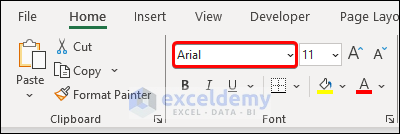
You will find the changed default font in the new workbook.
Download Practice Workbook
To practice by yourself, download the following workbook.
Conclusion
In this article, we’ve explored 3 easy methods to change the default font in your existing Excel workbook. You can do this by utilizing the Font option from the Page Layout tab, the Cell Styles option from the Home tab, or by using a VBA code. Additionally, we’ve covered how to set a new default font for your entire workbook in Excel. If you have any questions or opinions, feel free to share them in the comments section below. Your feedback is valuable!
Frequently Asked Questions
How do I change the font in Excel workbook?
To change the font in the Excel workbook, select all the existing sheets in the workbook from the Sheet Tab. Then select cells from those worksheets by pressing Ctrl+A from the keyboard. Now change the font from the Font option under the Home tab or from the Context Menu.
How do I change the default font color in Excel workbook?
To change the default font color in the Excel workbook, select all the sheets > press Ctrl+A to select all the cells > go to the Home tab > Font group > Font Color.
Will changing the default font affect the existing data in the Excel workbook?
Absolutely not; changing the default font only modifies the visual appearance. It does not modify the existing data.
Related Articles
- How to Change Font in Excel to All Caps
- How to Change Font Within Formula in Excel
- How to Increase Font Size for Printing in Excel
- How to Lock Font in Excel
- [Solved!] Font Changes Automatically in Excel
- [Fixed!] Unable to Change Font Color in Excel
- [Fixed!] Excel Default Font Is Not Changing
<< Go Back to Excel Fonts | Excel Cell Format | Learn Excel
Get FREE Advanced Excel Exercises with Solutions!
