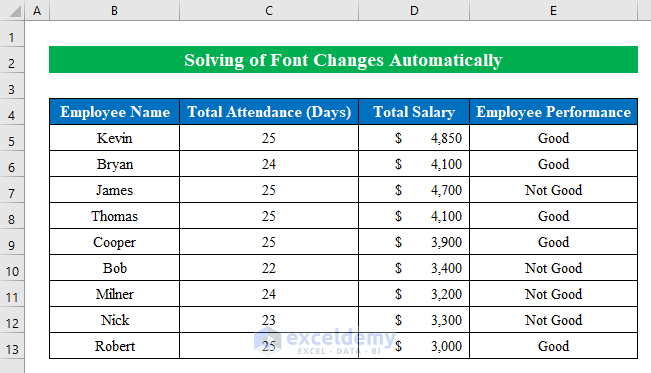
This is the sample dataset.
Solution 1 – Using the Format Cells Feature
Steps:
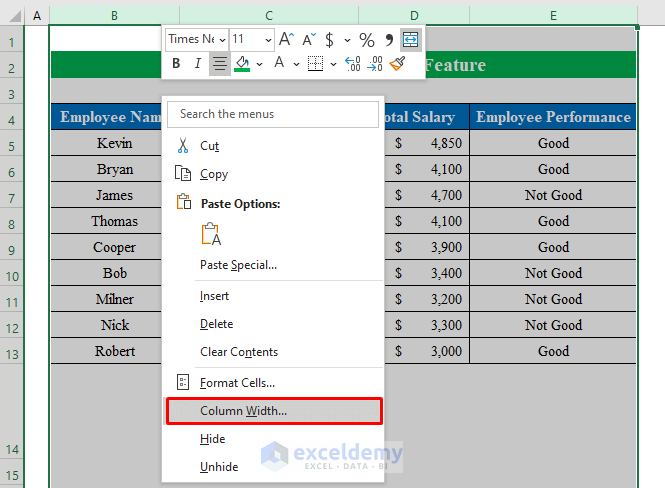
- Select the whole dataset and right-click.
- Choose “Column Width”.
- Change the column width and click OK.
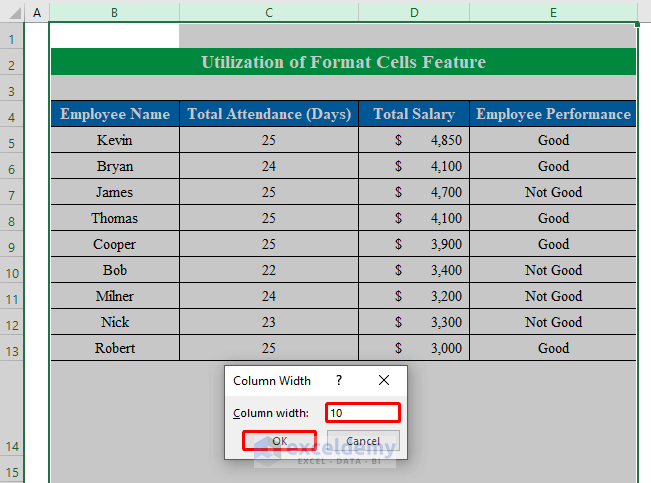
The font size changes.

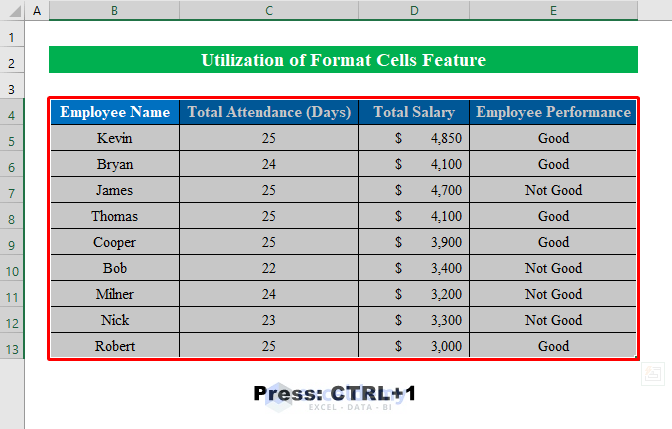
Solution:
- Select the whole table and press CTRL+1 to open the “Format Cells” window.
- Check “Wrap text” in “Alignment”.
- Click OK.

If you change the size of the table, the font won’t change.

Read More: How to Change Font in Excel to All Caps
Solution 2 – Using the Excel Options
Steps:
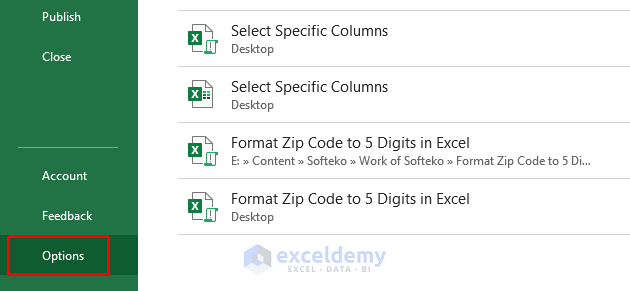
- Open your workbook and go to “File”.

- Click “Options”.
- In “Excel Options”, choose “Font” and “Font size” in “General”.
- Click OK.
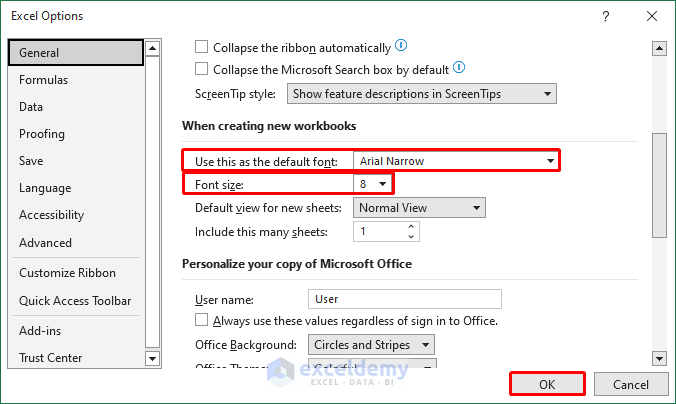
A new workbook will open and you will see your chosen font and font size.

Read More: [Fixed!] Excel Default Font Is Not Changing
Download Practice Workbook
Download the practice workbook.
Related Articles
- How to Change Font Style in Excel
- How to Increase Font Size for Printing in Excel
- How to Change Font Size in Excel
- Increase Font Size Using Keyboard in Excel
- [Fixed!] Unable to Change Font Color in Excel
- How to Change Font in Excel for All Sheets
- How to Change Font Within Formula in Excel
<< Go Back to Excel Fonts | Excel Cell Format | Learn Excel
Get FREE Advanced Excel Exercises with Solutions!
