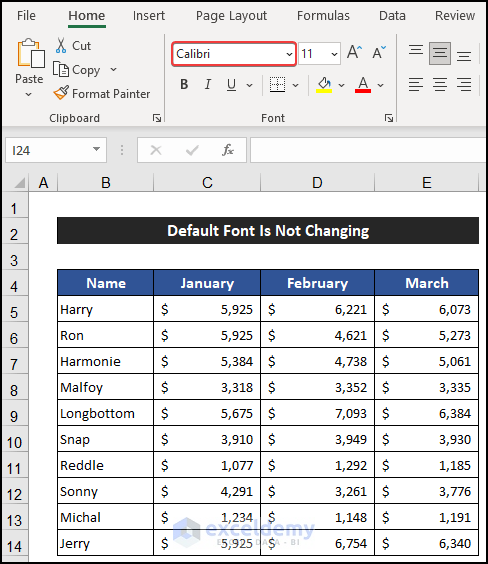
We’ll use the following simple dataset of 10 employees. The font is the default Calibri, and we want to change it to Arial.
Solution 1 – Change the Default Font in Excel Options
Steps:
- Go to the File tab.
- Select Options.

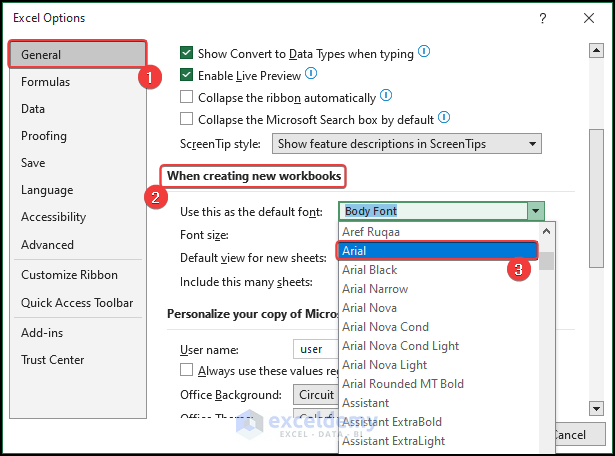
A dialog box called Excel Options will appear.
- In the General tab, from the When creating new workbooks section, click on the drop-down arrow of the Use this as the default font option.
- Choose your desired font style. Here, we choose the Arial font.
- Click OK.
Excel may display a message box about restarting the application.
- If it does, click OK.
- Click on the Close button to close the Excel Options window.

- If necessary, relaunch the application and the default font style will have changed to Arial.
Solution 2 – Modify the Font via the Font Group
Steps:
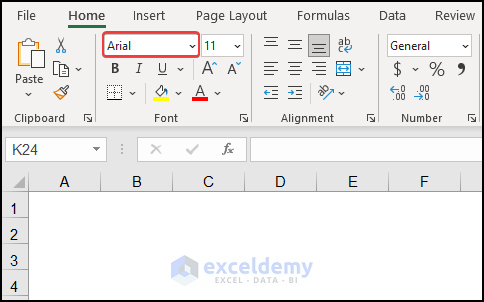
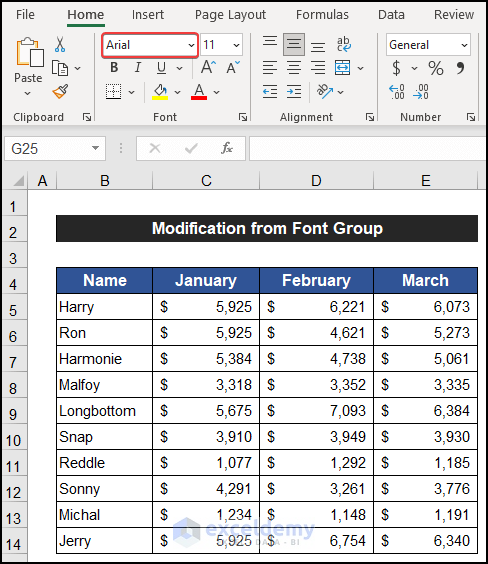
- Select the entire worksheet.
- In the Home tab, click on the drop-down arrow of the Font command in the Font group.
- Choose the text font as desired, for example Arial.
The font style of the data is converted to Arial.
Read More: How to Change Font Style in Excel
Solution 3 – Using the Format Cells Dialog Box
Steps:
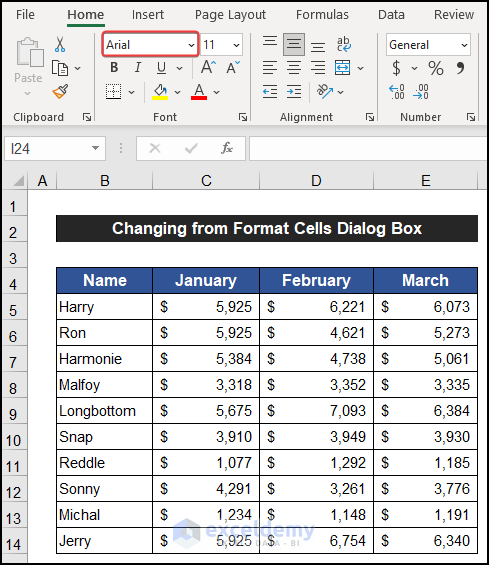
- Select the entire worksheet.
- Right-click and select the Format Cells option from the Context Menu.

A small dialog box called Format Cells will appear.
- In the Font tab, under the Font section, scroll down to find your desired font style and click on the font style, for example Arial.
- Click OK.

The font style changes to Arial.
Read More: How to Change Font in Excel for All Sheets
Solution 4 – Using VBA Code
Steps:
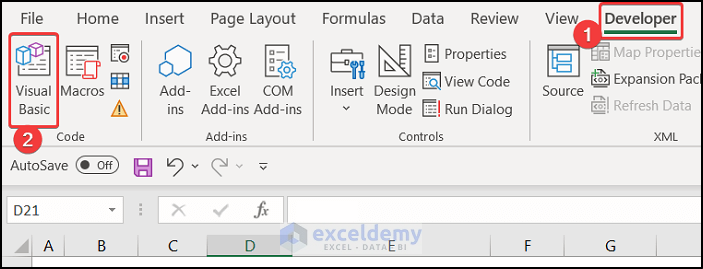
- If you don’t see the Developer tab on your ribbon, you’ll first have to enable it.
- Go to the Developer tab.
- Click on Visual Basic (or press Alt + F11) to open the Visual Basic Editor.
A dialog box will appear.
- From the Insert tab, click Module.

- Enter the following code in that empty editor box:

Sub Change_Default_Font()
    For Each Worksheet In Worksheets
        Worksheet.Activate
        ActiveSheet.UsedRange.Select
        Selection.Font.Name = "Arial"
    Next
End Sub- Press ‘Ctrl+S’ to save the code.
- Close the Editor window.
- In the Developer tab, click on the Macros option.

A new dialog box called Macros will appear.
- Select the Change_Default_Font option.
- Click on the Run button to run this code.

The default font style will change.

Read More: How to Change Font in Excel to All Caps
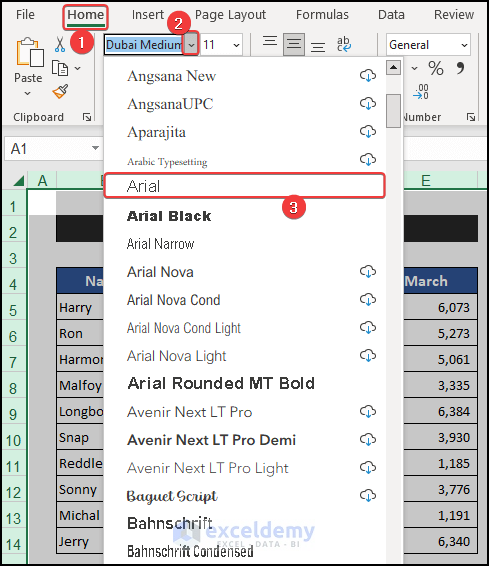
Besides the approaches described above, the default font theme can also be changed from the Font drop-down available on the Page Layout tab. Go to the Page Layout tab, click on the drop-down arrow of the Font command, and choose your desired font theme.
Download the Practice Workbook
Related Articles
- How to Increase Font Size for Printing in Excel
- How to Change Font Size in Excel
- How to Increase Font Size Using Keyboard in Excel
- How to Change Font Within Formula in Excel
- [Solved]: Font Changes Automatically in Excel
- [Fixed!] Unable to Change Font Color in Excel
<< Go Back to Excel Fonts | Excel Cell Format | Learn Excel
Get FREE Advanced Excel Exercises with Solutions!

Zooming out may work. Zooming in too much switches to default fonts.
Hello Robert,
You’re absolutely right! When you zoom in too much, Excel may temporarily switch to system-default fonts for performance reasons. Zooming out can help the actual font render correctly again. It’s a helpful workaround!
Regards
ExcelDemy