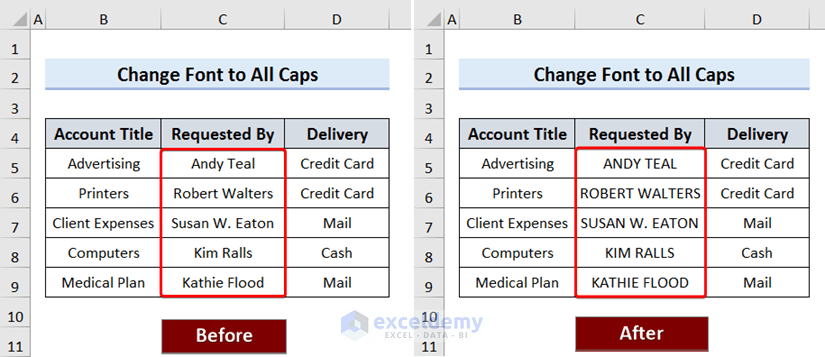
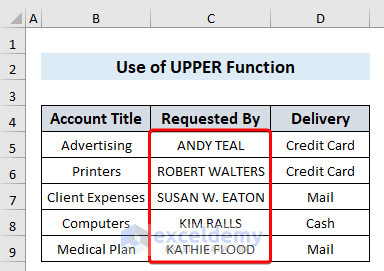
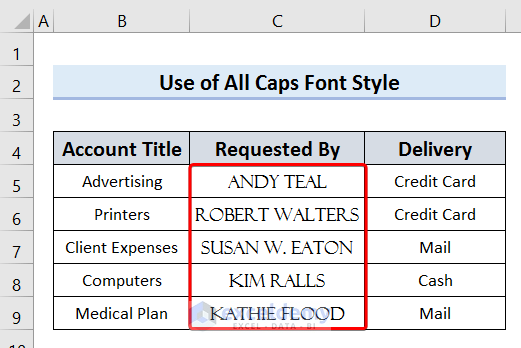
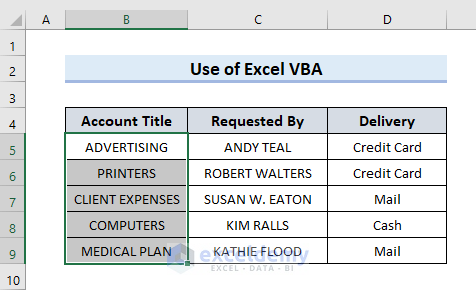
The following dataset shows company department purchases. We will change the name font to all caps for the person related to the purchase.
Method 1 – Using the UPPER Function
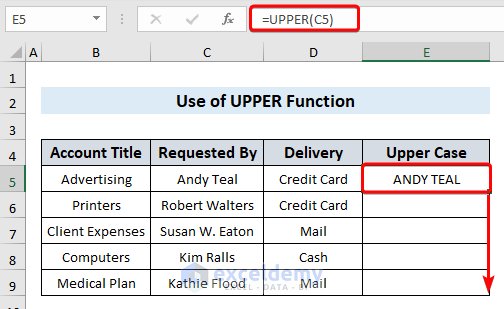
- Select a cell in a new column.
- Insert the following formula:
=UPPER(C5)
You can replace C5 with your cell reference to change text cases.
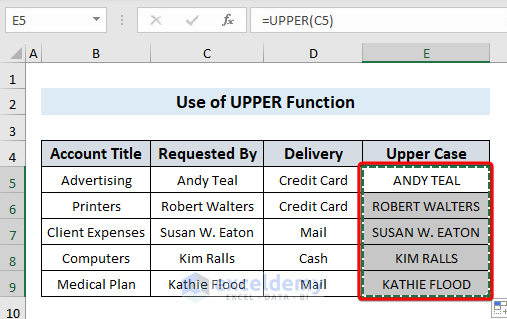
- Drag the Fill Handle down to autofill the remaining cells.
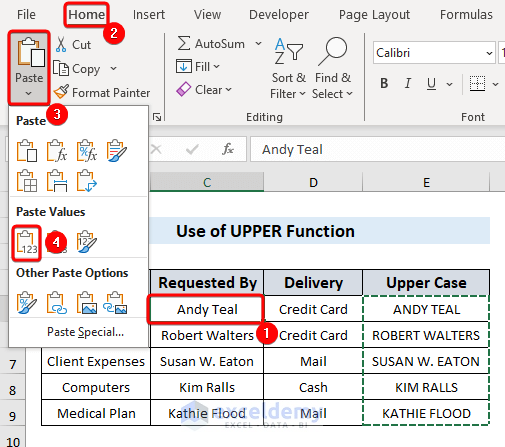
- Copy the cells that contain the text after changing cases.
- Select your desired location.
- To paste the copied cells, go to the Home tab, select the Paste dropdown, and choose Values.
- Select the entire column that was generated to change the font to all caps.
- Right-click on the mouse and select Delete.
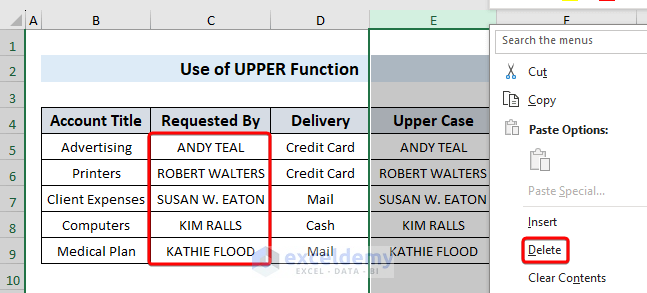
- We have changed the font to all caps in your desired location.
Read More: How to Change Font Within Formula in Excel
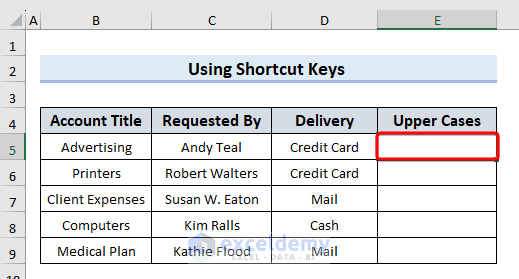
Method 2 – Using Shortcut Keys
- Select a cell in a new column.
- Press Shift + F3.
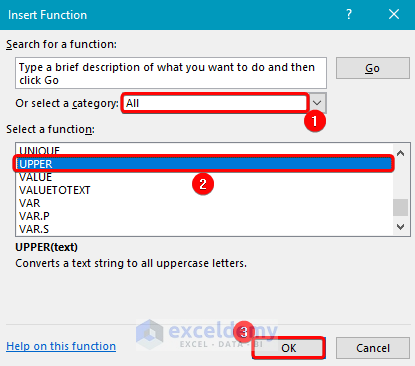
- From the Insert Function dialog box:
- Choose All from Or select a category.
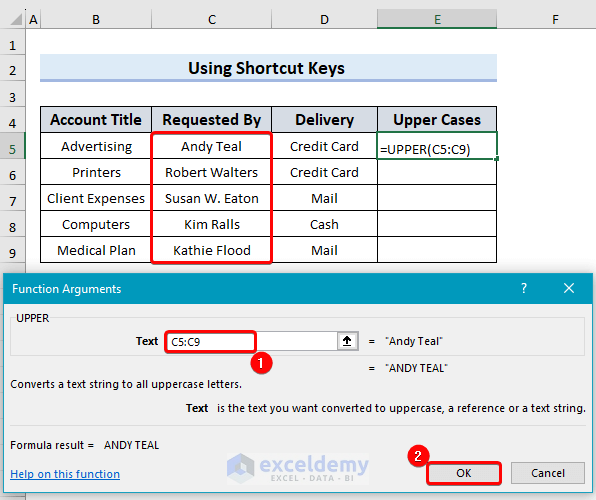
- Pick the UPPER function from Select a function.
- Click on OK.
- In the Function Arguments dialog box:
- Define the range from the dataset in Text.
- Click OK to finish.
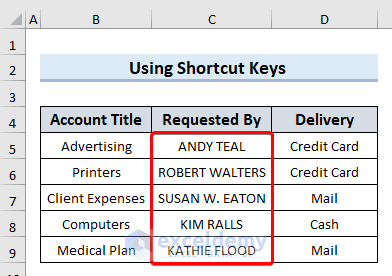
- This changed the font to all caps.
Read More: How to Increase Font Size Using Keyboard in Excel
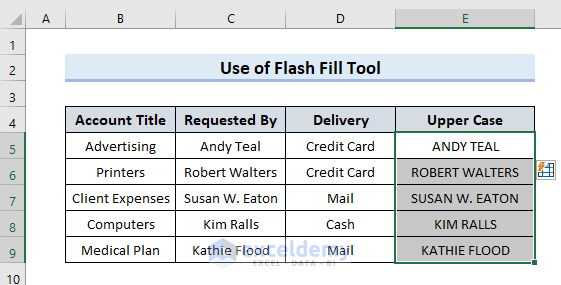
Method 3 – Using Flash Fill
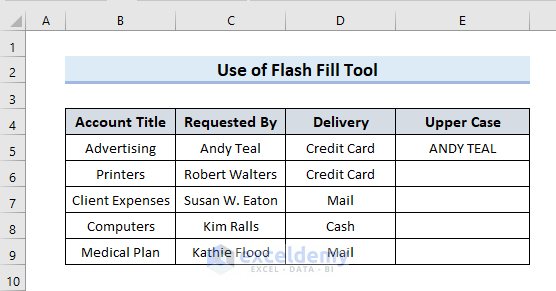
- Select a blank cell in a new column.
- Write the text in all caps.
- Press Ctrl + E to accept the predictions.
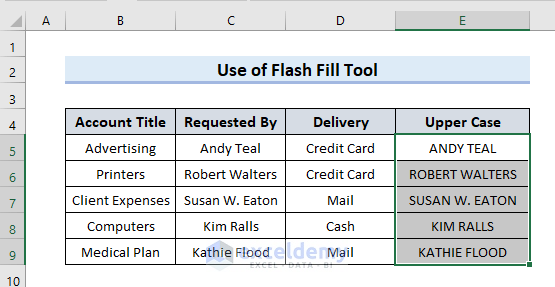
- This changes the entire column.
Alternatively, you can use the Flash fill tool from the Home tab.
- Go to the Home tab and select the Fill drop-down.
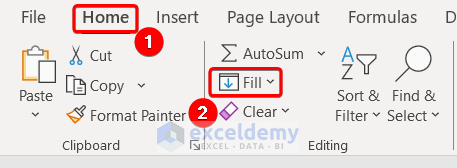
- Select Flash Fill.

- Here are the results.
Read More: [Fixed!] Excel Default Font Is Not Changing
Method 4 – Using an All Uppercase Font
- Select a cell or range of cells.
- Go to the Home tab and click on the Font drop-down.
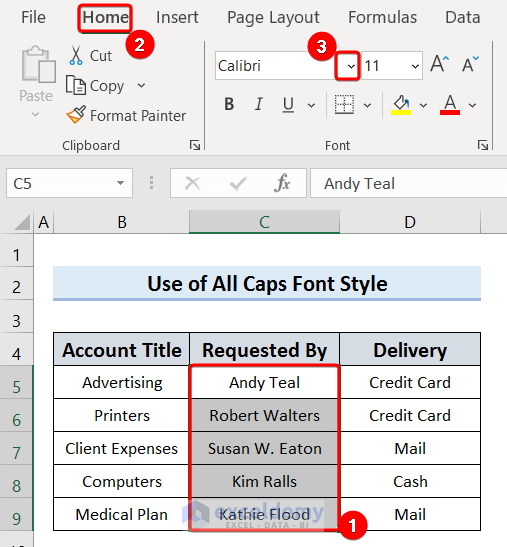
- Select a font that doesn’t have lowercase letters.
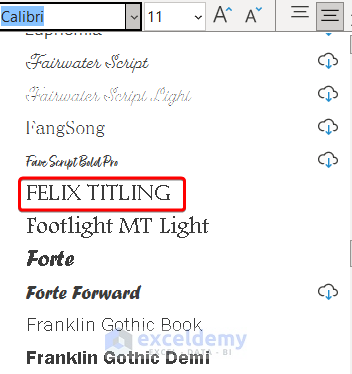
- Here’s a sample result.
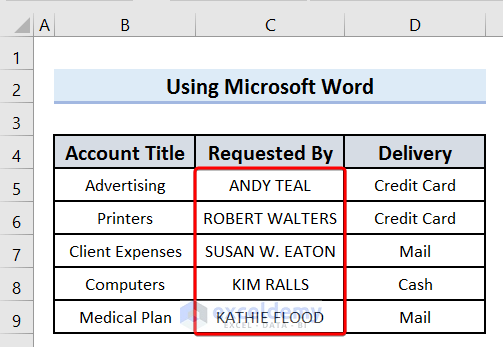
Method 5 – Using Microsoft Word
- Copy the entire dataset.
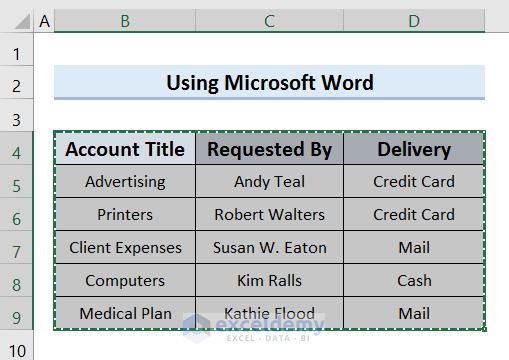
- Open a new workbook in Microsoft Word.
- Paste the copied data.
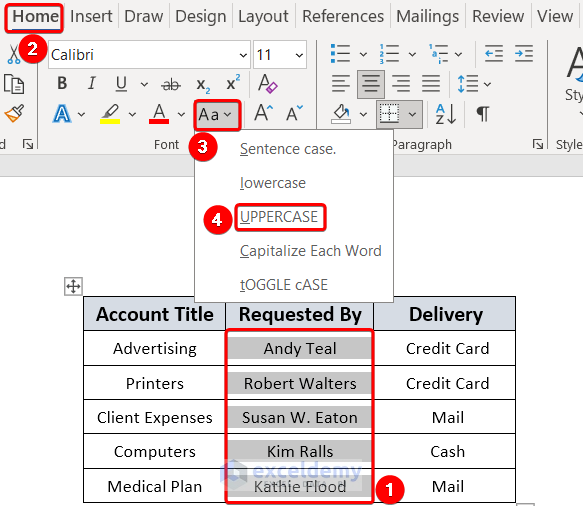
- Select the data to change the font to all caps.
- Go to the Home tab and select the Change Case feature, then choose UPPERCASE.
- Here’s the result.
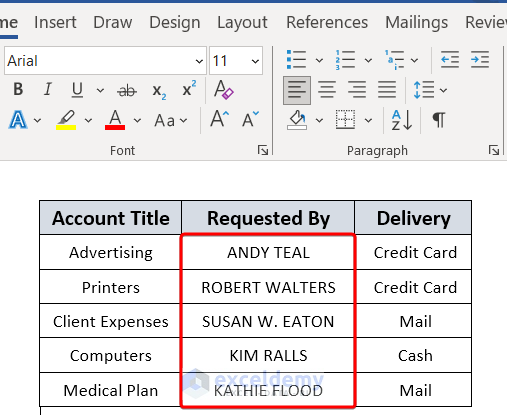
- Copy the data from Word and paste it into Excel.
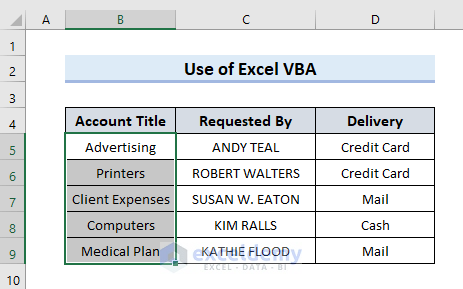
Method 6 – Using VBA
- Select a cell or a range of cells.
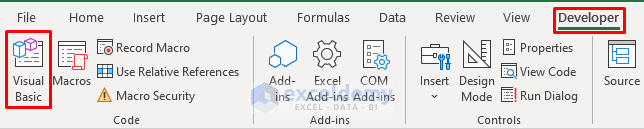
- Go to the Developer tab and select Visual Basic to open the Visual Basic Editor.
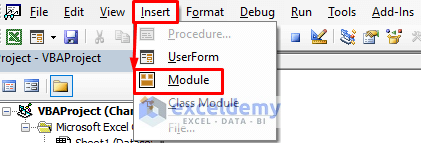
- Go to the Insert tab and pick Module.
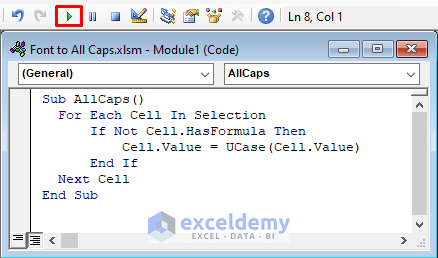
- Copy and paste the following VBA code into the module:
Sub AllCaps() For Each Cell In Selection If Not Cell.HasFormula Then Cell.Value = UCase(Cell.Value) End If Next Cell End Sub - Click on Run.
- Here’s the result.
Method 7 – Using Power Query
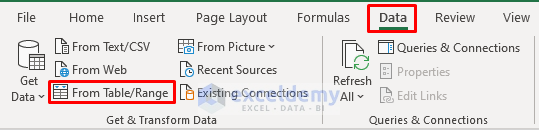
- Select the data.
- Go to the Data tab and choose From Table/Range.
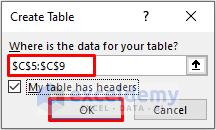
- A Create Table dialogue box will pop up.
- From the Create Table dialog box:
- Insert the cell range.
- Check My table has headers if you have any headers in your dataset.
- Click on OK.
- The Power Query Editor will pop up.
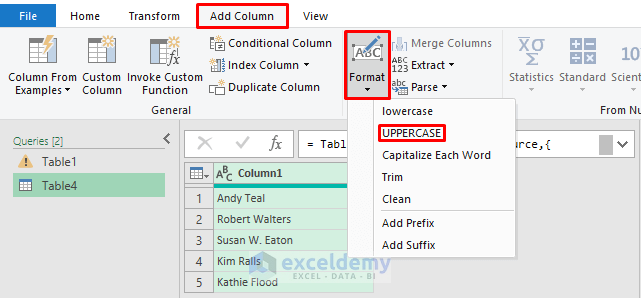
- Go to the Add Column tab, select the From Text group, choose the Format feature, and pick UPPERCASE.
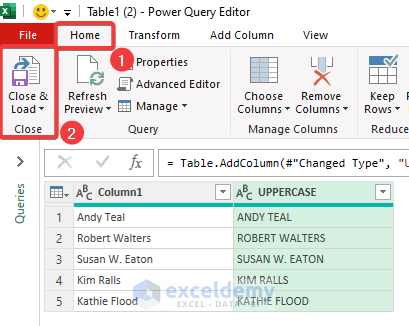
- Go to the Home tab and choose Close & Load.
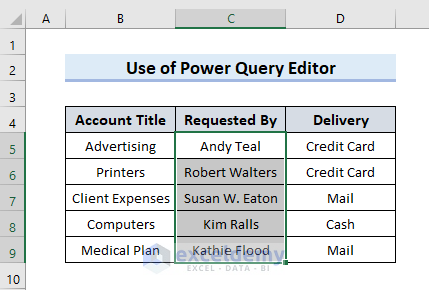
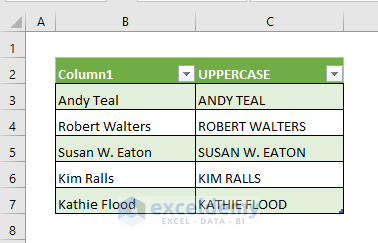
- Here’s the result.
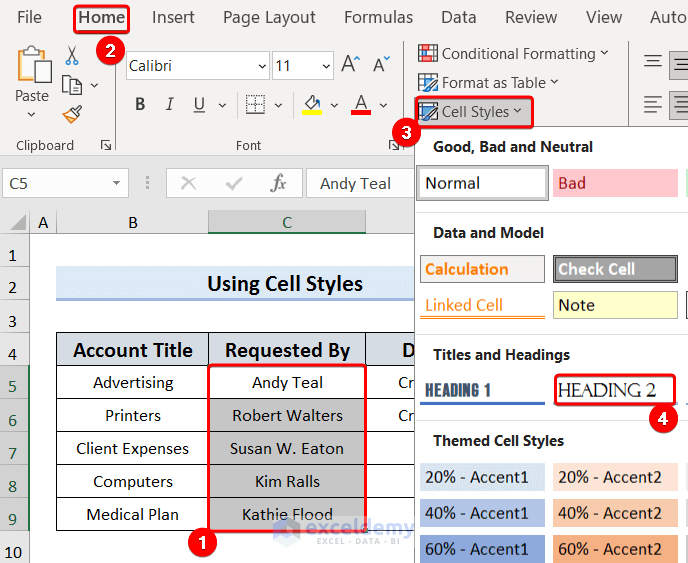
Method 8 – Using Cell Styles
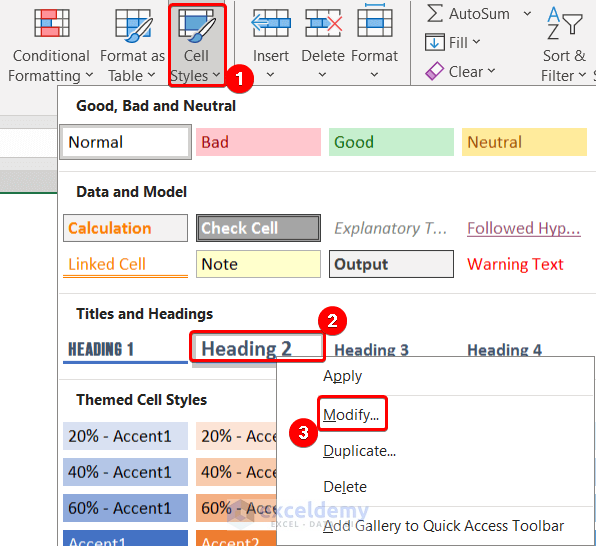
- Go to the Home tab and select Cell Styles.
- Right-click on Heading 2 and select Modify.
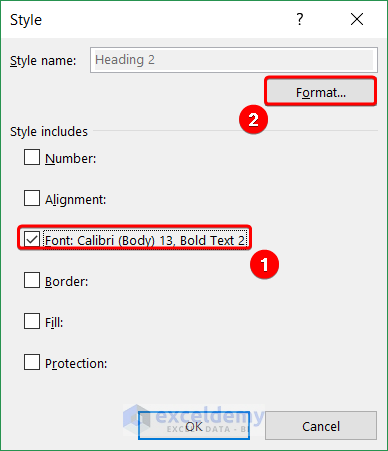
- A Style dialog box will appear
- Check only the Font box and click on Format.
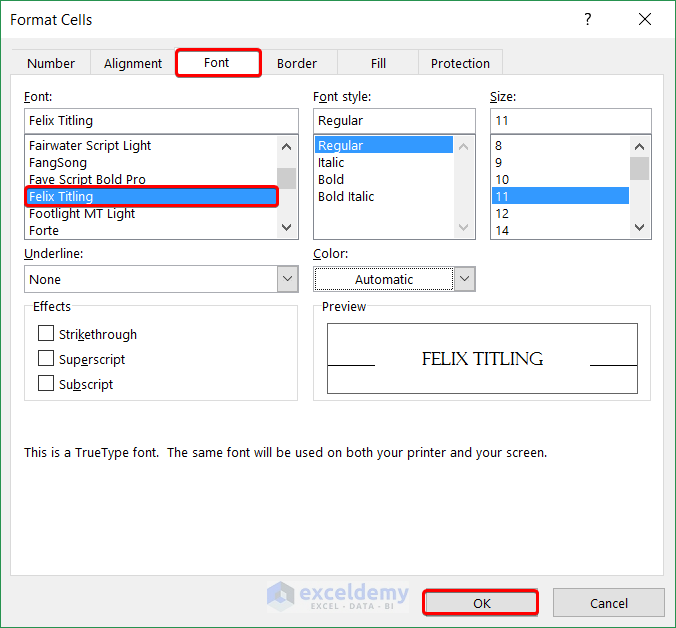
- A Format Cells dialog box will pop up.
- From the Format Cells dialog box:
- Go to the Font tab and select Font.
- Select a font with only uppercase letters and click OK.
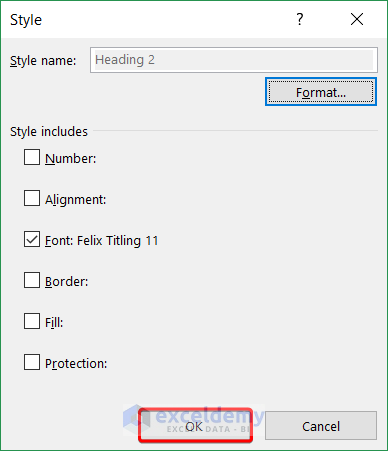
- Click OK again from the Style box.
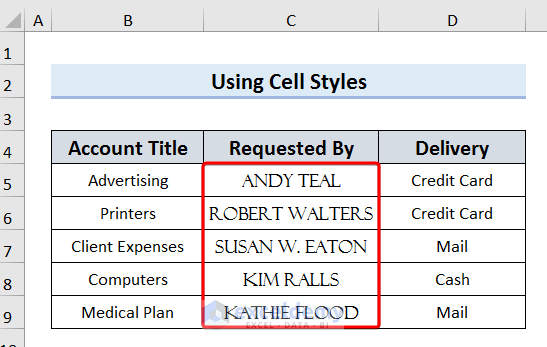
- Select a range of cells.
- Go to the Home tab and choose the Cell Styles drop-down, then apply HEADING 2.
- Here’s the result.
Download the Practice Workbook
Frequently Asked Questions
Is it possible to change the font in Excel to all caps in a single click?
You can set the all-cap font from Cell Styles and use it to change the font to all caps in a single click.
Does changing the font to all caps affect sorting and filtering in Excel?
No, changing the font to all caps does not affect sorting and filtering in Excel.
What functions are to be used to change the font cases in Excel?
There are three built-in functions in Excel to change the font’s case.
- For Upper Case: =UPPER(B5)
- For Lower Case: =LOWER(B5)
- For Title Case: =PROPER(B5)
Related Articles
- How to Increase Font Size for Printing in Excel
- [Fixed!] Unable to Change Font Color in Excel
- [Solved]: Font Changes Automatically in Excel
- How to Change Font in Excel for All Sheets
- How to Change Font Size in Excel
- How to Change Font Style in Excel
<< Go Back to Excel Fonts | Excel Cell Format | Learn Excel
Get FREE Advanced Excel Exercises with Solutions!

I recently updated my Mac OS software to Safari Version 17.5 (19618.2.12.11.6). When I did, I started getting a green circle at the tip of the pointer with an arrow pointing up on the inside of it. It appears to be connected to the Cap Lock feature. When I click it to make it go away, it automatically drops the cap lock to lower case.
This is an annoying feature. I type my meteorological forecasts on a spreadsheet and use the cap lock feature exclusively for the text.
So…anythoughts on how to turn this off?
V/r,
Rich
Hello Rich Courtney,
The green circle with an arrow at the tip of your pointer is related to the Caps Lock feature. This is a new feature in Safari on macOS to indicate that Caps Lock is enabled.
To turn off or disable this feature, you can try the following steps:
System Preferences:
1. Open System Preferences.
2. Go to Keyboard.
3. Under the Keyboard tab, look for any settings related to Caps Lock or Keyboard shortcuts and disable any relevant options.
Safari Preferences:
1. Open Safari.
2. Go to Safari > Preferences (or press Cmd + ,).
3. Look for any settings that might be related to this feature under the Advanced or Accessibility tabs and disable them if found.
Accessibility Settings:
1. Open System Preferences.
2. Go to Accessibility.
3. Look for any settings related to keyboard or pointer and disable any features related to Caps Lock notifications.
Sometimes reinstalling the application can help resolve unexpected behavior.
If none of these steps work, consider reaching out to Apple Support for more detailed assistance. They might provide a specific way to disable this new feature or offer an alternative solution.
Regards
ExcelDemy