The following datasets provide an overview.
Changing the Default Font Size in Excel
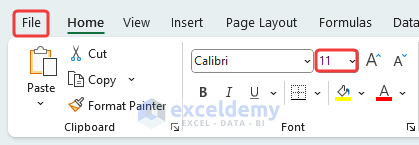
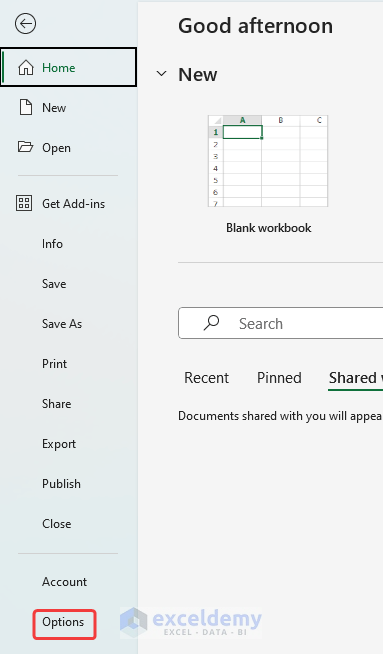
To change the default font size in Excel:
- Go to the File tab.
- Click Options.
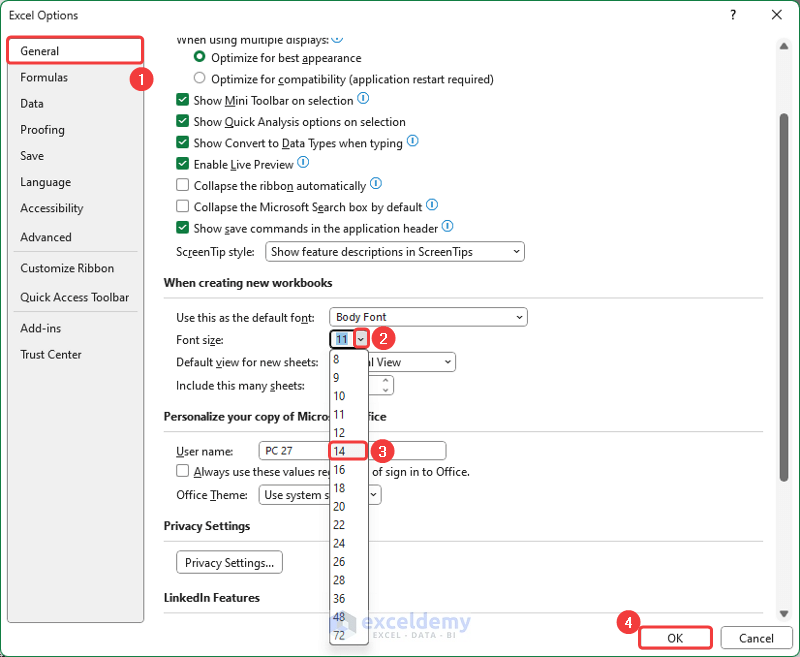
- Go to the General tab > When creating new workbooks > Font Size.
- Select a font size.
- Click OK.
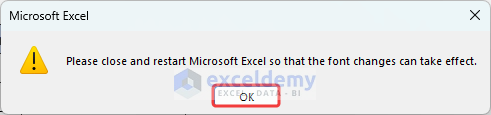
 A warning message will be displayed:
 - Click OK.
- Restart Excel and open a new workbook.
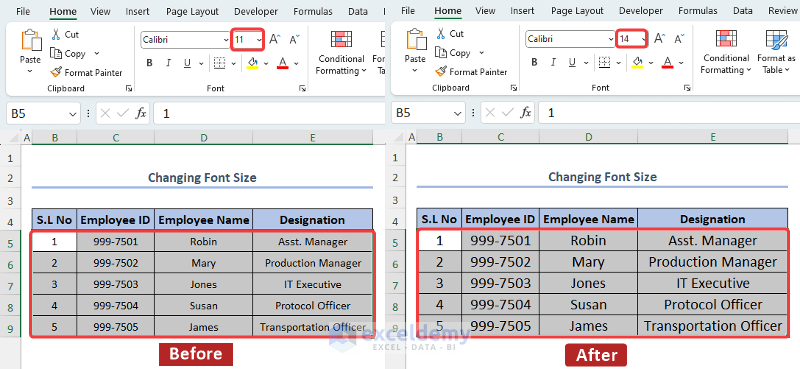
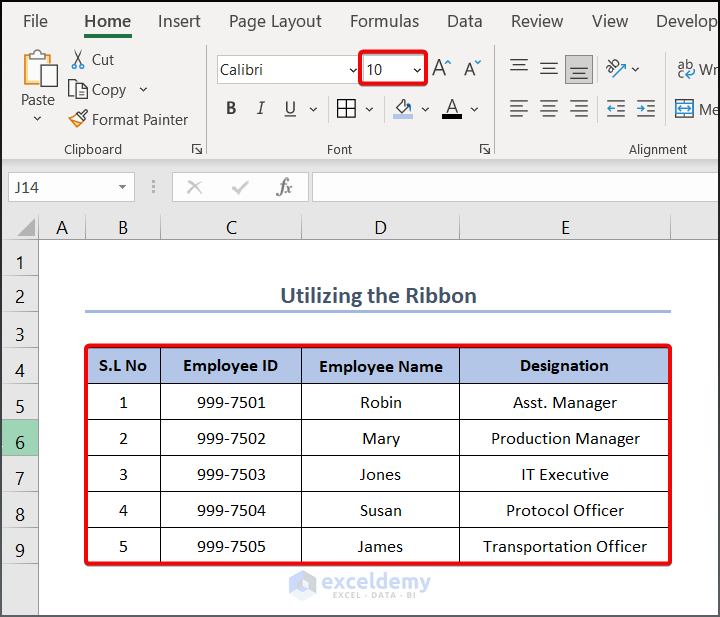
Changing the Font Size of Selected Cells in Excel
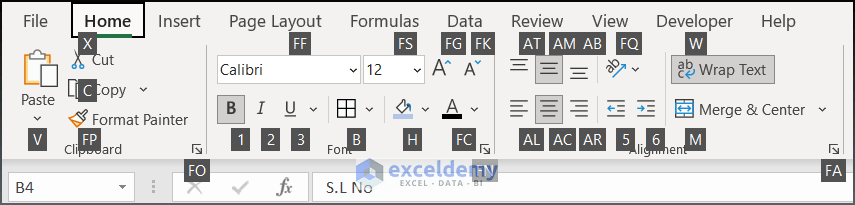
Use the Font Size Option in the Home Tab
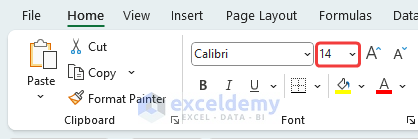
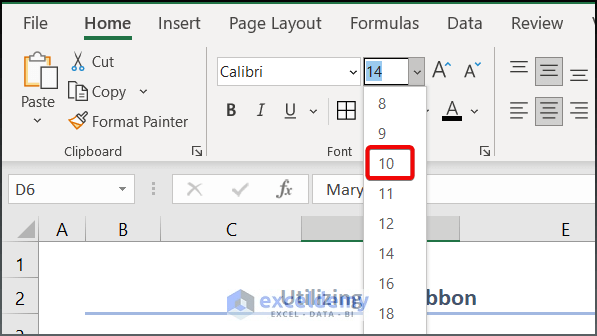
- Select a range of cells.
- Go to the Home tab > Font > Font Size.
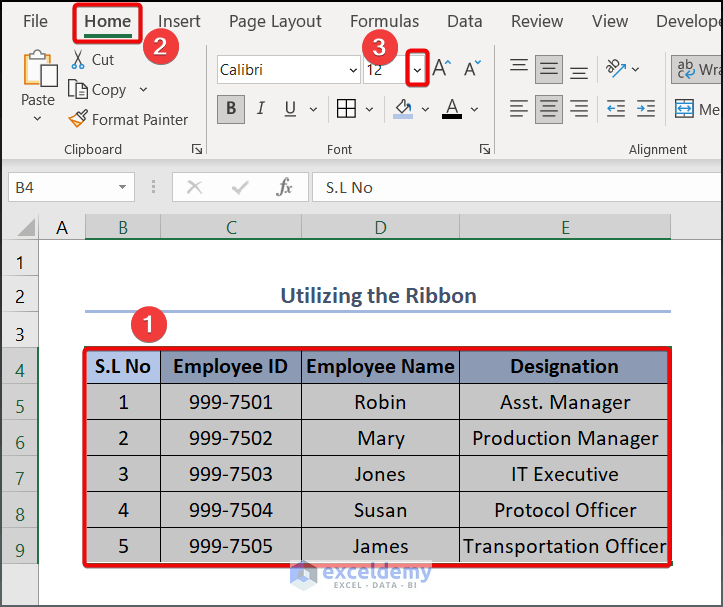
- Select a font size.
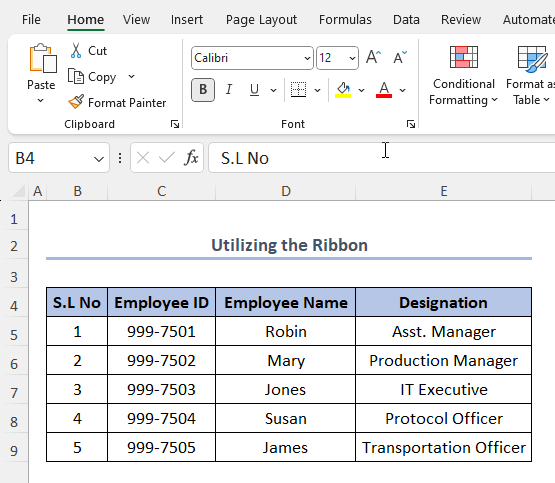
This is the output.
You can also click Increase Font Size and Decrease Font Size.
Read More: How to Change Font in Excel to All Caps
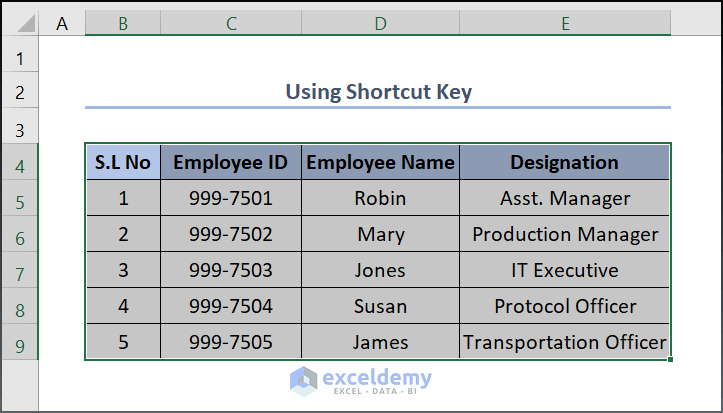
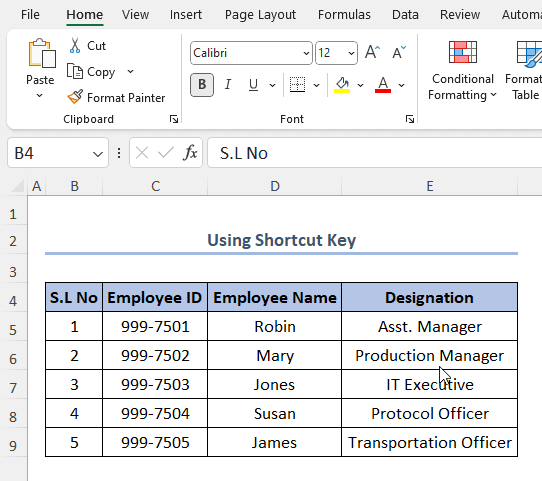
Use a Shortcut Key
The increase or decrease of the font size occurs according to the default parameter.
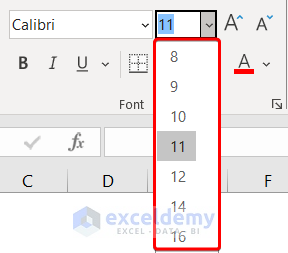
- Select a range of cells.
- Press Alt + H.
 Keyboard combinations will be displayed.
 - Press F and G sequentially to increase the font size.
Or, press the F and K sequentially to decrease the font size
This is the output.
You can customize the font size:
- Select the range.
- Press Alt+H, F, S to access the Font Size option for editing.
- Insert the custom font size.
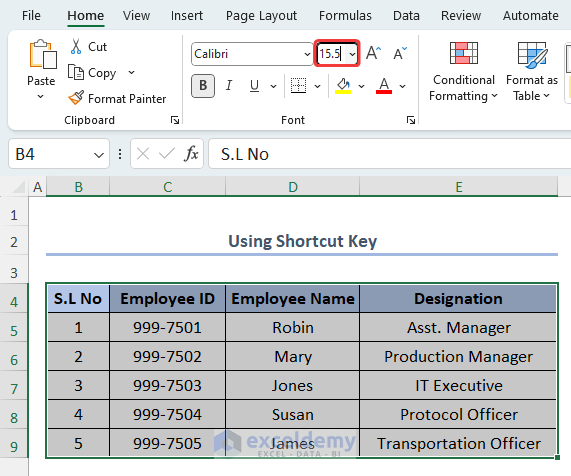
- Press Enter.
This is the output.

Read More: How to Increase Font Size Using Keyboard in Excel
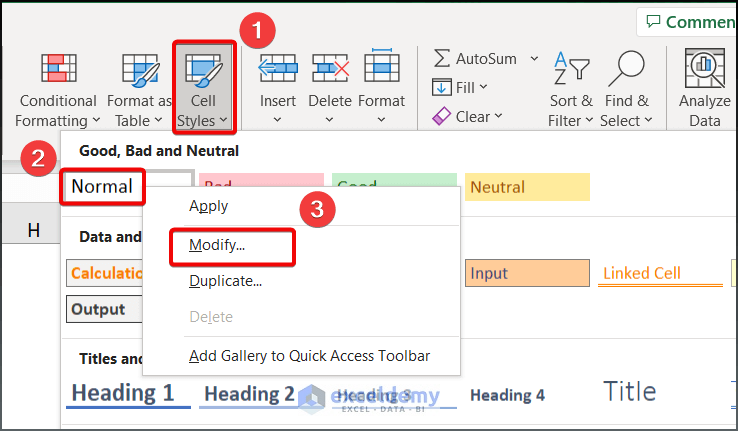
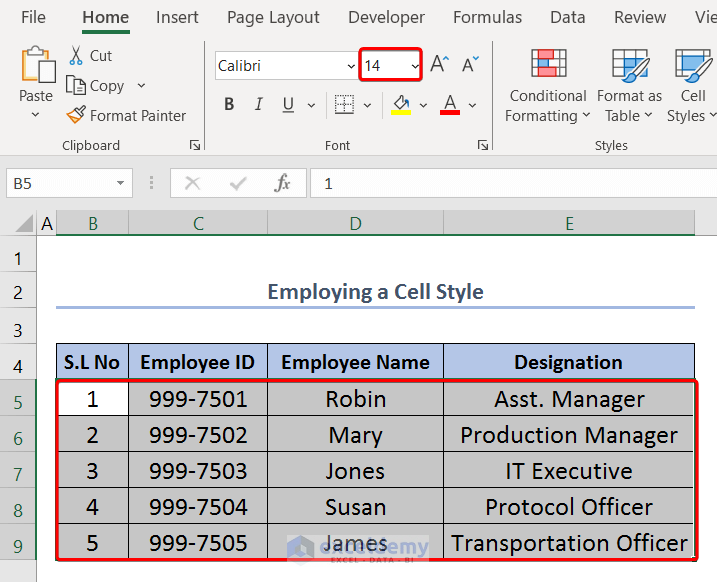
Using Cell Style
- Select a range of cells.
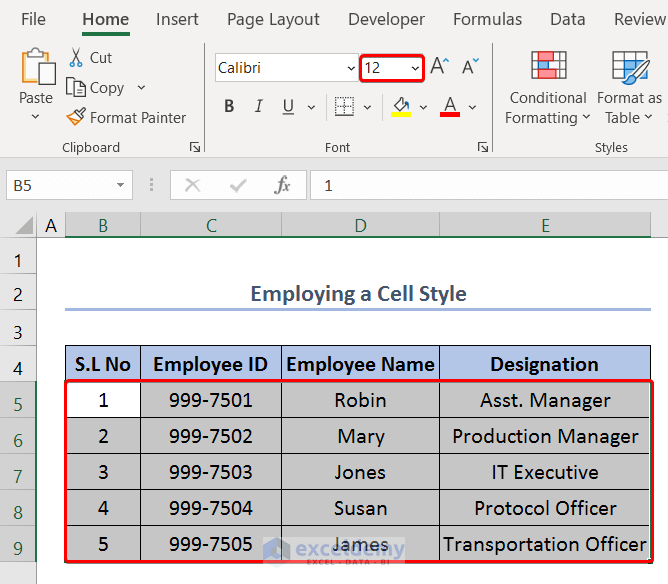
- Go to the Home tab > Styles > Cell Styles > Normal.
- Right-click.
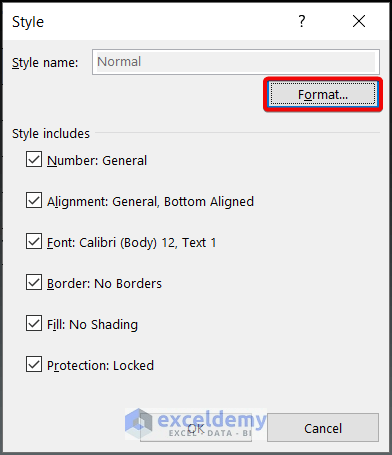
- Select Modify.
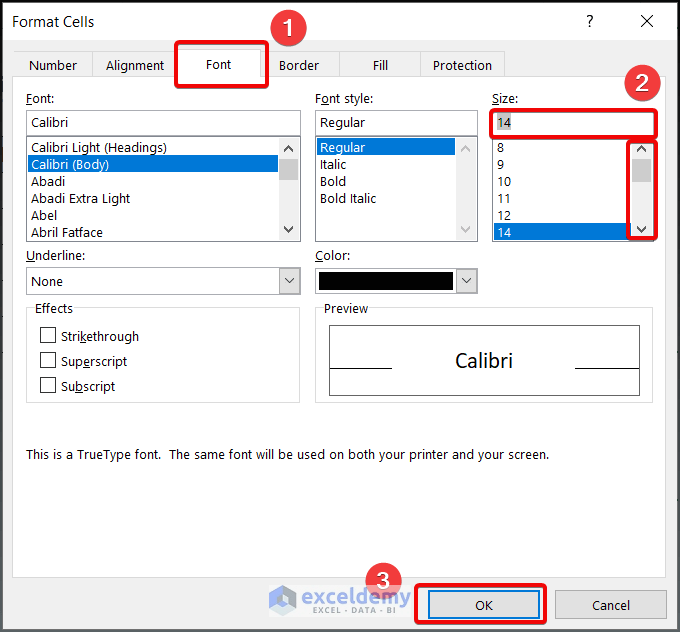
- Click Format.
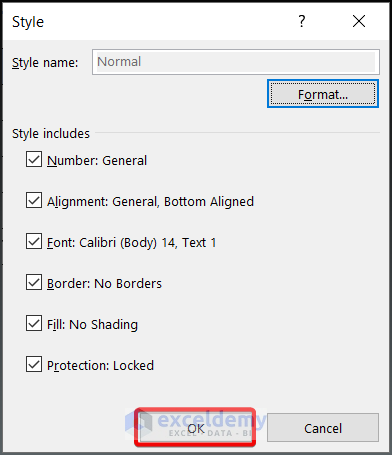
- Select a font size and click OK.
- Click OK again in the Style dialog box.
This is the output.
Read More: How to Change Font Style in Excel
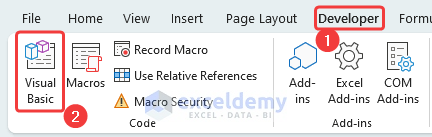
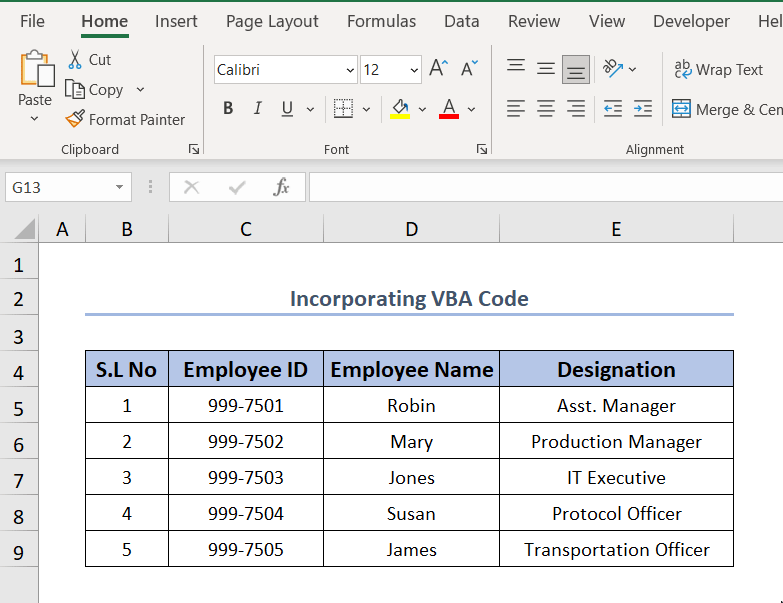
Using VBA
- Select a cell or a range of cells.
- Go to the Developer tab > Code > Visual Basic to open Visual Basic Editor.
- Go to the Insert tab > Module.
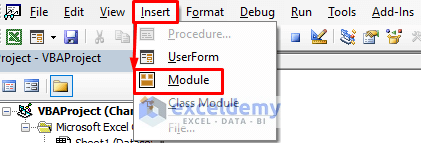
- Copy and Paste the following VBA code:
Sub FontIncreaser() Selection.Font.Size = Selection.Font.Size + 1 End Sub Sub FontDecreaser() Selection.Font.Size = Selection.Font.Size - 1 End Sub - Close the Visual Basic Editor window.
- Click Developer > Macros.
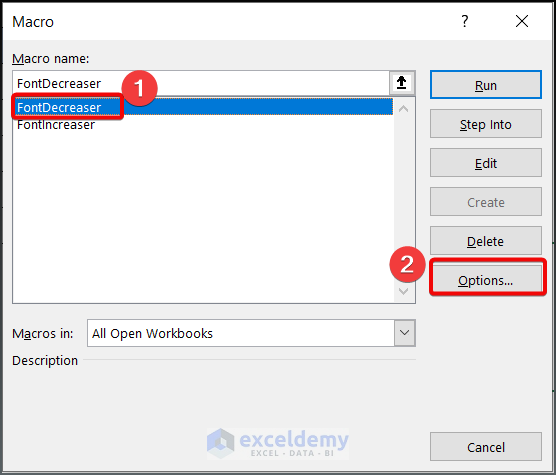
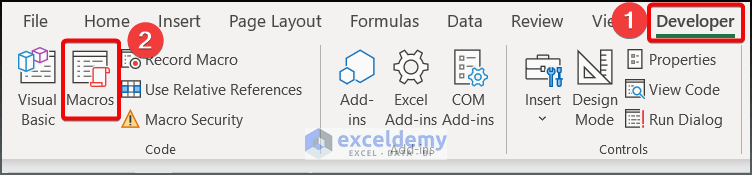 The Macro dialog box will be displayed with function names: FontDecreaser & FontIncreaser.
 - Select a function in Macro Name to decrease the font size. Here, FontDecreaser.
- Click Options…
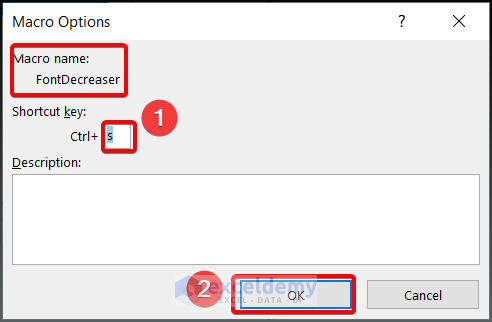
- Create your shortcut key in the Shortcut key section. Here, Ctrl+s.
- Click OK.
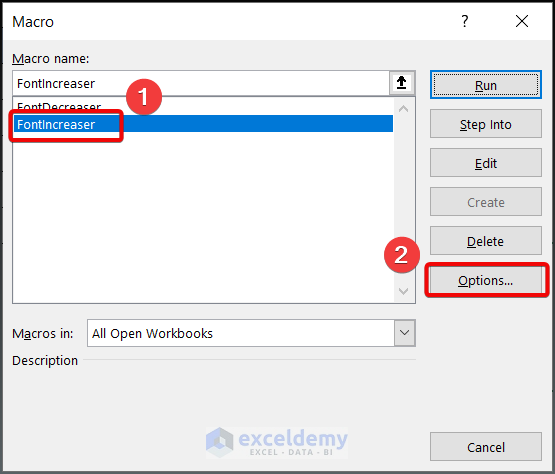
- Again, select a function in Macro Name to increase the font size. Here, FontIncreaser.
- Click Options.
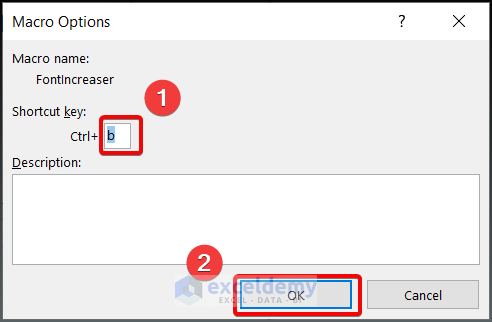
- Set another shortcut key to increase the font size. Here, Ctrl+b.
- Click OK.
- Choose the range to change the font.
- Press the customized shortcut keys to decrease or increase your font size.
Download Practice Workbook
Download the workbook and practice.
Frequently Asked Questions
How to increase font size in Excel for printing?
To increase the font size in Excel for printing, use the Page Setup dialog box.
- Go to the File tab > Print > No Scaling.
- Select Custom Scaling Options.
A Page Setup window will appear. In the scaling option, the default size is 100%, meaning the printed font size matches the size in Excel. - Enter 130%, for example.
- Click OK.
Related Articles
- How to Change Font in Excel for All Sheets
- How to Change Font Within Formula in Excel
- [Solved]: Font Changes Automatically in Excel
- [Fixed!] Excel Default Font Is Not Changing
- [Fixed!] Unable to Change Font Color in Excel
<< Go Back to Excel Fonts | Excel Cell Format | Learn Excel
Get FREE Advanced Excel Exercises with Solutions!
