Method 1- Using Font Option from Home Tab
We will change the font for the entire area of all sheets with the Font option from the Home tab:
- Open the first worksheet.
- Click on the top left square of the worksheet.
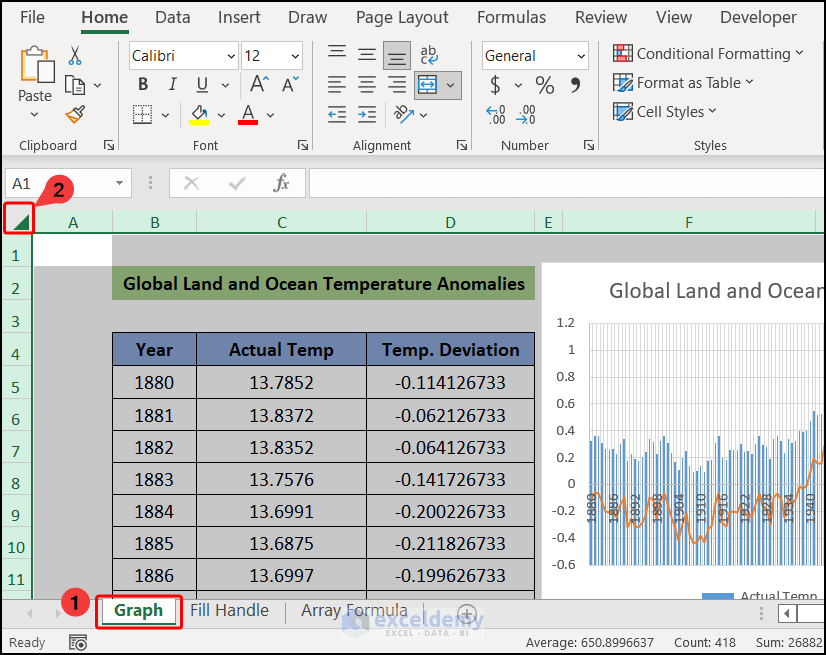
- Hold the Ctrl key and click on the Sheet Tabs.
Or, you can hold the Shift key and click on the last sheet tab to select all the sheets.

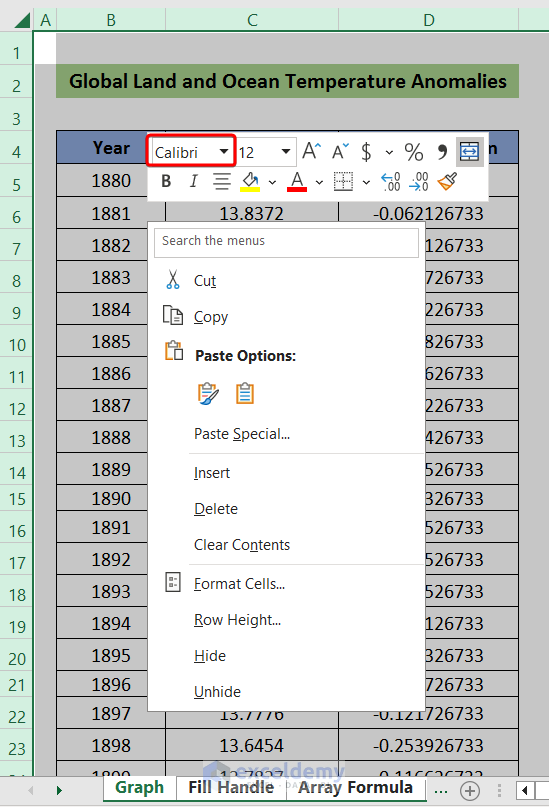
- Go to the Home tab > Font group > Font.
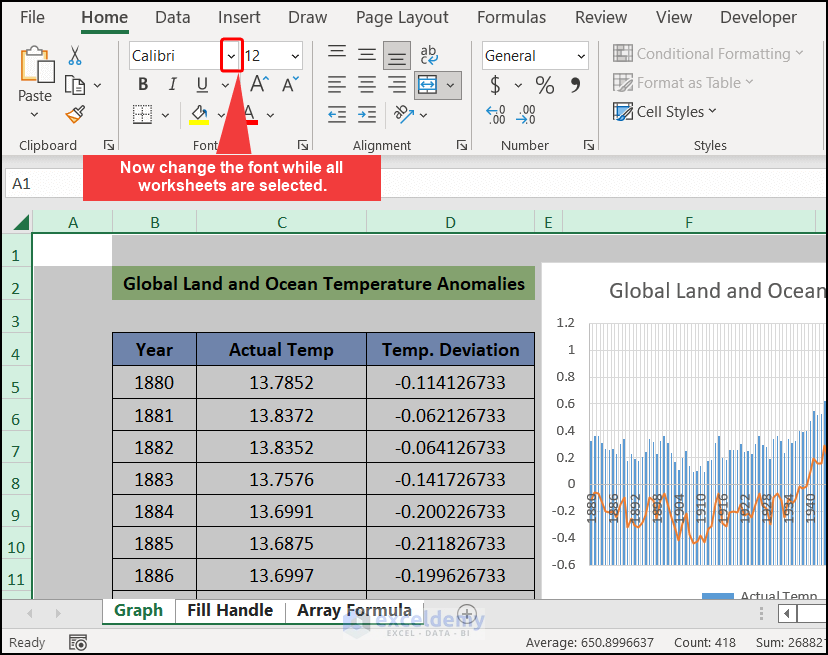
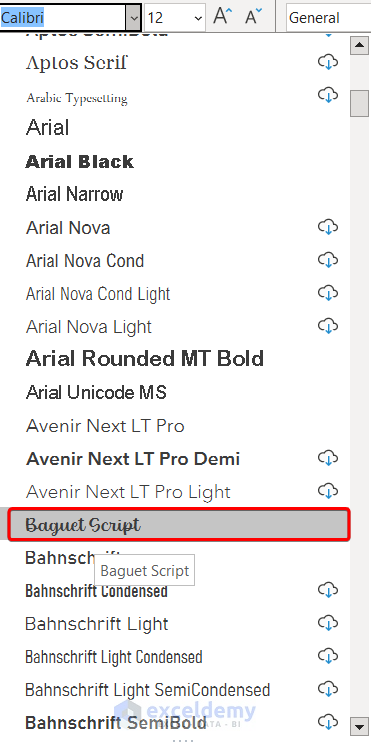
- Select a font.
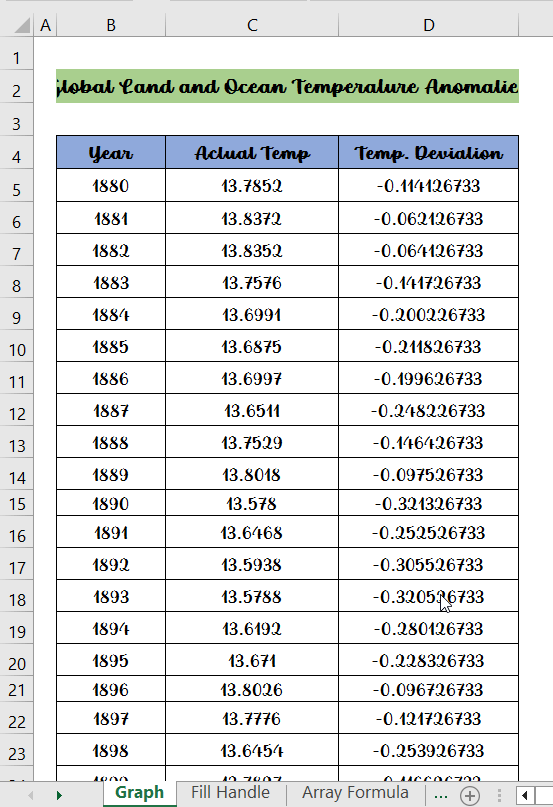
The font in all selected sheets will be changed.
Note
You can install a new font and restart Excel to have the installed font in the Font section.
Method 2 – Using Font Option from Context Menu
- Select the entire area.
- Select all the sheets from the sheet tab.
- Right-click on the mouse > Font.
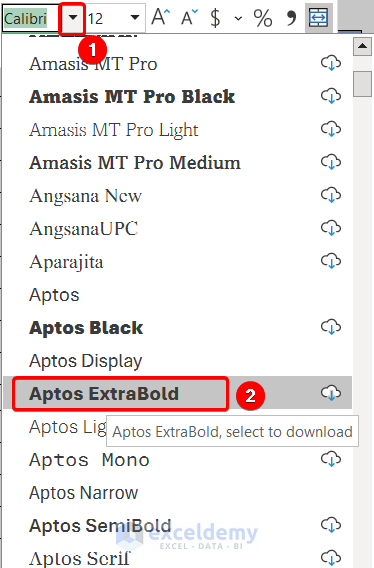
- Expand the Font drop-down.
- Select a font.
 You can change the font i for all sheets with the Font option from the Context Menu.
Method 3 – Using Theme Fonts Option from Page Layout Tab
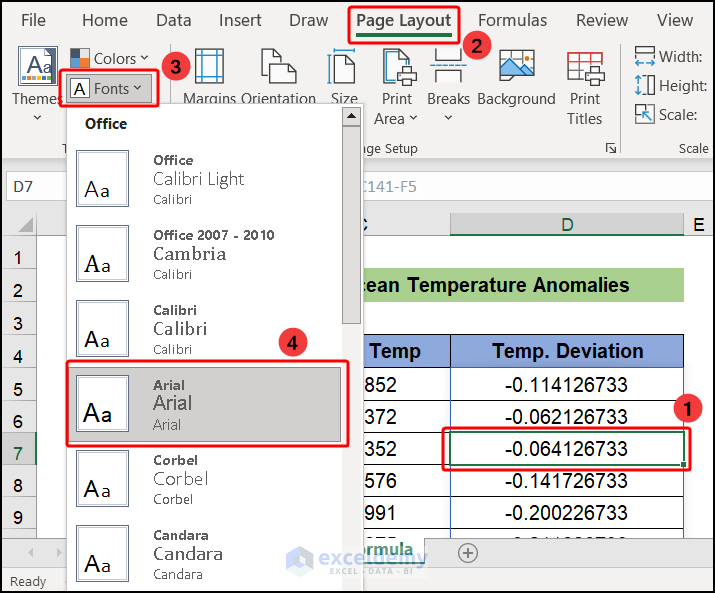
The Theme Font feature from the Page Layout tab changes the font of all the sheets in a workbook. We do not need to select the sheets separately.
- Go to the Page Layout tab > Themes group > Font.
- Pick a font from the available fonts.
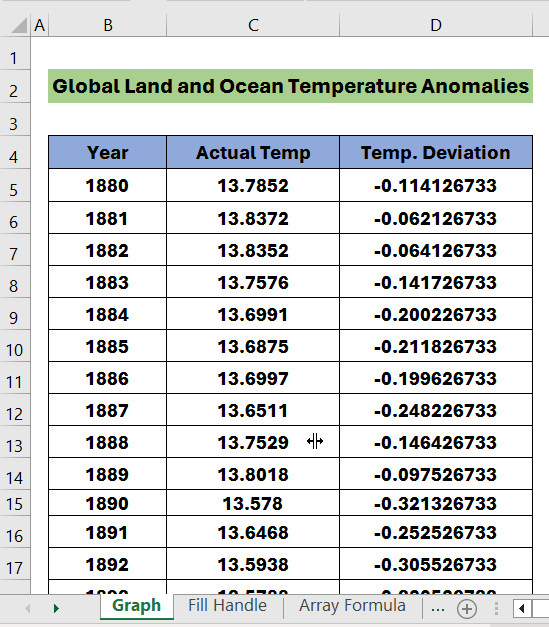
You’ll get the following output for all the sheets.
Note
You can not change the font of a certain cell or a range of cells with the Theme Font feature.
Read More: [Fixed!] Excel Default Font Is Not Changing
Method 4 – Using a VBA Code
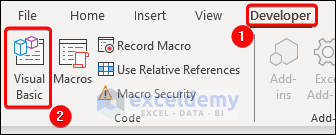
- Go to the Developer tab > Code group > Visual Basic to open Visual Basic Editor.
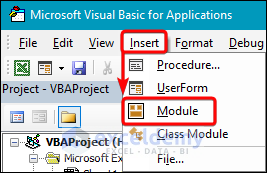
- Go to the Insert tab > Module.
- Copy and paste the following VBA code:
Sub ChangeFontforAllSheets() For Each Worksheet In Worksheets Worksheet.Activate ActiveSheet.UsedRange.Select Selection.Font.Name = "Raleway" Next End Sub - Click on Run.

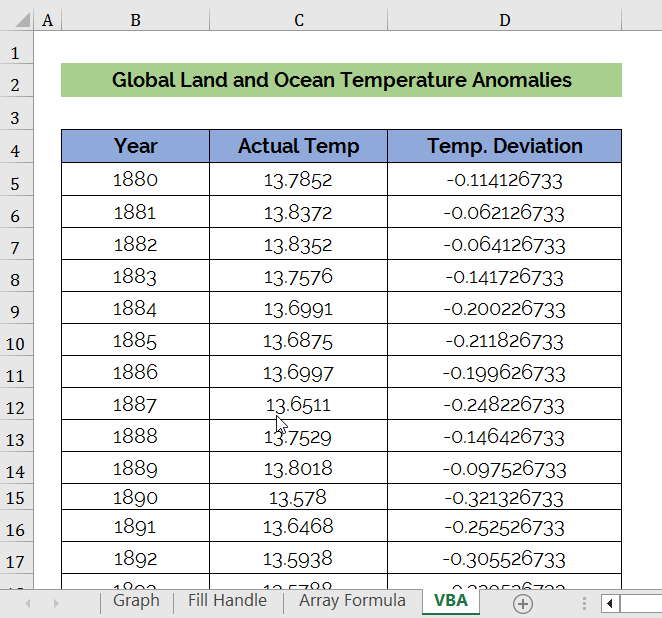
The font in all the sheets will be changed.
Note
If you don’t see the Developer tab in the ribbon, you have to enable the Developer tab from Excel Options.
Read More: How to Change Font Within Formula in Excel
Download Practice Workbook
Related Articles
- How to Change Font Size in Excel
- How to Increase Font Size for Printing in Excel
- [Solved!] Font Changes Automatically in Excel
- [Fixed!] Unable to Change Font Color in Excel
- How to Increase Font Size Using Keyboard in Excel
- How to Change Font in Excel to All Caps
<< Go Back to Excel Fonts | Excel Cell Format | Learn Excel
Get FREE Advanced Excel Exercises with Solutions!

Excellent! Thank you!
Hello Anneliesa,
You are most welcome. Thanks for your feedback, it means a lot to us.
Keep exploring Excel with ExcelDemy!
Regards,
ExcelDemy