Download Practice Workbook
Method 1 – Using the Excel Ribbon Options
- Select the cell containing the text you want to change.
- Click on the Down Arrow, next to the size box on the Format Bar.
- There are different text size options in ascending order. Choose your size.
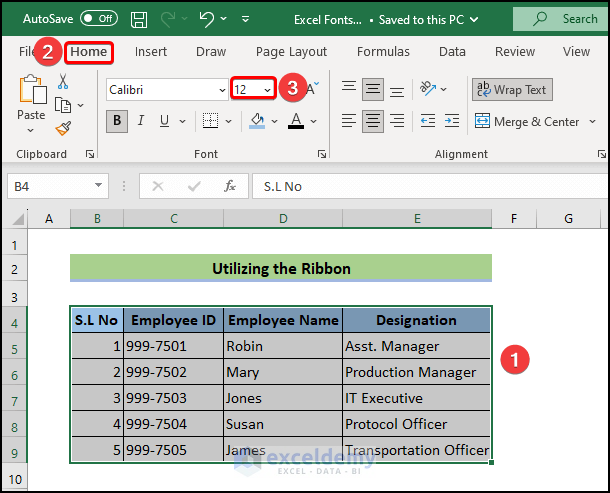
- We have chosen font size 10 and the result is shown below.

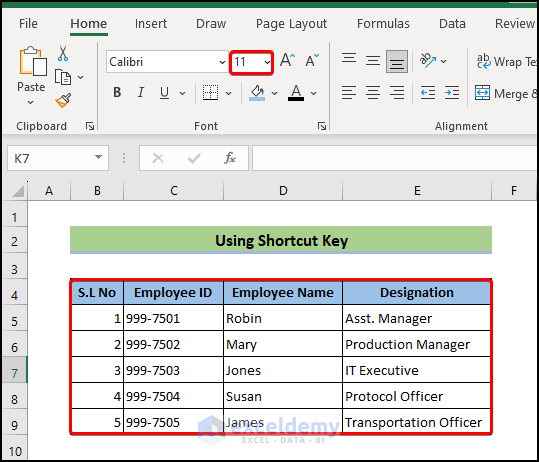
Method 2 – Using Shortcut Keys
- Select the cell.
- Press the Alt+H. The shortcut keys will appear on the Ribbon.
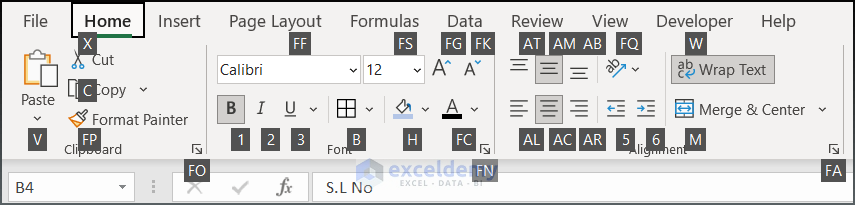
- Press the F+G keys on the keyboard to increase your font size using keyboard.
- Press the F+K keys to decrease your font size.
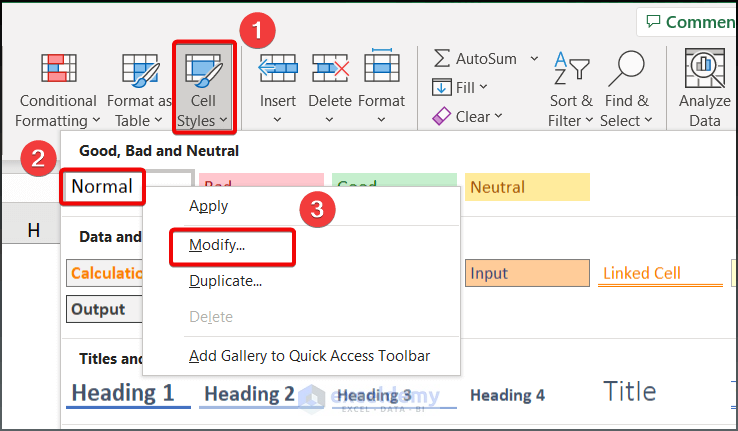
Method 3 – Using the Cell Styles Option
- Select Home > Cell Styles >
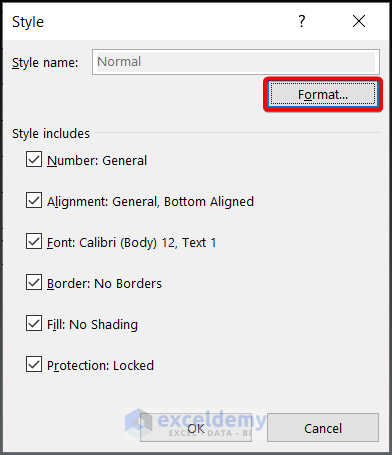
- Right-click on Normal and select Modify.
- Click on Format.
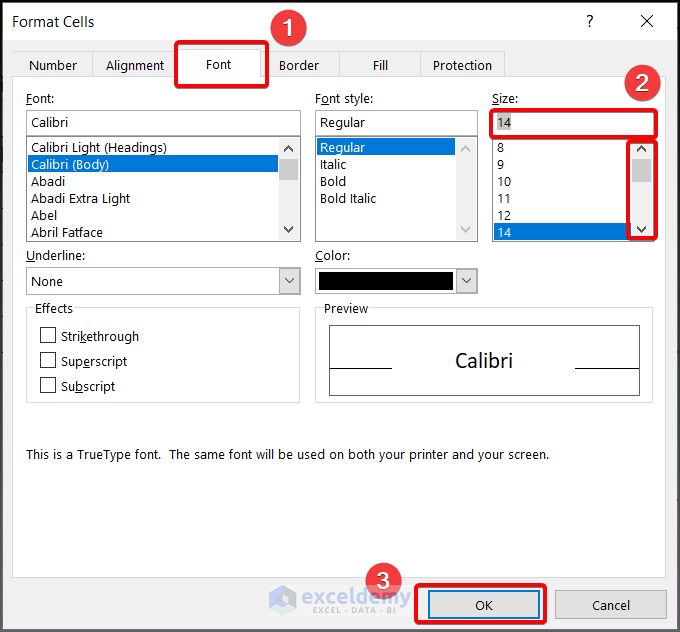
- Select the Font tab, and choose any of the font sizes. Press OK.
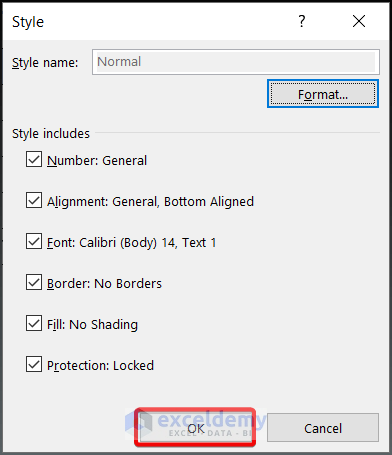
- The dialogue box will disappear.Press OK.
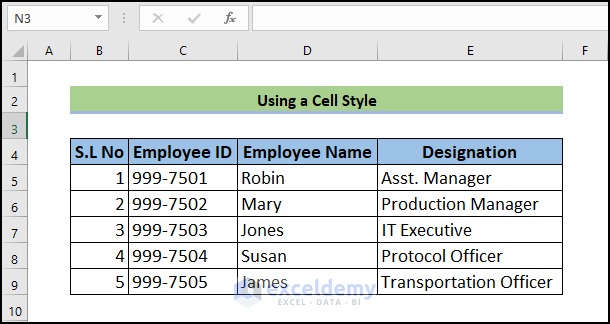
- The image below is the output with a font size of 14.
How to Change Font Style in Excel
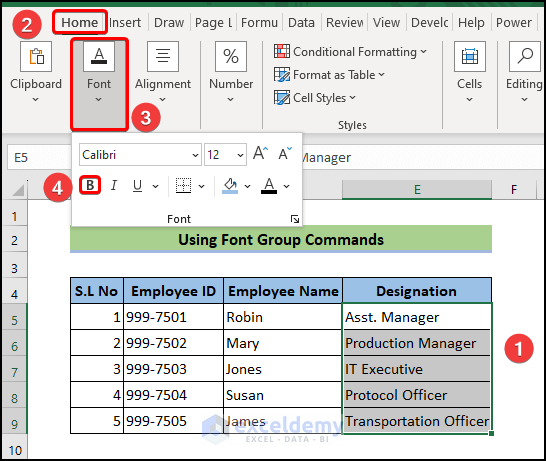
Method 1 – Configure Font Style Through Font Group Commands
- Select the range of cells. Click the Home tab, followed by the Font
- The Font Group Commands bar will open, tap B to bold the selected values.
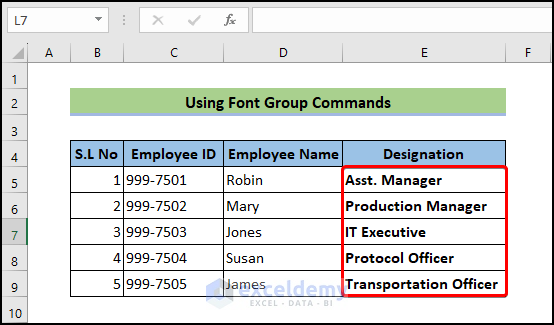
- The result will be as shown below.
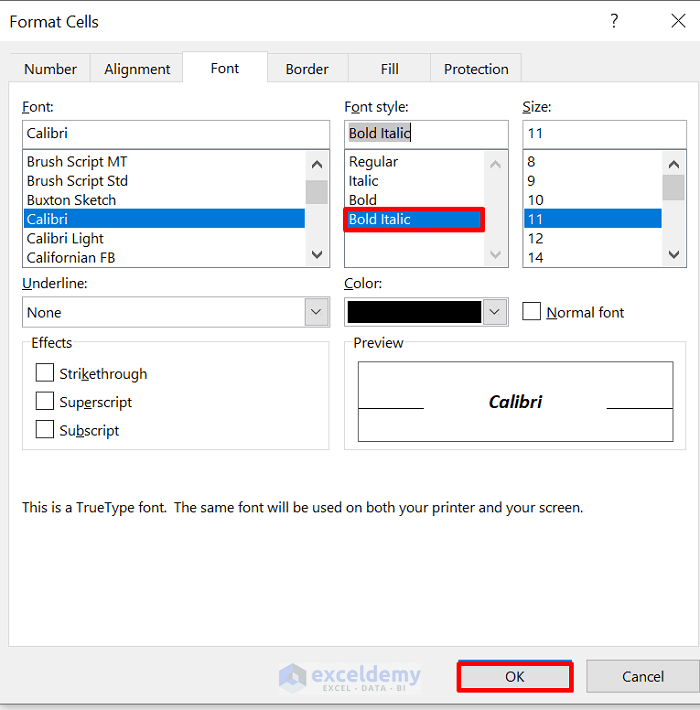
Method 2 – Use the Font Setting Icon to Change the Font Style in Excel
- Select the range E5 to Go to the Home tab and click the Font Settings icon.
![]()
- The Format Cells window will pop up, choose Bold Italic and later hit OK.
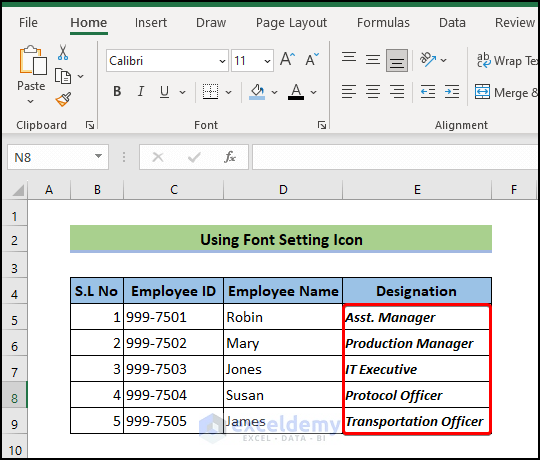
- The result will be as shown in the image below.
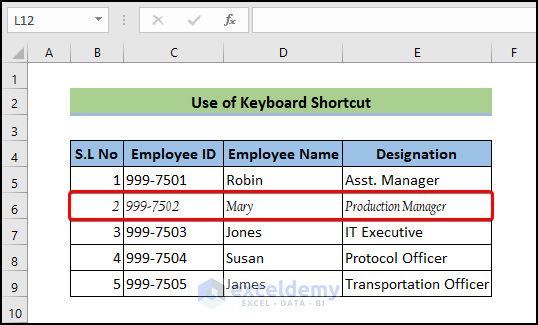
Method 3 – Customize Font Style with a Keyboard Shortcut
- Choose the range from B6 to E6.
- Press Ctrl+1 or Ctrl+Shift+F, the Format Cells dialog box will open.
- Choose Californian FB and Italic. Click OK.

- The result is as shown below.
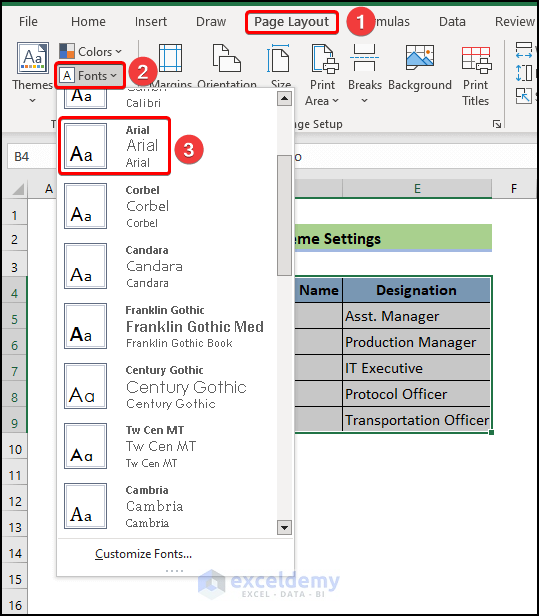
Method 4 – Modify Font from the Excel Theme Settings
- Navigate to Page Layout to get Themes Groups.
- Go to the Font icon and click Axial.
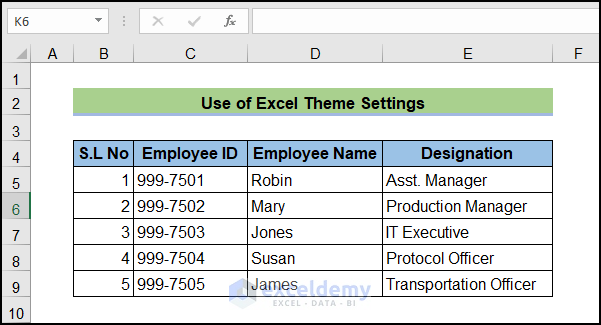
- The result will be as shown below.
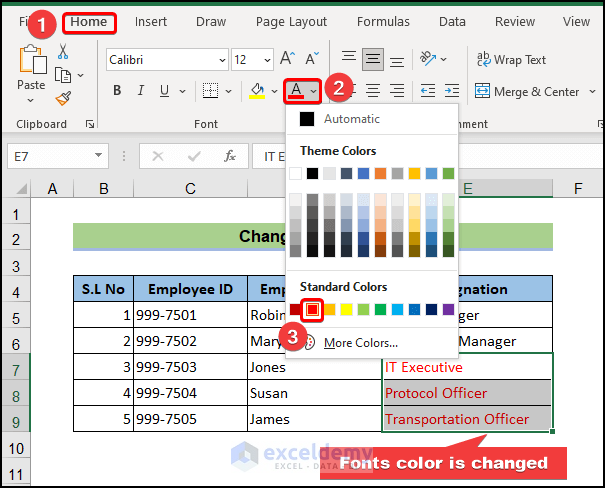
How to Change Font Color in Excel
- Select the range of cells, go to the Home tab and select the Font Color
- Choose the color.
- The color of your selected cells will change, as shown below.
How to Change Font Case Using Formulas in Excel
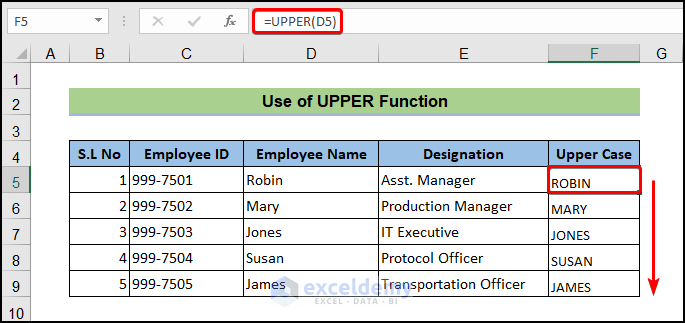
Method 1 – Insert UPPER Function to Change Font to All Caps
- Enter the following formula in cell F5.
=UPPER(D5)- The UPPER function converts D5 texts into upper case.
- Press Enter and Autofill the other cells by dragging F5
- The text fonts are in all caps.
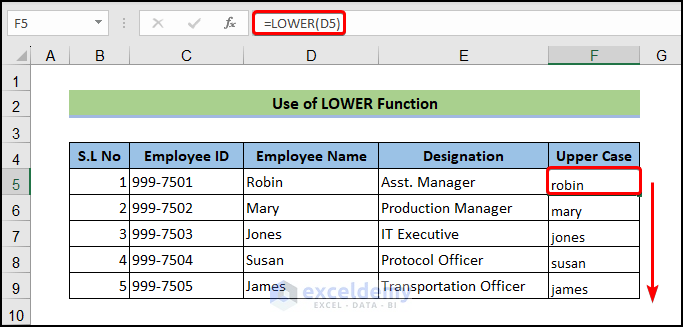
Method 2 – Insert LOWER Function to Change Font to All Lowercase
- Enter the following formula in cell F5.
=LOWER(D5)- The LOWER function converts D5 texts into lowercase.
- Press Enter and Autofill the other cells by dragging F5 down.
- The text fonts are in lowercase.
Changing Fonts for All Sheets by Using the Themes Option of Page Layout Ribbon
- Go to the Page Layout ribbon and select the “Fonts” menu in the Themes section.
- We have selected Arial.
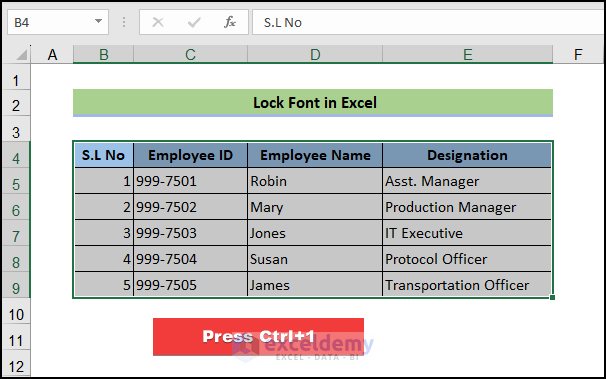
How to Lock Font in Excel
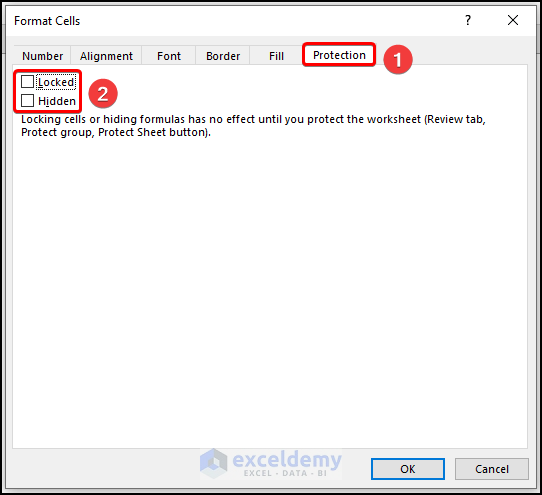
- Select the range of cells as shown below and press Ctrl+1 to open up the Format Cells dialog box.
- Uncheck Locked and Hidden and click OK.
- Click Review > Protect Sheet.
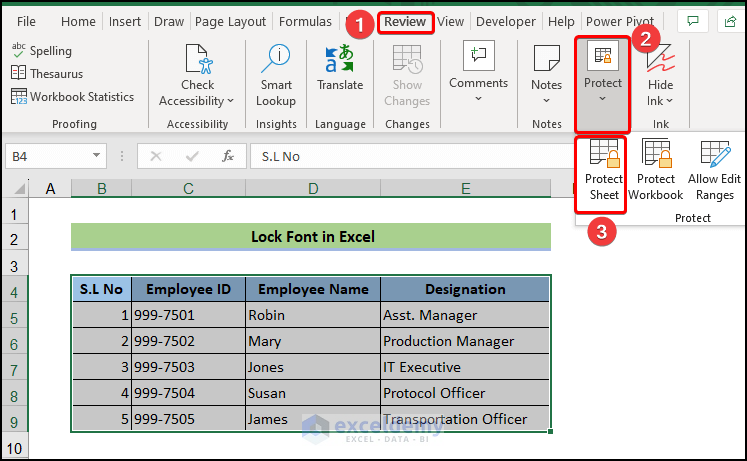
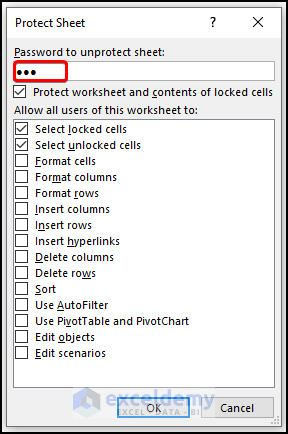
- Set a password and check Select locked cells and Select unlocked cells in the Protect Sheet option.
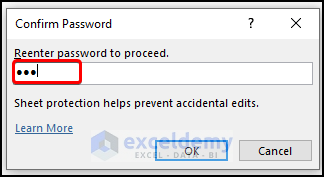
- In the Confirm Password pop up, we have reentered and protected the sheet.
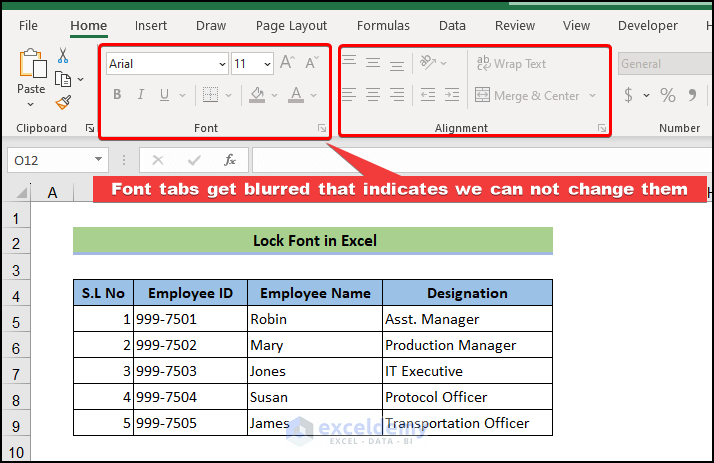
- We can see that the Font and other sections of the Ribbon are grayed out, which indicates we have locked the font options for the selected range.
- We have locked down the data from further styling changes.
Things to Remember
- You can utilize cell styles to change the default font in the existing Excel workbook.
- If you cannot find your preferred font, you can use Customized Fonts to create your own font style.
- You can change font style through Excel VBA.
- You can modify from the font group and change from the format cells dialog box when the default font is not changing in Excel.
Excel Fonts: Knowledge Hub
- Change Font Within Formula in Excel
- Increase Font Size for Printing
- [Solved] Font Changes Automatically in Excel
- [Fixed!] Unable to Change Font Color in Excel
<< Go Back to Excel Cell Format | Learn Excel
Get FREE Advanced Excel Exercises with Solutions!
