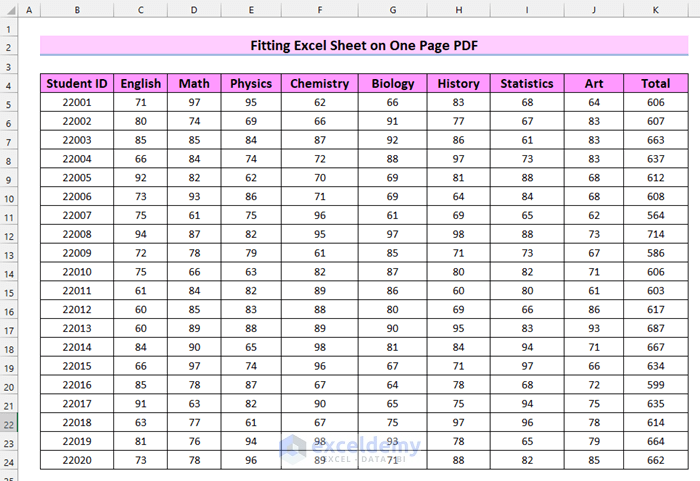
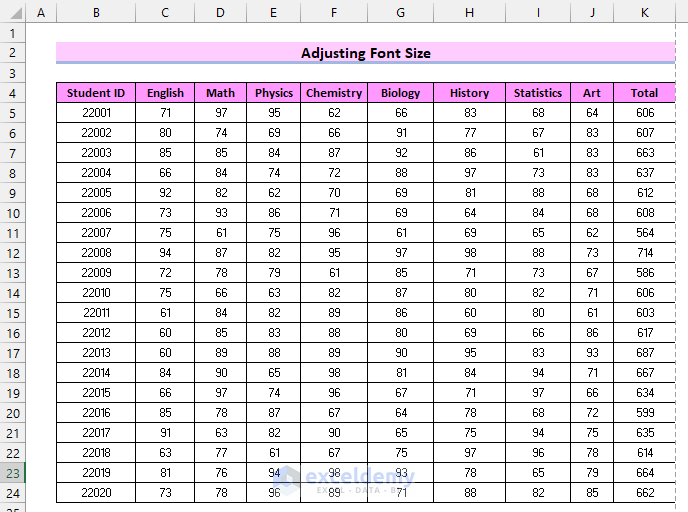
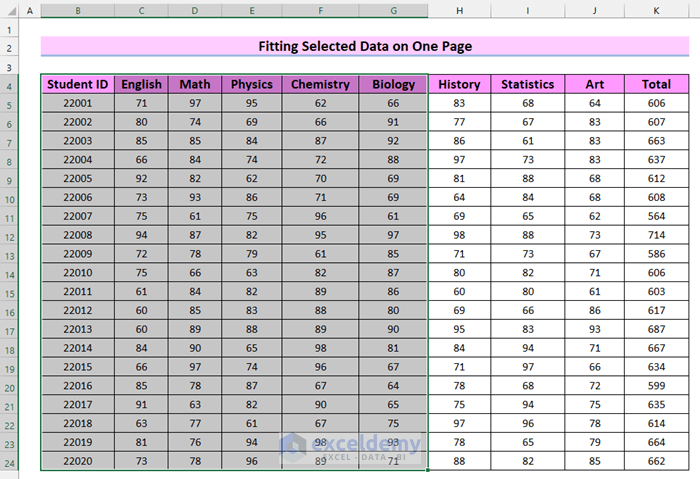
The dataset is a Marksheet of 20 students.
Method 1 – Using the Page Setup Feature to Fit an Excel Sheet on One PDF Page
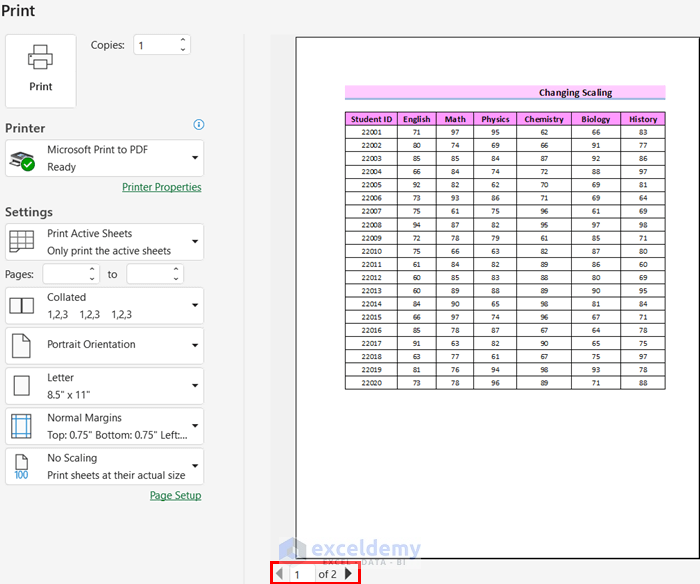
Step 1: Checking If It Fits on One Page
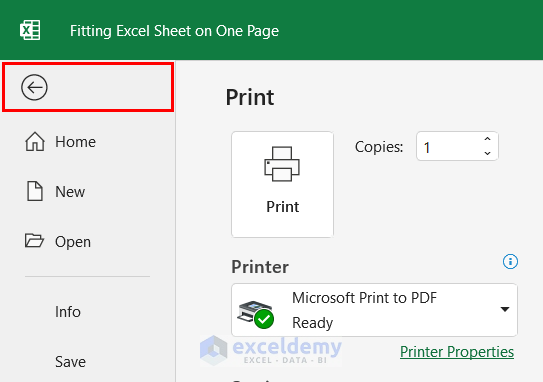
- Go to the File tab.

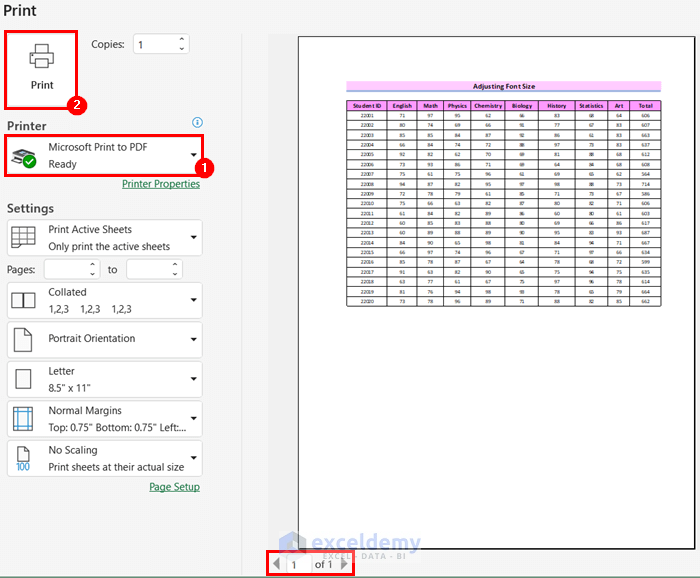
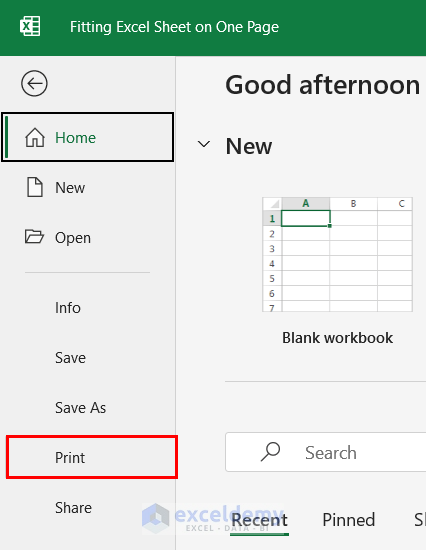
- Select Print.

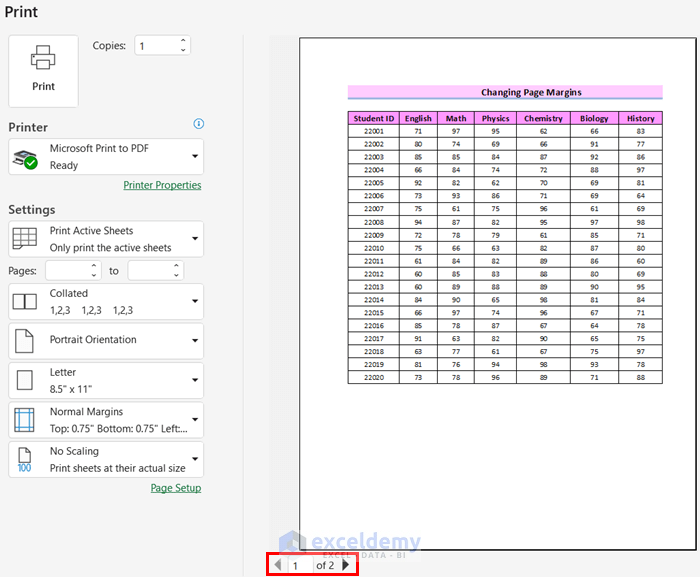
In Print Preview, you will be able to see the number of pages. Here, 2 pages.

- Click back.
Step 2: Fitting the Excel Sheet on One Page
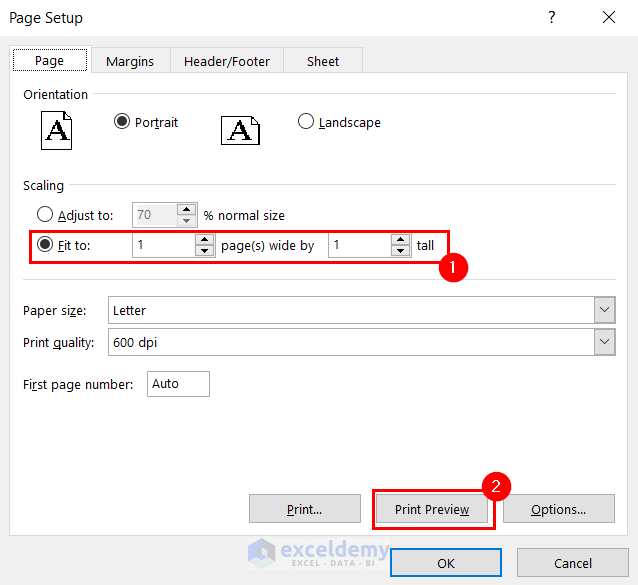
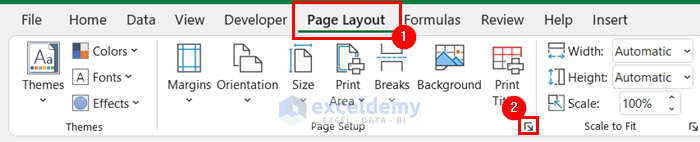
- Go to the Page Layout tab.
- Select the dialog box in Page Setup.

- Select Fit to: 1 page(s) and wide by 1 tall.
- Select Print Preview.
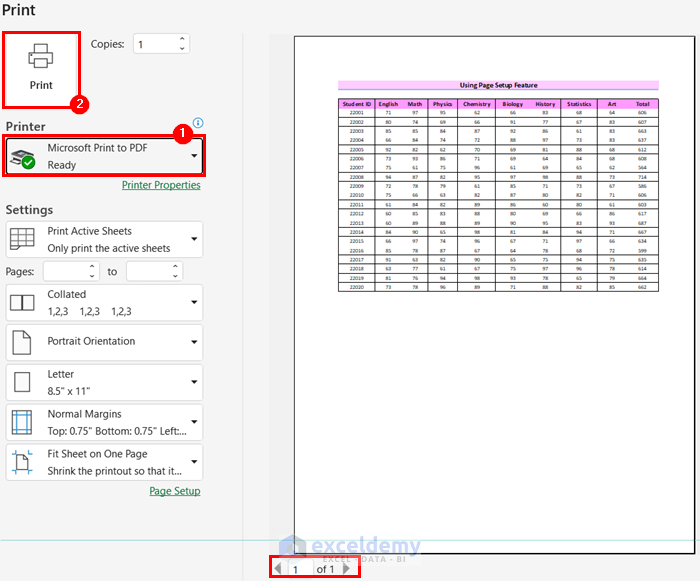
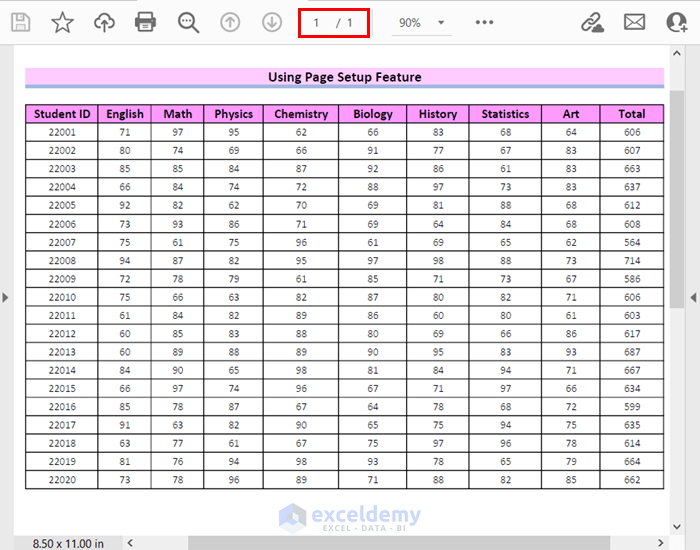
In the preview, you can see that the dataset fits on one page PDF.
- Select Microsoft print to PDF in Printer.
- Select Print to save your Excel sheet as a PDF.
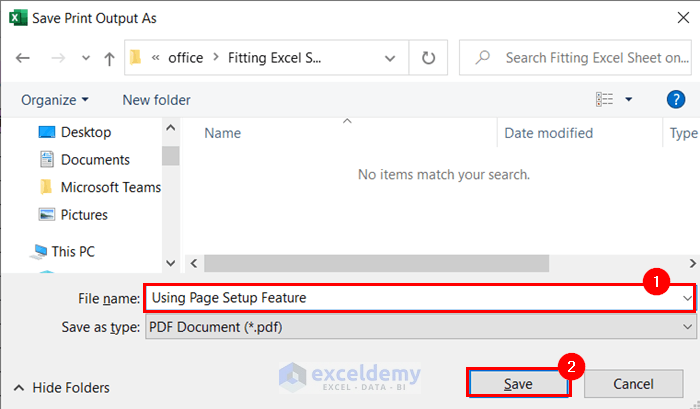
In the Save Print Output as dialog box:
- Enter the File name.
- Select Save.
This is the output.
Read More: How to Fit Excel Sheet on One Page in Word
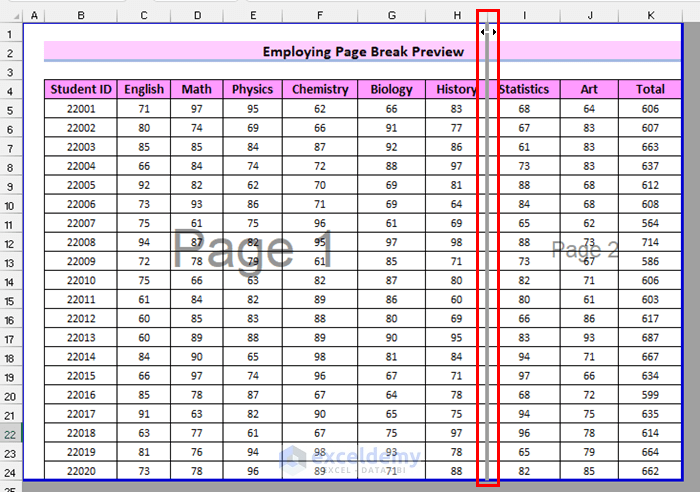
Method 2 – Using the Page Break Preview Feature to Fit an Excel Sheet on One Page
Steps:
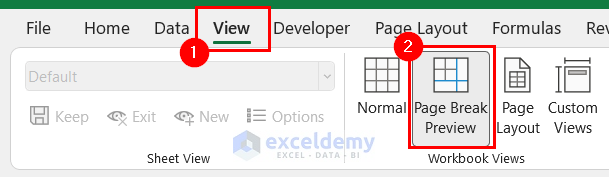
- Go to the View tab.
- Select Page Break Preview.
You will see the Page Break Preview. Here, you will be able to see the number of pages.
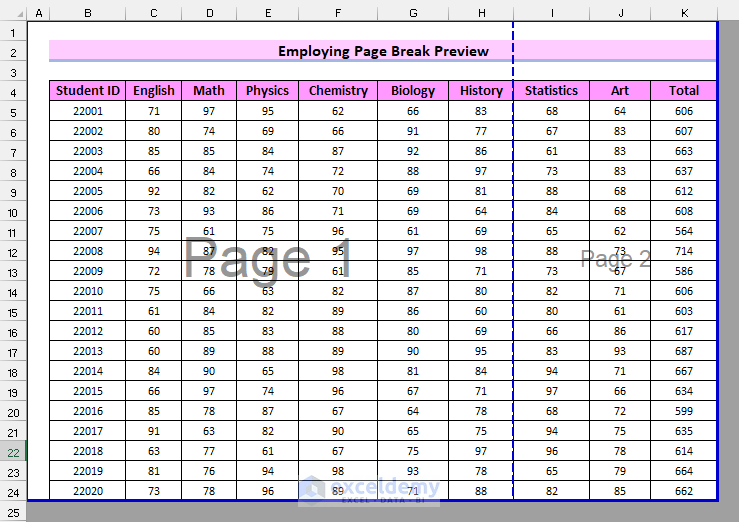
- Select and drag the Page Border to the border of your dataset to fit it on one page PDF.
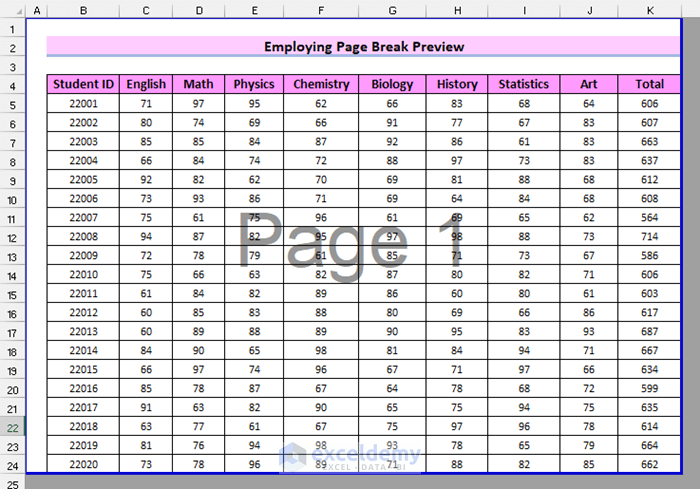
This is the output.
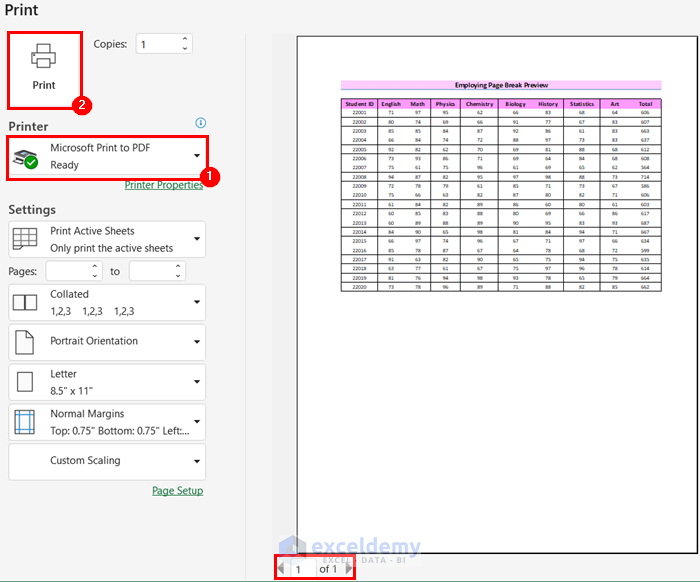
- Go to Print Preview.
- Select Microsoft print to PDF in Printer.
- Select Print to save your Excel sheet as a PDF.
Follow the procedure described in Step 2, Method 1 to save the PDF.
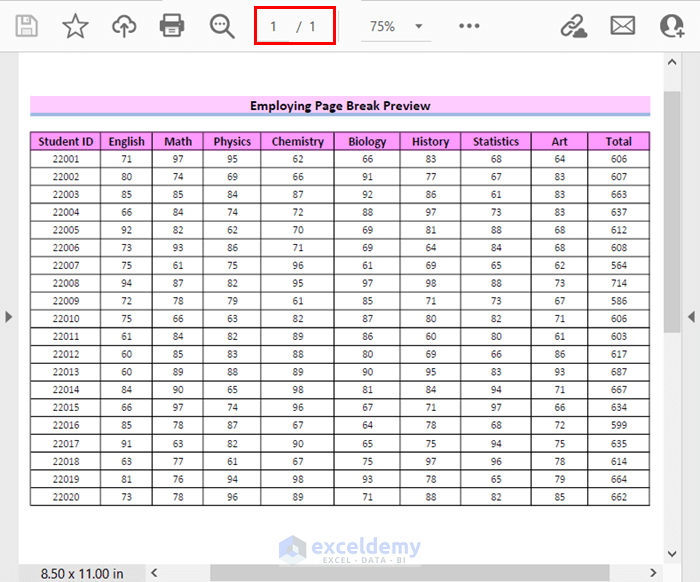
This is the output.
Read More: How to Fit to Page in Excel
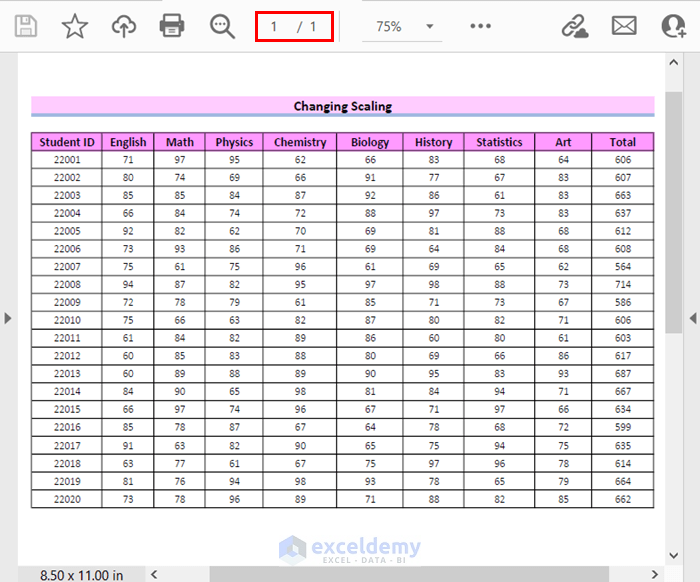
Method 3 – Change Scaling to Fit an Excel Sheet on One Page PDF
Steps:
- Follow the procedure described in Step 1, Method 1. The PDF has 2 pages.
- Go back to your worksheet.
- Go to the File tab.

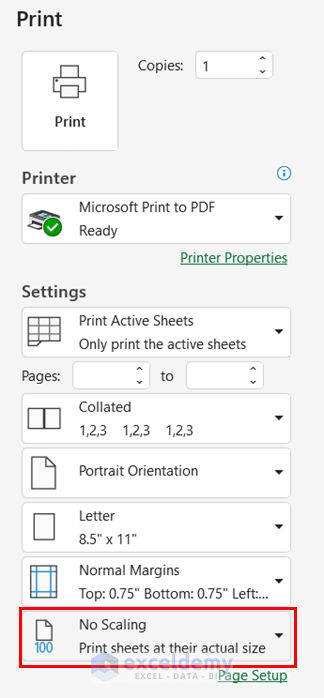
- Select Print.

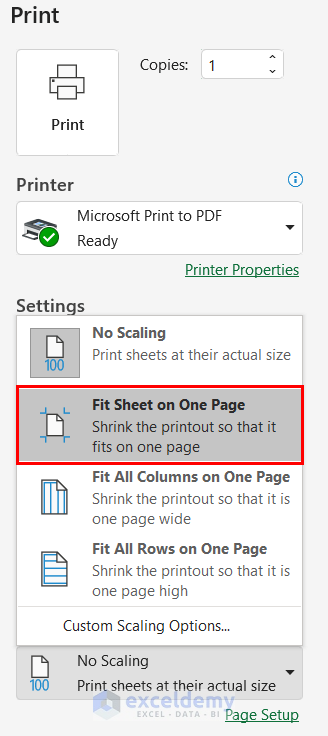
- Select Scaling in Settings.
- Choose Fit Sheet on One Page.
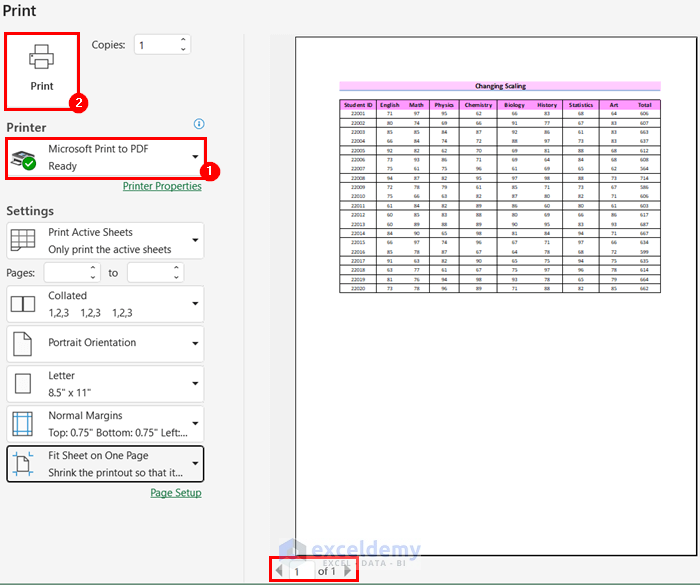
This is the output.
- Select Microsoft print to PDF in Printer.
- Select Print to save your Excel sheet as a PDF.
- Follow the procedure described in Step 2, Method 1 to save the PDF.
This is the output.
Read More: How to Change the Printing Scale So All Columns Will Print on a Single Page
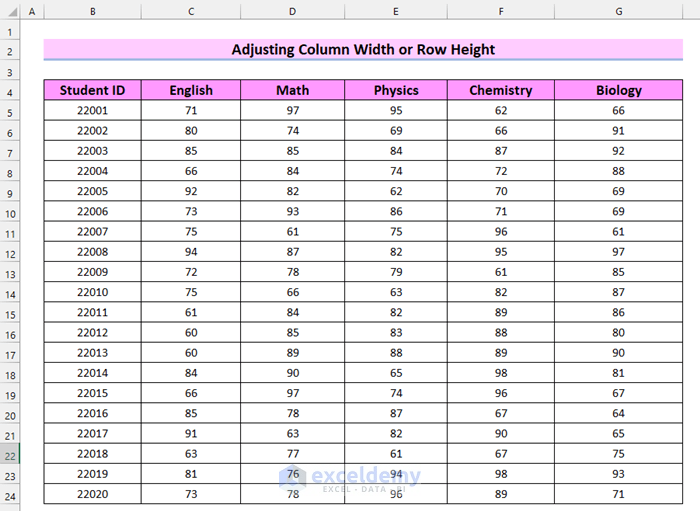
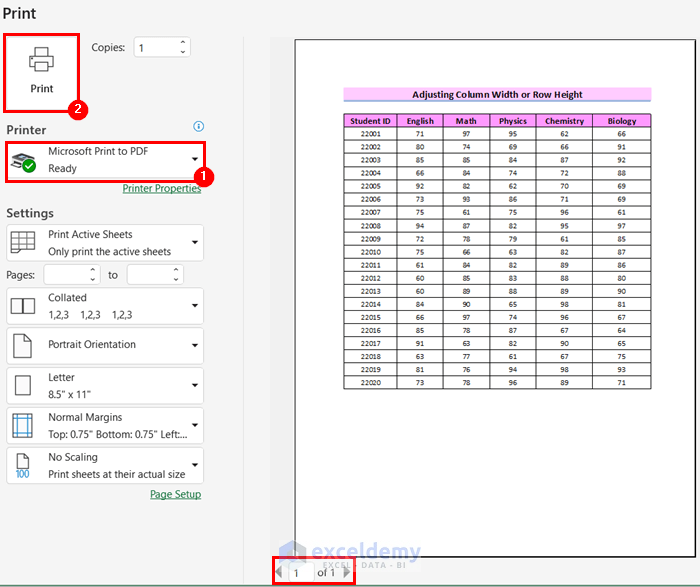
Method 4 – Adjusting Column Width or Row Height to Fit an Excel Sheet on One PDF Page
Consider the dataset below.
Steps:
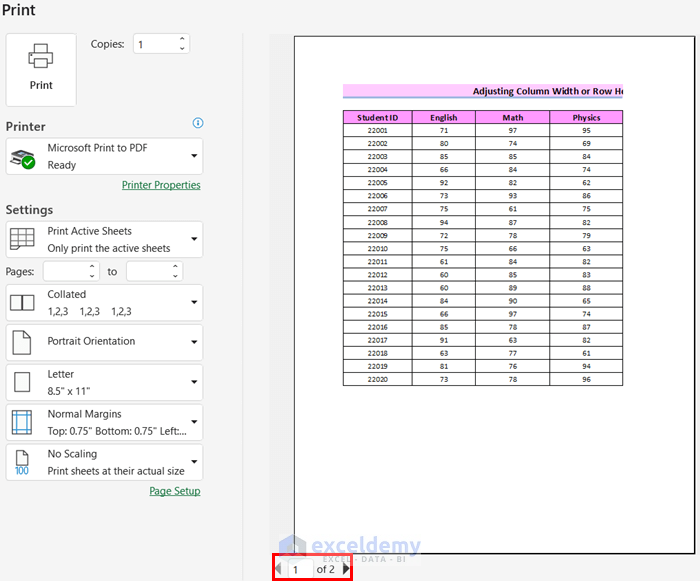
- In Print Preview follow the procedure described in Step 1, Method 1. The PDF has 2 pages.
- Go back to your worksheet.
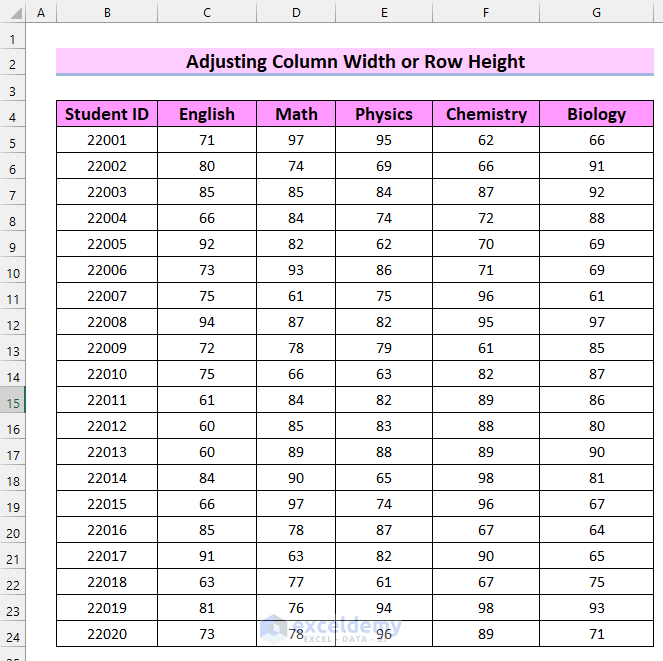
- Adjust the column width.
- Go to print preview.
- Select Microsoft print to PDF in Printer.
- Select Print to save your Excel sheet as a PDF.
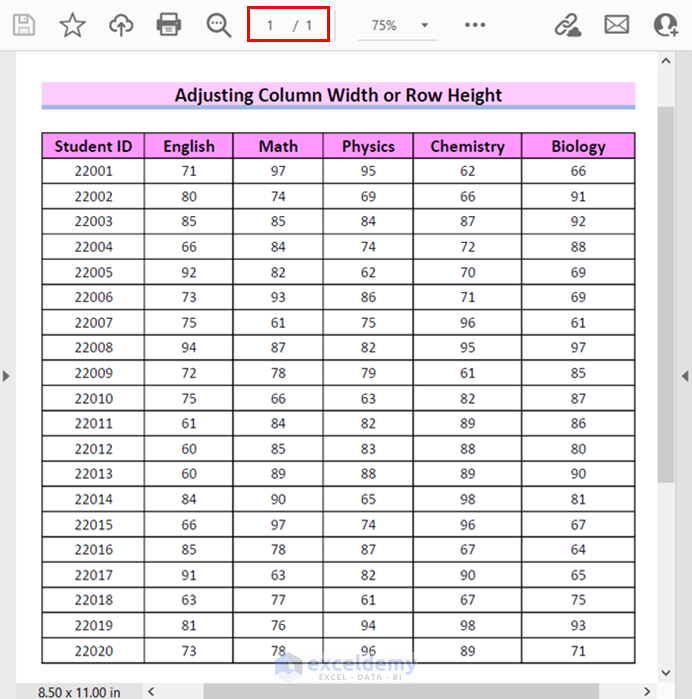
Follow the procedure described in Step 2, Method 1 to save the PDF.
This is the output.
Read More: How to Fit All Columns on One Page in Excel
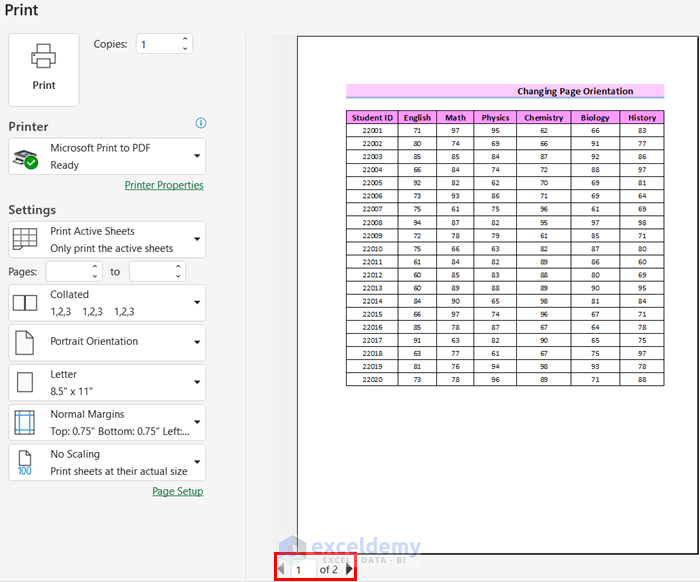
Method 5 – Changing Page Orientation to Fit an Excel Sheet on One PDF Page
Steps:
- In Print Preview follow the procedure described in Step 1, Method-1. The PDF has 2 pages.
- Go back to your worksheet.
- Select Page Layout.
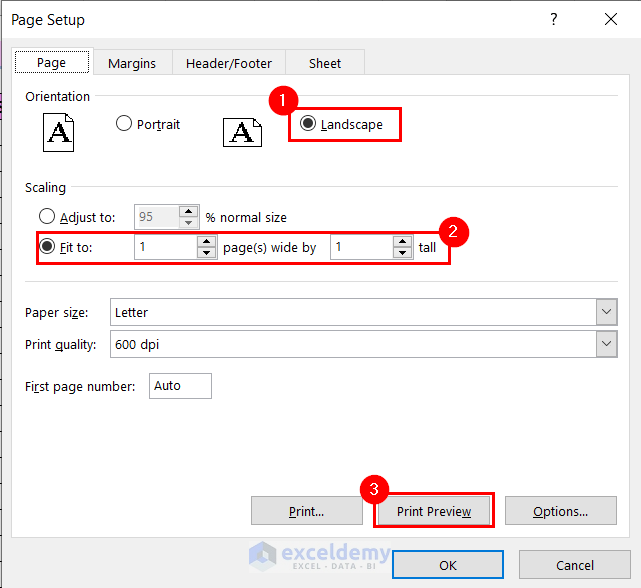
- Select the dialog box in Page Setup.
In the Page Setup dialog box:
- Select Landscape as Orientation.
- Select Fit to 1 page(s) and wide by 1 tall.
- Select Print Preview.
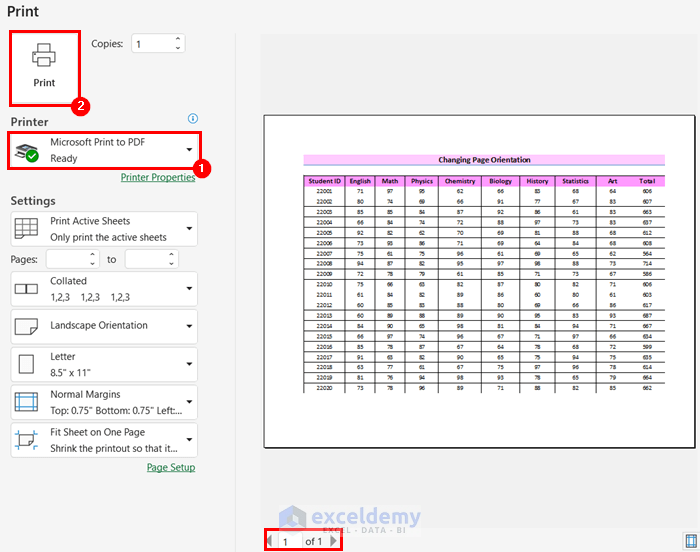
In the Print Preview, you will see that the PDF fits on one page.
- Select Microsoft print to PDF in Printer.
- Select Print to save your Excel sheet as a PDF.
Follow the procedure described in Step 2, Method 1 to save the PDF.
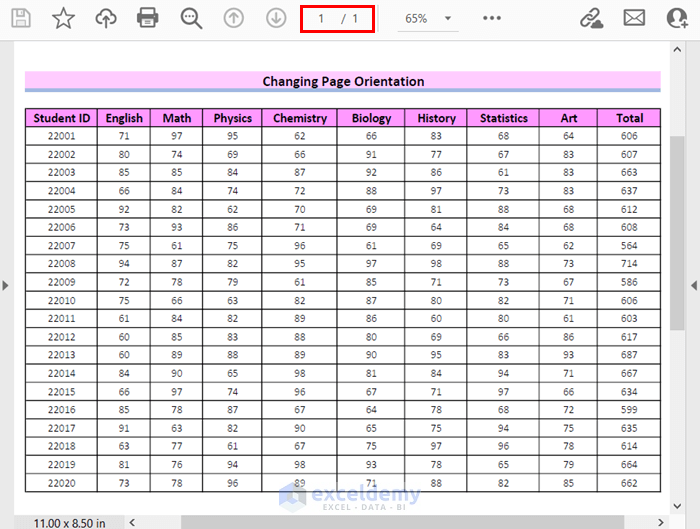
This is the output.
Read More: How to Stretch Excel Spreadsheet to Full Page Print
Method 6 – Adjusting the Font Size to Fit an Excel Sheet on one page
Steps:
- In Print Preview follow the procedure described in Step 1, Method 1. The PDF has 2 pages.
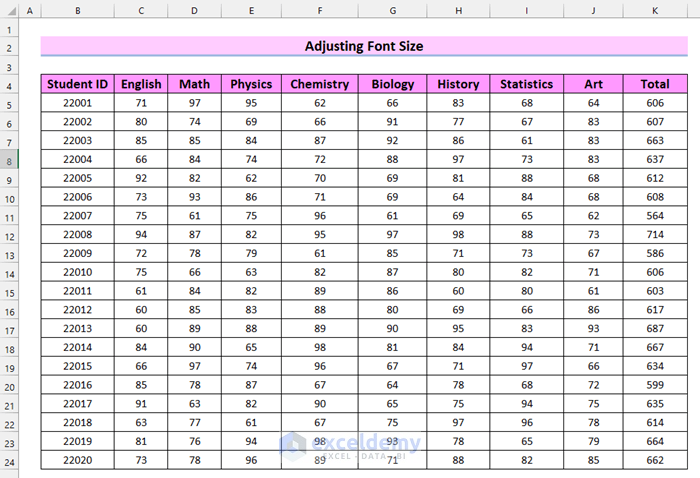
- Go back to your worksheet.
- Adjust the Font Size.
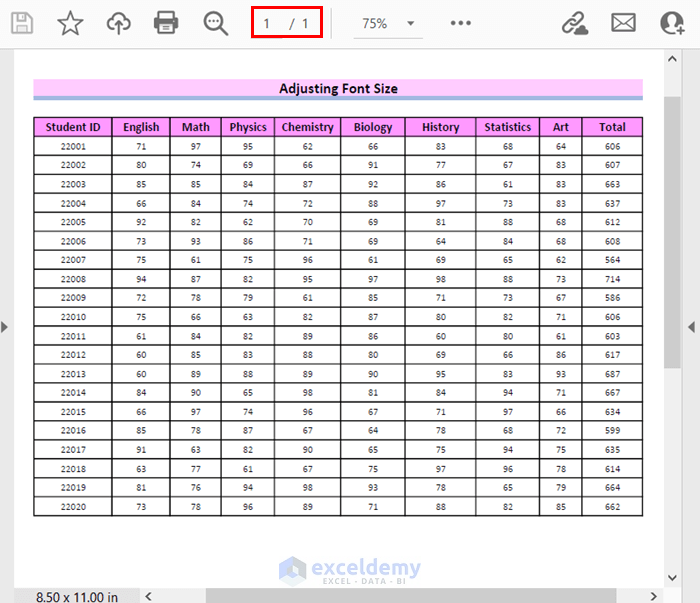
- Go to the Print Preview. The PDF has 1 page.
- Select Microsoft print to PDF in Printer.
- Select Print to save your Excel sheet as a PDF.
Follow the procedure described in Step 2, Method 1 to save the PDF.
This is the output.
Read More: How to Add Paper Size in Excel
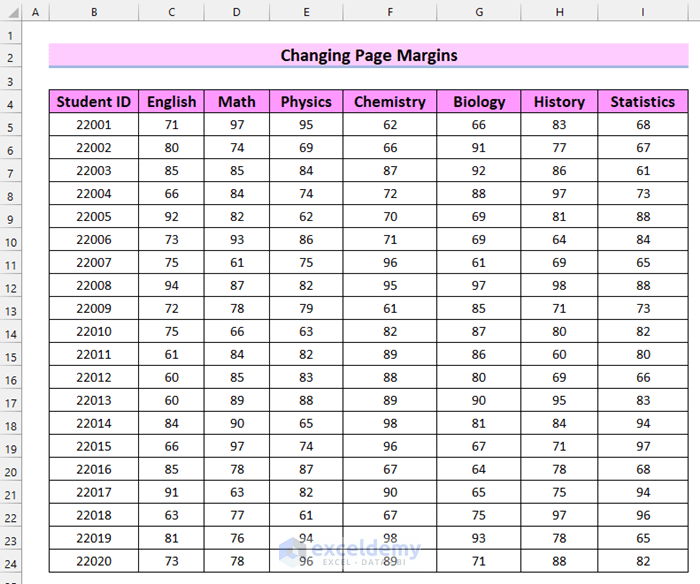
Method 7 – Change the Page Margins to Fit an Excel Sheet on One Page PDF
Steps:
- In Print Preview follow the procedure described in Step 1, Method 1. The PDF has 2 pages.
- Go back to your worksheet.
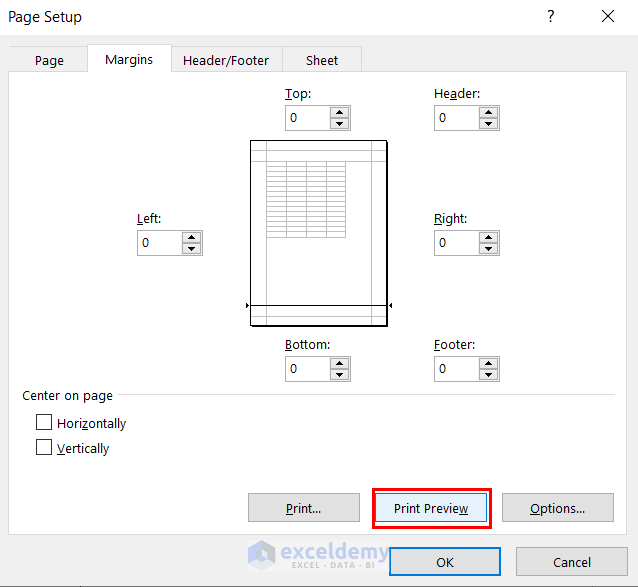
- Go to Page Layout.
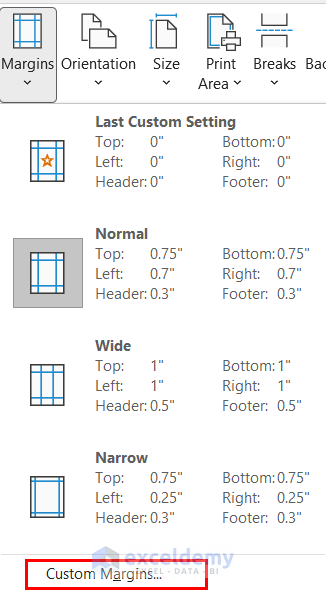
- Select Margins.
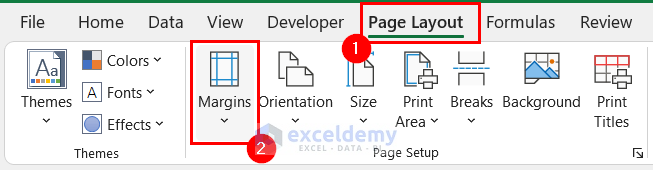
- Choose Custom Margins.
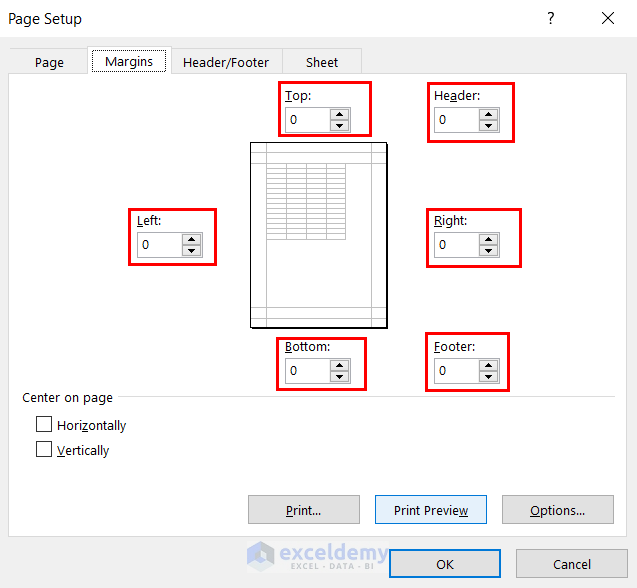
- In the dialog box, set the Margins. Here, 0.
- Select Print Preview.
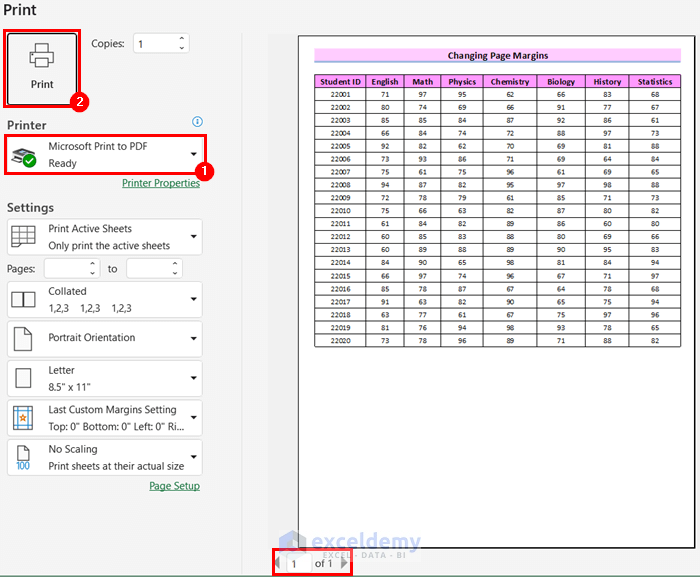
In the Print Preview you will see that the PDF fits on one page.
- Select Microsoft print to PDF in Printer.
- Select Print to save your Excel sheet as a PDF.
Follow the procedure described in Step 2, Method 1 to save the PDF.
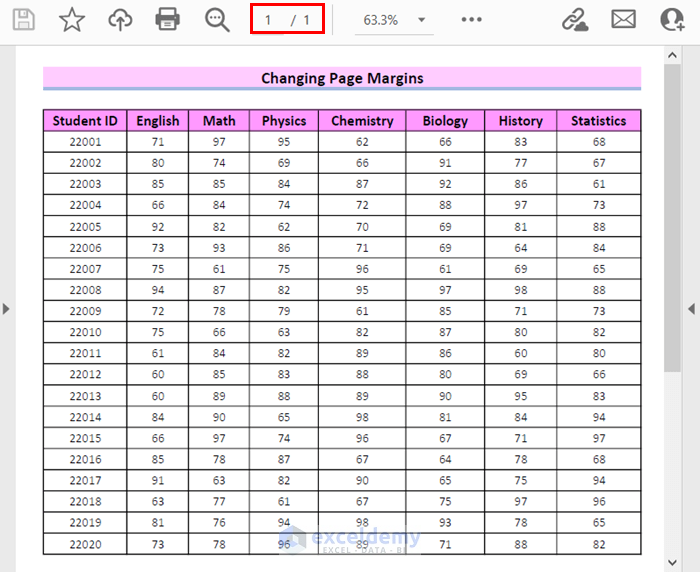
This is the output.
Read More: How to Adjust Page Size for Printing in Excel
Method 8 – Hiding Rows/Columns to Fit an Excel Worksheet on One PDF Page
Steps:
- In Print Preview follow the procedure described in Step 1, Method 1. The PDF has 2 pages.
- Go back to your worksheet.
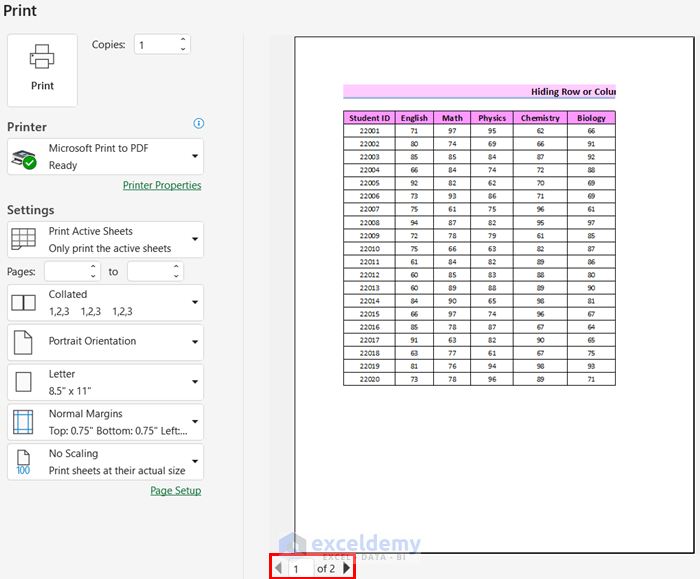
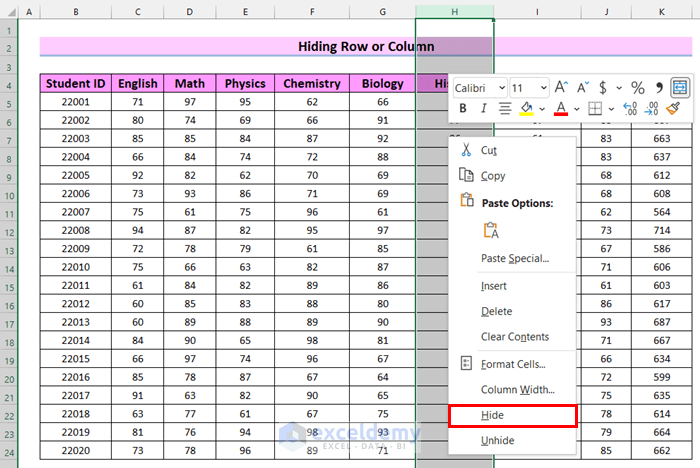
- Choose the columns to hide.
- Right-click the column.
- Select Hide.
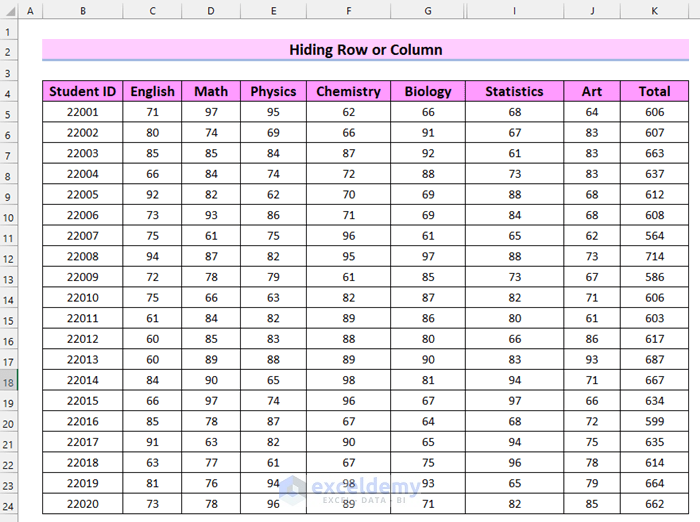
This is the output.
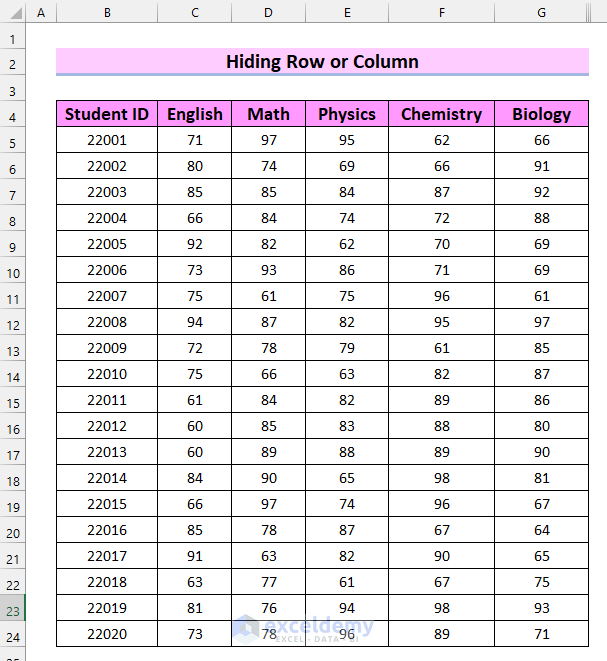
- Hide other columns. Here, columns H to K.
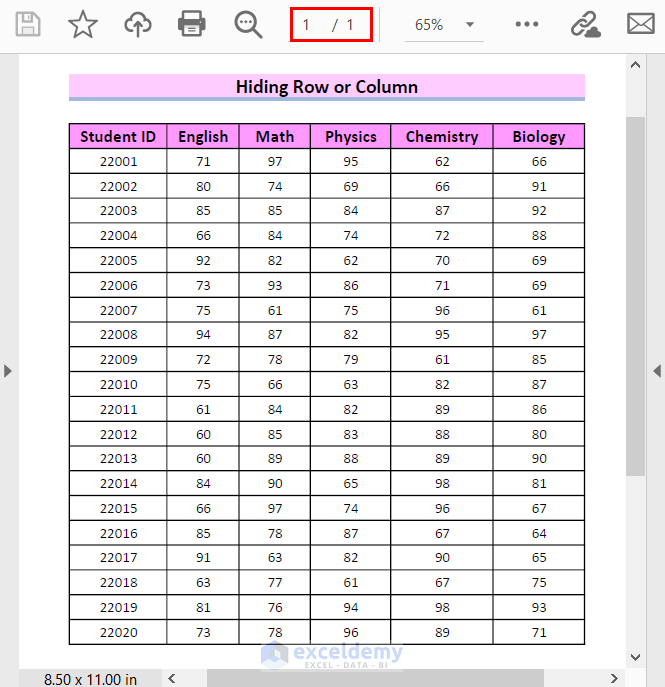
- Go to print preview. The PDF has 1 page.
- Select Microsoft print to PDF in Printer.
- Select Print to save your Excel sheet as a PDF.

- Follow the procedure described in Step 2, Method 1 to save the PDF.
This is the output.
Read More: Excel Fit to Page Scale/Preview Looks Small
How to Fit Only the Selected Data from an Excel Sheet on a PDF
Steps:
- Select the data.
- Go to the File tab.
- Select Print.
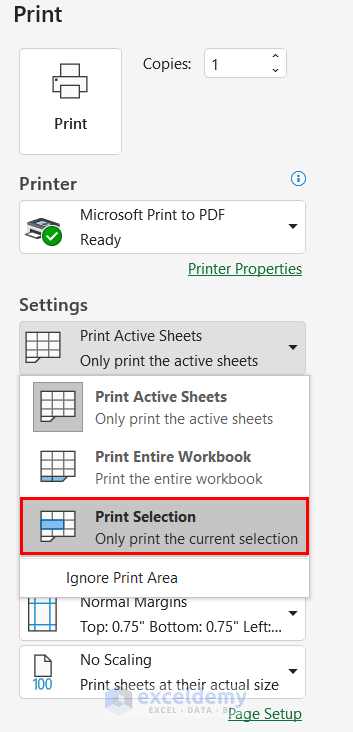
- Click the marked drop-down option.
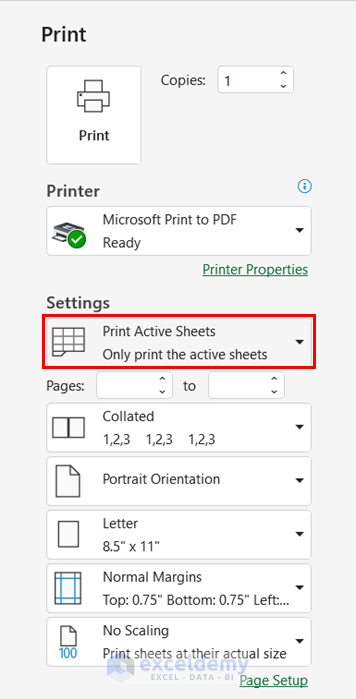
- Choose Print Selection.
- Select Microsoft print to PDF in Printer.
- Select Print to save your Excel sheet as a PDF.
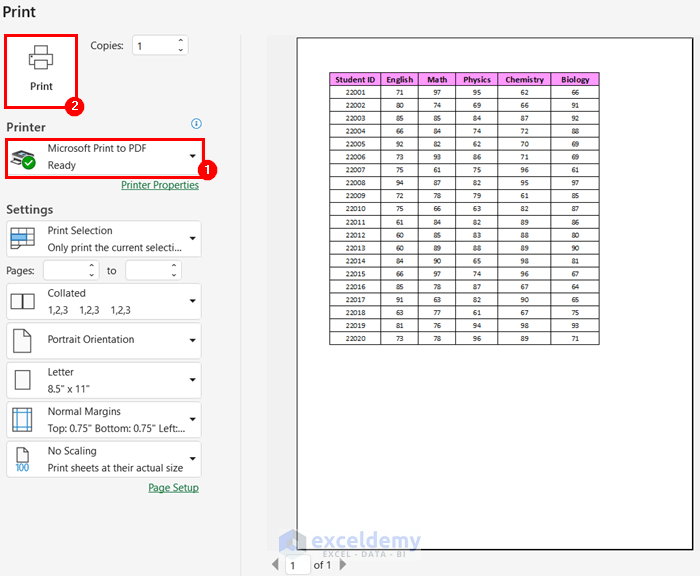
Follow the procedure described in Step 2, Method 1 to save the PDF.
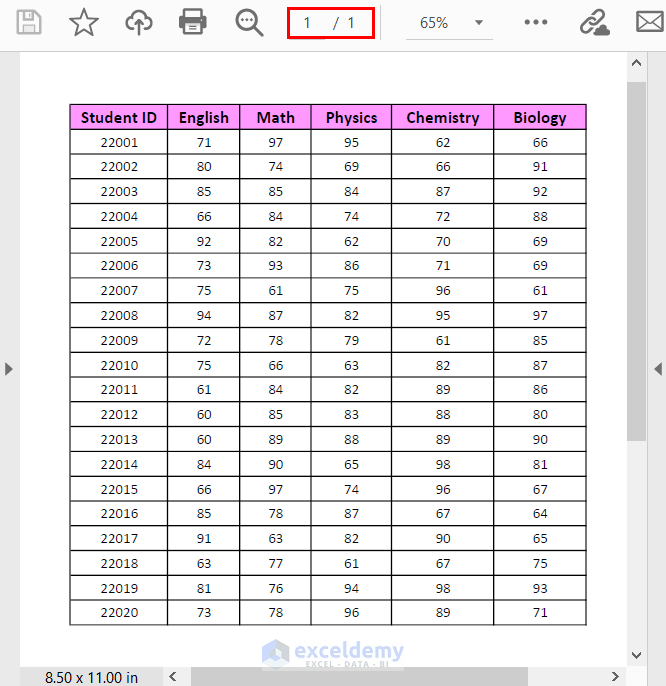
This is the output.
Download Practice Workbook
Related Articles
- [Solved!] Print Scale to Fit Not Working in Excel
- Print Full Page of Excel Sheet in A4 Size
- How to Add Legal Paper Size in Excel
- Why Is My Excel Sheet Printing So Small
- How to Add A3 Paper Size in Excel


Hello Apu. loved your work but I am having another problem. My excel file is in portrait format so it’s more wide. I want the file to fit into the pdf fully like no gap or little gap and the pdf have to be in portrait too. Is there a way to do that?
Hello Nazmul Hasan,
Thank you for your kind words! Since your file is wider but you still want to keep the PDF in portrait orientation, you can try the following steps:
1. Go to Page Layout tab >> select Page Setup (small arrow at the bottom-right corner).
2. Under the Page tab, keep the orientation as Portrait.
3. In the Scaling section, choose Fit to: 1 page wide by 1 page tall.
3.1. If the content looks too small, you can set it to 1 page wide by X pages tall (where X can be 2 or more), so the content fits better while still being in portrait mode.
4. Adjust margins under the Margins tab to reduce gaps (choose Narrow or set Custom Margins).
This way your PDF will remain in portrait and still fit the entire sheet neatly with minimal gaps.