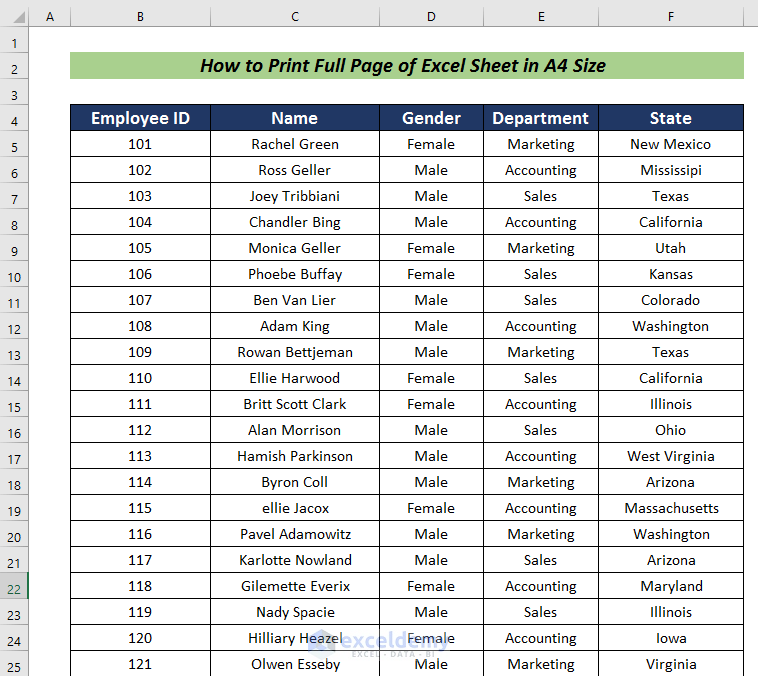
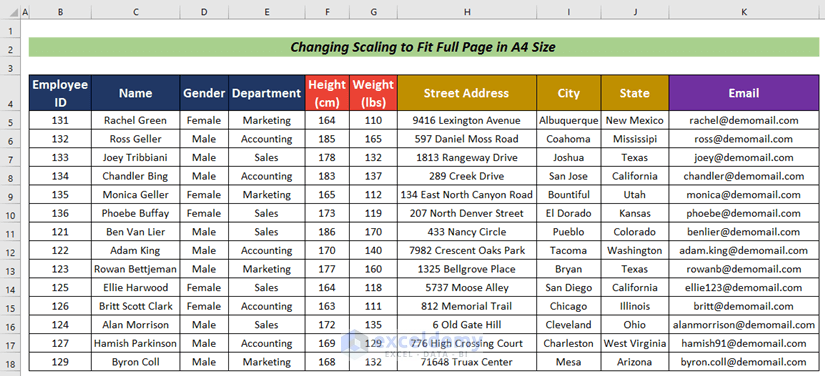
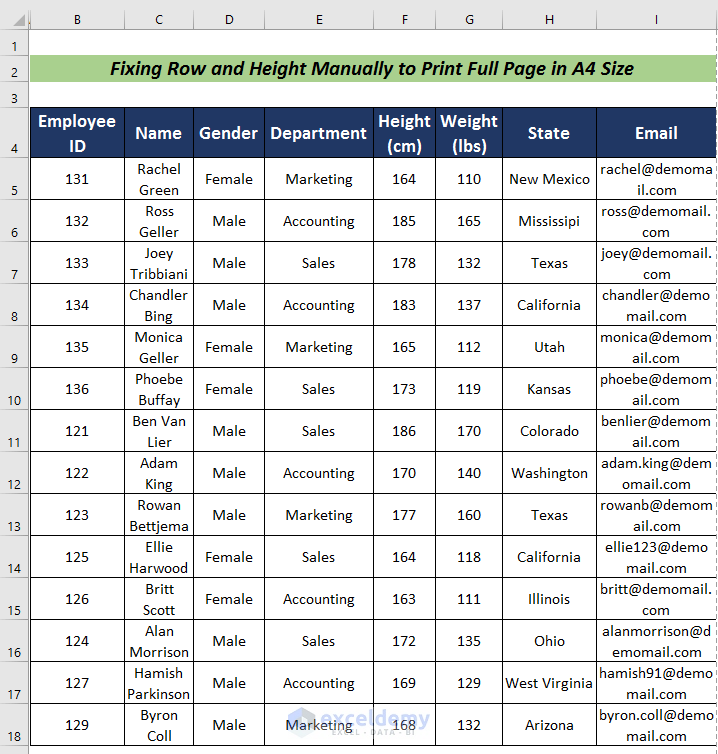
Dataset Overview
We’ll be working with a dataset containing employee information, including columns for Employee ID, Name, Gender, Department, and State.
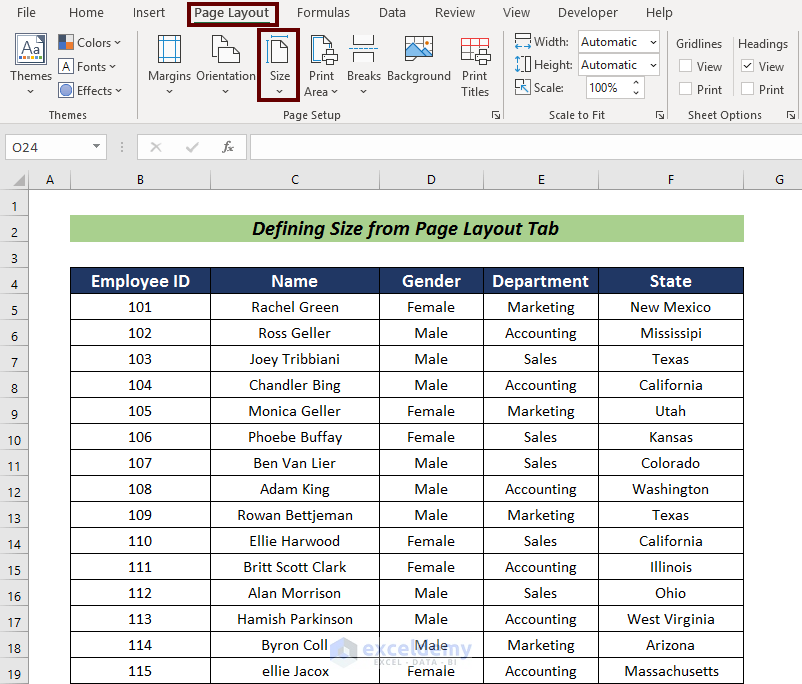
Method 1 – Defining the Size from the Page Layout Tab
Steps:
- Click on the Page Layout tab.
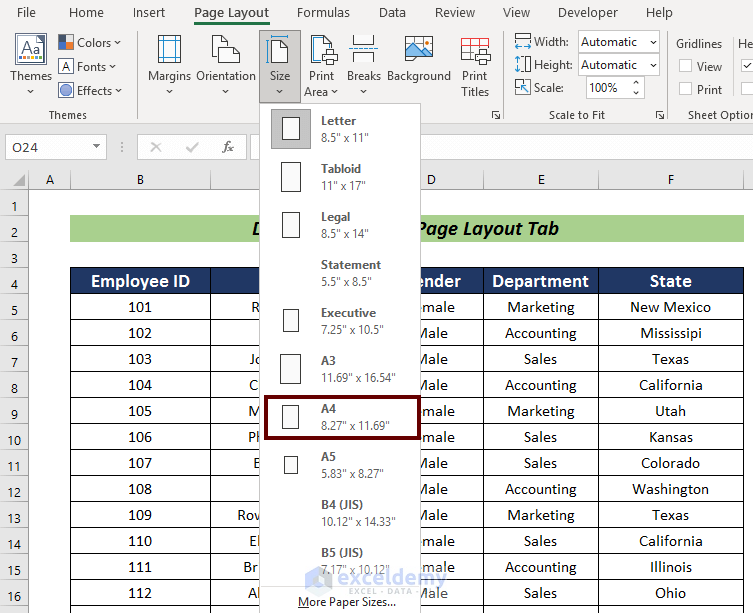
- Choose the Size option from the ribbon.
- Select the A4 option from the available choices.
- Press CTRL + P or go to the Print option from the File tab.
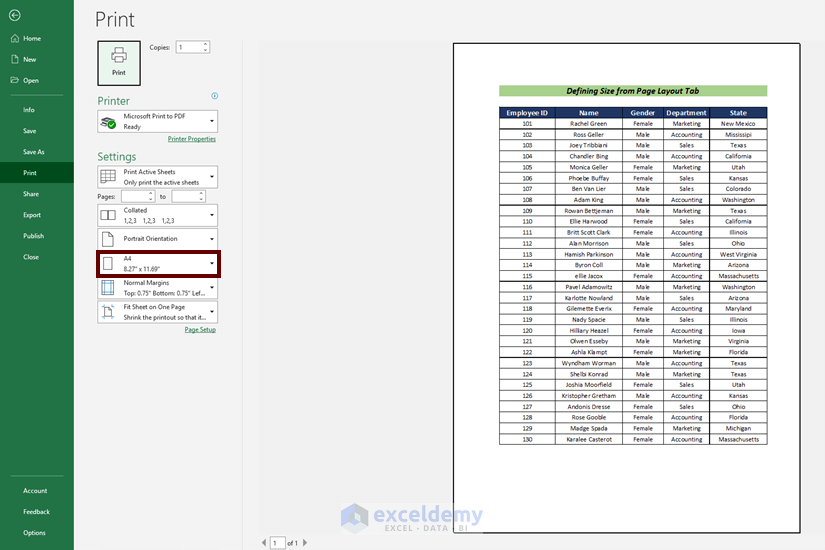
This will display a Print Preview of the full page in A4 size.
Read More: How to Add A3 Paper Size in Excel
Method 2 – Utilizing the Page Setup Option from the Page Layout Tab
Steps:
- Go to the Page Layout tab.
- Click on the Page Setup group’s button in the ribbon.
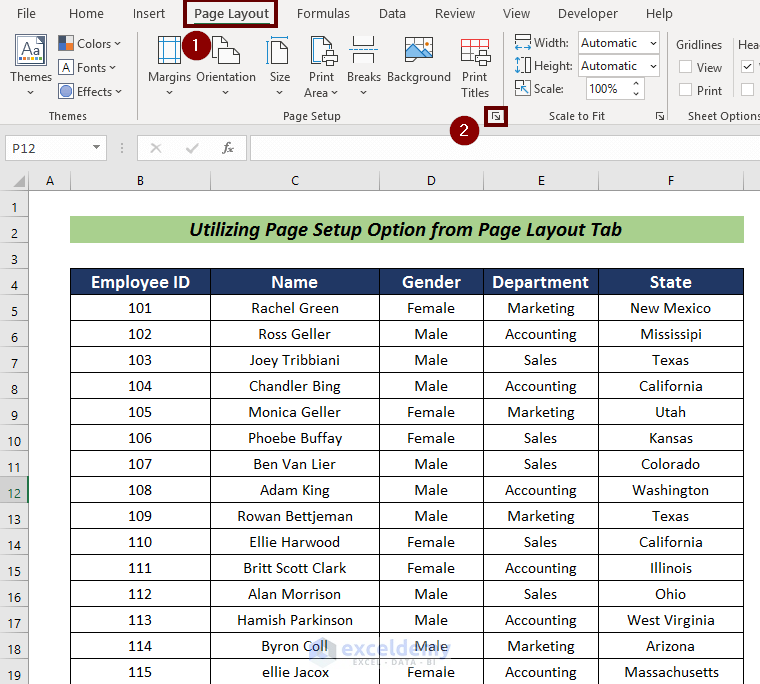
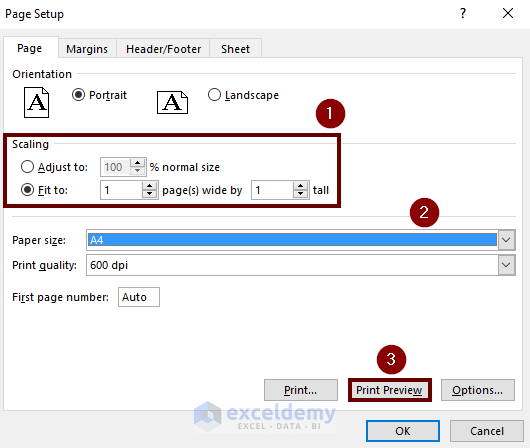
- The Page Setup wizard will appear.
- Check the Fit to box under the Scaling option.
- Enter 1 in the page(s) wide by box and 1 in the tall box to define the length and width ratio.
- Choose A4 from the Paper size option.
- Click on Print Preview to verify the settings.
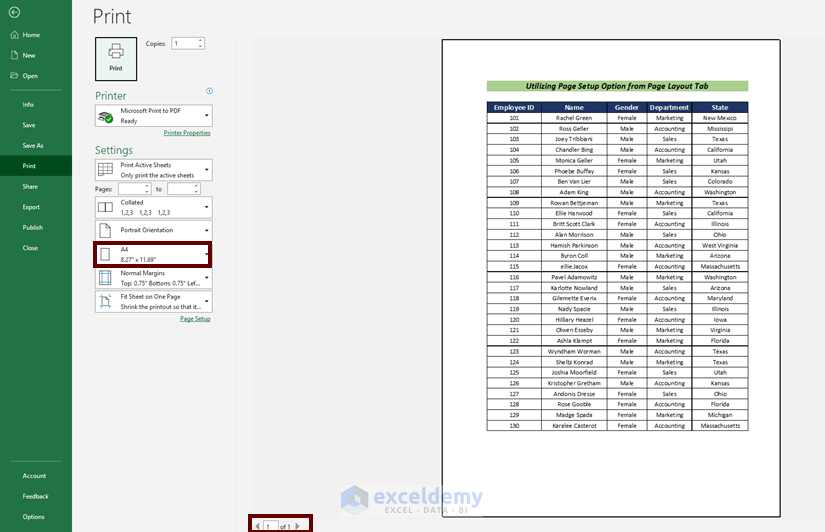
From the preview, we can see that the full page is ready to be printed in A4 size.
Read More: How to Add Legal Paper Size in Excel
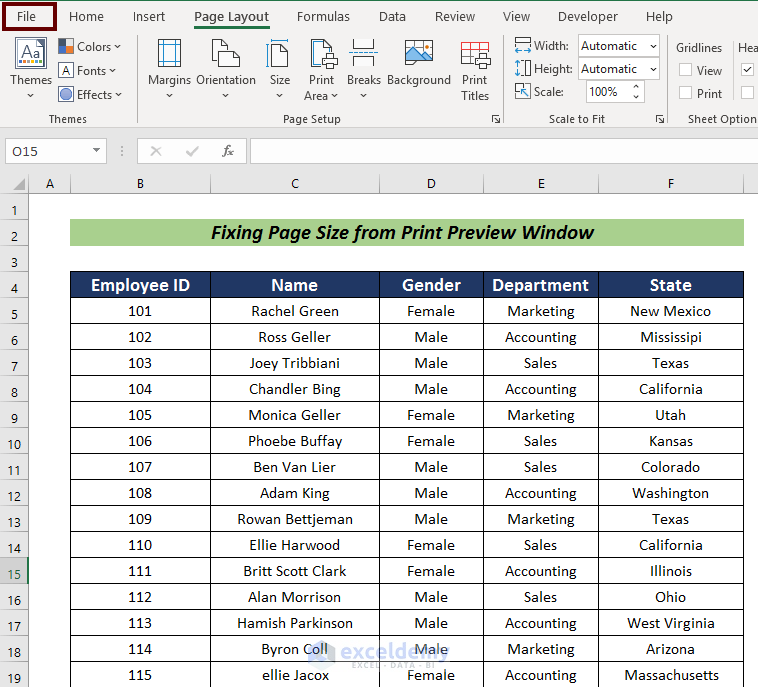
Method 3 – Fixing the Page Size from the Print Preview Window
Steps:
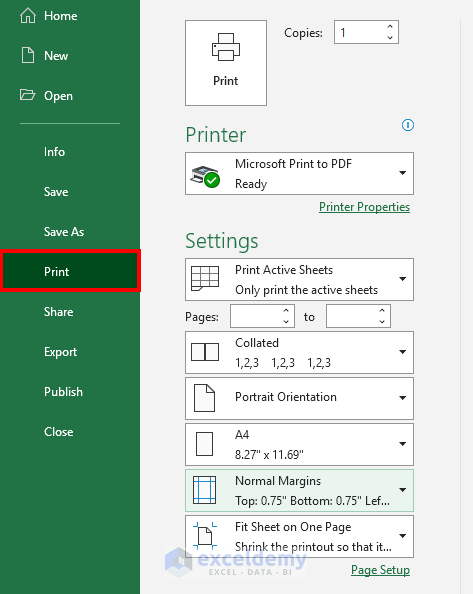
- Go to the File tab.
- Click on the Print option to open the Print Preview. Alternatively, press CTRL + P to directly access the Print Preview window.
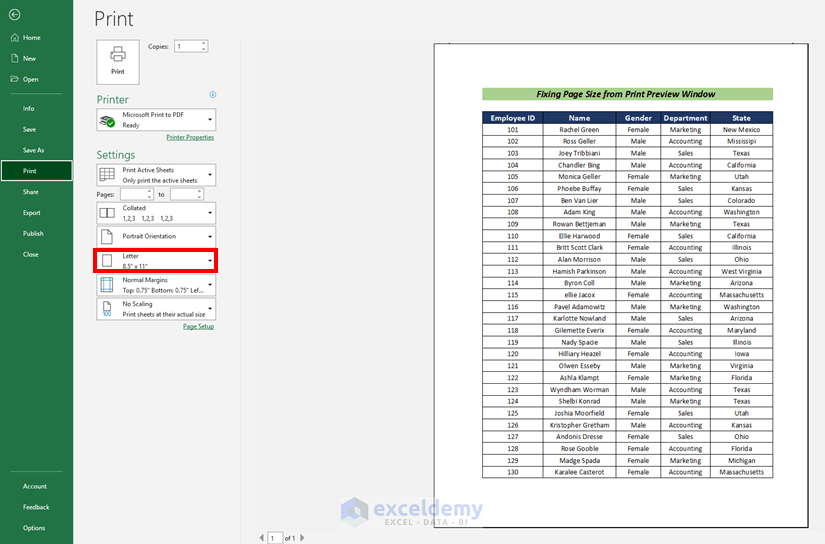
- Click on the selected box in the Settings to define the page size.
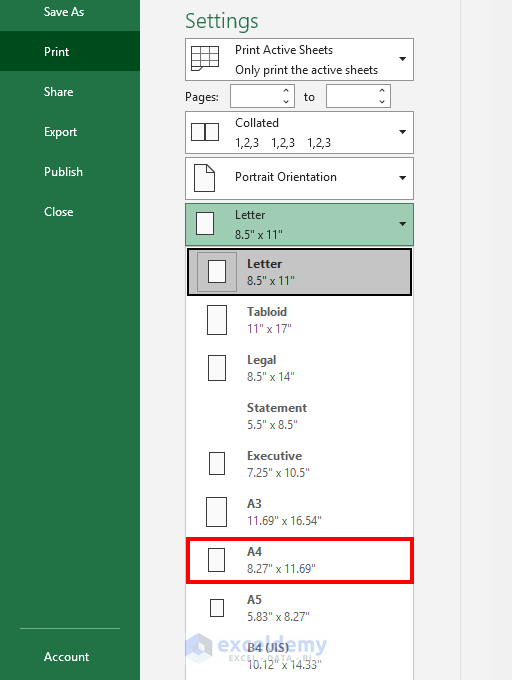
- Choose A4 as the option.
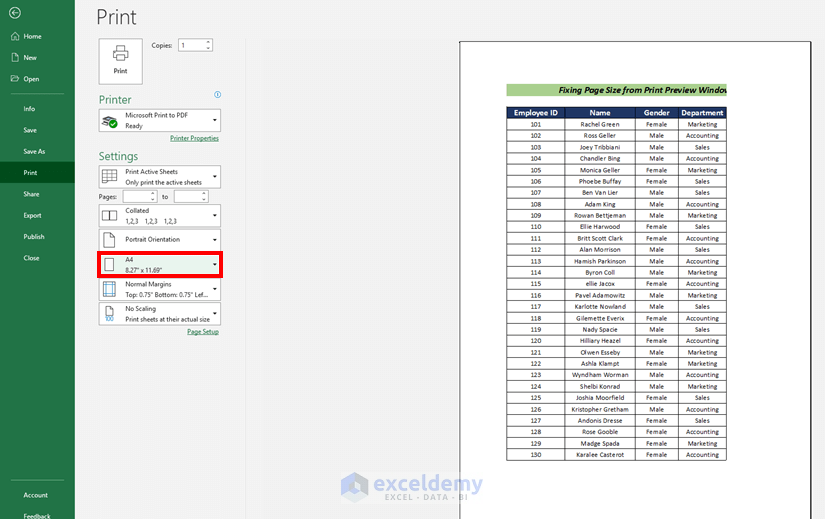
This method ensures printing a full page of the Excel sheet in A4 size.
Read More: How to Add Paper Size in Excel
Method 4 – Changing Scaling to Print Full Page in A4 Size
Sometimes adjusting a large dataset to fit on a single page can be challenging.
To address this, change the scaling settings:
Steps:
- Press CTRL + P to open the Print Preview window.
- In the Settings section, select commands for Landscape Orientation, A4, and Fit Sheet on One Page.
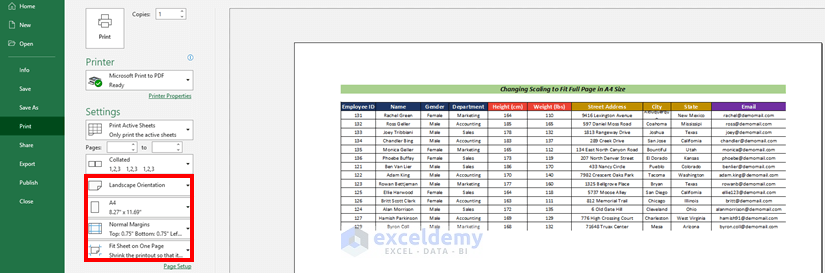
This approach allows printing the entire Excel sheet on an A4-sized page.
Read More: How to Adjust Page Size for Printing in Excel
Method 5 – Fixing Row and Height Manually to Print Full Page in A4 Size
For a very wide dataset with many columns, we can manually fix the rows and columns to fit them in a single A4 size.
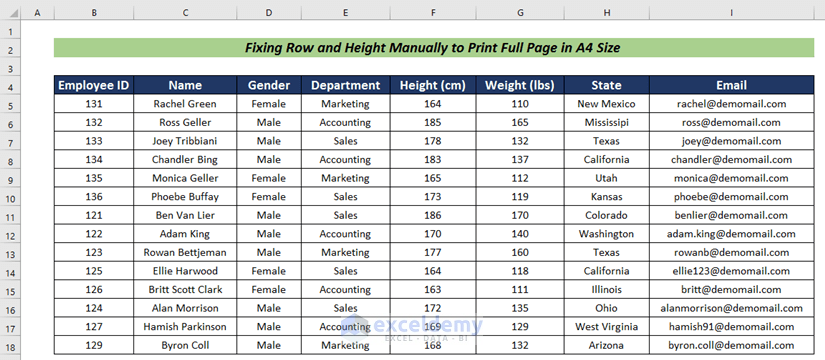
Steps:
- Press CTRL + P to open the Print Preview window.
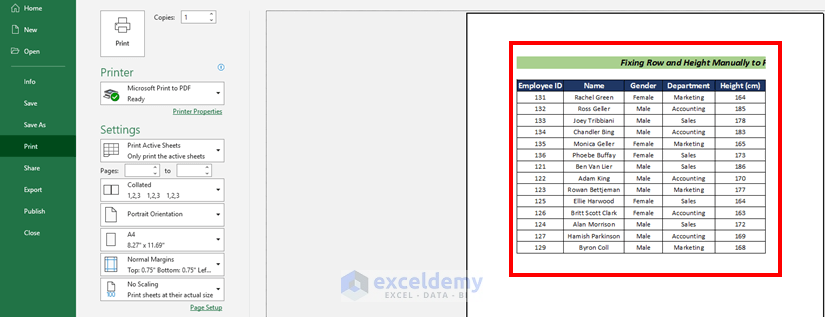
- Observe that the dataset doesn’t fit on one page.
- Adjust cell widths and extend cell heights using the cursor until it fits within a single page.
This process can also be applied to print a full page in A4 size.

Read More: How to Stretch Excel Spreadsheet to Full Page Print
Download Practice Workbook
You can download the practice workbook from here:
Related Articles
- [Solved!] Print Scale to Fit Not Working in Excel
- How to Fit Excel Sheet on One Page PDF
- Fit to Page in Excel
- How to Fit Excel Sheet on One Page in Word

