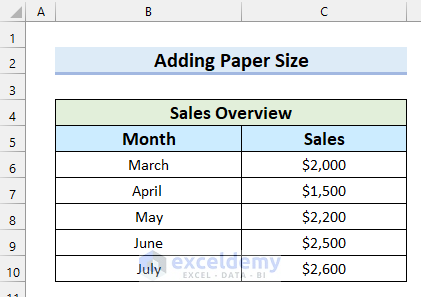
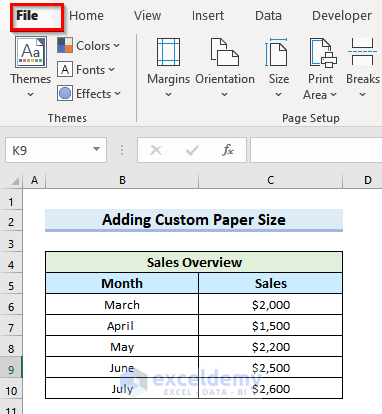
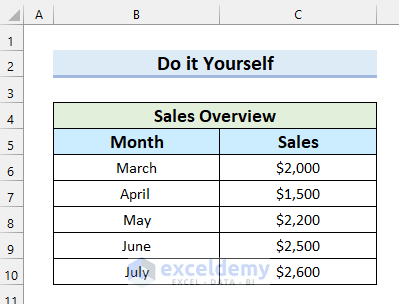
We’ll use the following dataset which contains a Sales Overview.
Method 1 – Using the Page Layout Tab to Add a Paper Size in Excel
Steps:
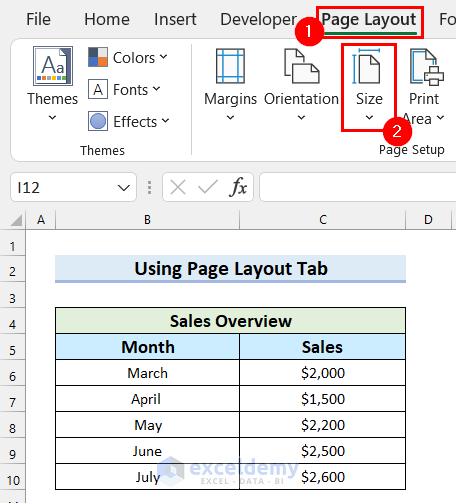
- Go to the Page Layout tab from the Ribbon.
- Select Size.
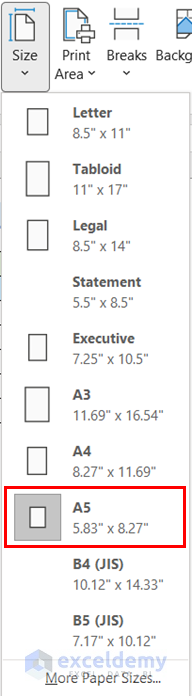
- A drop-down menu will appear.
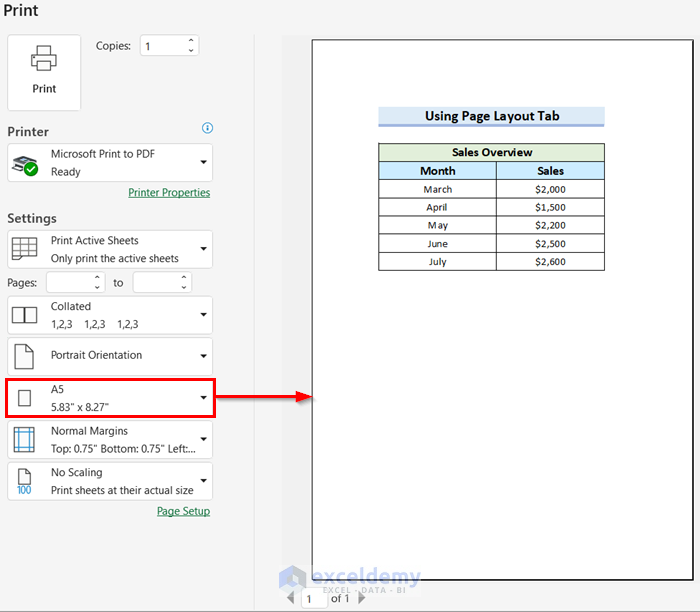
- Select the Page Size you want from the drop-down menu. We selected A5.
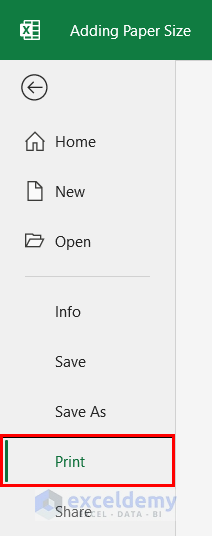
- Go to the File tab.
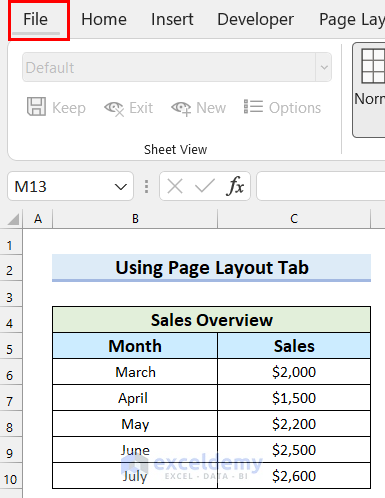
- Select Print.
You will be able to see the Print Preview. You can see how the page will look on the selected Page Size after printing.
Read More: How to Print Full Page of Excel Sheet in A4 Size
Method 2 – Use the Print Option to Add a Paper Size in Excel
Steps:
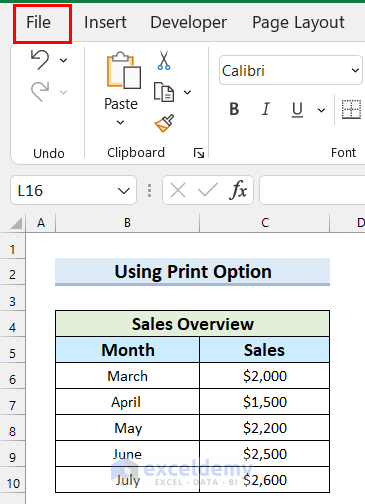
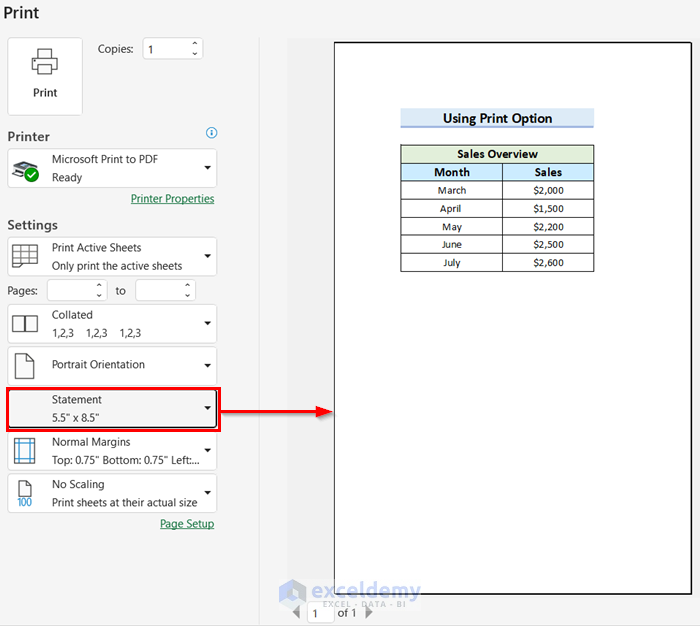
- Go to the File tab.
- Select the Print option.

- Select the drop-down option for Page Size.
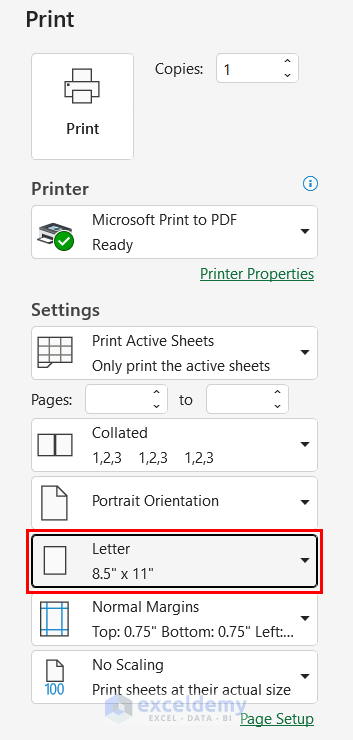
- Pick the Page Size you want. We selected Statement.

- In the Print Preview, you can see how the page will look on the selected Page Size after printing.
Read More: How to Adjust Page Size for Printing in Excel
Method 3 – Using Page Setup to Add a Paper Size in Excel
Steps:
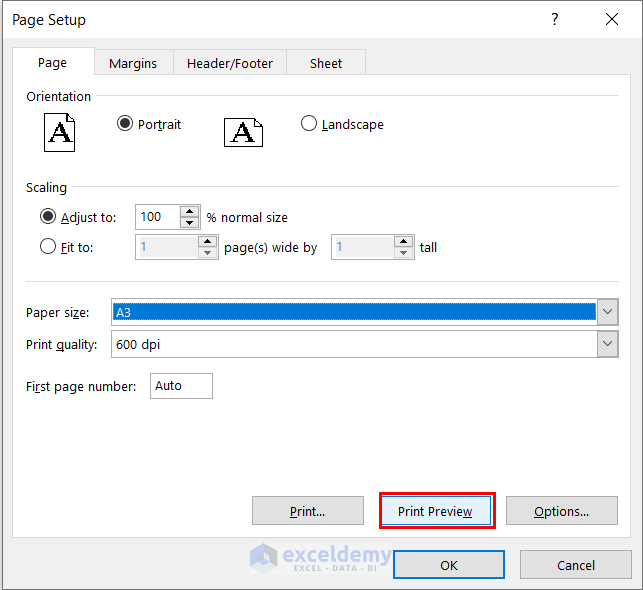
- Go to the Page Layout tab.
- Select the anchor icon from Page Setup.
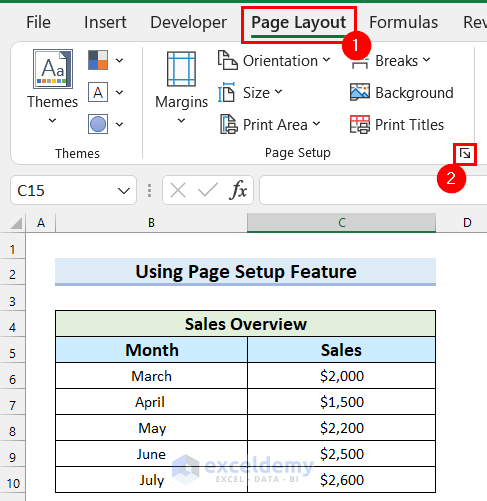
- You will see the dialog box named Page Setup.
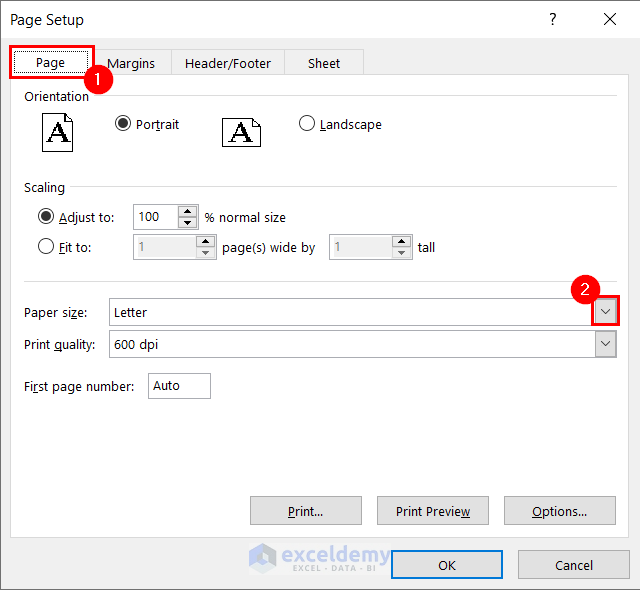
- Go to the Page tab.
- Select the drop-down button from Paper size.
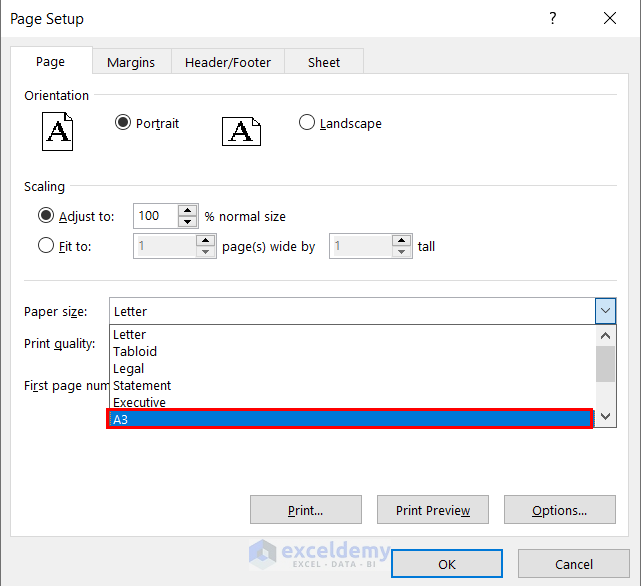
- Choose the Paper size you want from the drop-down menu. We selected A3.
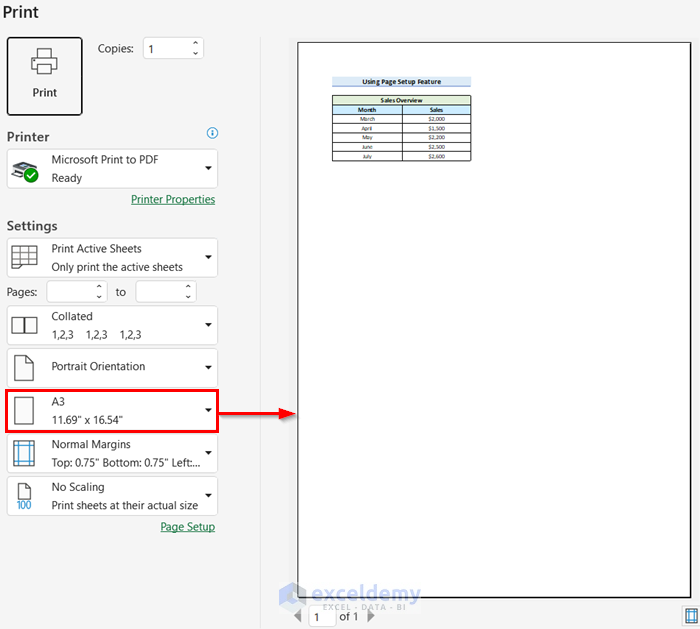
- Select Print Preview.
- In the Print Preview, you can see how the page will look on the selected Page Size for printing.
Read More: How to Add A3 Paper Size in Excel
Method 4 – Adding a Custom Paper Size
Steps:
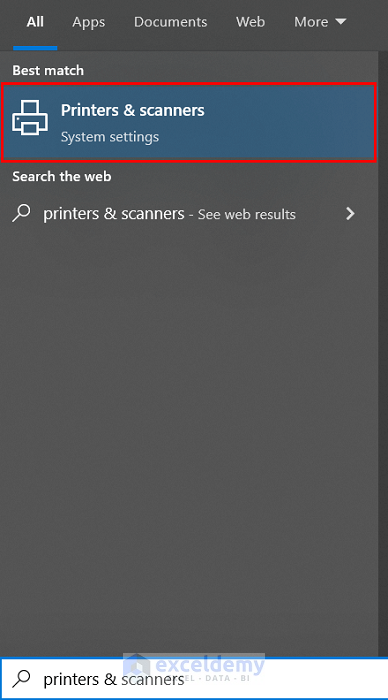
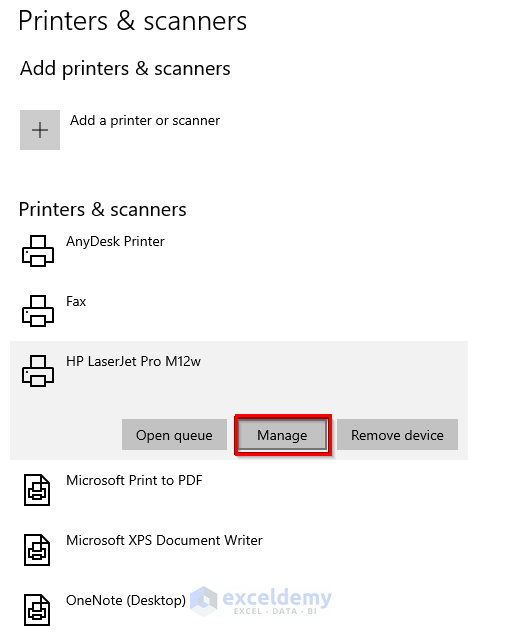
- Search for Printers & scanners in your Windows Search.
- Select Printers & scanners.
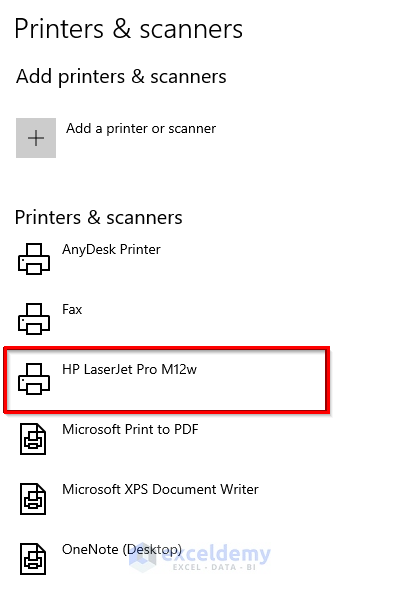
- Your Printers & scanners settings will open.
- Select your printer. We selected our printer which is HP LaserJet Pro M12w.
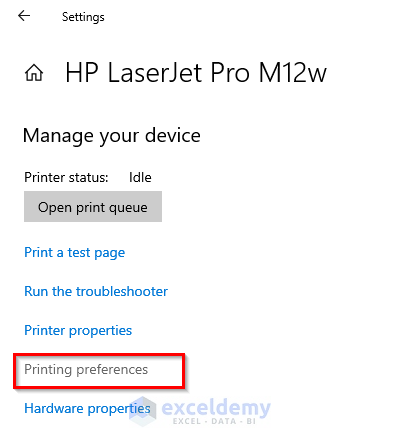
- Select Manage.
- Select Printing preferences.
- Select Custom under Paper Options to make a custom size.
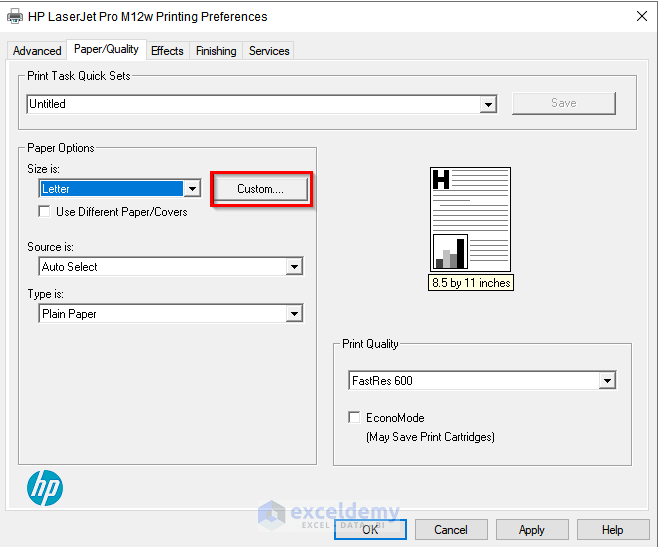
- The Custom Paper Size dialog box will appear.
- Write the Name for your custom size.
- Insert the Width.
- Insert the Height.
- Select Save.

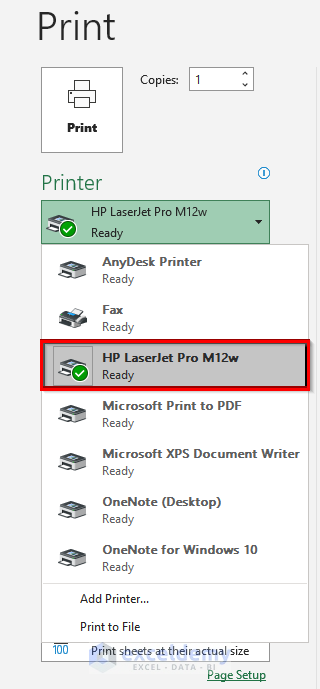
- Go to your Excel file.
- Select the File tab.
- Select Print.

- Select the Printer where you set your custom size.
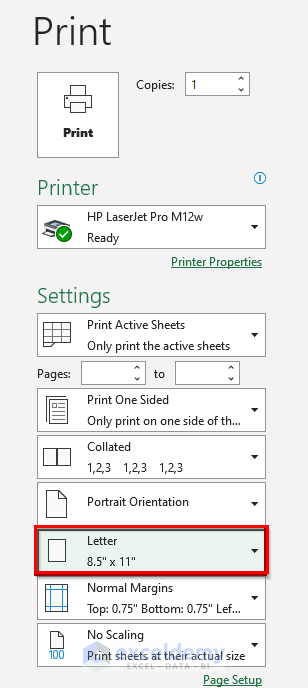
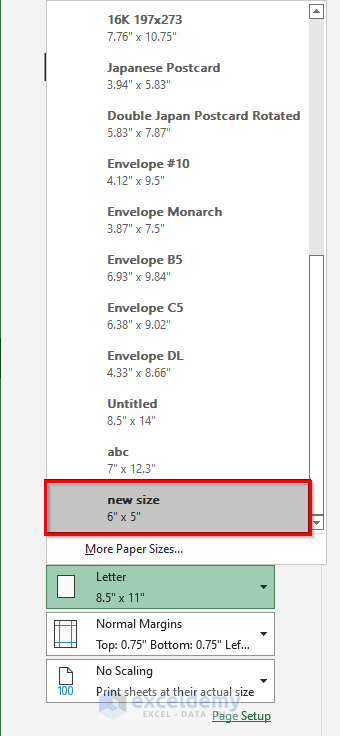
- Select the drop-down option for Page Size.
- Choose the custom Page Size you want. We selected new size (which we created earlier).
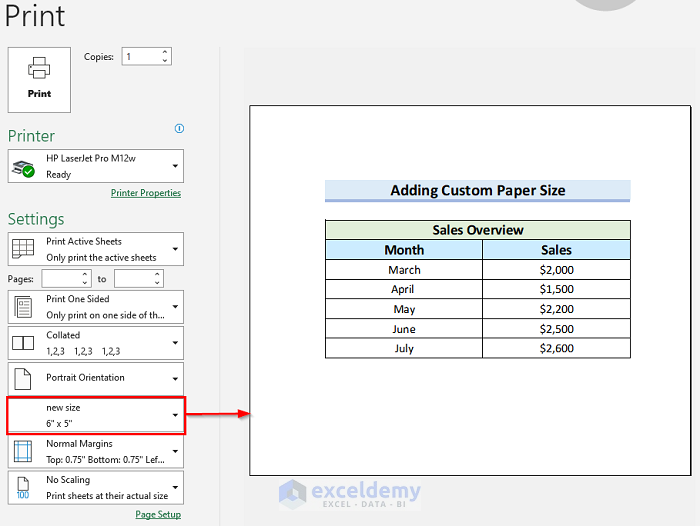
- In the Print Preview, you can see how the page will look on the selected Page Size after printing.
Read More: Why Is My Excel Sheet Printing So Small
Things to Remember
- The custom page size is not a feature of Excel.
- To customize the paper size, you will need a Printer connected to your device.
Practice Section
Download the Practice Workbook
Related Articles
- [Solved!] Print Scale to Fit Not Working in Excel
- How to Fit Excel Sheet on One Page PDF
- Fit to Page in Excel
- How to Fit Excel Sheet on One Page in Word
- Stretch Excel Spreadsheet to Full Page Print

