Sometimes we need to remove some unwanted rows from the sheet in Excel. We can do it using the delete option. In this article, I’m going to explain how to delete selected rows in Excel. So, let’s get started.
How to Delete Selected Rows in Excel: 8 Approaches
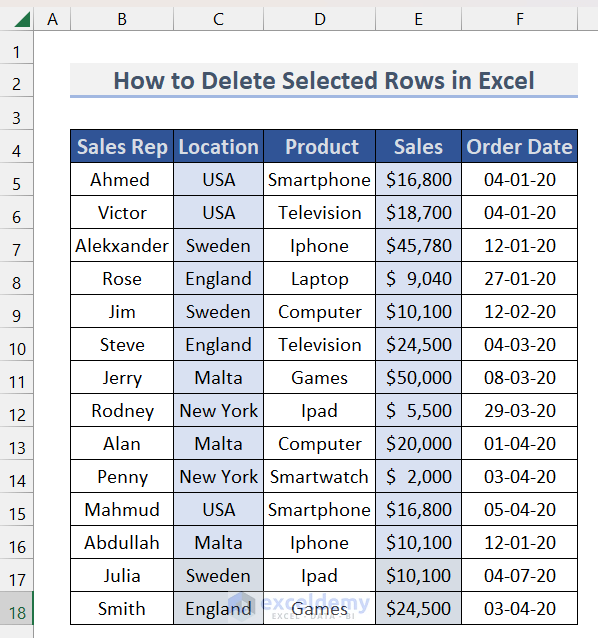
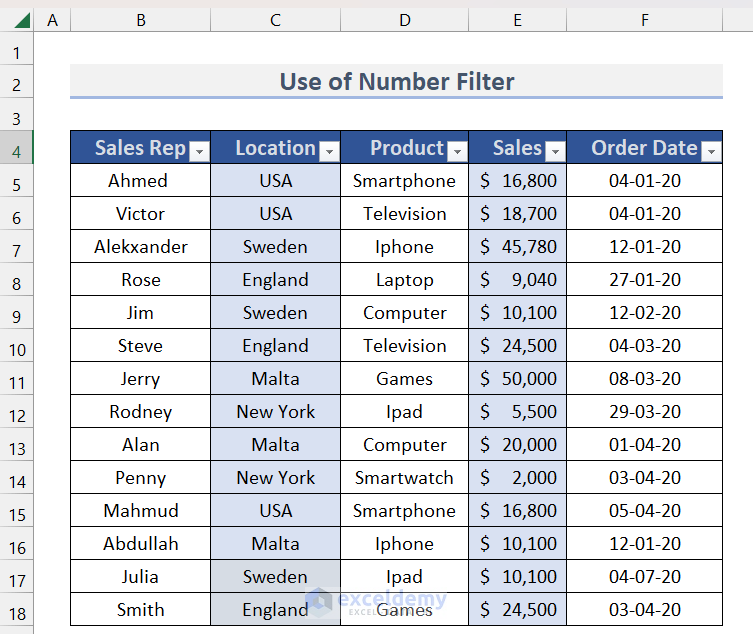
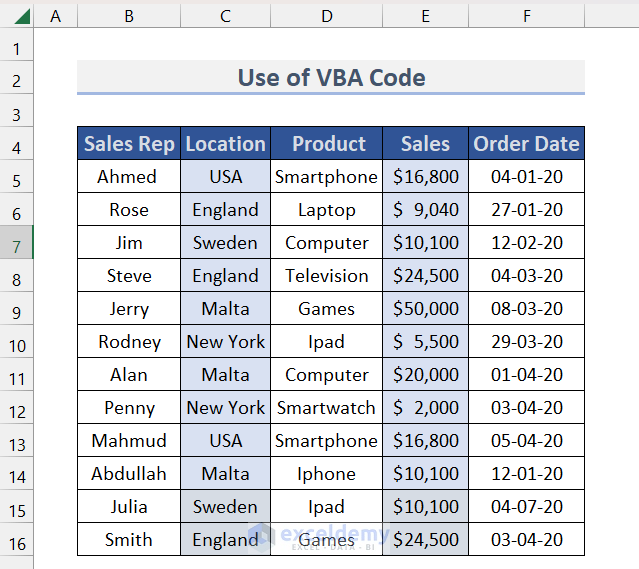
In this section, I am going to describe 8 easy ways to delete selected rows in Excel. To make it clearer, I’m going to use a datasheet of sales information of some sales representatives which has 5 columns. This column represents sales information for different locations. The columns are Sales Rep, Location, Product, Sales, and Order Date.
Now, let’s explore those 8 methods one by one to delete selected rows.
1. Using Delete Command from Ribbon
Here, we will use the on-screen ribbon to delete selected rows. To know more, follow the steps below.
Steps:
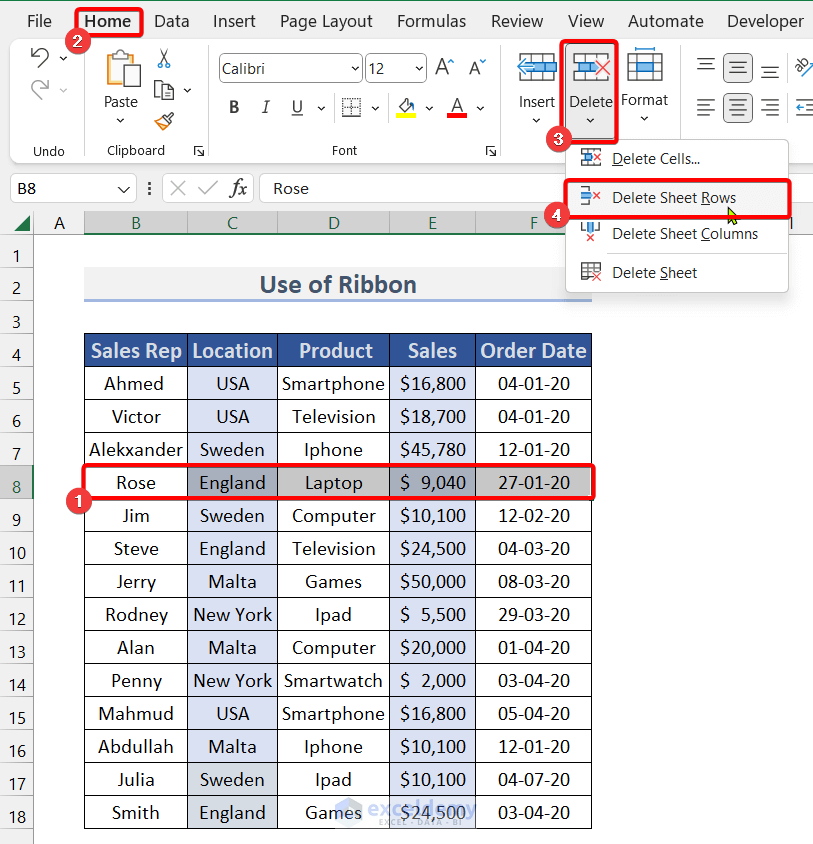
- To delete a selected row using the ribbon, first select the rows from the sheet you want to delete. I selected row number 8.
- Then, open the Home Then go to Delete >> Delete Sheet Rows.
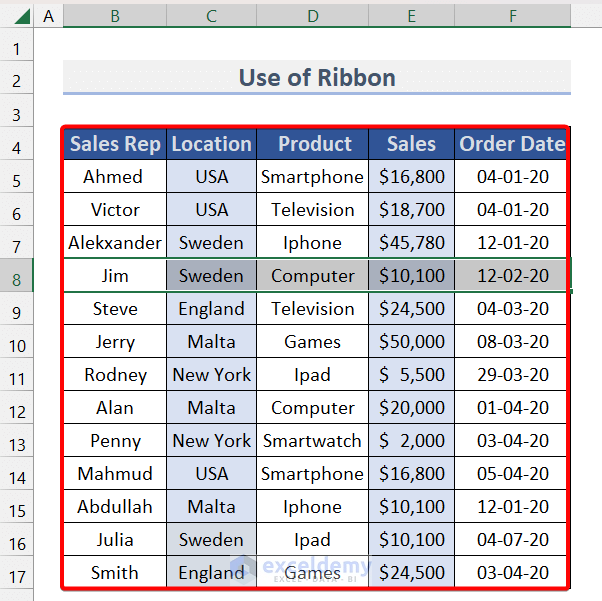
- As a result, the selected row will be deleted from the sheet.
2. Deleting Selected Rows Using Context Menu
Right-click is a very useful shortcut to access the delete option. Follow the steps below to know how we can use the right-click to delete selected rows.
Steps:
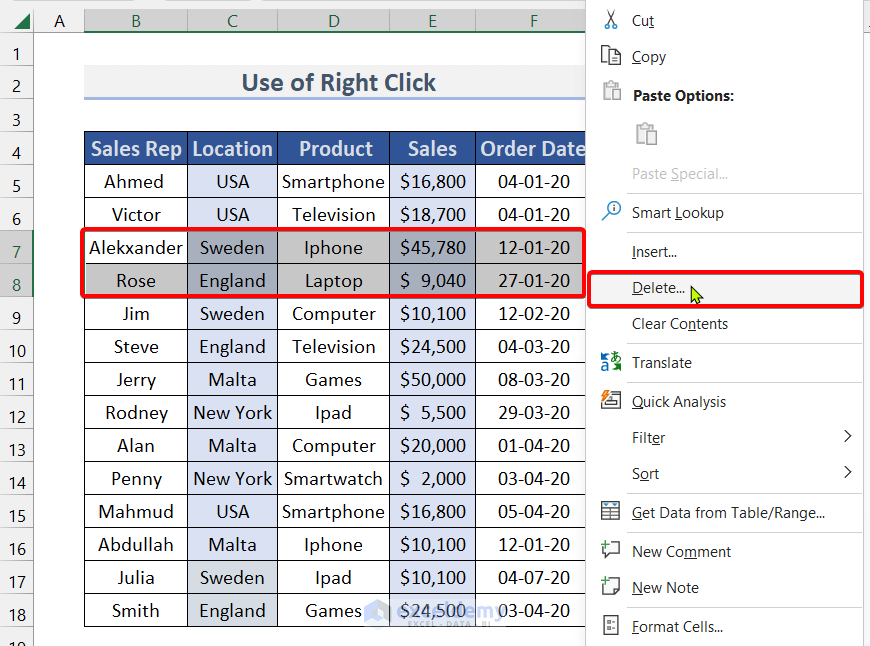
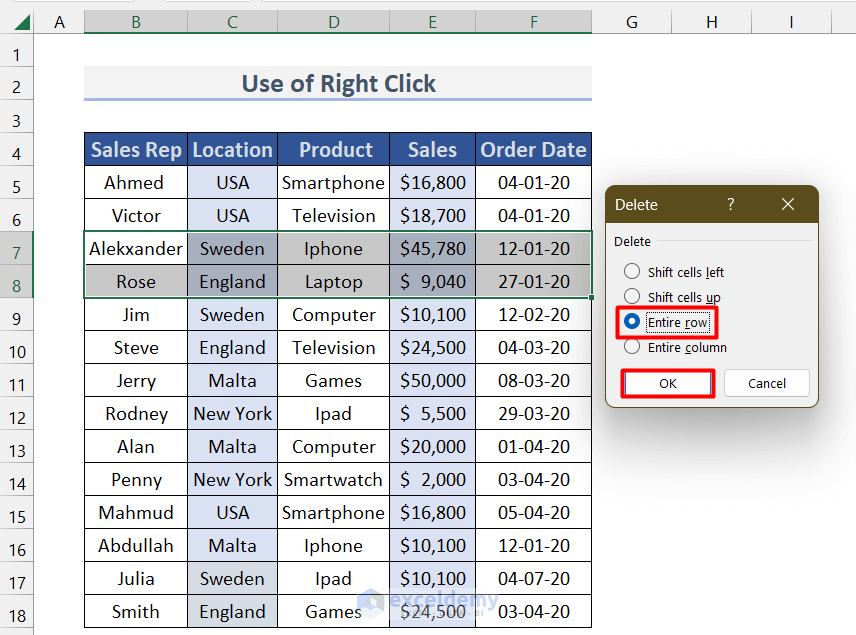
- To delete selected rows first right-click, and select the rows you want to delete. I selected row numbers 7 & 8.
- Then right-click on the mouse.
- After that, select the Delete option.
- Now, a dialog box will pop up which shows some options for deleting selected rows.
- I selected the option Entire row. Finally, click
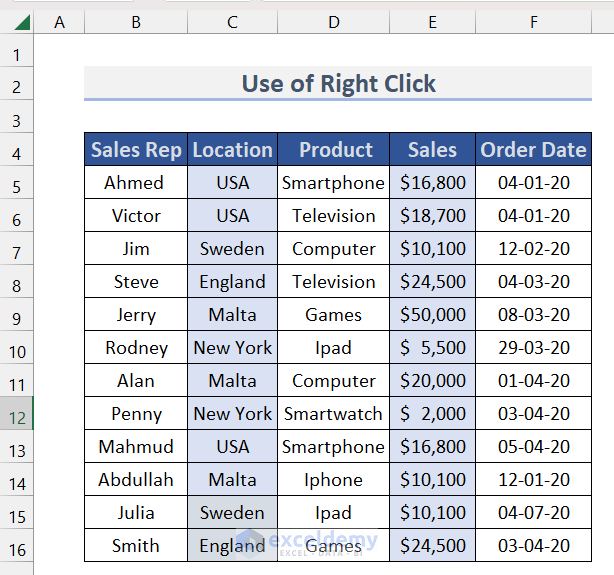
- Now, the selected rows will be deleted.
3. Deleting Selected Rows by Using Keyboard Shortcut
Here we will use a special shortcut key to delete selected rows. To know more, follow the steps below.
Steps:
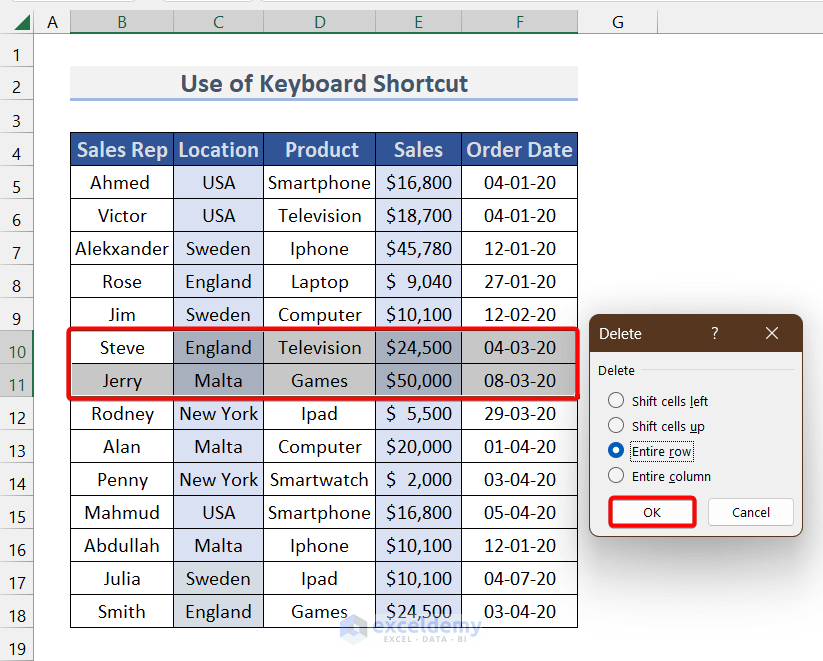
- First, select the rows you want to delete. I selected row numbers 10 and 11.
- Then press CTRL+ – (minus).
- Consequently, a dialog box will pop up from where you can select deleting options.
- From there, select the option Entire Row and click OK.
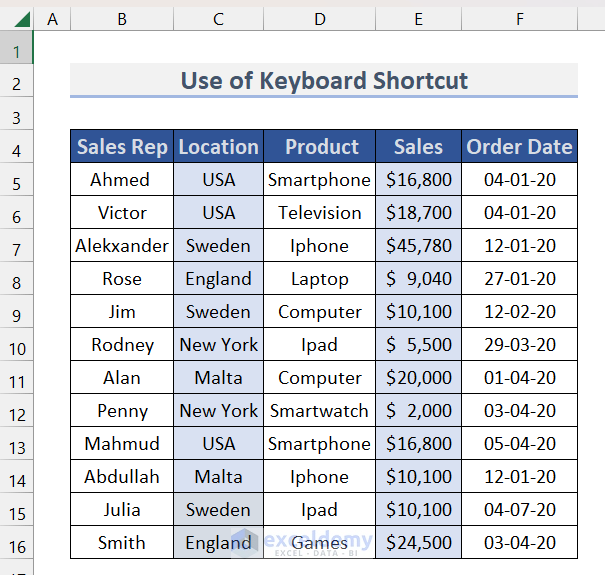
- As a result, the selected rows will be deleted.
4. Using Filter to Delete Selected Rows
In this method, we will learn how to delete filtered rows. Based on the types of data (text or number) to be filtered, the Filter method can be categorized into two sub-methods.
4.1 Delete Rows with Particular Text
Here, we will filter and delete the rows that contain specific text. To know more, follow the steps below.
Steps:
- First, select the cell range where you want to apply the filter.
- Then open the Data tab >> then select Filter.
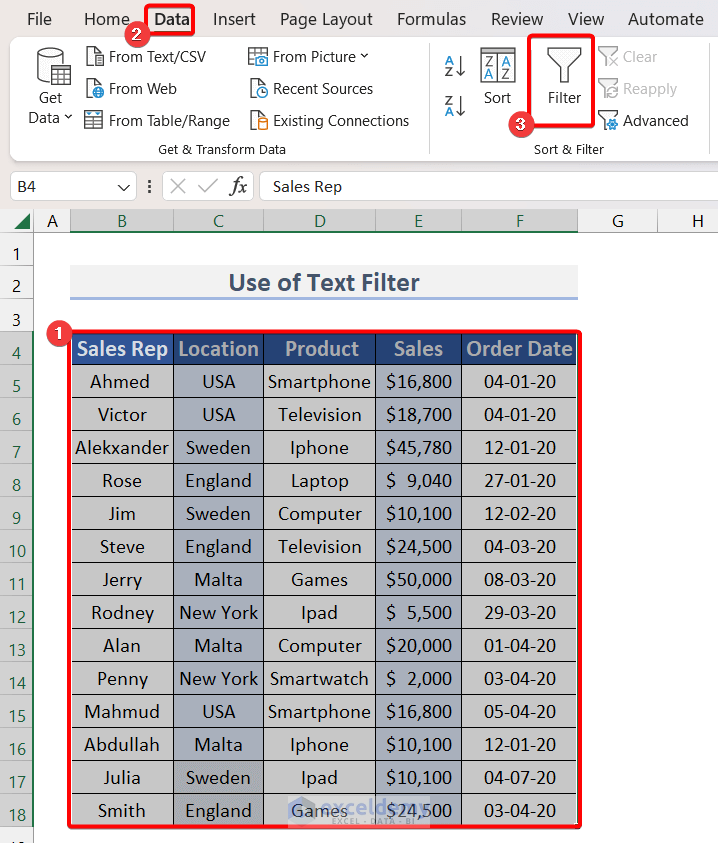
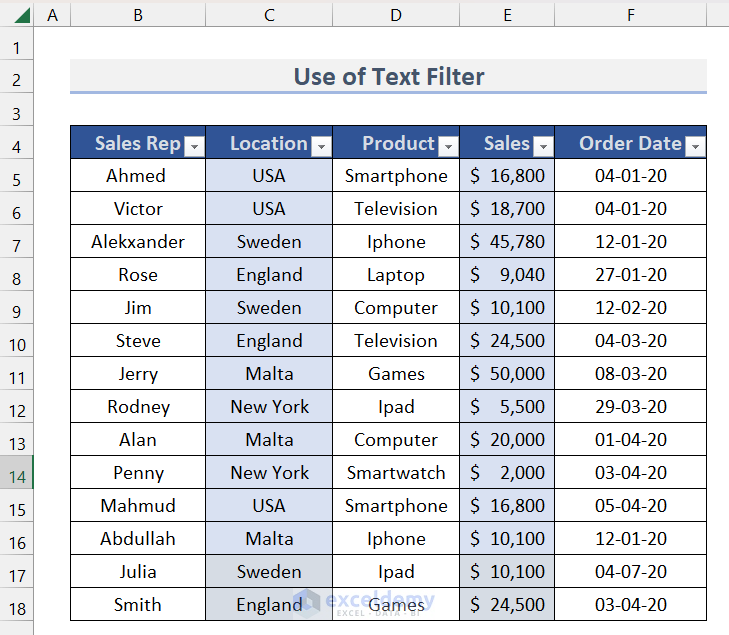
- Now the Filter will be applied to the selected range.
- Then select a column that contains text values then right-click on the header of the column. Now it will pop up some options to sort values. I selected the Location column and selected the USA from the sort option.
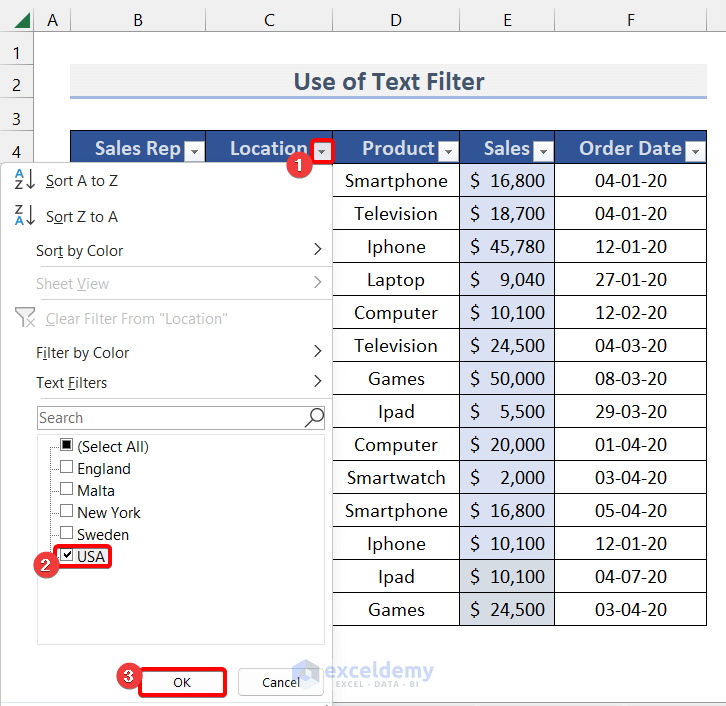
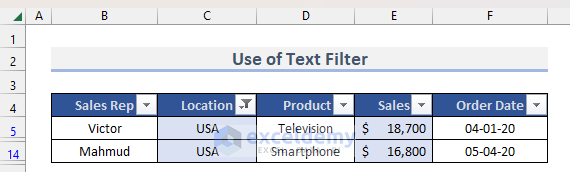
- As a result, only the rows where the Location is in the USA will be shown.

- Now select any rows and press Ctrl+ -(minus) It will pop up a warning message. Now click
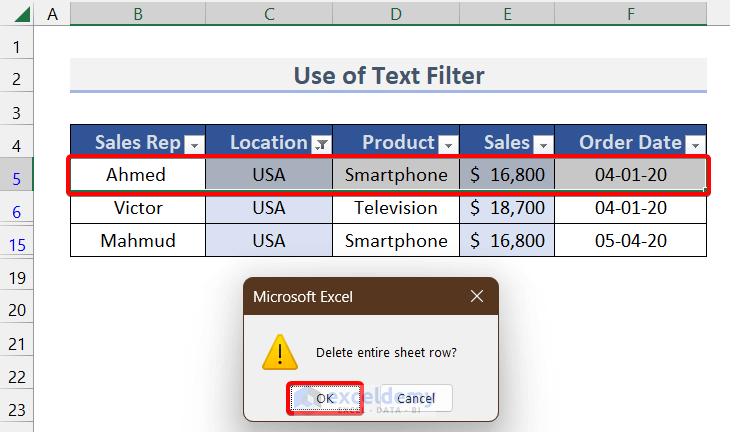
- Consequently, the selected row will be deleted.
4.2. Deleting Rows by Using Number Filters
In this sub-method, we will filter out rows based on the number filter. To know more, follow the steps below.
Steps:
- First, just like the previous sub-method, select the cell range where you want to apply the filter and then open the Data tab, then select As a result, the Filter will be applied to the selected range.
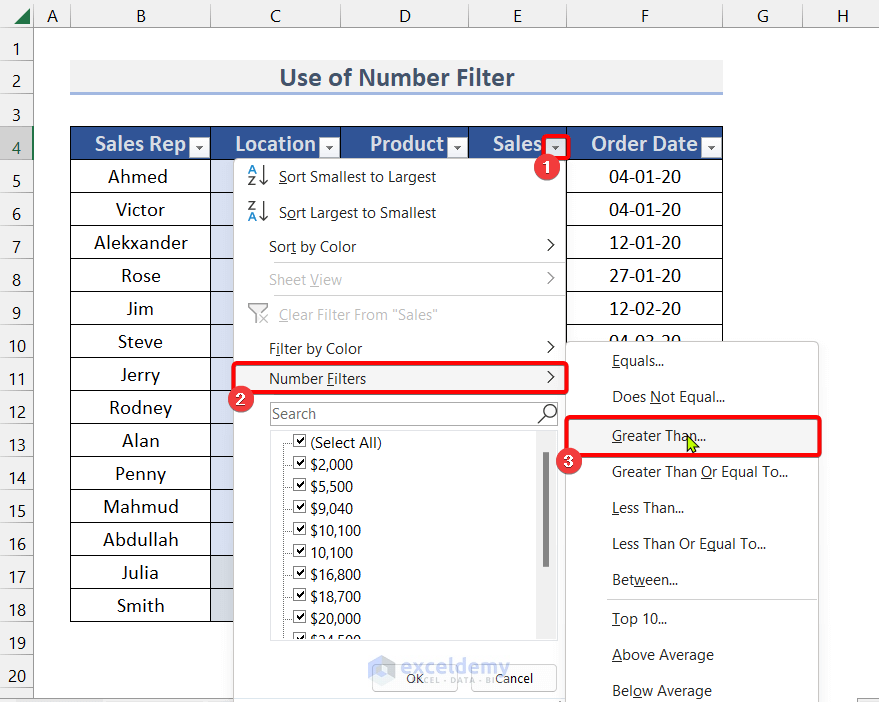
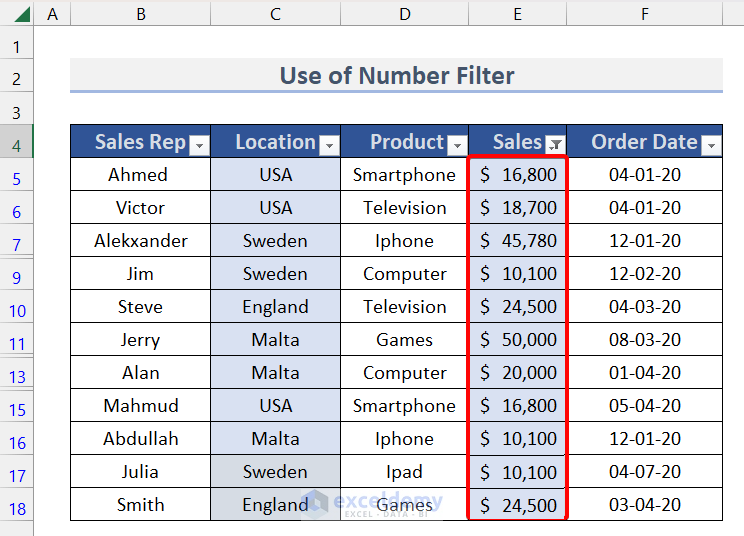
- Then select a column that contains numeric values. I selected the Sales Then right-click on the mouse on the header of the column. Now it will pop up some options to sort values. From Sort options, I selected Number Filters >> then selected Greater Than.
- Now, it will pop up a dialog box. I Inserted the value 9040 to sort rows.
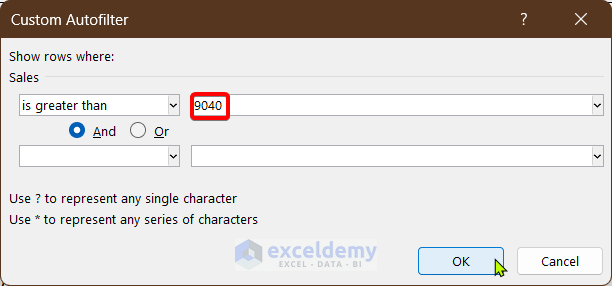
- As a result, it will sort all the values greater than 9040.
- Now select any rows and press Ctrl+-. As a result, a pop-up will open. From there, select OK.
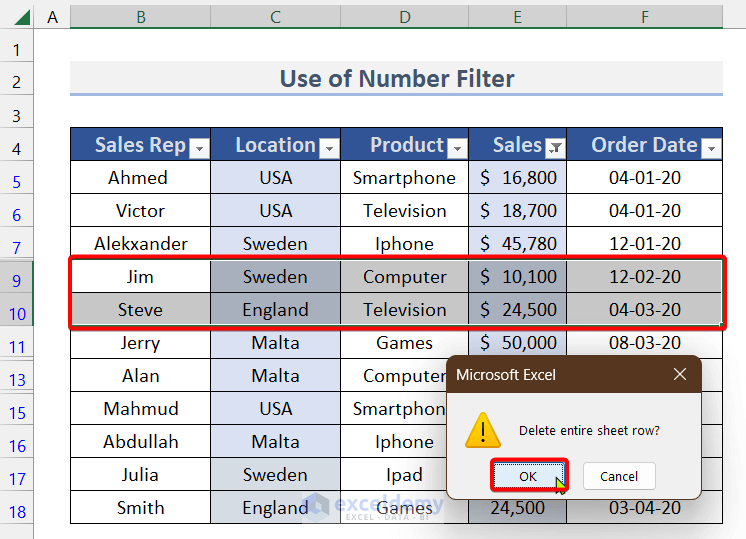
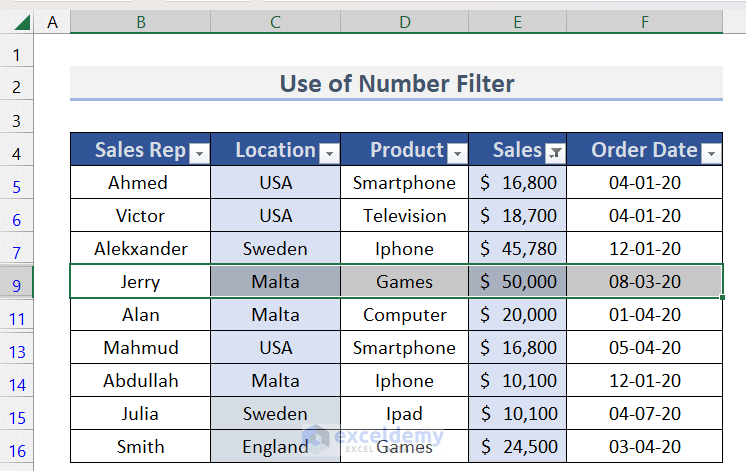
- As a result, those rows will be deleted.
5. Using Sort Feature to Delete the Rows
We can also use the Sort feature to delete selected rows in Excel. To know more, follow the steps below.
Steps:
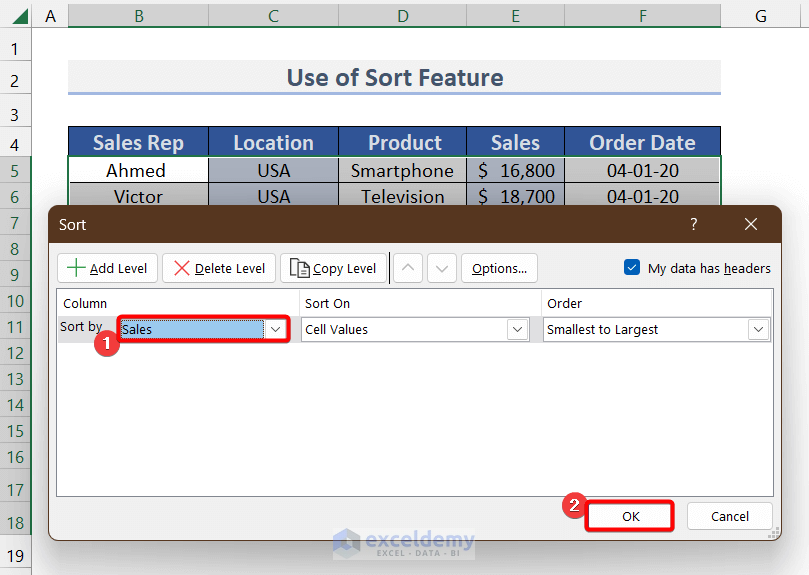
- First, select the cell ranges where you want to apply sort then open Data tab >> then select Sort.
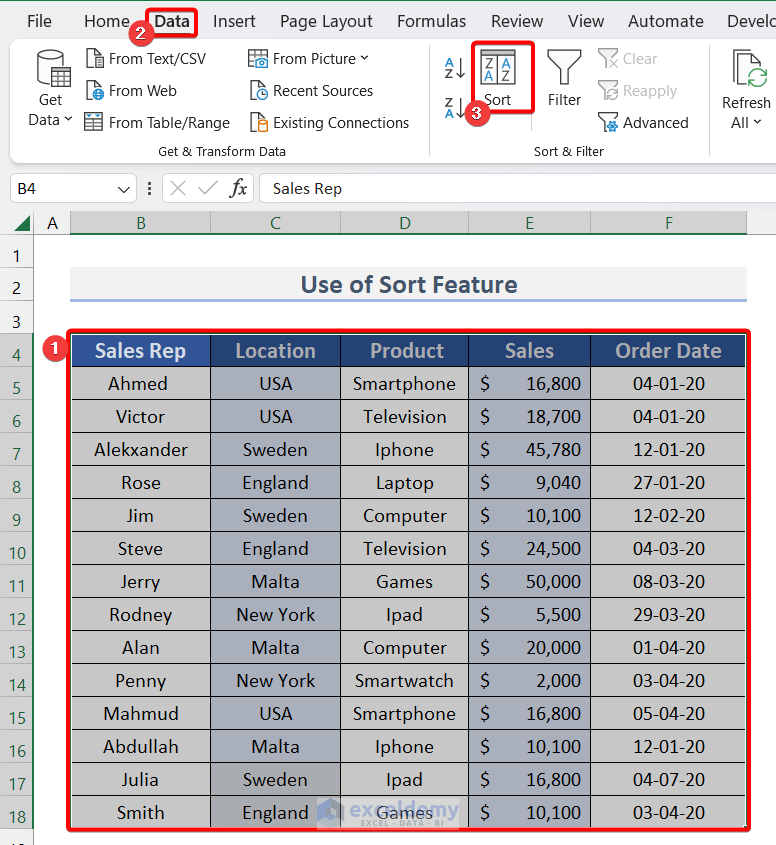
- Consequently, it will pop up a dialog box. In Sort by you can choose any column depending on which all values will sort also from Order you can select any order. I selected the Sales column from Sort by and Smallest to Largest from Order.
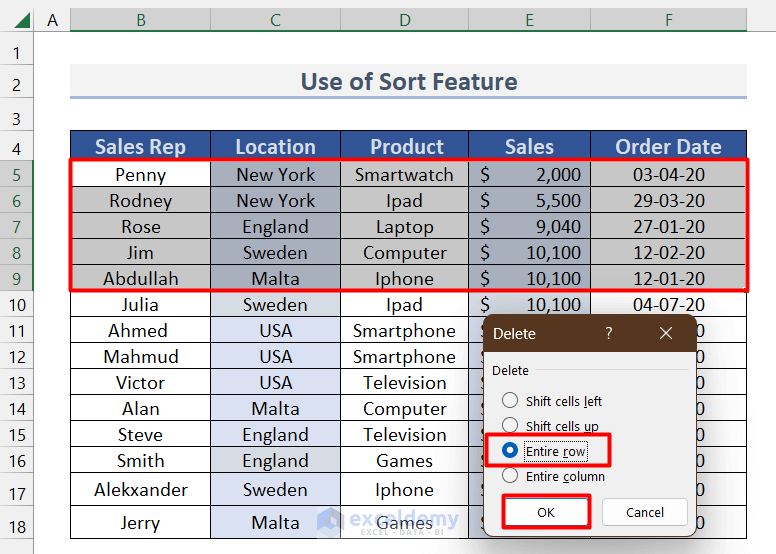
- As a result, all the rows are sorted from smallest to largest Sales

- Now you can select any rows to delete then right-click on the mouse and select the delete option and finally, click I selected the option Entire row.
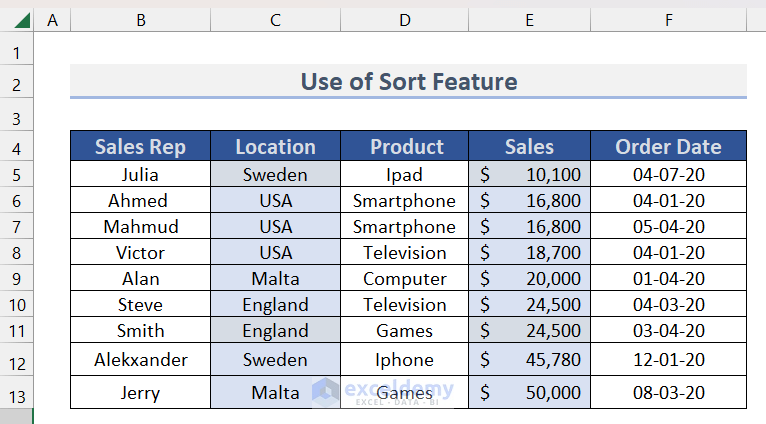
- Finally, all selected rows will be deleted.
6. Using the Find Feature to Delete the Selected Rows
In this part, we will see how to find certain rows and delete them with the Excel Find tool.
Here, we will search the rows that contain certain texts first. Then we will delete the found rows. To know more, follow the steps below.
Steps:
- First, select the ranges from where you want to find a value.
- Then go to the Home tab >> Find & Select >> Find.
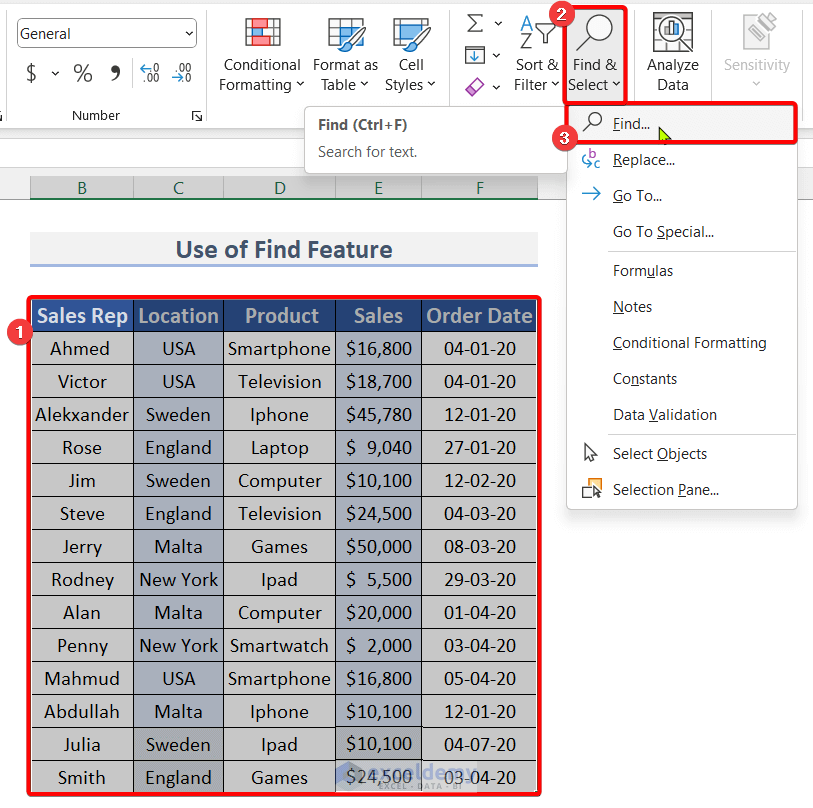
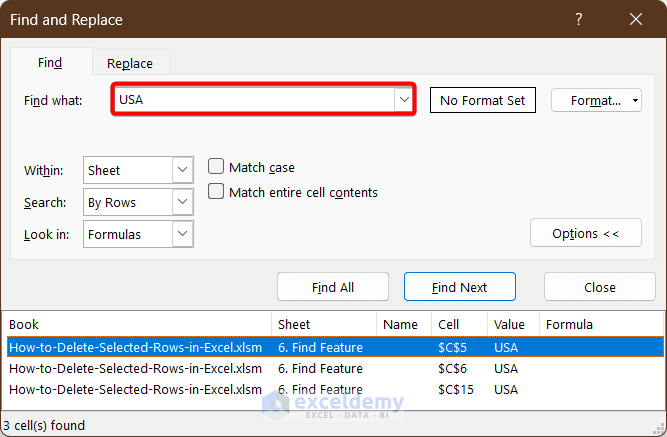
- Then, a dialog box will pop up. In Find, you can insert the value you want to find finally, click on Find All. I inserted the USA. All the rows having the value USA is showing there.
- Now, select all the found values in the dialog box. You can use CTRL+A to select all.

- Now right-click on any of the selected values in the sheet then select
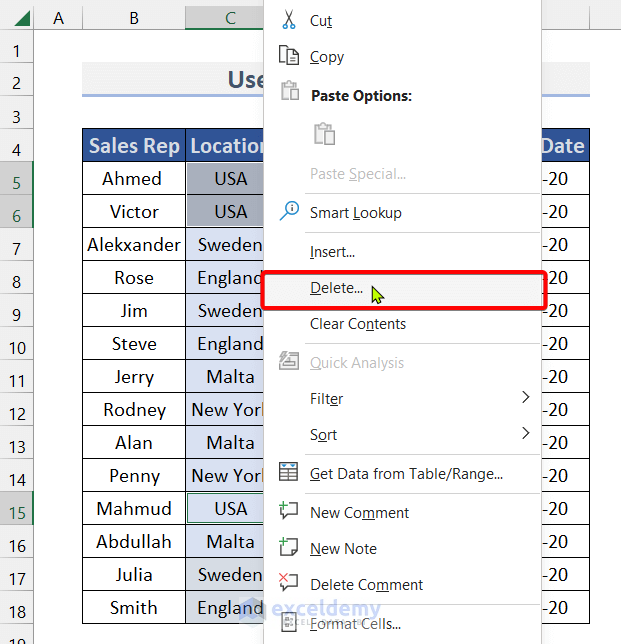
- Now, It will pop up a dialog box to select deleting options. I selected the option Entire row. Finally, click
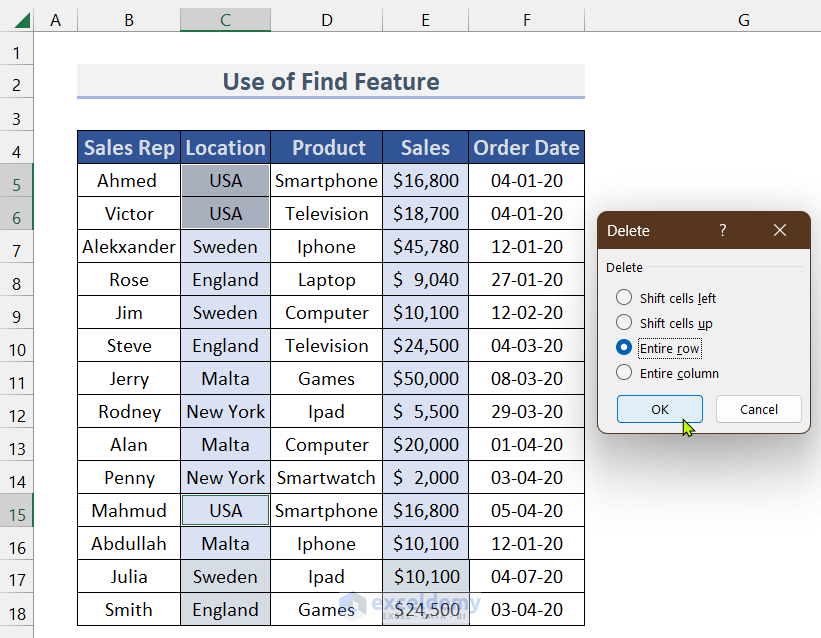
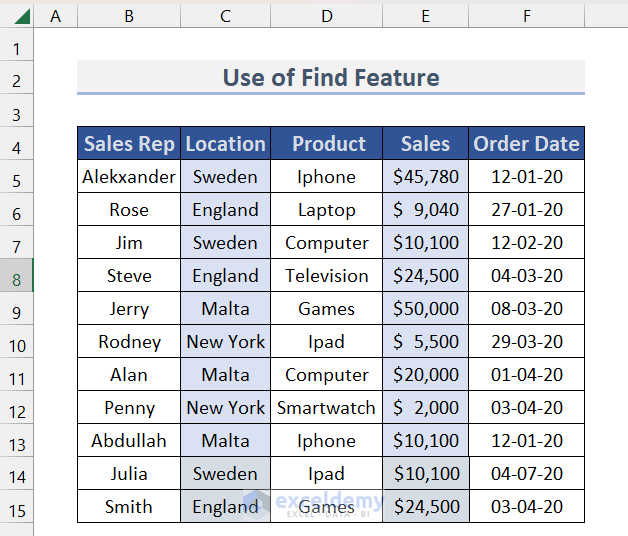
- As a result, all the rows having the value USA will be deleted.
7. Using VBA to Delete Selected Rows
In this method, we will use a VBA Code to delete selected rows. To know more, follow the steps below.
Steps:
- First of all, open the Microsoft Visual Basic for Applications By clicking Alt+F11.
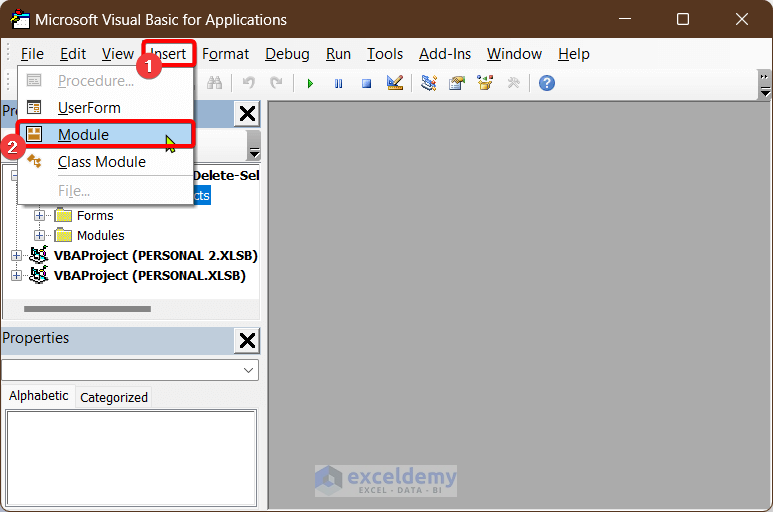
- Then, insert a new module by going to Insert >> Module.
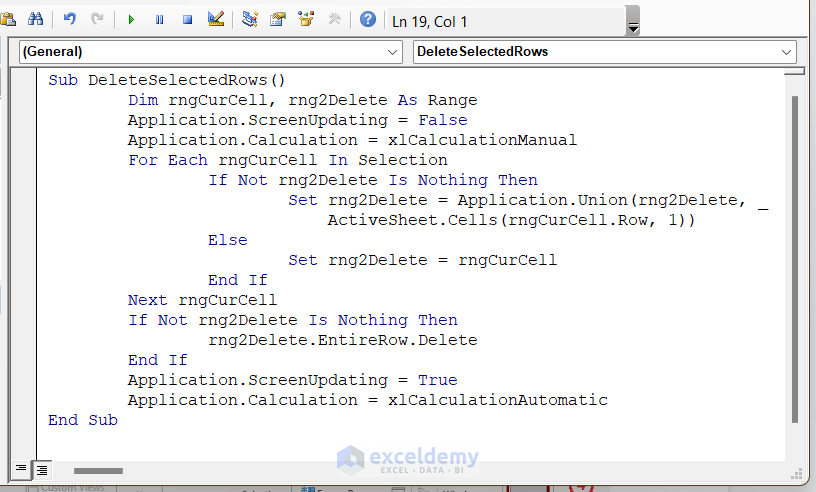
- Now paste the following code into the module.
Sub DeleteSelectedRows()
        Dim rngCurCell, rng2Delete As Range
        Application.ScreenUpdating = False
        Application.Calculation = xlCalculationManual
        For Each rngCurCell In Selection
                If Not rng2Delete Is Nothing Then
                        Set rng2Delete = Application.Union(rng2Delete, _
                            ActiveSheet.Cells(rngCurCell.Row, 1))
                Else
                        Set rng2Delete = rngCurCell
                End If
        Next rngCurCell
        If Not rng2Delete Is Nothing Then
                rng2Delete.EntireRow.Delete
        End If
        Application.ScreenUpdating = True
        Application.Calculation = xlCalculationAutomatic
End Sub
- After Saving the code go back to the worksheet and select a range to apply the code.
- Then, press Alt+F8 to open Macros. After that, select And finally run the macro by clicking on Run.
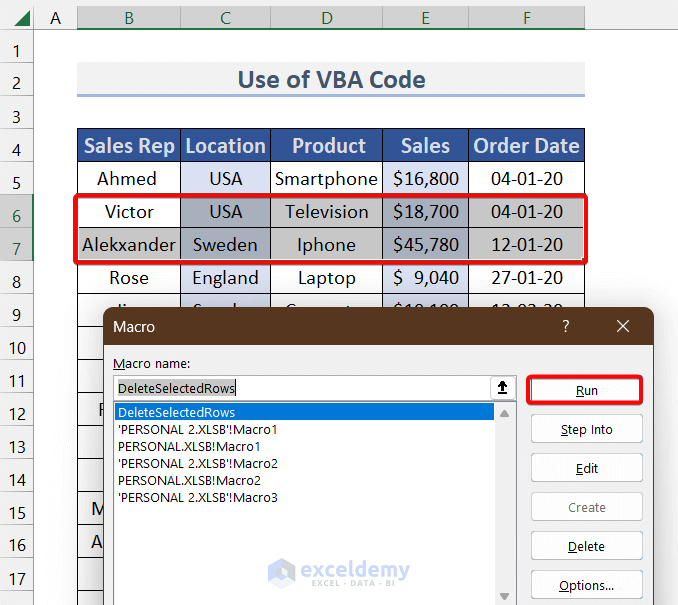
- As a result, the Macro will delete the selected rows.
Read More: How to Delete Multiple Rows in Excel at Once
8. Utilization of Go to Special Feature to Delete Selected Blank Rows
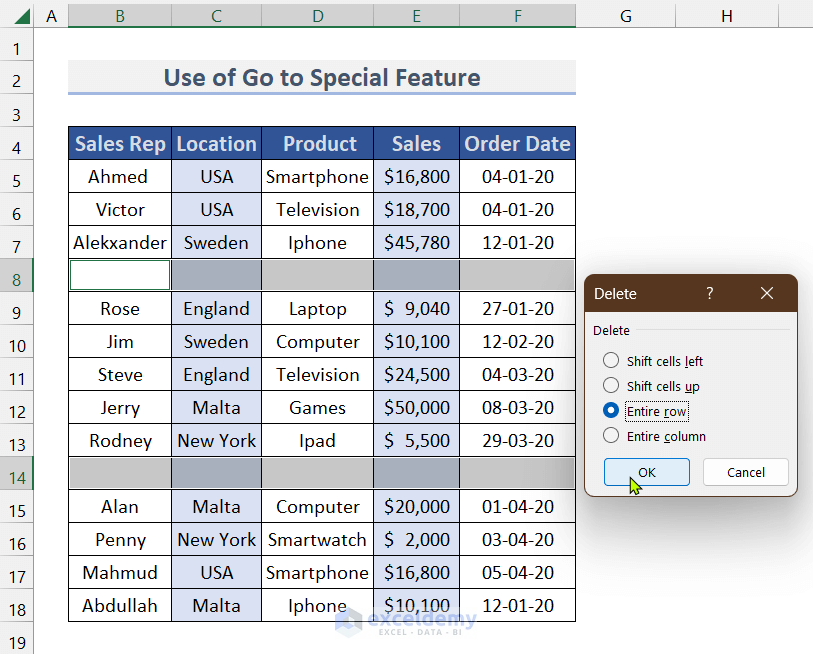
In a large datasheet, there is a possibility of having blank rows. I intentionally made two rows blank in this datasheet to show you this approach.
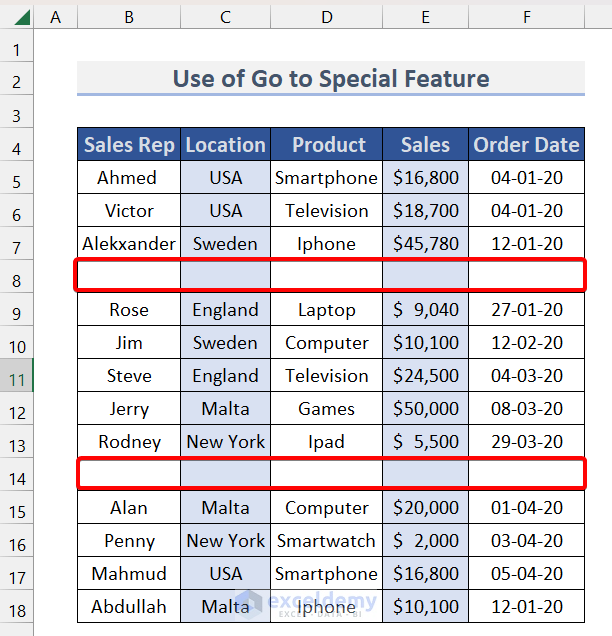
Now, we can select all the blank rows at a time and delete them using Go to Special Feature. To know more, follow the steps below.
Steps:
- To delete blank rows, first, select the data set and then go to the Home tab.
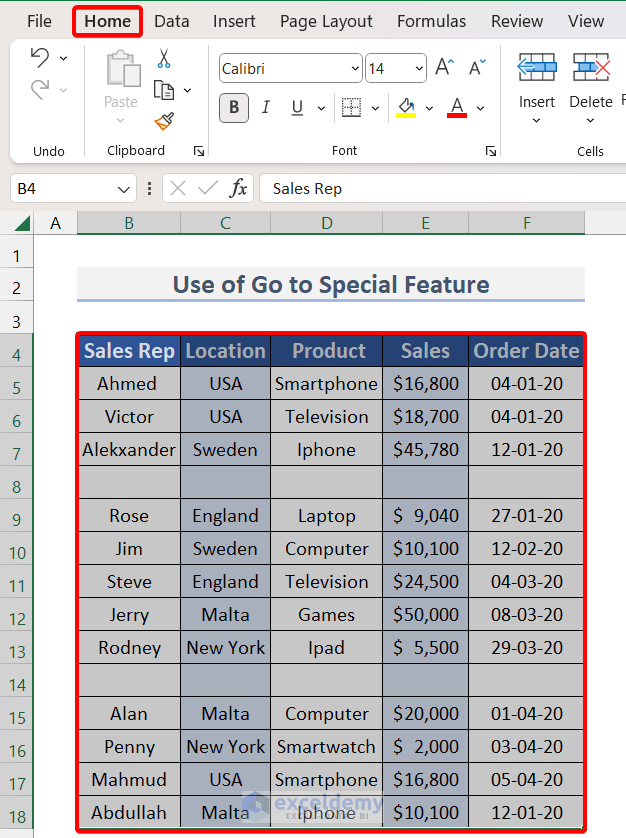
- Then go to Find & Select >> Go to Special.

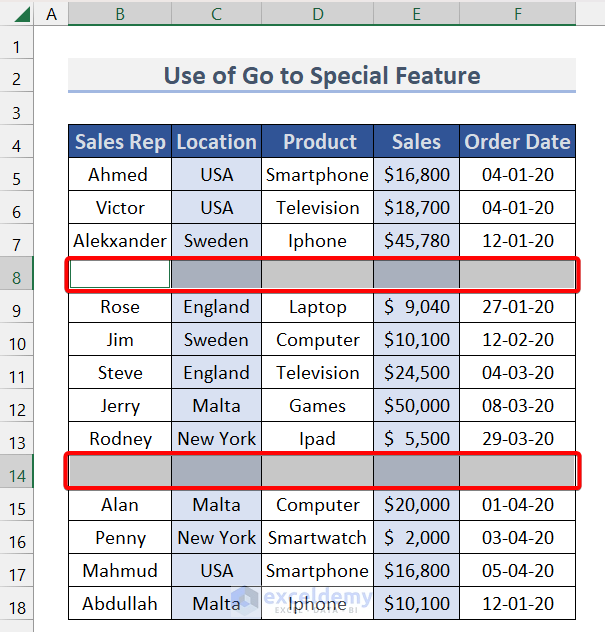
- As a result, it will pop up a dialog box. From there select Blanks and click OK.

- As a result, all the Blank rows are selected.
- Now press the Ctrl+-(minus) keys to open the Delete dialogue box.
- Now, select the option Entire row. Then finally, click OK.
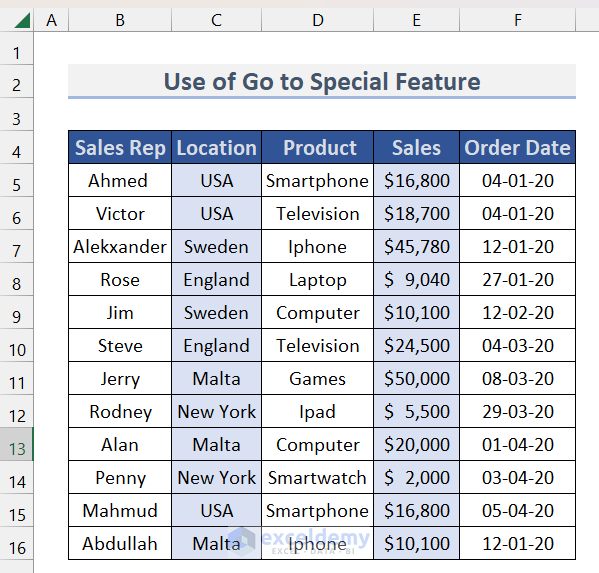
- As a result, the selected blank rows will be deleted.
Download Practice Workbook
Download this practice workbook to exercise while you are reading this article.
Conclusion
In this article, I explained 8 approaches to deleting selected rows in Excel. I hope these different approaches will help you to delete selected rows. For any kind of suggestions, ideas, or feedback you are most welcome to comment down below.
Related Articles
<< Go Back to Delete Rows | Rows in Excel | Learn Excel
Get FREE Advanced Excel Exercises with Solutions!
