This article will show seven effective techniques to delete rows in Excel, with examples and illustrations.
Download the Practice Workbook
In this practice workbook are 8 sheets, each featuring an Employee Monthly Savings Calculation table to demonstrate the ways to delete rows in Excel.
7 Ways to Delete Rows in Excel
Example 1 – Delete a Single Row
Steps:
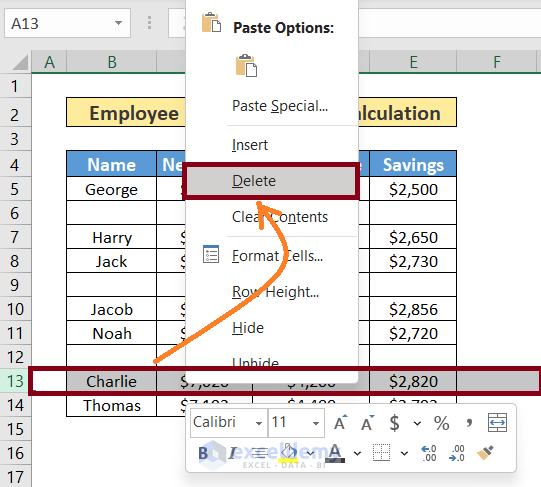
- Select the row.
- Right-Click on the selection area.
- Click on Delete from the Context menu.
Read More: Delete All Rows Below a Certain Row
Example 2 – Remove Multiple Consecutive Rows
We can similarly delete a range of rows that are next to each other:
Steps:
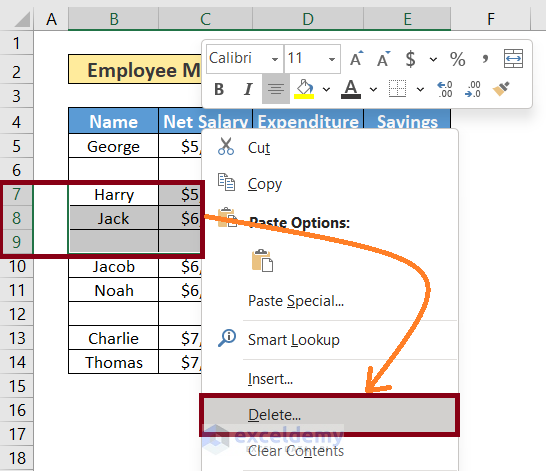
- Select the range of rows.
- Right-Click on the selection area.
- Click on Delete from the Context menu.
Read More: Delete Multiple Rows in Excel Using Formula
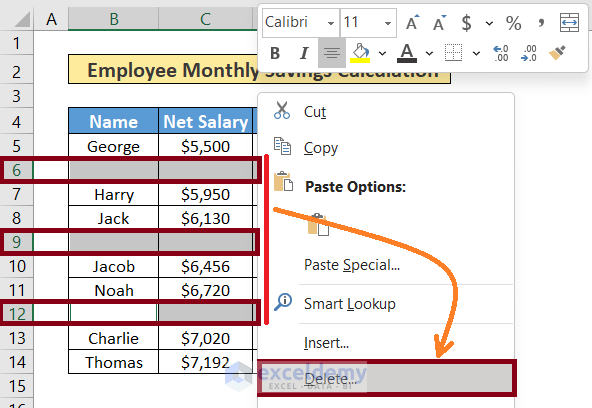
Example 3 – Delete Multiple Non-Consecutive Rows
It’s a very similar process to delete a range of rows that are not next to each other.
Steps:
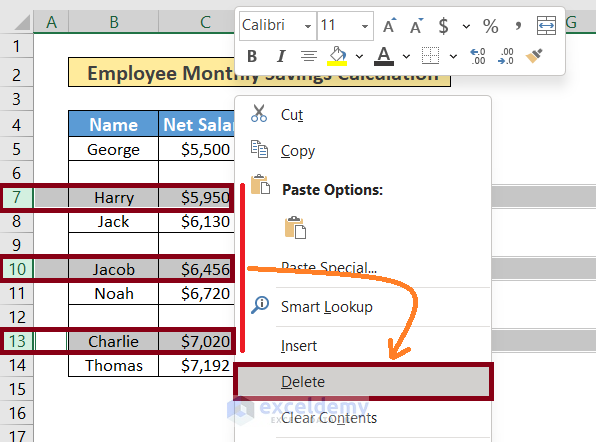
- Press and hold Ctrl and select the rows that you want to delete.
- Right-Click on the selection area.
- Click on Delete from the Context menu.
Example 4 – Deleting Blank Rows Using Go To Special
The methods we’ve discussed above are convenient for a smaller size dataset. But if the dataset contains thousands of rows, selecting each of them manually can be intimidating. Suppose we want to delete all the blank rows from a dataset.
Steps:
- Select the Table and press Ctrl + G.
- In the Go To dialog box that opens, select Special….
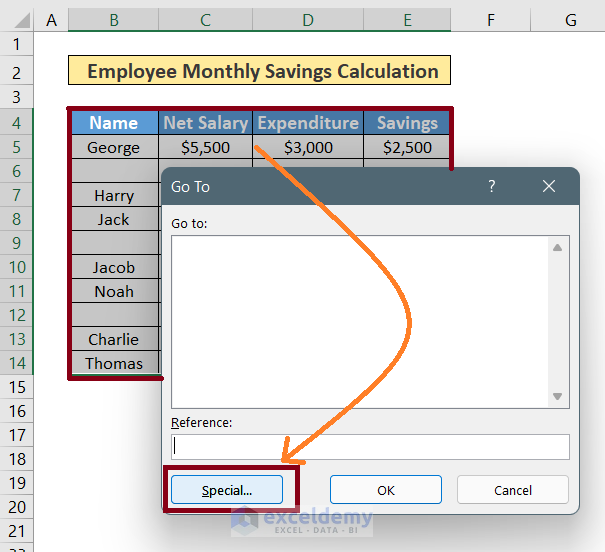
- Select the radio button Blanks from the Go To Special dialog box.
- Click OK.
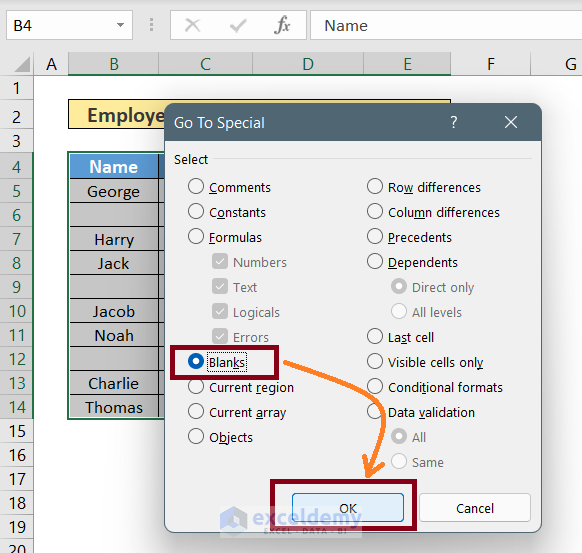
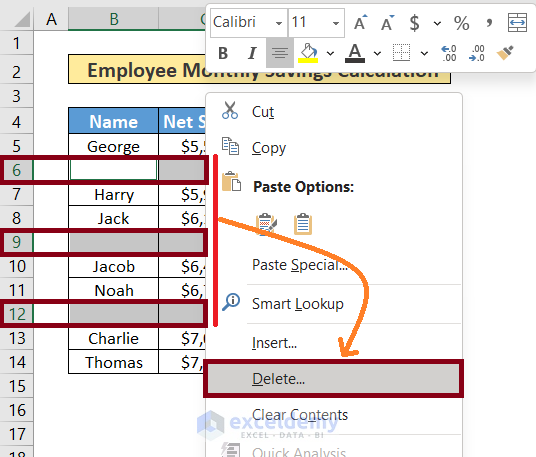
This command will select all the blank rows within the table.
- Right-Click on any one of the selected rows.
- Select the Delete command from the Context window.
Read More: Delete Multiple Rows At Once
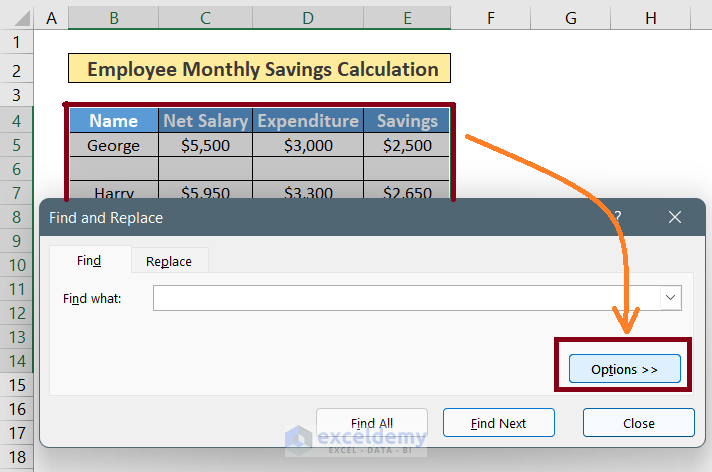
Example 5 – Delete Blank Rows Using the Find Command
Steps:
- Select the Table.
- Open the Find and Replace dialog box by pressing Ctrl+F.
- Select Options.
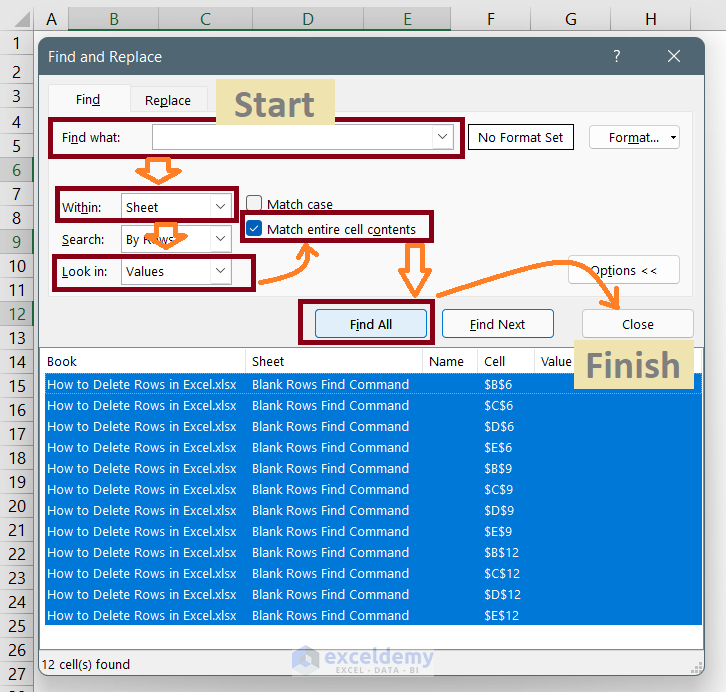
- Leave the Find What box blank.
- Select Sheet from the Within drop-down list.
- Select Values from the Look-in drop-down list.
- Mark the Match entire cell contents checkbox.
- Click Find All.
- Press Ctrl+A to select all the blank rows.
- Close the Find and Replace dialog box.
All the blank rows within the selected table are selected. Let’s delete them all.
- Right-Click on the selection area.
- Select the Delete command from the Context menu.
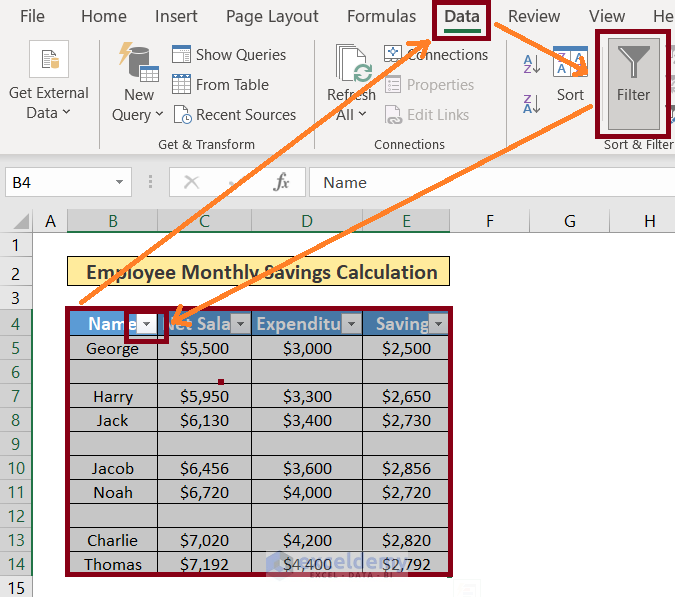
Example 6 – Delete Blank Rows Using the Filter Option
Steps:
- Select the Table.
- Go to the Data tab and click on Filter.
- Click on the arrow icon that appears in the Name column.
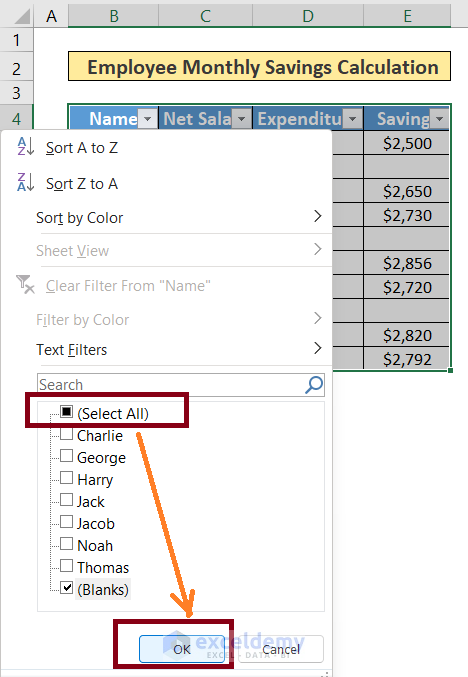
- Deselect all from the pop-up window.
- Select only the Blanks option within the list.
- Click OK.
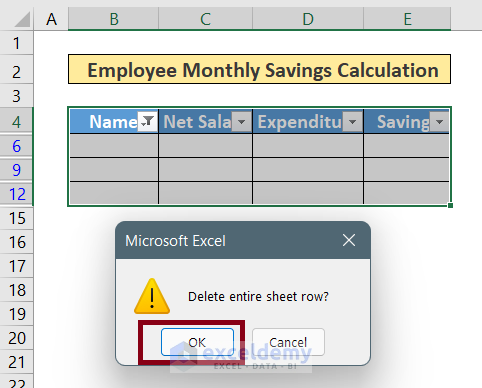
A table with only the blank rows will appear.
- Right-Click on the Table and select the Delete Row command.
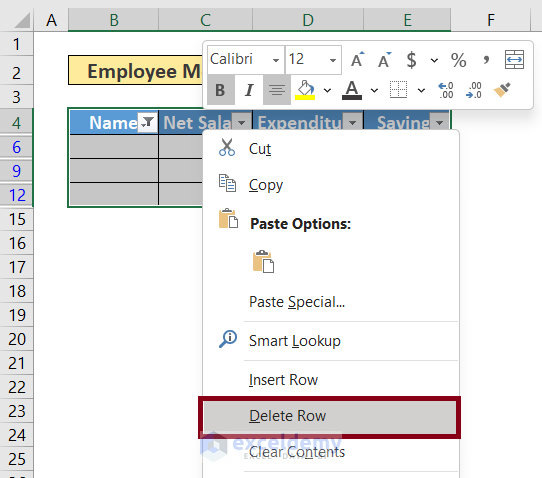
- Click OK.
A table without the blank rows is returned.
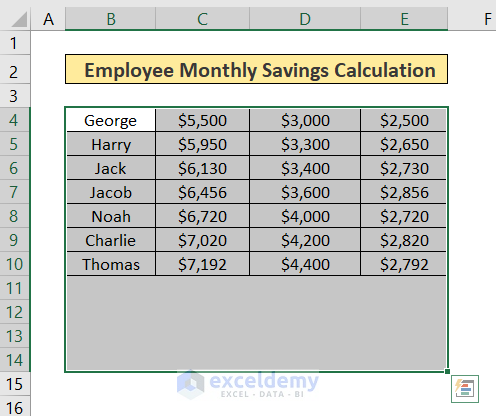
Example 7 – Delete Blank Rows By Sorting
In this method, we are not actually deleting any rows so to speak. Rather, we are just sorting the blank rows to the bottom, which can then be ignored.
- Select the entire Table.
- Go to the Data tab.
- Select the Sort A to Z command.
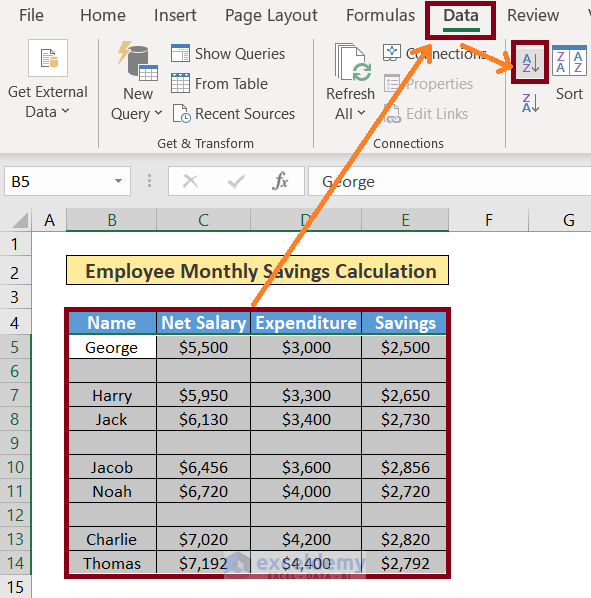
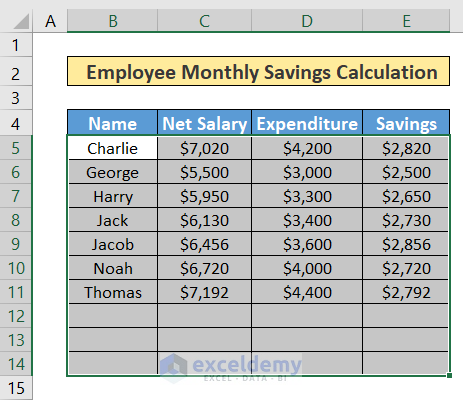
This will place all the blank rows at the bottom of the table. Simply ignore them.
Delete Rows in Excel: Knowledge Hub
<< Go Back to Rows in Excel | Learn Excel
Get FREE Advanced Excel Exercises with Solutions!

Your data is very informative thank you. I do still have a problem though that hopefully you might be able to assist me with.
I have multiple rows that give me feed back from a face recognition system, so in column F the spreadsheet states either Check in or Check Out depending whether the employee is starting work or finishing, but if the recognition machine doesn’t record correctly Column F will show the word Undefined.
What I would like to be able to do is delete all rows where the word Undefined is in Column F without having to do each row individually.
Many thanks
Clive Bay
Hello Clive Bay,
To delete rows where “Undefined” appears in Column F, you can use the filter feature. Here’s how:
1. Select your data range, then go to the Data tab and click Filter.
2. In Column F, click the filter drop-down and uncheck everything except Undefined.
3. Select the filtered rows, right-click, and choose Delete Row.
4. Finally, remove the filter to restore the full data view.
This will delete all rows containing “Undefined” without having to delete each one manually.
Let me know if you need further assistance!
Regards
ExcelDemy