Step 1 – Collapse Rows in Excel
- Group your dataset. You can either use an auto outline (with subtotal rows) or group rows manually.
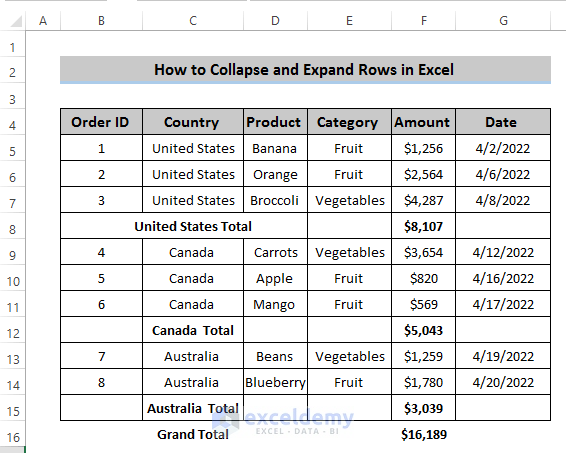
Steps
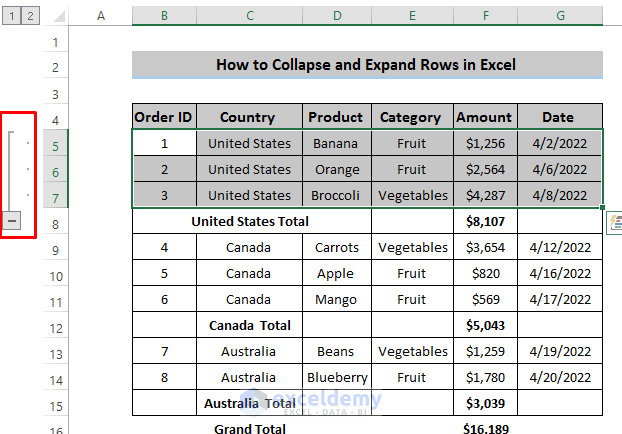
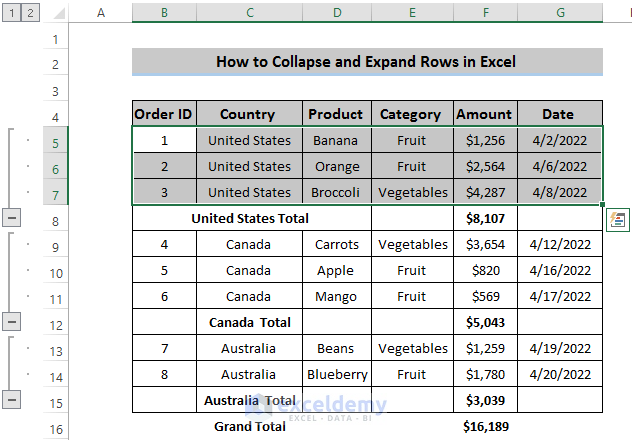
- Select C5:C7.
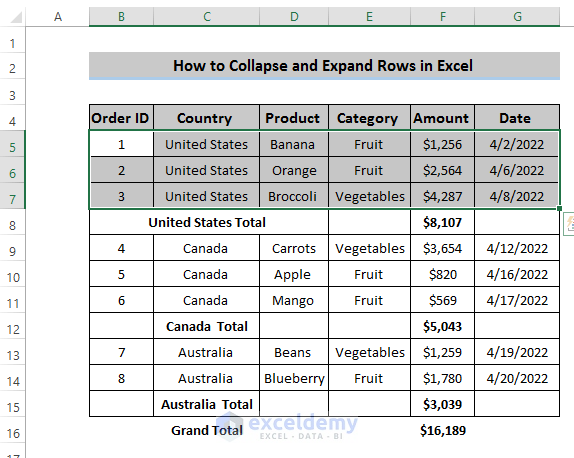
- Go to the Data tab
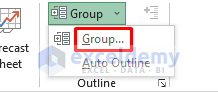
- In the Outline group, select Group.

- In the Group option, select Group.
- Select grouping rows or columns. Click ‘OK’.
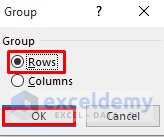
The group C5:C7 will be created.
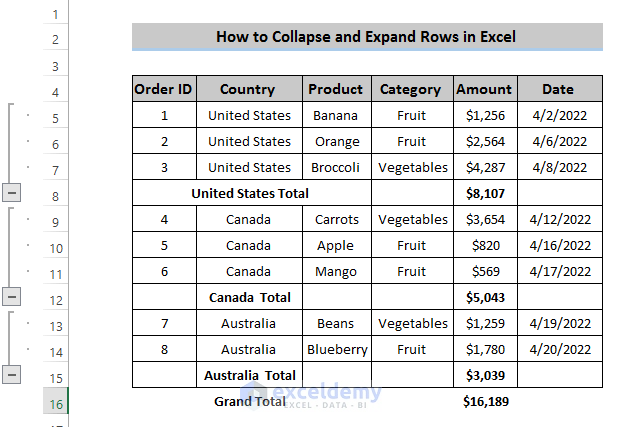
- You can create more groups:
When you manually group rows with two or more levels of information all data should be displayed to prevent incorrect grouping.
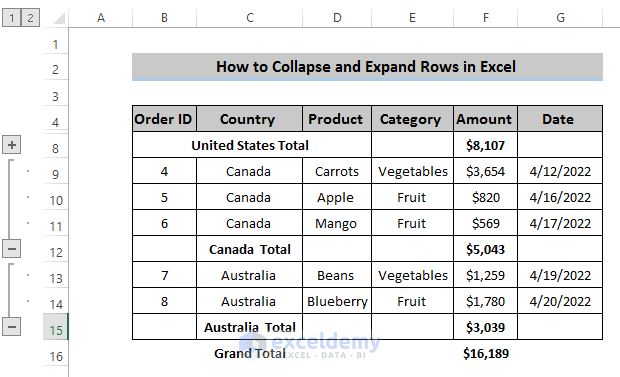
Click Minus (-) at the bottom the group to collapse rows or use Hide Details.
1. 1. Clicking Minus to Collapse Rows
Steps
- Create a group before collapsing rows.
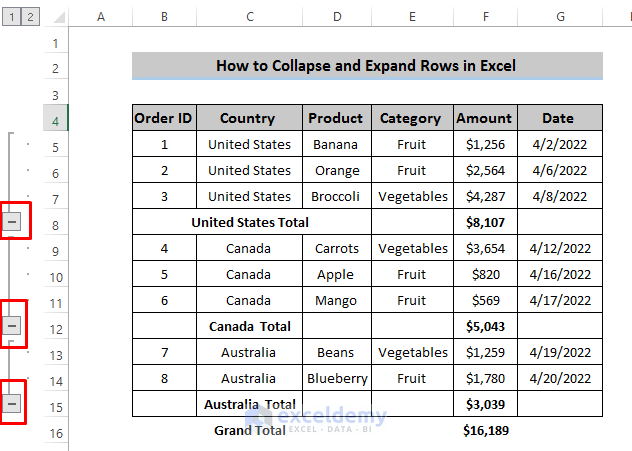
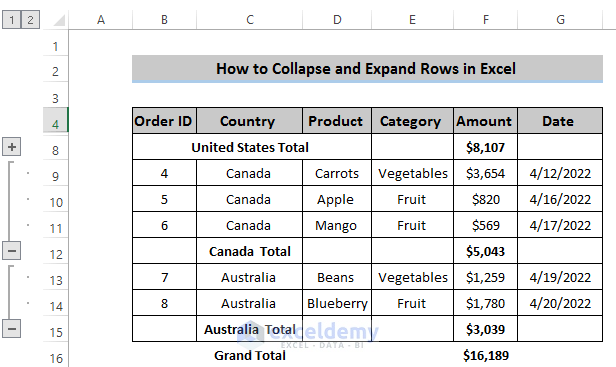
- Click the first Minus (-). All rows in C5:C7 will collapse. Minus (-) will convert to Plus (+):
Read More: How to Create Collapsible Rows in Excel
1.2. Collapse Rows Using the Hide Details Feature
Steps
- Select the group of rows you want to collapse.
- Go to the Data tab and click Hide Details.

Step 2 – Expand Rows in Excel
2.1. Clicking The Plus Button to Expand Rows
Steps
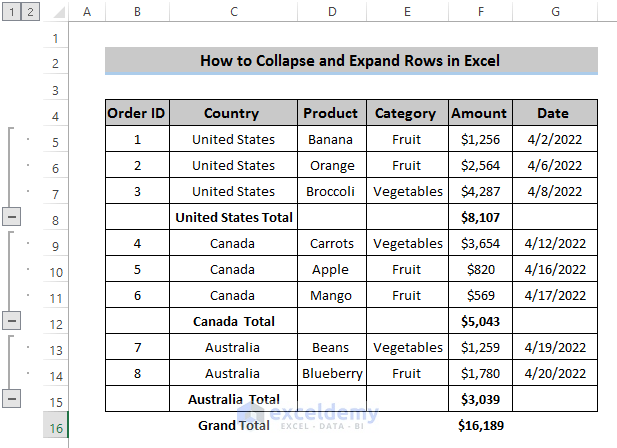
- When you collapse a group of rows, a Plus (+) sign is displayed.
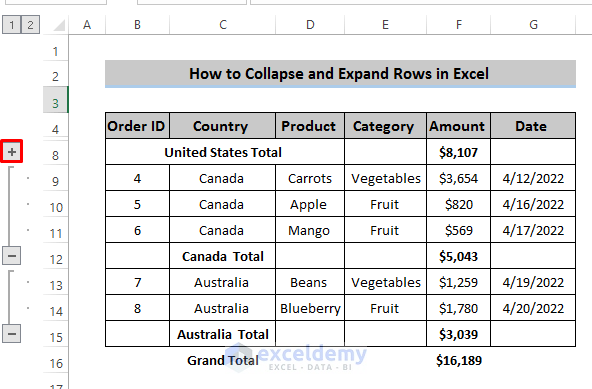
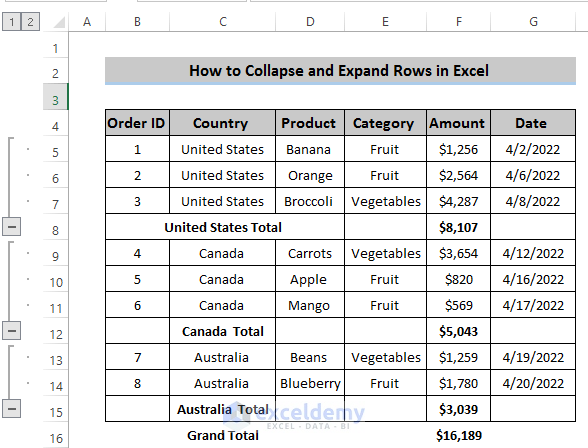
- Click Plus (+) to expand rows.
Read More: How to Expand or Collapse Rows with Plus Sign in Excel
2.2. Expand Rows Using The Show Details Feature
Steps
- Select C8.
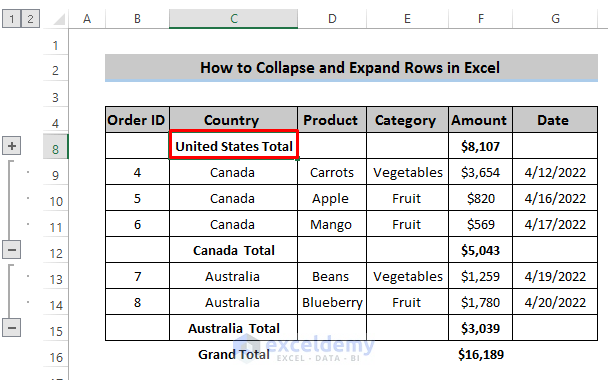
- Go to the Data tab and select Show Details.

Download Practice Workbook
Related Articles
- How to Lock Rows in Excel
- How to Resize All Rows in Excel
- How to Create Rows within a Cell in Excel
- How to Copy Every Nth Row in Excel
- How to Color Alternate Rows in Excel
<< Go Back to Rows in Excel | Learn Excel
Get FREE Advanced Excel Exercises with Solutions!
