Here’s a basic overview of selecting a row header to see its height.

Download the Practice Workbook
How to Change the Row Height in Excel
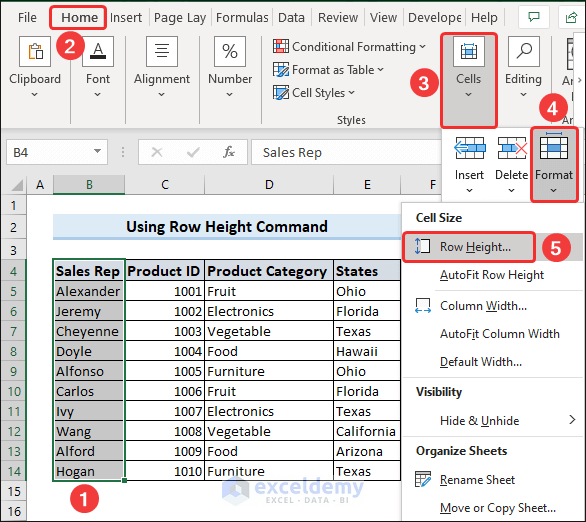
Method 1 – Using the Row Height Command
- Select any of the cells from the rows or the entire rows.
- Go to the Home tab.
- Click on Format under Cells group.
- Select Row Height option.
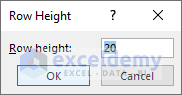
- Type in your desired row height in the Row Height dialog box.
- Hit OK.
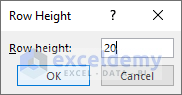
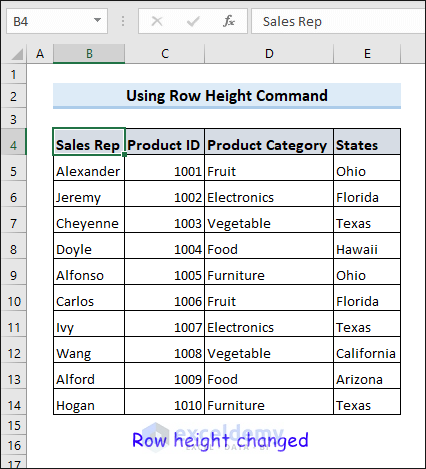
- Excel will change the row height according to the input.
Read More: Excel Default Row Height
Method 2 – Using the Context Menu
- Select the row number from the left corner of the worksheet.
- Right-click on the selection to bring the context menu.
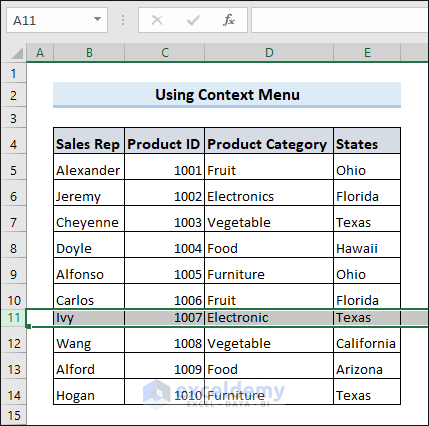
- Select Row Height from the context menu.
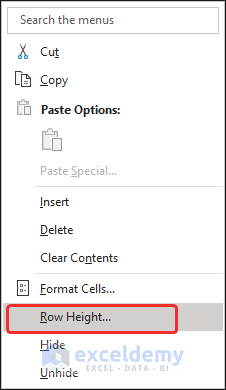
- Put your desired height in the Row Height dialog box and hit OK.
Read More: Row Height Units
Method 3 – Adjusting Height by Dragging the Mouse
- Place your cursor between the row you want to modify and the row below it.
- Click, hold, and drag the mouse up or down.
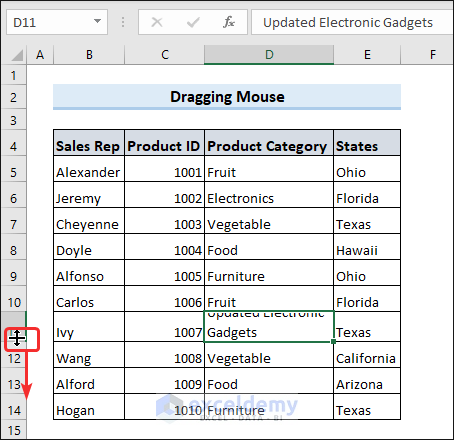
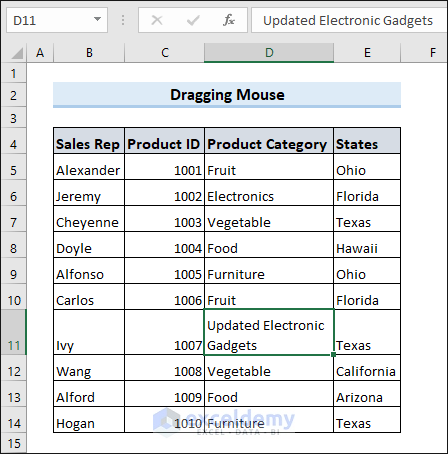
- Dragging the mouse will increase or decrease the row height. Release to confirm.
Read More: Excel Auto Row Height
How to AutoFit Row Height in Excel
Method 1 – Using the AutoFit Row Height Command
- Go to the top-left corner and click the green triangle to select the whole worksheet.
- Go to the Home tab.
- Click the Format option under the Cells group.
- Select AutoFit Row Height.
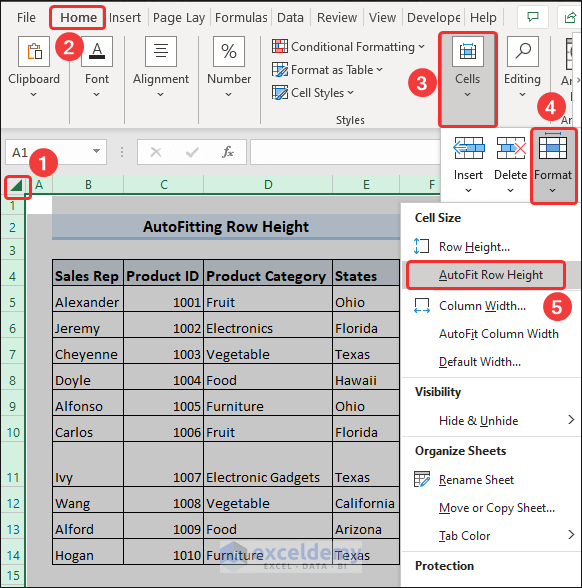
- Excel will fit all the rows according to the contents.
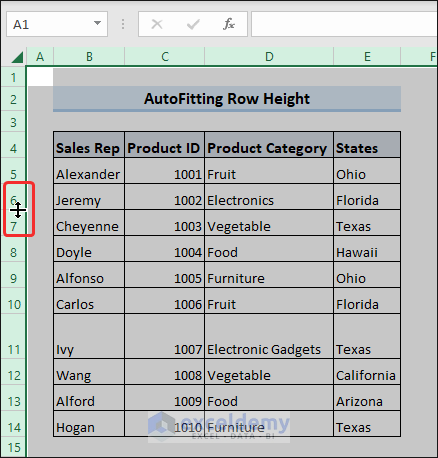
Method 2 – AutoFit Rows with Double-Click
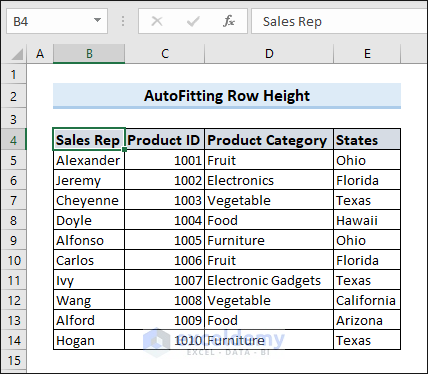
- Select all the rows in the worksheet.
- Place your cursor in between two consecutive row numbers and double-click.
Frequently Asked Questions
What is the maximum row height available in MS Excel?
The maximum row height available in Microsoft Excel is 409 points or approximately 546 pixels.
How can I make the row height the same for all rows in Excel?
Select all the rows and apply any of the commands.
Is it possible to set a minimum row height in Excel?
No, Excel does not have a built-in feature to set a minimum row height. However, you can manually adjust the row height to a desired minimum value.
Row Height Excel: Knowledge Hub
- Change Row Height in Excel
- Increase Row Height
- Copy Multiple Row Height
- Auto Row Height Not Working
- Adjust Excel Row Height to Fit Text
<< Go Back to Rows in Excel | Learn Excel
Get FREE Advanced Excel Exercises with Solutions!
