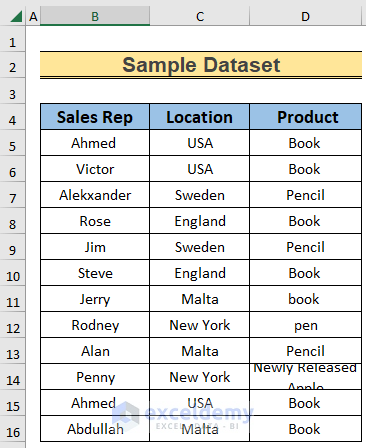
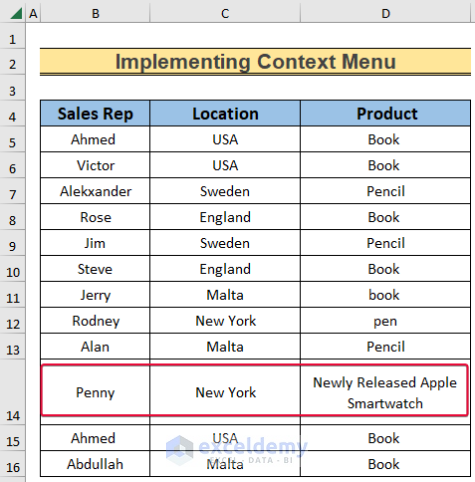
This is the sample dataset.
Method 1 – Using Row Height Command
Steps:
- Select B14:D14.
- Go to: Home >> Cells >> Format >> Row Height.

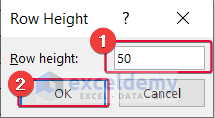
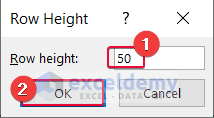
- Set the Row Height to 50.
- Click OK.
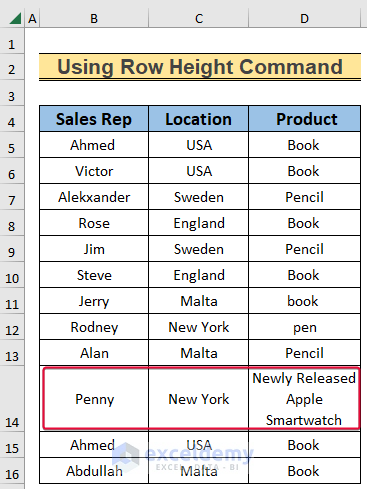
This is the output.
Read More: How to Change & Restore Default Row Height in Excel
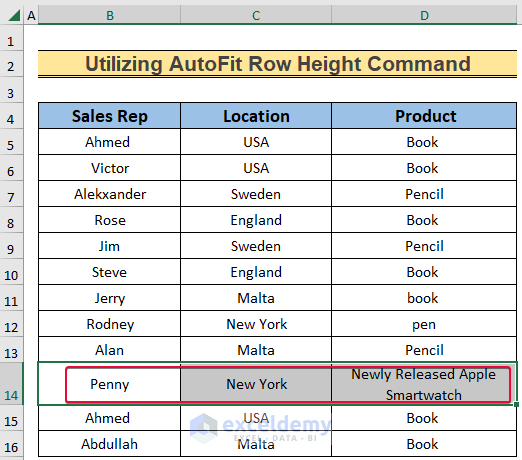
Method 2 – Utilizing the AutoFit Row Height Command
Steps:
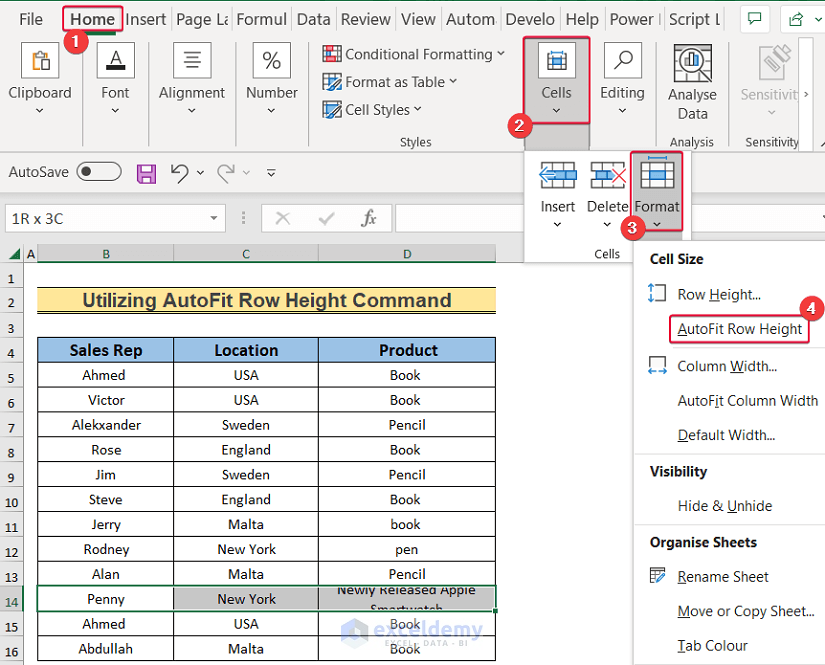
- Select B14:D14
- Go to: Home >> Cells >> Format >> AutoFit Row Height.
This is the output.
Read More: How to Auto Adjust Row Height in Excel
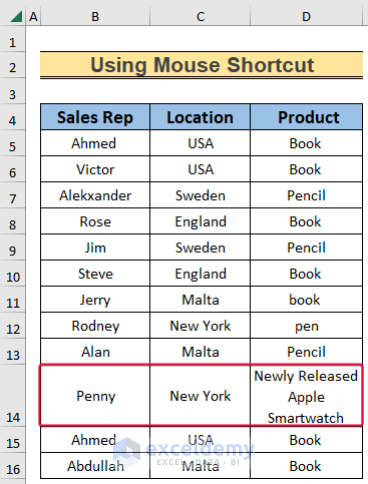
Method 3 – Using the mouse
Steps:
- Go to row 14.
- Double-click the row using the plus sign.
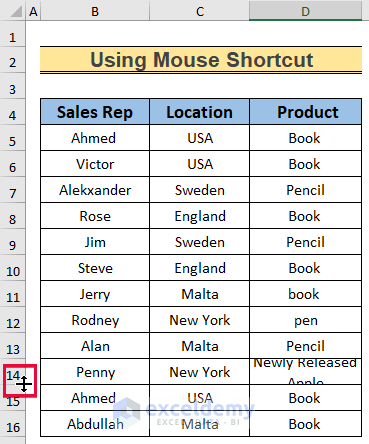
This is the output.
Read More: Auto Row Height Not Working in Excel
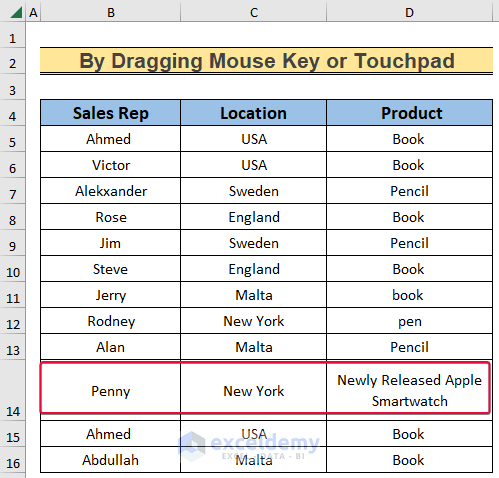
Method 4 – Dragging the Mouse
Steps:
- Go to row 14.
- Drag down the plus sign to increase the height of the row.
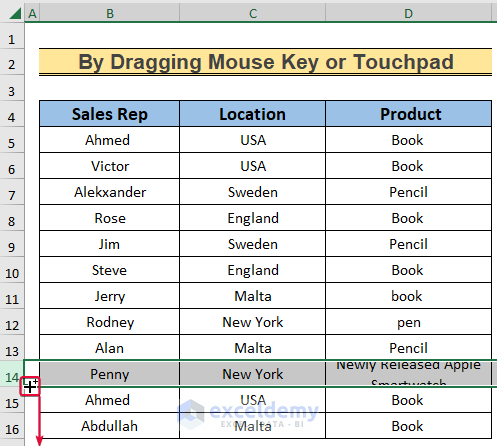
This is the output.
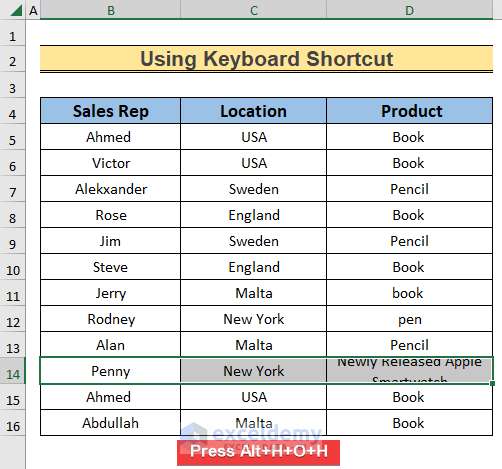
Method 5- Using a Keyboard Shortcut
Steps:
- Select B14:D14.
- Press Alt+H+O+H.
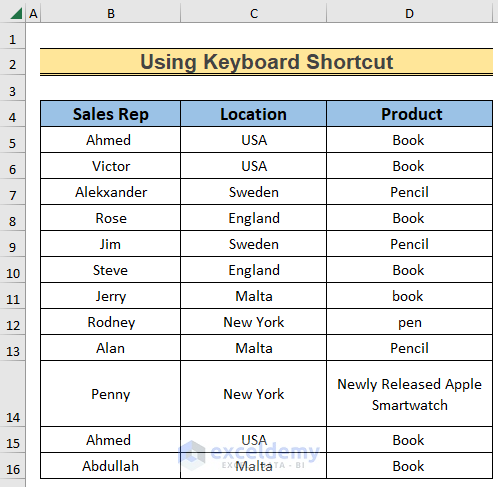
- Change the Row Height to 50.
- Click OK.

This is the output.
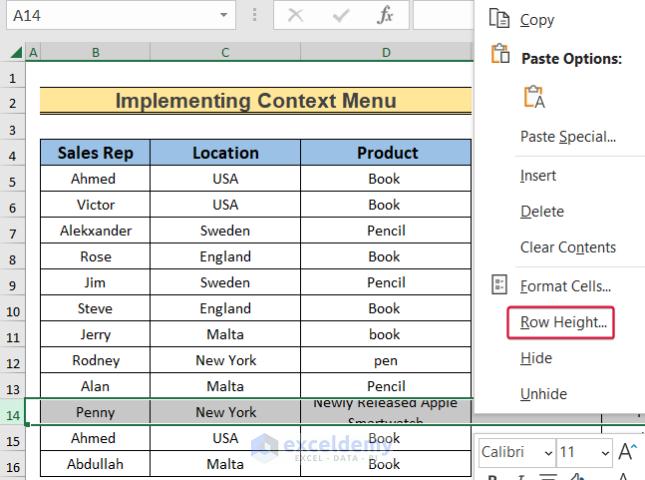
Method 6 – Using the Context Menu
Steps:
- Right-click row 14.
- Choose Row Height.
- Set the Row height to 50.
- Click OK.
This is the output.
Download Practice Workbook
Download the workbook.
Related Articles
<< Go Back to Row Height | Rows in Excel | Learn Excel
Get FREE Advanced Excel Exercises with Solutions!
