A quick guide to solve the problem when the Auto Row Height command is not working properly in Excel. You will learn two quick methods with sharp steps and vivid illustrations.
Auto Row Height Not Working in Excel: 2 Easy Fixes
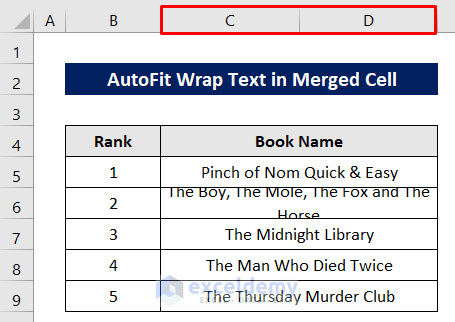
Let’s get introduced to our dataset first that contains the 5 best-selling books at Amazon in 2021.

1. Manually Input Row Height or Unmerge Cells
You will face the problem when you will want to automatically fit the wrapped text in merged cells. Have a look that now I have merged Column C and D to type the book names.
Now if I try to AutoFit the row height then it’s not working.

Output after applying the AutoFit Row Height command, it has just come into one line but is not showing the full text as the column width is fixed.

Solution:
You can solve it in two ways.
The first way is to change the row height manually.
Select the cell and click as follows: Home > Cells > Format > Row Height.
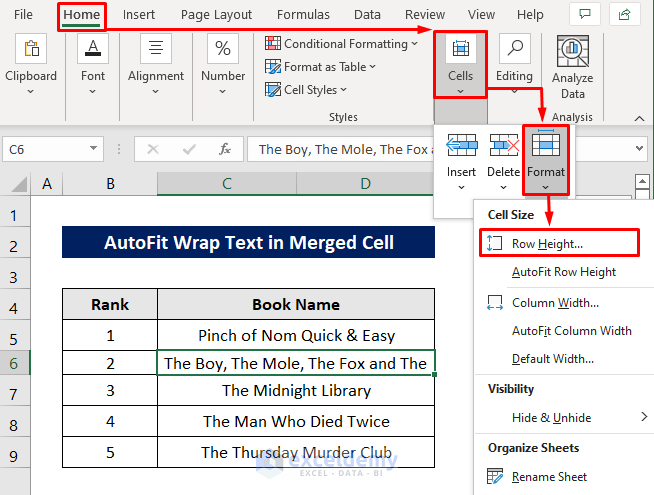
Type a larger row height than the present height.
Later, just press OK.

Now the cell is fitted perfectly.

The second way is to unmerge the merged cells.
Select the cell and then click as follows to unmerge: Home > Merge & Center > Unmerge Cells.
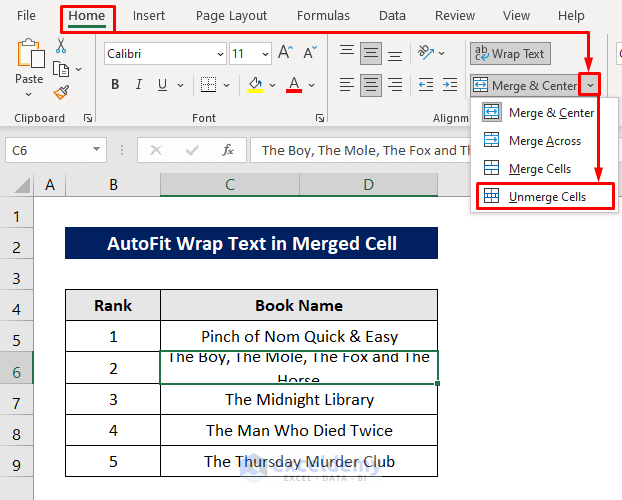
After that, Double-click the lower border of the row number of the cell.

Now the row is fitted.
To merge again just select the two cells and click Merge & Center from the Home Tab.

Here’s the final outlook.

2. Use VBA Macro When the Auto Row Height Is Not Working in Excel
The easiest and handy way is to use VBA Macro when the AutoFit Row Height command is not working.
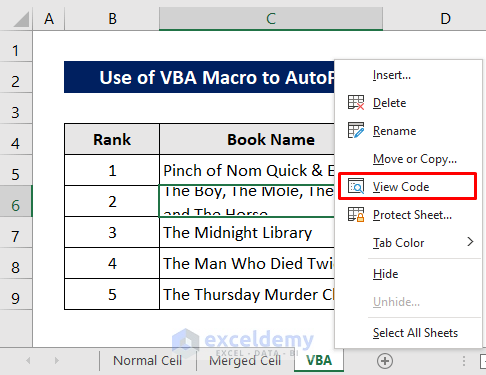
First, select the cell.
Then right-click on the sheet title.
Click View Code from the context menu.
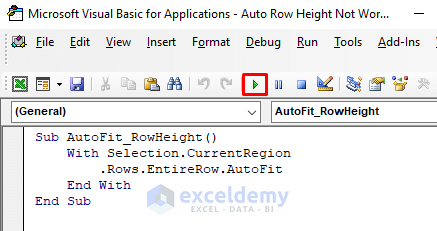
After appearing the VBA window write the following codes-
Sub AutoFit_RowHeight()
    With Selection.CurrentRegion
        .Rows.EntireRow.AutoFit
    End With
End Sub
Later, press the Run icon to run the codes.
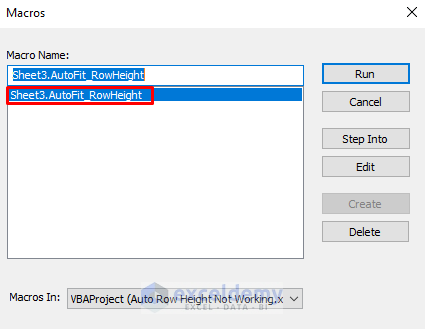
A Macros dialog box will open up.
Select the Macro Name as specified in the above codes.
Finally, press Run.
Now the cell is fitted with the text properly.

Download Practice Workbook
You can download the free Excel template from here and practice on your own.
Conclusion
I hope the procedures described above will be good enough to solve the problem when the AutoFit Row Height command is not working properly in Excel. Feel free to ask any question in the comment section and please give me feedback.
Related Articles
- How to Copy Multiple Row Height in Excel
- How to Increase Row Height in Excel
- How to Change & Restore Default Row Height in Excel
- How to Auto Adjust Row Height in Excel
- How to Adjust Row Height to Fit Text in Excel
- Row Height Units in Excel: How to Change?
- How to Change Row Height in Excel
<< Go Back to Row Height | Rows in Excel | Learn Excel
Get FREE Advanced Excel Exercises with Solutions!
