The default row height unit is Inches.
Where 1 inch equals 96 pixels. In Microsoft Excel, 1 inch is divided into 72 DPI (Dots Per Inch). The default value of the row height is 15 DPI.
If you want to check out this default value.
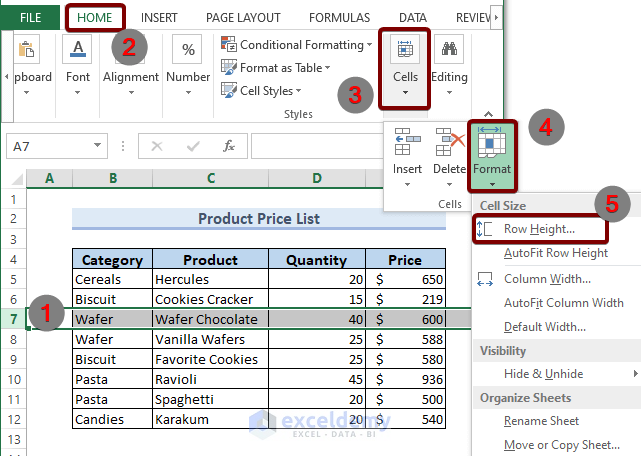
❶ Select any row you want.
❷ Go to the Home tab.
❸ From the Cells group, choose Format.
❹ From the Format drop-down, click the Row Height command.
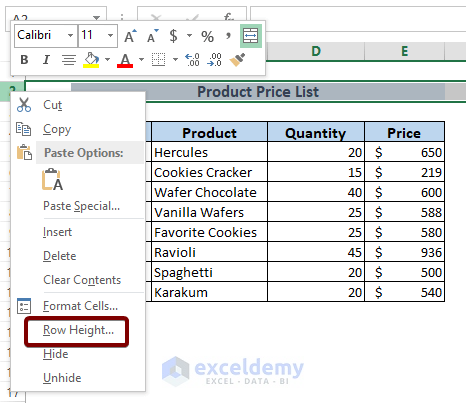
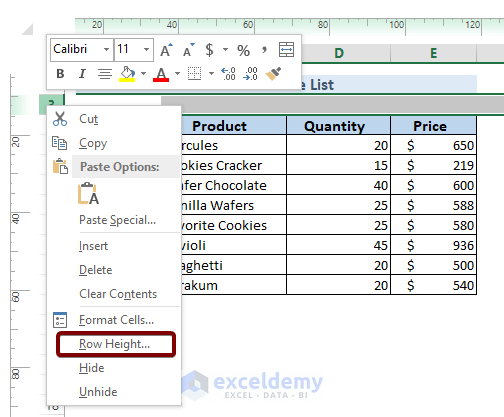
The Row Height option is by right-clicking on a row. A pop-up menu will appear. From the list, click the Row Height.
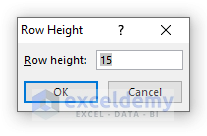
The Row Height dialog box will appear. See that the default row height is set to 15. For those who are wondering about the unknown row height, it is Inches.
To be sure about the default row height unit,
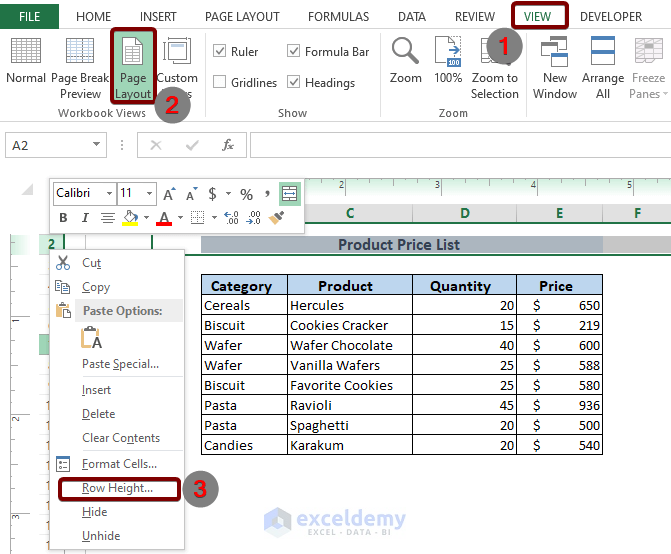
❶ Go to the View tab first.
❷ From the Workbook Views group, click the Page Layout command.
❸ Select a row and right-click on it. This will bring a pop-list.
❹ Choose Row Height.
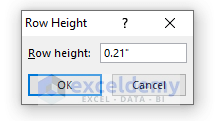
The Row Height dialog box will appear. See the default row height is 0.21 inches. Which is in terms of DPI, 15. See the default row height unit is Inches. You can also use the Row Height dialog box to change the row height in Excel. Type the desired height and press OK.
Change Row Height Units from Excel Advanced Options
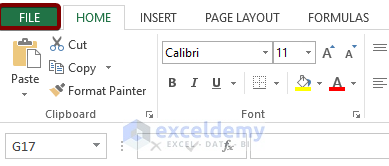
❶ Go to the File tab from the main ribbon.
❷ Navigate to the Options.
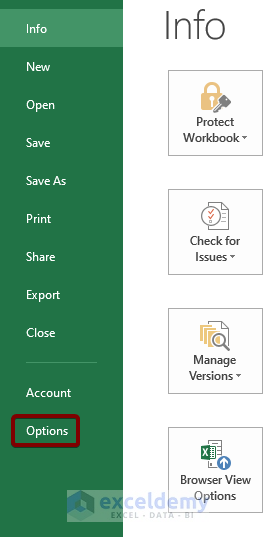
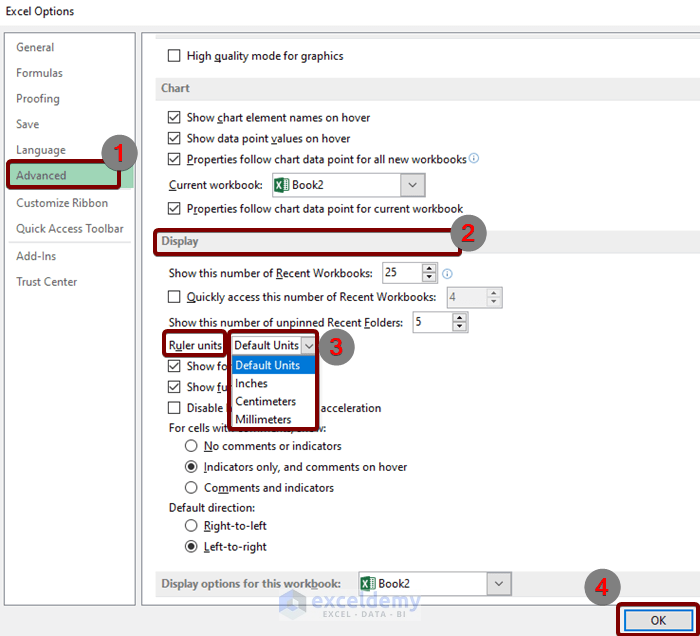
❸ Excel Options dialog box will appear. From the list of options, click on Advanced.
❹ Go to the Display options.
❺ Click on the Ruler Units drop-down. You will see,
- Inches
- Centimeters
- Millimeters
❻ Choose any of the units from there.
The Default units mean Inches. You can set the row height units to Centimeters or Millimeters as you like.
We’re choosing Millimeter from the Ruler units drop-down.
❼ Hit the OK button to save the settings.
The Row Height Units are set to Millimeters. To check it out,
❶ Go back to the View tab.
❷ Click on Page Layout.
❸ Select any of the rows by clicking one of them.
❹ From the pop-up menu, select Row Height.
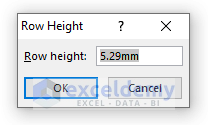
Row Height dialog box will pop up. Now you can see that the row height unit has been set to millimeters.
By following this process, you can change the Excel row height units to Inches, Centimeters, or Millimeters whatever you like.
Download the Practice Workbook
You can download the Excel file from the following link and practice along with it.
Related Articles
- How to Increase Row Height in Excel
- Auto Row Height Not Working in Excel
- How to Copy Multiple Row Height in Excel
- How to Adjust Row Height to Fit Text in Excel
<< Go Back to Row Height | Rows in Excel | Learn Excel
Get FREE Advanced Excel Exercises with Solutions!
